2014 FORD SUPER DUTY clock
[x] Cancel search: clockPage 287 of 458

Note:
Make sure the jack fits onto the flat
area on the outboard side of the differential. Front passenger side (4x4)
Note:
View shown from the rear of the
vehicle to clearly identify the jack point.
Place the jack directly under the axle. Rear
Note:
Jack at the specified locations to
avoid damage to the vehicle. Jacking the vehicle 1. Turn the jack handle clockwise until
the wheel is completely off the ground
and high enough to install the spare
tire.
2. Remove the lug nuts with the lug wrench.
3. Replace the flat tire with the spare tire,
making sure the valve stem is facing
outward for all front wheels and single
rear wheel vehicles. If you are replacing
an inboard rear tire on dual rear wheel
vehicles, the valve stem must be facing
outward. If you are replacing the
outboard wheel, the valve stem must
be facing inward. Reinstall the lug nuts
until the wheel is snug against the hub.
Do not fully tighten the lug nuts until
the wheel has been lowered.
4. Lower the wheel by turning the jack handle counterclockwise.
5. Remove the jack and fully tighten the lug nuts in the order shown. See
Technical Specifications (page 290).
6. Stow the flat tire. See Stowing the flat or spare tire if the vehicle is equipped
with a spare tire carrier.
7. Stow the jack, jack handle and lug wrench. Make sure the jack is securely
fastened so it does not rattle when
driving.
8. Unblock the wheels.
284
Super Duty (TFA) Wheels and TiresE162804 E162805 E162811
Page 288 of 458
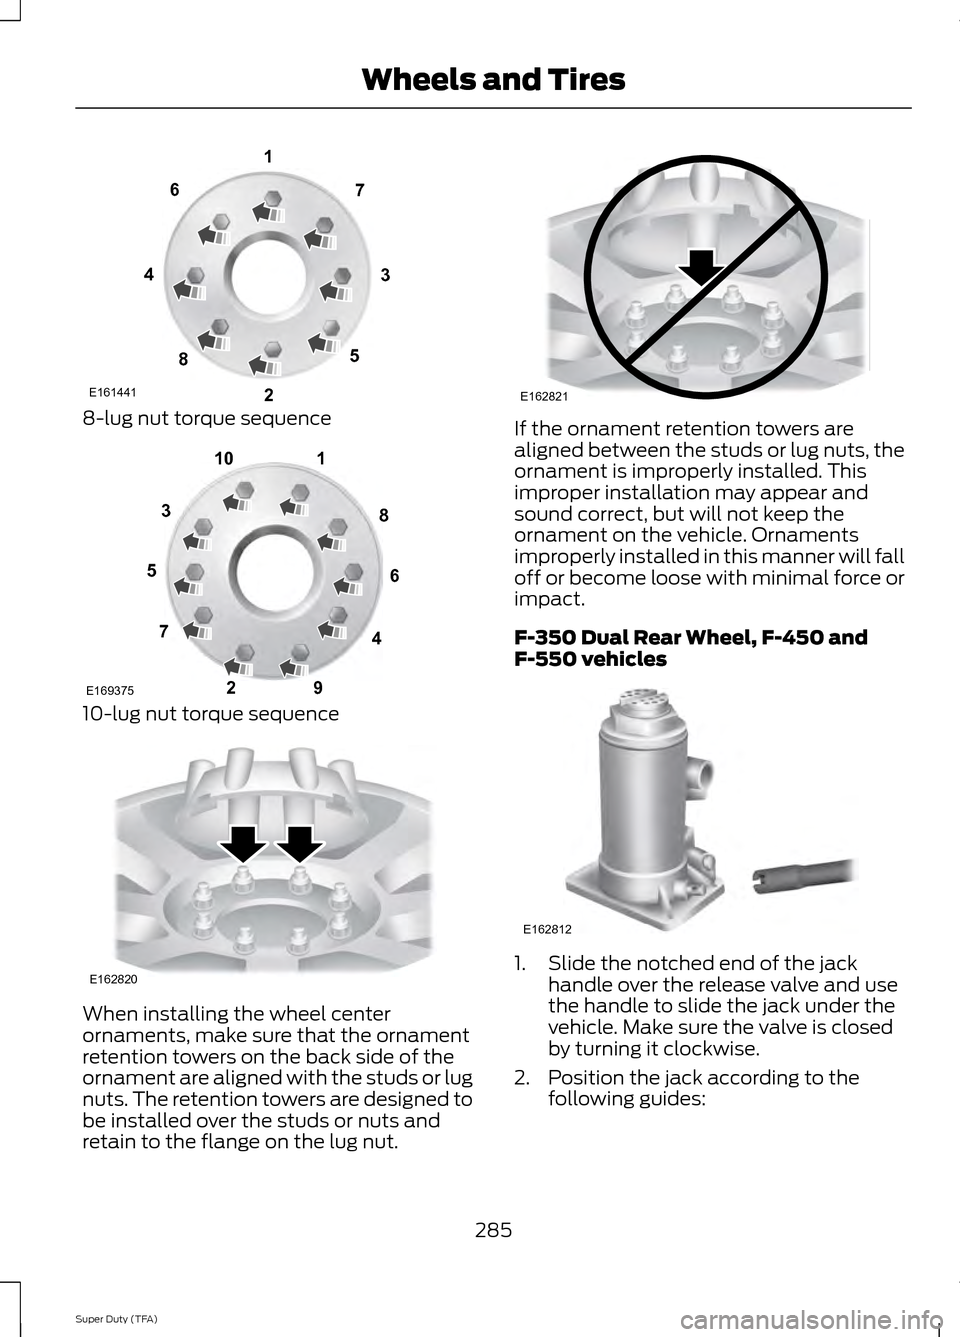
8-lug nut torque sequence
10-lug nut torque sequence
When installing the wheel center
ornaments, make sure that the ornament
retention towers on the back side of the
ornament are aligned with the studs or lug
nuts. The retention towers are designed to
be installed over the studs or nuts and
retain to the flange on the lug nut. If the ornament retention towers are
aligned between the studs or lug nuts, the
ornament is improperly installed. This
improper installation may appear and
sound correct, but will not keep the
ornament on the vehicle. Ornaments
improperly installed in this manner will fall
off or become loose with minimal force or
impact.
F-350 Dual Rear Wheel, F-450 and
F-550 vehicles
1. Slide the notched end of the jack
handle over the release valve and use
the handle to slide the jack under the
vehicle. Make sure the valve is closed
by turning it clockwise.
2. Position the jack according to the following guides:
285
Super Duty (TFA) Wheels and TiresE161441
13
4
27
6
5
8 1
2
3
4
5
6
7 8
9
10
E169375 E162820 E162821 E162812
Page 290 of 458

Jacking the Vehicle
1. Insert the jack handle into the pump
linkage.
2. Use an up-and-down motion with the jack handle to raise the wheel
completely off the ground.
Note: Hydraulic jacks are equipped with a
pressure release valve that prevents lifting
loads which exceed the jack's rated
capacity.
3. Remove the lug nuts with the lug wrench.
4. Replace the flat tire with the spare tire,
making sure the valve stem is facing
outward on all front an inboard rear
wheels. If you are replacing the
outboard wheel, the valve stem must
be facing inward. Reinstall the lug nuts
until the wheel is snug against the hub.
Do not fully tighten the lug nuts until
the wheel has been lowered.
5. Lower the wheel by slowly turning the release valve counterclockwise.
Opening the release valve slowly will
provide a more controlled rate of
descent.
6. Remove the jack and fully tighten the lug nuts in the order shown. See
Technical Specifications (page 290).
7. Stow the flat tire. See Stowing the flat or spare tire if the vehicle is equipped
with a spare tire carrier. 8. Stow the jack, jack handle and lug
wrench. Make sure the jack is securely
fastened so it does not rattle when
driving.
9. Unblock the wheels. 8-lug nut torque sequence
10-lug nut torque sequence
Installing Dual Rear Wheel Ornaments
287
Super Duty (TFA) Wheels and TiresE162819 E161441
13
4
27
6
5
8 1
2
3
4
5
6
7 8
9
10
E169375 AB
E162822
Page 292 of 458
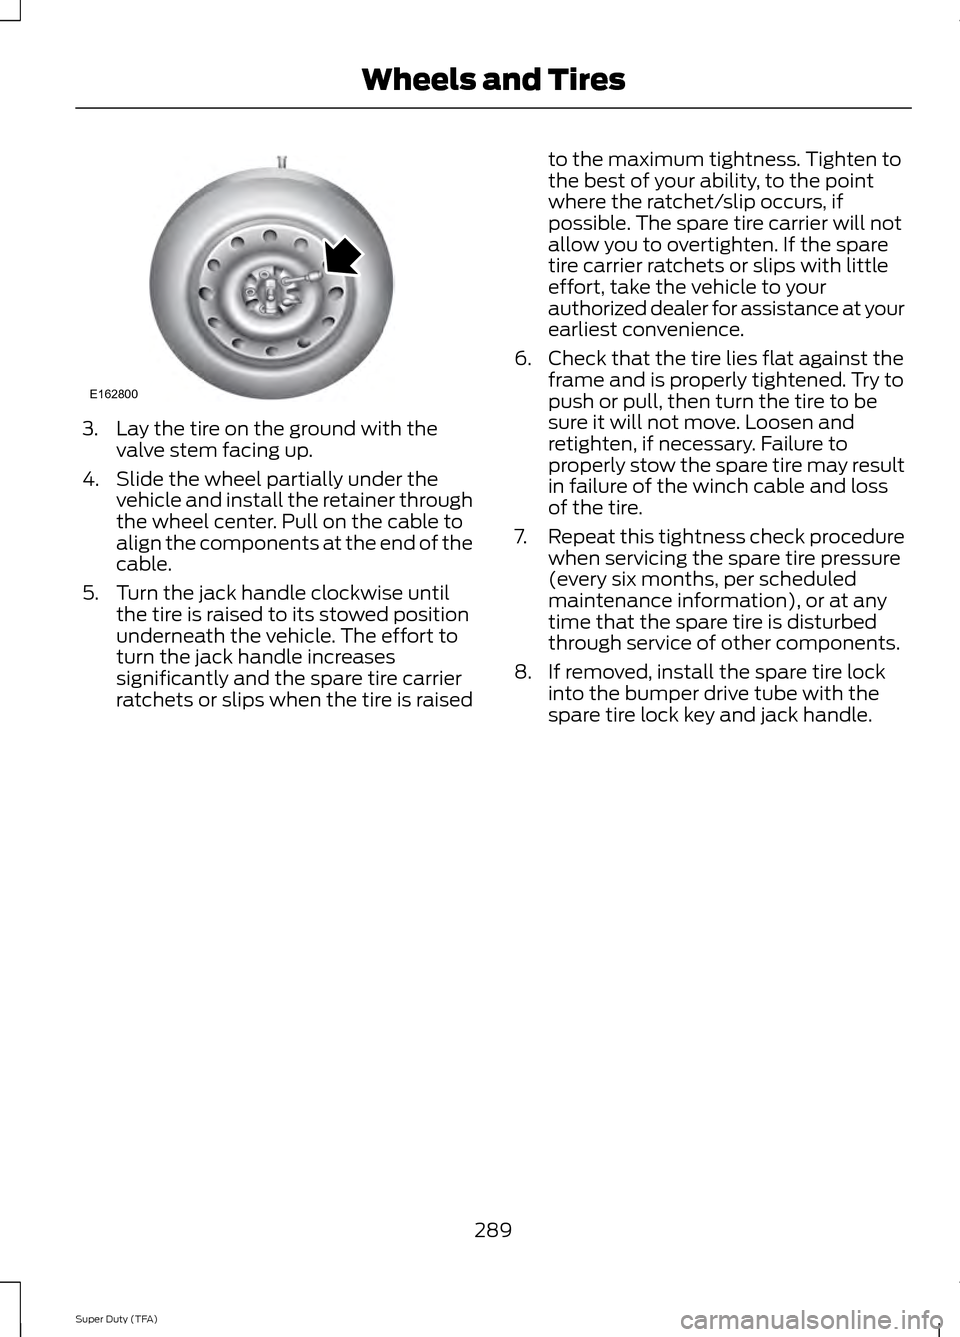
3. Lay the tire on the ground with the
valve stem facing up.
4. Slide the wheel partially under the vehicle and install the retainer through
the wheel center. Pull on the cable to
align the components at the end of the
cable.
5. Turn the jack handle clockwise until the tire is raised to its stowed position
underneath the vehicle. The effort to
turn the jack handle increases
significantly and the spare tire carrier
ratchets or slips when the tire is raised to the maximum tightness. Tighten to
the best of your ability, to the point
where the ratchet/slip occurs, if
possible. The spare tire carrier will not
allow you to overtighten. If the spare
tire carrier ratchets or slips with little
effort, take the vehicle to your
authorized dealer for assistance at your
earliest convenience.
6. Check that the tire lies flat against the frame and is properly tightened. Try to
push or pull, then turn the tire to be
sure it will not move. Loosen and
retighten, if necessary. Failure to
properly stow the spare tire may result
in failure of the winch cable and loss
of the tire.
7. Repeat this tightness check procedure
when servicing the spare tire pressure
(every six months, per scheduled
maintenance information), or at any
time that the spare tire is disturbed
through service of other components.
8. If removed, install the spare tire lock into the bumper drive tube with the
spare tire lock key and jack handle.
289
Super Duty (TFA) Wheels and TiresE162800
Page 305 of 458
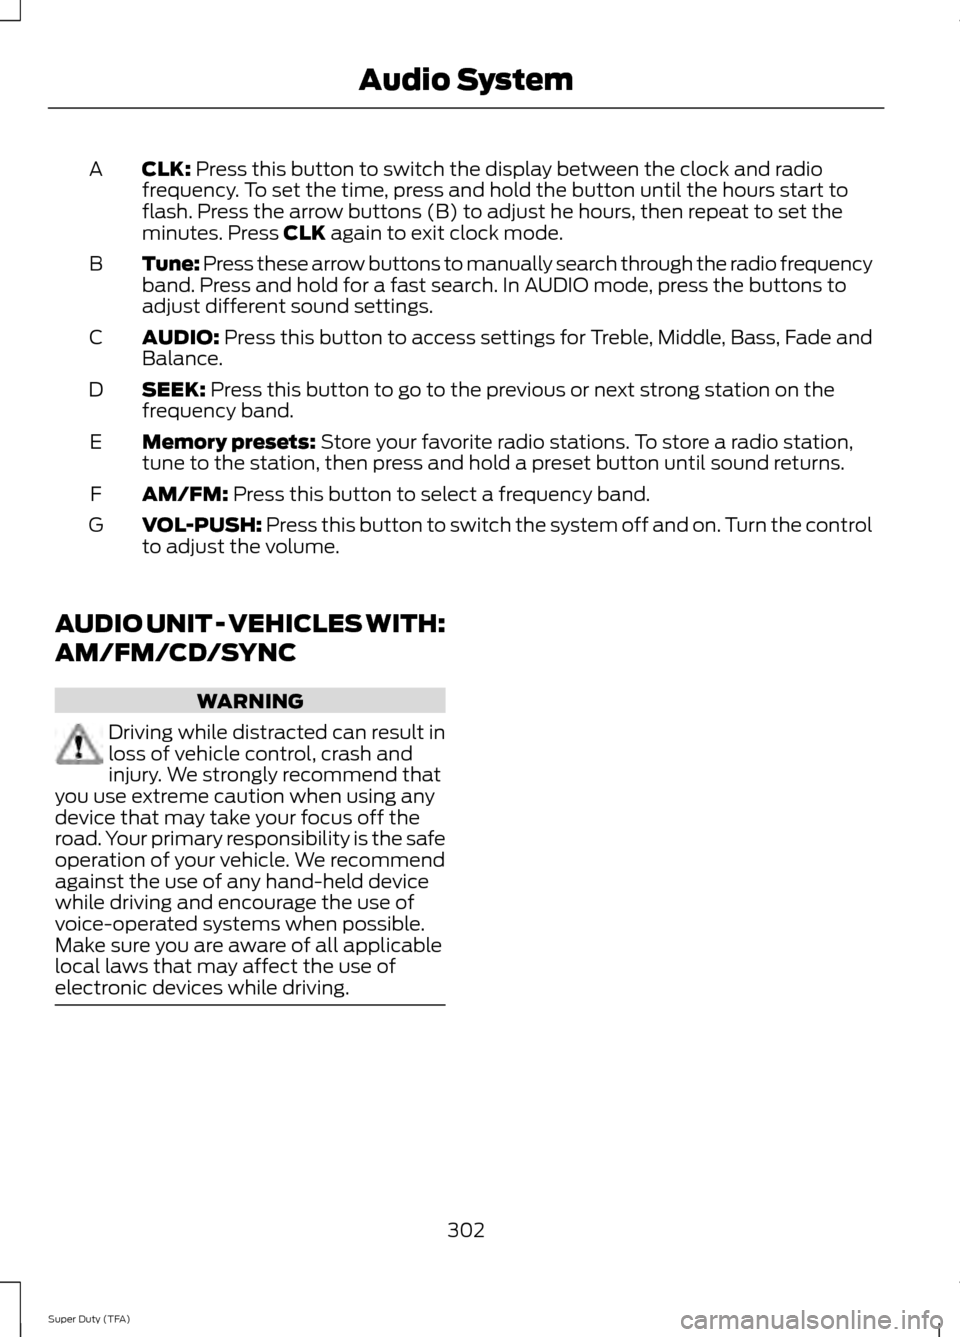
CLK: Press this button to switch the display between the clock and radio
frequency. To set the time, press and hold the button until the hours start to
flash. Press the arrow buttons (B) to adjust he hours, then repeat to set the
minutes. Press
CLK again to exit clock mode.
A
Tune: Press these arrow buttons to manually search through the radio frequency
band. Press and hold for a fast search. In AUDIO mode, press the buttons to
adjust different sound settings.
B
AUDIO:
Press this button to access settings for Treble, Middle, Bass, Fade and
Balance.
C
SEEK:
Press this button to go to the previous or next strong station on the
frequency band.
D
Memory presets:
Store your favorite radio stations. To store a radio station,
tune to the station, then press and hold a preset button until sound returns.
E
AM/FM:
Press this button to select a frequency band.
F
VOL-PUSH:
Press this button to switch the system off and on. Turn the control
to adjust the volume.
G
AUDIO UNIT - VEHICLES WITH:
AM/FM/CD/SYNC WARNING
Driving while distracted can result in
loss of vehicle control, crash and
injury. We strongly recommend that
you use extreme caution when using any
device that may take your focus off the
road. Your primary responsibility is the safe
operation of your vehicle. We recommend
against the use of any hand-held device
while driving and encourage the use of
voice-operated systems when possible.
Make sure you are aware of all applicable
local laws that may affect the use of
electronic devices while driving. 302
Super Duty (TFA) Audio System
Page 352 of 458
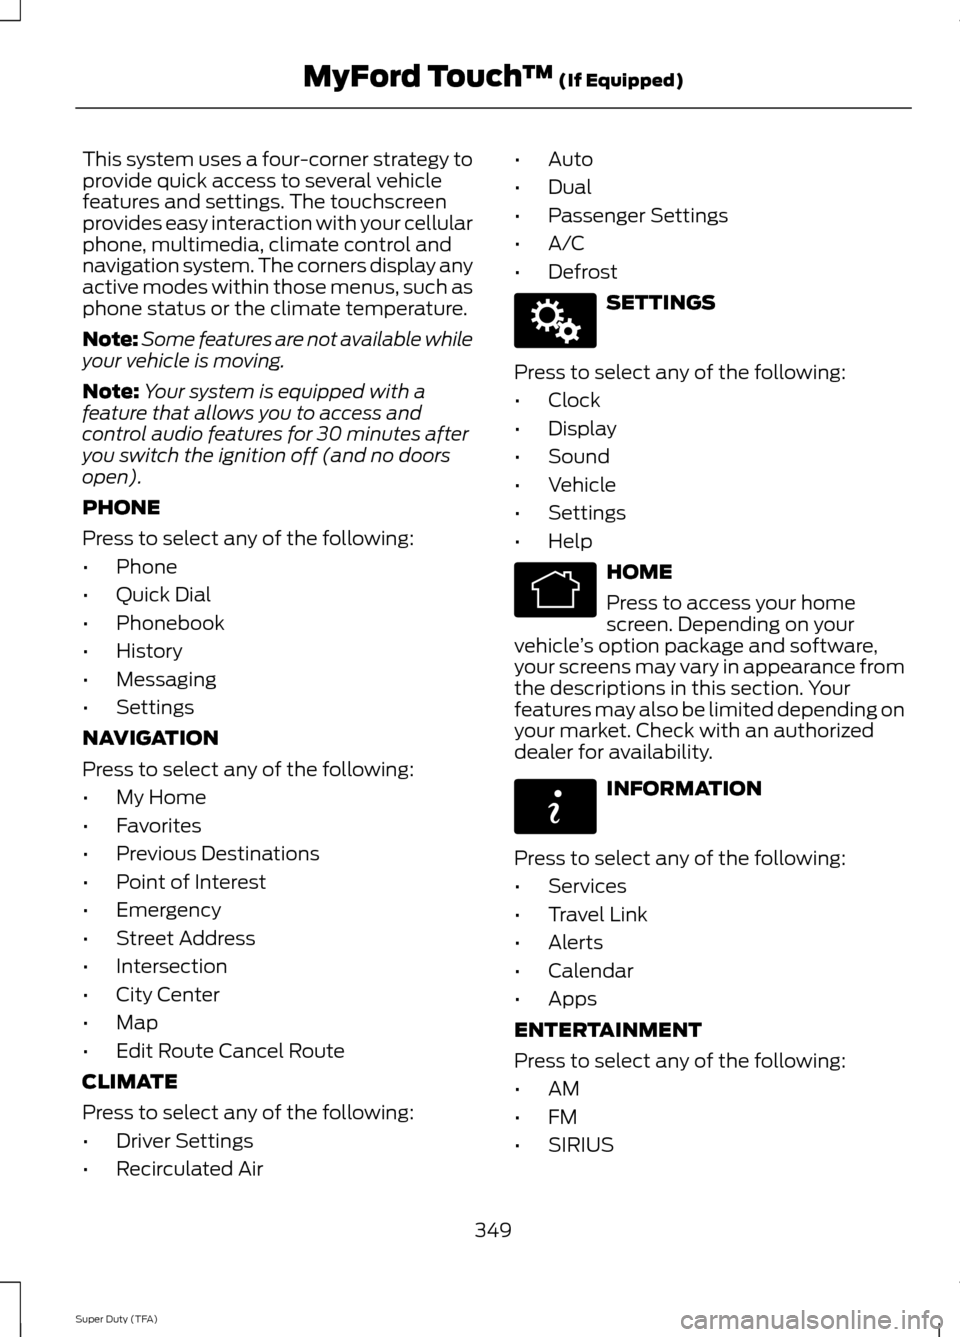
This system uses a four-corner strategy to
provide quick access to several vehicle
features and settings. The touchscreen
provides easy interaction with your cellular
phone, multimedia, climate control and
navigation system. The corners display any
active modes within those menus, such as
phone status or the climate temperature.
Note:
Some features are not available while
your vehicle is moving.
Note: Your system is equipped with a
feature that allows you to access and
control audio features for 30 minutes after
you switch the ignition off (and no doors
open).
PHONE
Press to select any of the following:
• Phone
• Quick Dial
• Phonebook
• History
• Messaging
• Settings
NAVIGATION
Press to select any of the following:
• My Home
• Favorites
• Previous Destinations
• Point of Interest
• Emergency
• Street Address
• Intersection
• City Center
• Map
• Edit Route Cancel Route
CLIMATE
Press to select any of the following:
• Driver Settings
• Recirculated Air •
Auto
• Dual
• Passenger Settings
• A/C
• Defrost SETTINGS
Press to select any of the following:
• Clock
• Display
• Sound
• Vehicle
• Settings
• Help HOME
Press to access your home
screen. Depending on your
vehicle ’s option package and software,
your screens may vary in appearance from
the descriptions in this section. Your
features may also be limited depending on
your market. Check with an authorized
dealer for availability. INFORMATION
Press to select any of the following:
• Services
• Travel Link
• Alerts
• Calendar
• Apps
ENTERTAINMENT
Press to select any of the following:
• AM
• FM
• SIRIUS
349
Super Duty (TFA) MyFord Touch
™ (If Equipped)E142607 E142613 E142608
Page 358 of 458
Voice settings using voice commands
"Interaction mode novice"
"Media candidate lists off" "Media candidate lists on"
"Phone candidate lists off" "Phone candidate lists on" "Help" Using Voice Commands with the
Touchscreen Options
Your voice system has a dual mode feature
which allows you to switch between using
voice commands and making on-screen
selections. This is available only when the
system displays a list of candidates
generated during a voice session. For
example, when entering in a street address
or trying to call a contact from the phone
you paired to the system.
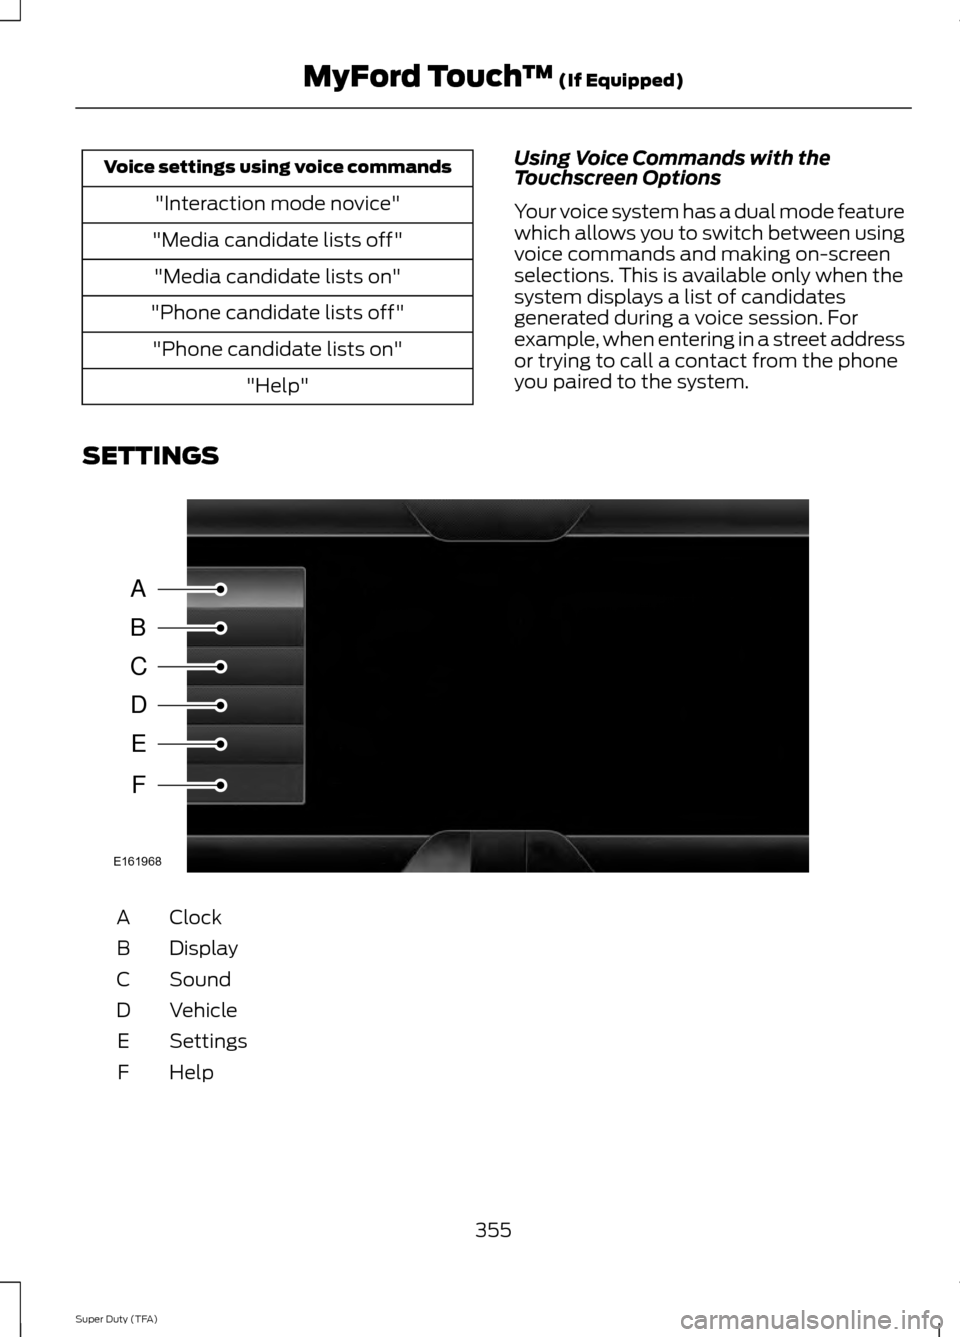
SETTINGS Clock
A
Display
B
Sound
C
Vehicle
D
Settings
E
HelpF
355
Super Duty (TFA) MyFord Touch
™ (If Equipped)A
B
C
D
E
F
E161968
Page 359 of 458
Under this menu, you can set
your clock, access and adjust the
display, sound and vehicle
settings as well as access settings for
specific modes or the help feature.
Clock
Note: You cannot manually set the date.
Your vehicle ’s GPS does this for you.
Note: If the battery has been disconnected,
your vehicle needs to acquire a GPS signal
to update the clock. Once your vehicle
acquires the signal, it may take a few
minutes for the update to display the correct
time. 1. Press the Settings icon > Clock.
2. Press
+ and - to adjust the time.
From this screen, you can also make other
adjustments such as 12-hour or 24-hour
mode, activate GPS time synchronization
and have the system automatically update
new time zones.
You can also turn the outside air
temperature display off and on. It appears
at the top center of the touchscreen, next
to the time and date.
The system automatically saves any
updates you make to the settings.
Display
You can adjust the touchscreen display
through the touchscreen or by pressing the
voice button on your steering wheel
controls and when prompted, say, "Display
settings". Press the Settings icon >
Display
, to access and make
adjustments using the
touchscreen. •
Brightness
allows you to make the
screen display brighter or dimmer.
• Auto DIM
, when set to On, lets you use
the Auto Dim Manual Offset feature.
• Mode
allows you to set the screen to
a certain brightness or have the system
automatically change based on the
outside light level, or turn the display
off.
• If you select
AUTO or NIGHT, you
have the options of turning the
display's Auto Dim feature on or off
and changing the Auto Dim Manual
Offset feature.
• Auto Dim Manual Offset
allows you
to adjust screen dimming as the
outside lighting conditions change from
day to night.
• Edit Wallpaper
•You can have your touchscreen
display the default photo or upload
your own.
Uploading Photos for Your Home
Screen Wallpaper
Note: You cannot load photos directly from
your camera. You must access the photos
either from your USB mass storage device
or from an SD card.
Note: Photographs with extremely large
dimensions (such as 2048 x 1536) may not
be compatible and appear as a blank
(black) image on the display.
Your system allows you to upload and view
up to 32 photos. To access, press the Settings
icon >
Display > Edit
Wallpaper, and then follow the
system prompts to upload your
photographs.
356
Super Duty (TFA) MyFord Touch
™
(If Equipped)E142607 E142607 E142607 E142607