2014 FORD FUSION (AMERICAS) warning light
[x] Cancel search: warning lightPage 188 of 458

A message displays if something obstructsthe radar signals from the sensor. Thesensor is located behind a fascia covernear the driver side of the lower grille. Thesystem cannot detect a vehicle ahead and
will not function when something obstructsthe radar signals. The following table listspossible causes and actions for thismessage displaying.
ActionCause
Clean the grille surface in front of the radaror remove the object causing the obstruc-tion.
The surface of the radar in the grille is dirtyor obstructed in some way.
Wait a short time. It may take severalminutes for the radar to detect that it is freefrom obstruction.
The surface of the radar in the grille is cleanbut the message remains in the display.
Do not use the system in these conditionsbecause it may not detect any vehiclesahead.
Heavy rain or snow is interfering with theradar signals.
Do not use the system in these conditionsbecause it may not detect any vehiclesahead.
Swirling water, or snow or ice on the surfaceof the road may interfere with the radarsignals.
Wait a short time or switch to normal cruisecontrol.You are in a desert or remote area with noother vehicles and no roadside objects.
Due to the nature of radar technology, it ispossible to get a blockage warning and notbe blocked. This can happen, for example,when driving in sparse rural or desertenvironments. A false blocked conditionwill either self clear or clear after a keycycle.
Switching to Normal CruiseControl
WARNING
Normal cruise control will not brakedue to slower vehicles. Always beaware of which mode you haveselected and apply the brakes whennecessary.
You can manually change from adaptivecruise control to normal cruise controlthrough the information display.
The cruise control indicator lightreplaces the adaptive cruisecontrol indicator light if youselect normal cruise control. The gapsetting will not display, the system will notautomatically respond to lead vehicles andautomatic braking will not activate. Thesystem defaults to adaptive cruise controlwhen you start the vehicle.
185Fusion (CC7) , enUSACruise ControlE71340
Page 190 of 458

The current assessment of your alertnessindicates that you should rest as soon assafely possible.
The status bar will travel from left to rightas the calculated alertness leveldecreases. As the rest icon is approachedthe color turns from green to yellow to red.
The yellow position indicates the firstwarning is active and the red positionindicates the second warning is active.
Note:If you have recently received awarning; you should consider resting, evenif the current assessment is within thetypical range.
Note:If the camera sensor cannot track theroad lane markings or if your vehicle speeddrops below approximately 40 mph (64km/h), the alertness level will change togrey for a short time and the informationdisplay will inform you that the system isunavailable.
Resetting the System
You can reset the system by either:
•Switching the ignition off and on.
•Stopping the vehicle and then openingand closing the driver’s door.
LANE KEEPING SYSTEM (IF
EQUIPPED)
WARNING
The system is designed to aid thedriver. It is not intended to replacethe driver’s attention and judgment.The driver is still responsible to drive withdue care and attention.
Note:The system works above 40 mph (64km/h).
Note:The system works as long as one lanemarking can be detected by the camera.
Note:If the camera is blocked or if thewindshield is damaged, the system may notfunction.
Note:When Aid mode is on and the systemdetects no driver steering activity for a shortcontinuous period of time, the system alertsthe driver to put their hands on the steeringwheel. The system may detect a lightgrip/touch on the steering wheel as handsoff driving.
The system detects unintentional driftingtoward the outside of the lane and alertsand/or aids the driver to stay in the lanethrough the steering system andinstrument cluster display. The systemautomatically detects and tracks the roadlane markings using a camera that ismounted behind the interior rear viewmirror.
Switching the System On and Off
Note:The system on or off setting is storeduntil it is manually changed, unless aMyKey® is detected. If a MyKey® isdetected, the system is defaulted to on andthe mode is set to Alert.
187Fusion (CC7) , enUSADriving AidsE131359
Page 196 of 458

Zone coverage also decreases whenparking at shallow angles. Here, the leftsensor is mostly obstructed; zone coverageon that side is severely limited.
System Lights and Messages
The Blind Spot Information and CrossTraffic Alert systems illuminate a yellowalert indicator in the outside mirror on theside of your vehicle the approachingvehicle is coming from.
Note:The alert indicator dims when thesystem detects nighttime darkness.
Cross Traffic Alert also sounds a series oftones and a message appears in theinformation display indicating a vehicle iscoming from the right or left. Cross TrafficAlert works with the reverse sensingsystem that sounds its own series of tones.See Parking Aid (page 170).
System Sensors
WARNING
Just prior to the system recognizinga blocked condition and alerting thedriver, the number of missed objectswill increase. To help avoid injuries, NEVERuse the Blind Spot Information System asa replacement for using the side and rearview mirrors and looking over your shoulderbefore changing lanes. The Blind SpotInformation System is not a replacementfor careful driving.
Note:It is possible to get a blockagewarning with no blockage present; this israre and known as a false blockage warning.A false blocked condition eitherself-corrects or clears after a key cycle.
193Fusion (CC7) , enUSADriving AidsE142441 E142442
Page 200 of 458

If it is, a red warning light illuminates andan audible warning chime sounds.
The brake support system assists the driverin reducing the collision speed by chargingthe brakes. If the risk of collision furtherincreases after the warning lightilluminates, the brake support preparesthe brake system for rapid braking. Thismay be apparent to the driver. The systemdoes not automatically activate the brakesbut, if the brake pedal is pressed, full forcebraking is applied even if the brake pedalis lightly pressed.
Using the Collision Warning System
WARNING
The collision warning system’s brakesupport can only help reduce thespeed at which a collision occurs ifthe driver applies the vehicle’s brakes. Thebrake pedal must be pressed just like anytypical braking situation.
The warning system sensitivity can beadjusted to one of three possible settingsby using the information display control.See General Information (page 87).
Note:If collision warnings are perceived asbeing too frequent or disturbing then thewarning sensitivity can be reduced, thoughthe manufacturer recommends using thehighest sensitivity setting where possible.Setting lower sensitivity would lead to fewerand later system warnings. See GeneralInformation (page 87).
Blocked Sensors
If a message regarding a blocked sensorappears in the information display, theradar signals from the sensor have beenobstructed. The sensors are located behinda fascia cover near the driver side of thelower grille. When the sensors areobstructed, a vehicle ahead cannot bedetected and the collision warning systemdoes not function. The following table listspossible causes and actions for thismessage being displayed.
197Fusion (CC7) , enUSADriving AidsE145632
Page 210 of 458

TOWING A TRAILER
WARNINGS
Do not exceed the GVWR orthe GAWR specified on thecertification label.
Towing trailers beyond themaximum recommendedgross trailer weight exceeds thelimit of your vehicle and couldresult in engine damage,transmission damage, structuraldamage, loss of vehicle control,vehicle rollover and personalinjury.
The electrical system on yourvehicle may have fuses or relaysrelated to the towing equipment.See Fuses (page 226).
The load capacity of your vehicleis designated by weight notvolume. You will not necessarilybe able to use all available spacewhen loading your vehicle ortrailer.
Towing a trailer places extra loadon the engine, transmission, axle,brakes, tires and suspension.Inspect these components before,during and after towing.
Load Placement
To help minimize how trailermovement affects your vehiclewhen driving:
•Load the heaviest items closestto the trailer floor.
•Load the heaviest itemscentered between the left andright side trailer tires.
•Load the heaviest items abovethe trailer axles or just slightlyforward toward the trailertongue. Do not allow the finaltrailer tongue weight to goabove 15% or below 10% of theloaded trailer weight.
•Select a tow bar with thecorrect rise or drop. When boththe loaded vehicle and trailerare connected, the trailer frameshould be level, or slightlyangled down toward yourvehicle, when viewed from theside.
Note:A slight vibration or shuddermay be present when you start todrive away due to increasedpayload weight.
Information on correct trailerloading and preparing your vehicleis available in the load carryingsection. See Load Limit (page199). Further information isavailable in the RV and TrailerTowing Guide. See an authorizeddealer.
207Fusion (CC7) , enUSATowing
Page 217 of 458

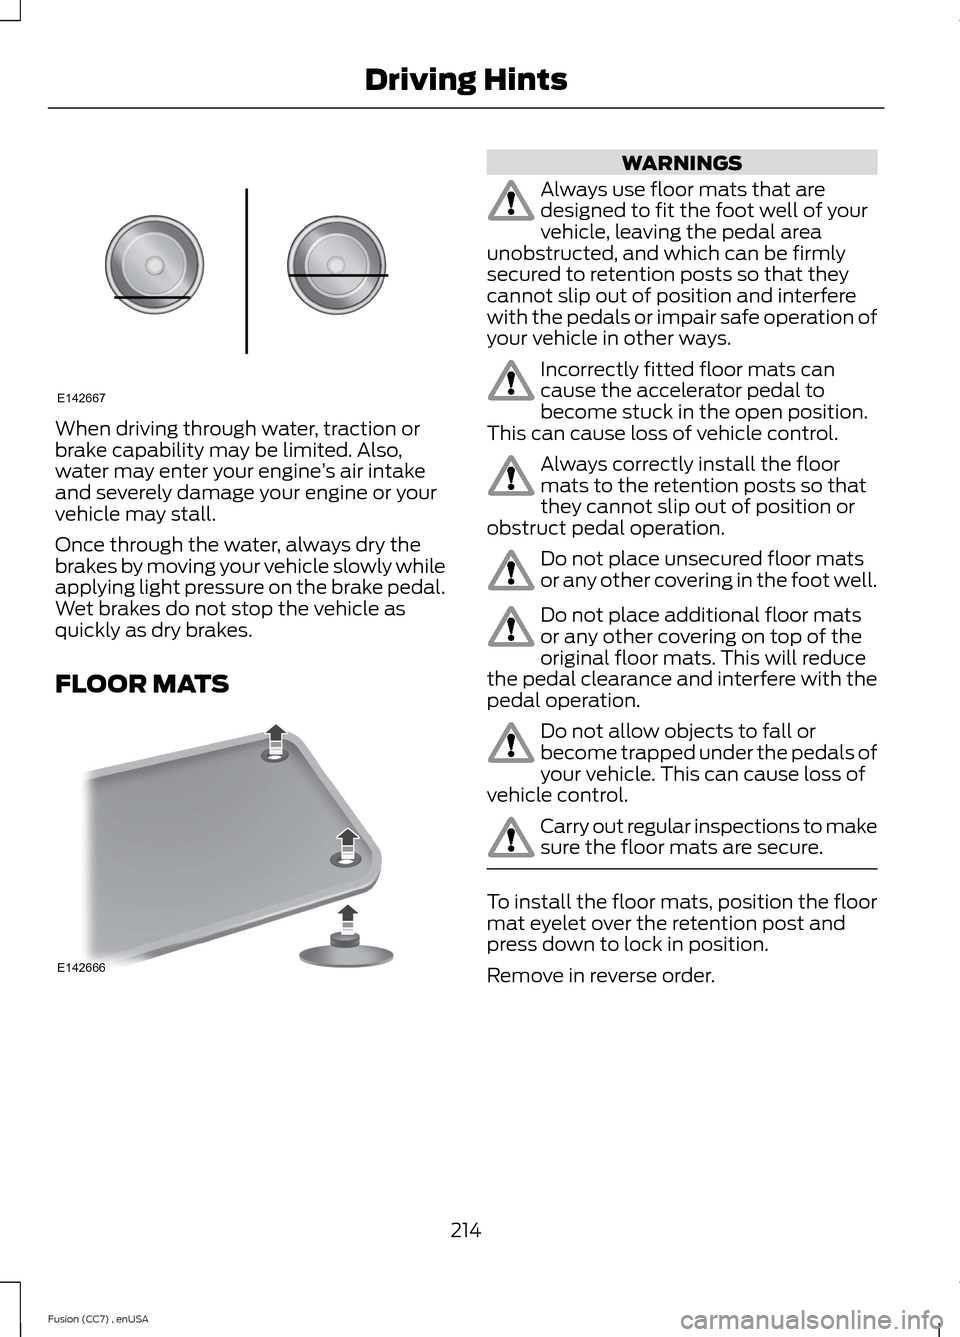
When driving through water, traction orbrake capability may be limited. Also,water may enter your engine’s air intakeand severely damage your engine or yourvehicle may stall.
Once through the water, always dry thebrakes by moving your vehicle slowly whileapplying light pressure on the brake pedal.Wet brakes do not stop the vehicle asquickly as dry brakes.
FLOOR MATS
WARNINGS
Always use floor mats that aredesigned to fit the foot well of yourvehicle, leaving the pedal areaunobstructed, and which can be firmlysecured to retention posts so that theycannot slip out of position and interferewith the pedals or impair safe operation ofyour vehicle in other ways.
Incorrectly fitted floor mats cancause the accelerator pedal tobecome stuck in the open position.This can cause loss of vehicle control.
Always correctly install the floormats to the retention posts so thatthey cannot slip out of position orobstruct pedal operation.
Do not place unsecured floor matsor any other covering in the foot well.
Do not place additional floor matsor any other covering on top of theoriginal floor mats. This will reducethe pedal clearance and interfere with thepedal operation.
Do not allow objects to fall orbecome trapped under the pedals ofyour vehicle. This can cause loss ofvehicle control.
Carry out regular inspections to makesure the floor mats are secure.
To install the floor mats, position the floormat eyelet over the retention post andpress down to lock in position.
Remove in reverse order.
214Fusion (CC7) , enUSADriving HintsE142667 E142666
Page 238 of 458

CHANGING A FUSE
Fuses
WARNING
Always replace a fuse with one thathas the specified amperage rating.Using a fuse with a higher amperagerating can cause severe wire damage andcould start a fire.
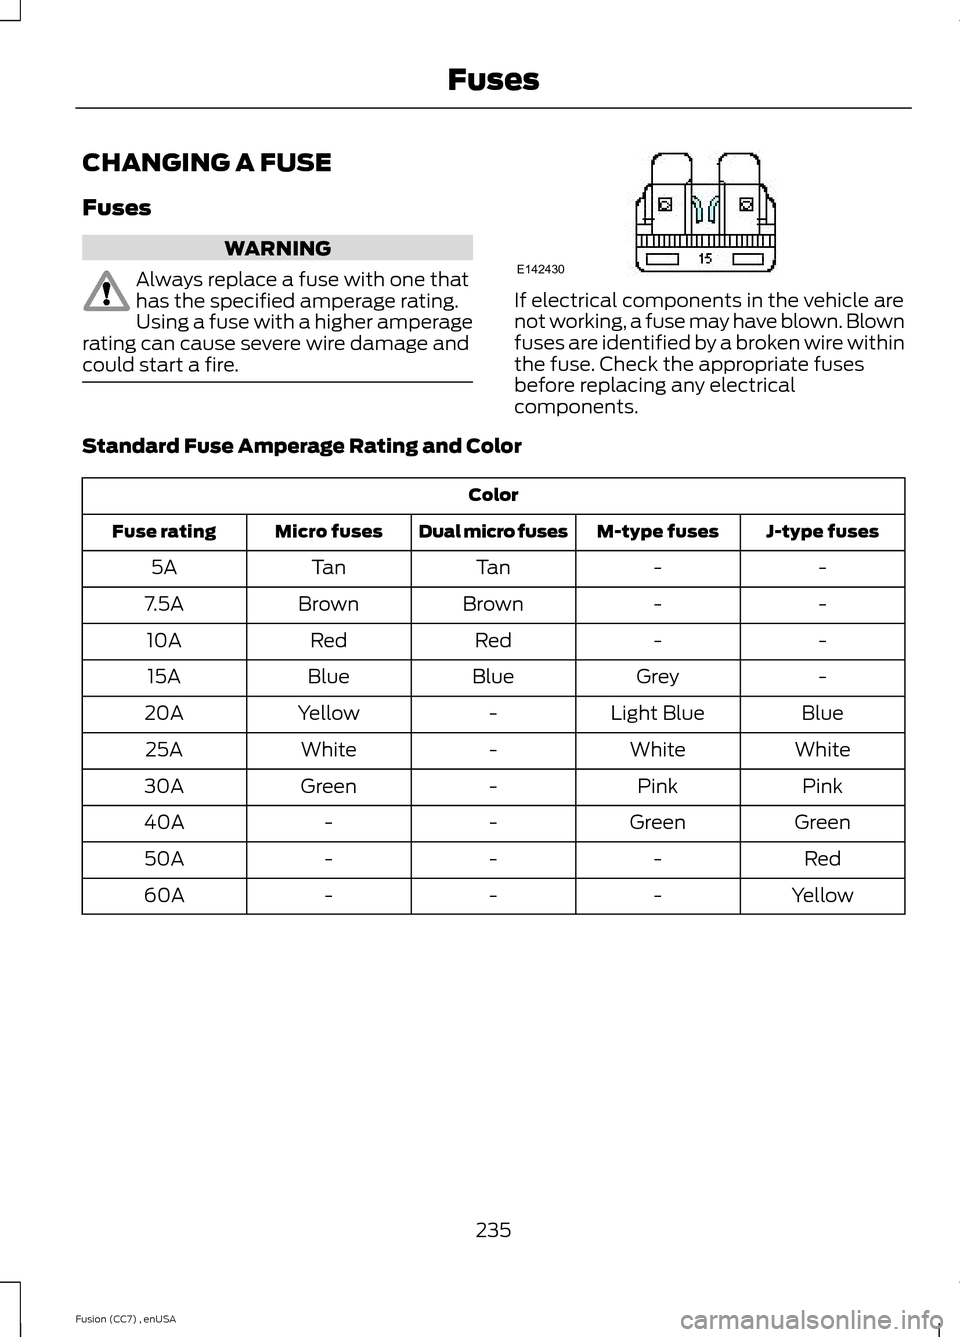
If electrical components in the vehicle arenot working, a fuse may have blown. Blownfuses are identified by a broken wire withinthe fuse. Check the appropriate fusesbefore replacing any electricalcomponents.
Standard Fuse Amperage Rating and Color
Color
J-type fusesM-type fusesDual micro fusesMicro fusesFuse rating
--TanTan5A
--BrownBrown7.5A
--RedRed10A
-GreyBlueBlue15A
BlueLight Blue-Yellow20A
WhiteWhite-White25A
PinkPink-Green30A
GreenGreen--40A
Red---50A
Yellow---60A
235Fusion (CC7) , enUSAFusesE142430
Page 245 of 458

1.Remove the filler cap.
2.Add engine oil that meets the Fordspecifications. See Capacities andSpecifications (page 287).
3.Replace the filler cap. Turn it until youfeel a strong resistance.
OIL CHANGE INDICATOR
RESET
To reset the oil monitoring system after anoil change, See General Information(page 87).
ENGINE COOLANT CHECK
Checking the Engine Coolant
When the engine is cold, check theconcentration and level of the enginecoolant at the intervals listed in thescheduled maintenance information. SeeScheduled Maintenance (page 428).
Note:Make sure that the level is betweenthe MIN and MAX marks on the coolantreservoir.
Note:Coolant expands when it is hot. Thelevel may extend beyond the MAX mark
Note:If the level is at the MIN mark, belowthe MIN mark, or empty, add coolantimmediately. See Adding Engine Coolantin this chapter.
The coolant concentration should bemaintained within 48% to 50%, whichequates to a freeze point between -29°F(-34°C) and -35°F (-37°C).
Note:For best results, coolantconcentration should be tested with arefractometer such as Rotunda tool300-ROB75240 available from anauthorized dealer. Ford does notrecommend the use of hydrometers orcoolant test strips for measuring coolantconcentrations.
Note:Automotive fluids are notinterchangeable. Do not use engine coolantor antifreeze or windshield washer fluidoutside of its specified function and vehiclelocation.
Adding Engine Coolant
WARNINGS
Do not add engine coolant when theengine is hot. Steam and scaldingliquids released from a hot coolingsystem can burn you badly. Also, you canbe burned if you spill coolant on hot engineparts.
Do not put engine coolant in thewindshield washer fluid container. Ifsprayed on the windshield, enginecoolant could make it difficult to seethrough the windshield.
To reduce the risk of personal injury,make sure the engine is cool beforeunscrewing the coolant pressurerelief cap. The cooling system is underpressure; steam and hot liquid can comeout forcefully when the cap is loosenedslightly.
Do not add coolant further than theMAX mark.
Note:Do not use stop leak pellets, coolingsystem sealants, or additives as they cancause damage to the engine cooling orheating systems. This damage would notbe covered under your vehicle’s warranty.
Note:During normal vehicle operation, theengine coolant may change color fromorange to pink or light red. As long as theengine coolant is clear and uncontaminated,this color change does not indicate theengine coolant has degraded nor does itrequire the engine coolant to be drained, thesystem to be flushed, or the engine coolantto be replaced.
242Fusion (CC7) , enUSAMaintenance