2014 FORD FUSION (AMERICAS) change time
[x] Cancel search: change timePage 132 of 458

HomeLink Wireless ControlSystem (If Equipped)
WARNING
Do not use the system with anygarage door opener that does nothave the safety stop and reversefeature as required by U.S. Federal SafetyStandards (this includes any garage dooropener manufactured before April 1, 1982).A garage door opener which cannot detectan object, signaling the door to stop andreverse, does not meet current federalsafety standards. Using a garage dooropener without these features increasesthe risk of serious injury or death.
Note:Make sure that the garage door andsecurity device are free from obstructionwhen you are programming. Do not programthe system with the vehicle in the garage.
Note:Make sure you keep the originalremote control transmitter for use in othervehicles as well as for future systemprogramming.
Note:We recommend that upon the saleor lease termination of your vehicle, youerase the programmed function buttons forsecurity reasons. See Erasing the functionbutton codes later in this section.
Note:You can program a maximum ofthree devices. To change or replace any ofthe three devices after it has been initiallyprogrammed, you must first erase thecurrent settings. See Erasing the functionbutton codes later in this section.
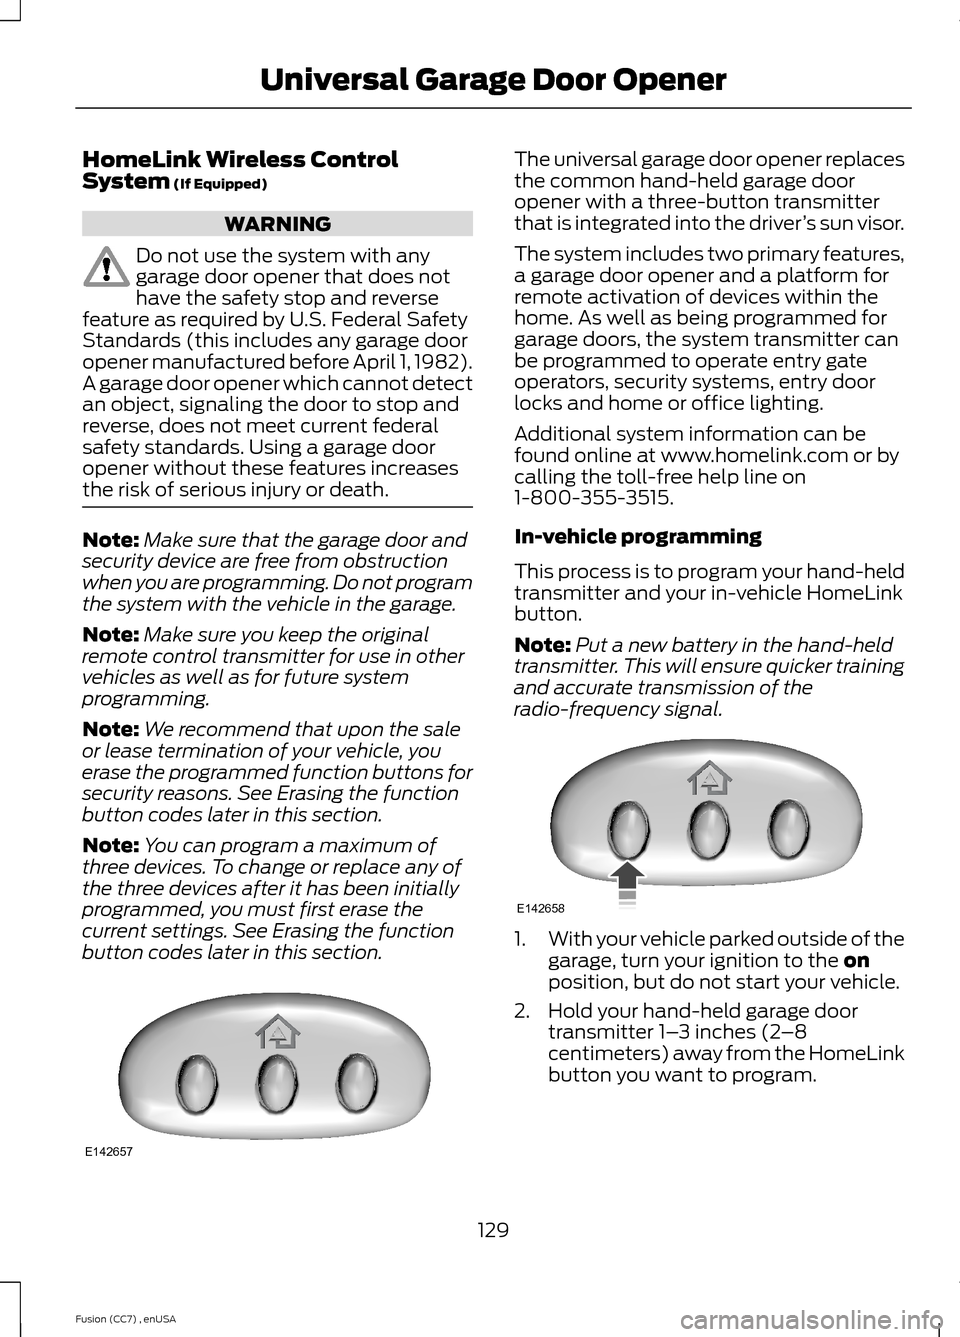
The universal garage door opener replacesthe common hand-held garage dooropener with a three-button transmitterthat is integrated into the driver’s sun visor.
The system includes two primary features,a garage door opener and a platform forremote activation of devices within thehome. As well as being programmed forgarage doors, the system transmitter canbe programmed to operate entry gateoperators, security systems, entry doorlocks and home or office lighting.
Additional system information can befound online at www.homelink.com or bycalling the toll-free help line on1-800-355-3515.
In-vehicle programming
This process is to program your hand-heldtransmitter and your in-vehicle HomeLinkbutton.
Note:Put a new battery in the hand-heldtransmitter. This will ensure quicker trainingand accurate transmission of theradio-frequency signal.
1.With your vehicle parked outside of thegarage, turn your ignition to the onposition, but do not start your vehicle.
2.Hold your hand-held garage doortransmitter 1–3 inches (2–8centimeters) away from the HomeLinkbutton you want to program.
129Fusion (CC7) , enUSAUniversal Garage Door OpenerE142657 E142658
Page 134 of 458

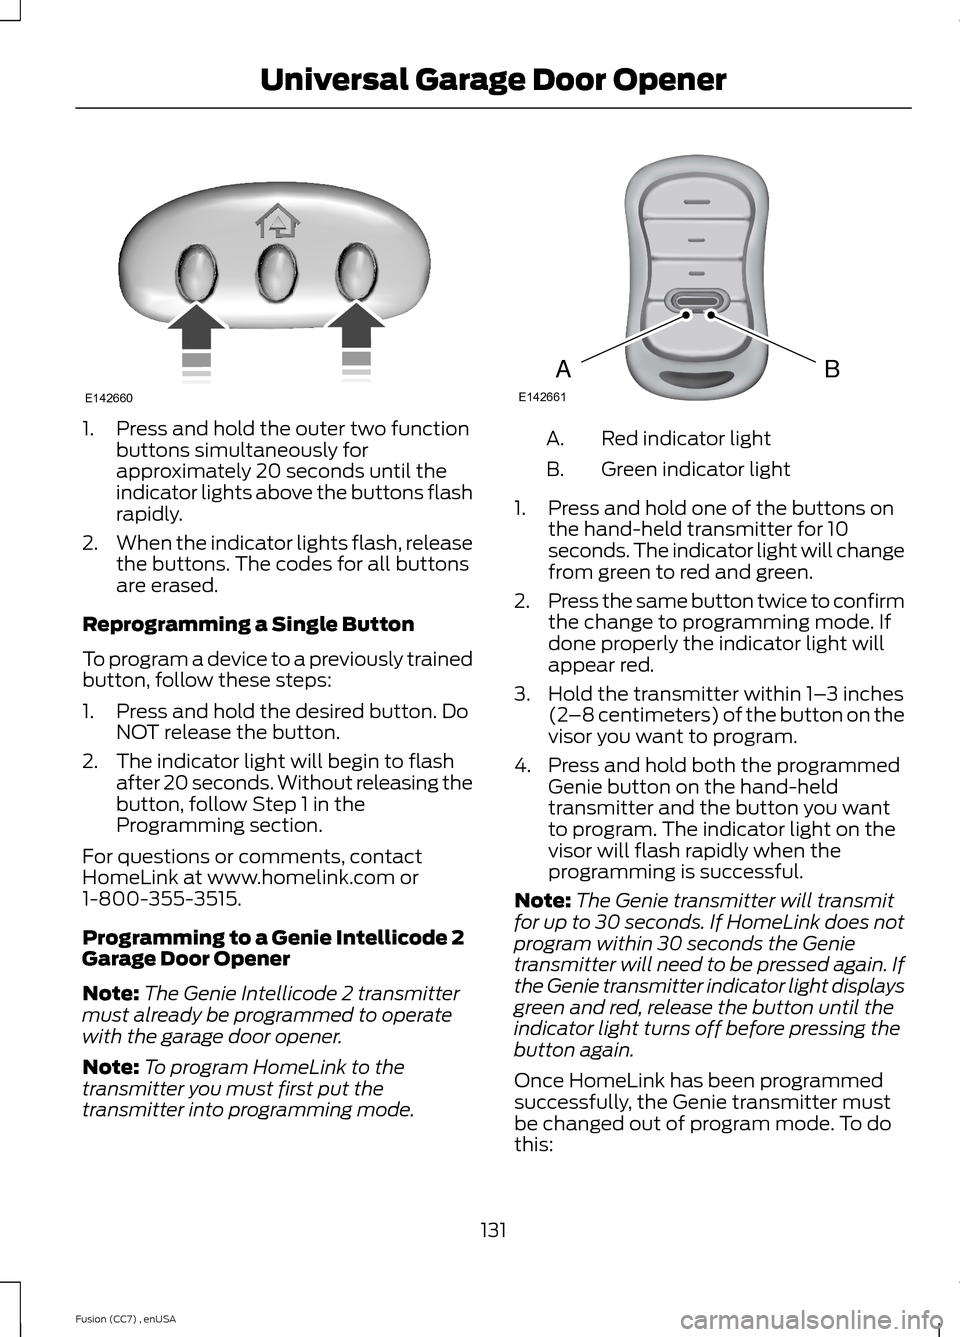
1.Press and hold the outer two functionbuttons simultaneously forapproximately 20 seconds until theindicator lights above the buttons flashrapidly.
2.When the indicator lights flash, releasethe buttons. The codes for all buttonsare erased.
Reprogramming a Single Button
To program a device to a previously trainedbutton, follow these steps:
1.Press and hold the desired button. DoNOT release the button.
2.The indicator light will begin to flashafter 20 seconds. Without releasing thebutton, follow Step 1 in theProgramming section.
For questions or comments, contactHomeLink at www.homelink.com or1-800-355-3515.
Programming to a Genie Intellicode 2Garage Door Opener
Note:The Genie Intellicode 2 transmittermust already be programmed to operatewith the garage door opener.
Note:To program HomeLink to thetransmitter you must first put thetransmitter into programming mode.
Red indicator lightA.
Green indicator lightB.
1.Press and hold one of the buttons onthe hand-held transmitter for 10seconds. The indicator light will changefrom green to red and green.
2.Press the same button twice to confirmthe change to programming mode. Ifdone properly the indicator light willappear red.
3.Hold the transmitter within 1–3 inches(2–8 centimeters) of the button on thevisor you want to program.
4.Press and hold both the programmedGenie button on the hand-heldtransmitter and the button you wantto program. The indicator light on thevisor will flash rapidly when theprogramming is successful.
Note:The Genie transmitter will transmitfor up to 30 seconds. If HomeLink does notprogram within 30 seconds the Genietransmitter will need to be pressed again. Ifthe Genie transmitter indicator light displaysgreen and red, release the button until theindicator light turns off before pressing thebutton again.
Once HomeLink has been programmedsuccessfully, the Genie transmitter mustbe changed out of program mode. To dothis:
131Fusion (CC7) , enUSAUniversal Garage Door OpenerE142660 BAE142661
Page 135 of 458

1.Press and hold the previouslyprogrammed Genie button on thehand-held transmitter for 10 seconds.The indicator light will change from redto red and green.
2.Press the same button twice to confirmthe change. If done correctly theindicator light will turn green.
Programming HomeLink to the GenieIntellicode Garage Door Opener Motor
Note:You may need a ladder to access thegarage door opener motor.
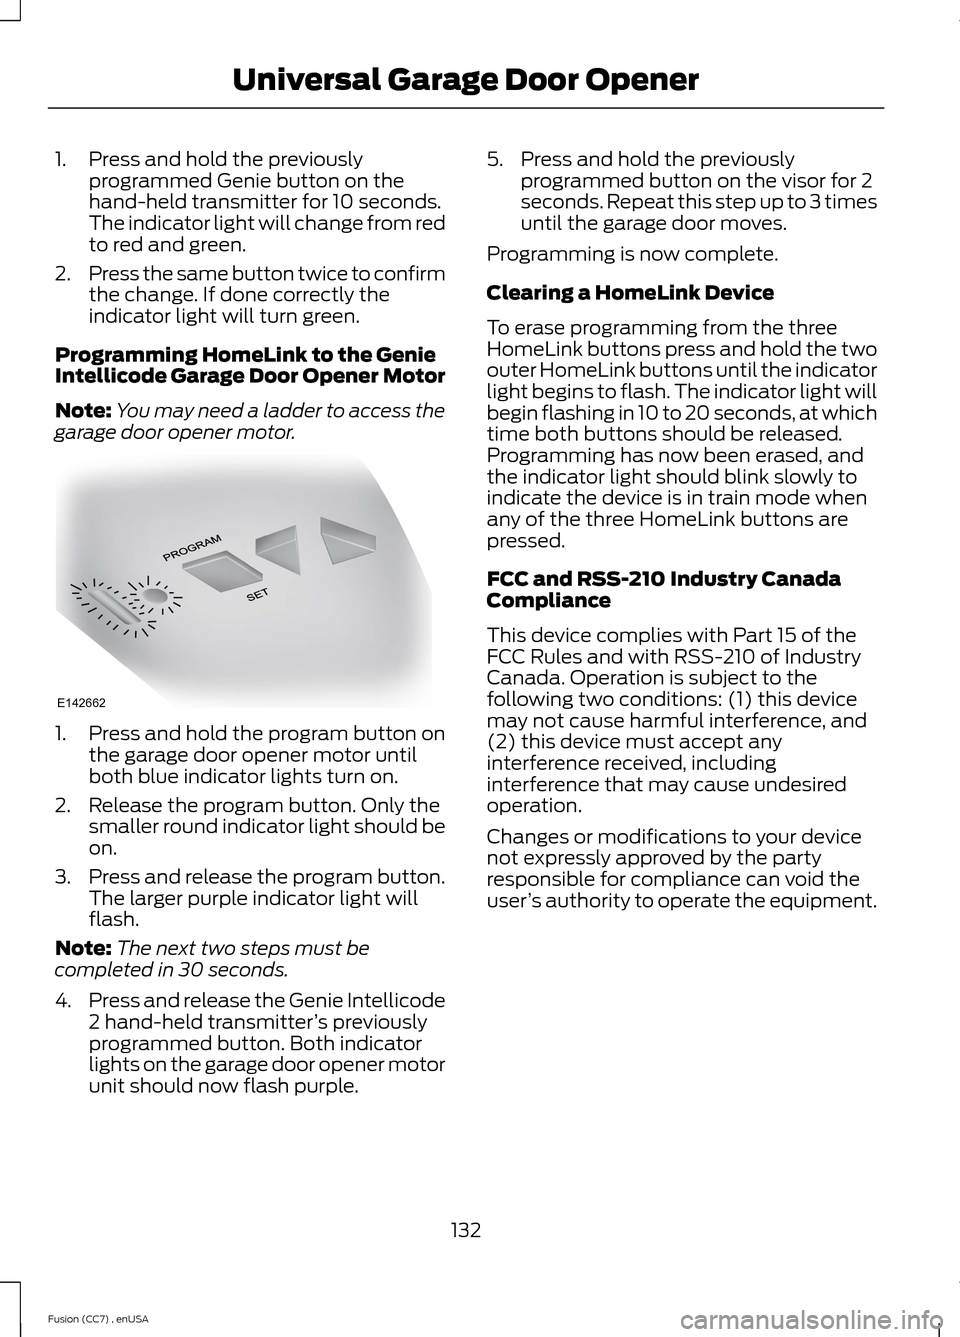
1.Press and hold the program button onthe garage door opener motor untilboth blue indicator lights turn on.
2.Release the program button. Only thesmaller round indicator light should beon.
3.Press and release the program button.The larger purple indicator light willflash.
Note:The next two steps must becompleted in 30 seconds.
4.Press and release the Genie Intellicode2 hand-held transmitter’s previouslyprogrammed button. Both indicatorlights on the garage door opener motorunit should now flash purple.
5.Press and hold the previouslyprogrammed button on the visor for 2seconds. Repeat this step up to 3 timesuntil the garage door moves.
Programming is now complete.
Clearing a HomeLink Device
To erase programming from the threeHomeLink buttons press and hold the twoouter HomeLink buttons until the indicatorlight begins to flash. The indicator light willbegin flashing in 10 to 20 seconds, at whichtime both buttons should be released.Programming has now been erased, andthe indicator light should blink slowly toindicate the device is in train mode whenany of the three HomeLink buttons arepressed.
FCC and RSS-210 Industry CanadaCompliance
This device complies with Part 15 of theFCC Rules and with RSS-210 of IndustryCanada. Operation is subject to thefollowing two conditions: (1) this devicemay not cause harmful interference, and(2) this device must accept anyinterference received, includinginterference that may cause undesiredoperation.
Changes or modifications to your devicenot expressly approved by the partyresponsible for compliance can void theuser’s authority to operate the equipment.
132Fusion (CC7) , enUSAUniversal Garage Door OpenerE142662
Page 146 of 458

•Your foot is removed from the brakepedal.
•You press the accelerator pedal.
•You press the accelerator and thebrake pedal at the same time.
•The driver seat belt becomesunfastened or the driver door is ajar.
•The transmission is moved from drive(D).
•Your vehicle is moving.
•The interior compartment does notmeet customer comfort when airconditioning or heat is on.
•Fogging of the windows could occurand the air conditioning is on.
•The battery is not within optimaloperating conditions.
•The maximum engine off time isexceeded.
•When you press the Auto StartStopbutton while the engine is stoppedautomatically.
•Either the front or rear defroster isturned on.
Any of the following conditions may resultin an automatic restart of the engine:
•The blower fan speed is increased orthe climate control temperature ischanged.
•An electrical accessory is turned on orplugged in.
Disabling Auto StartStop
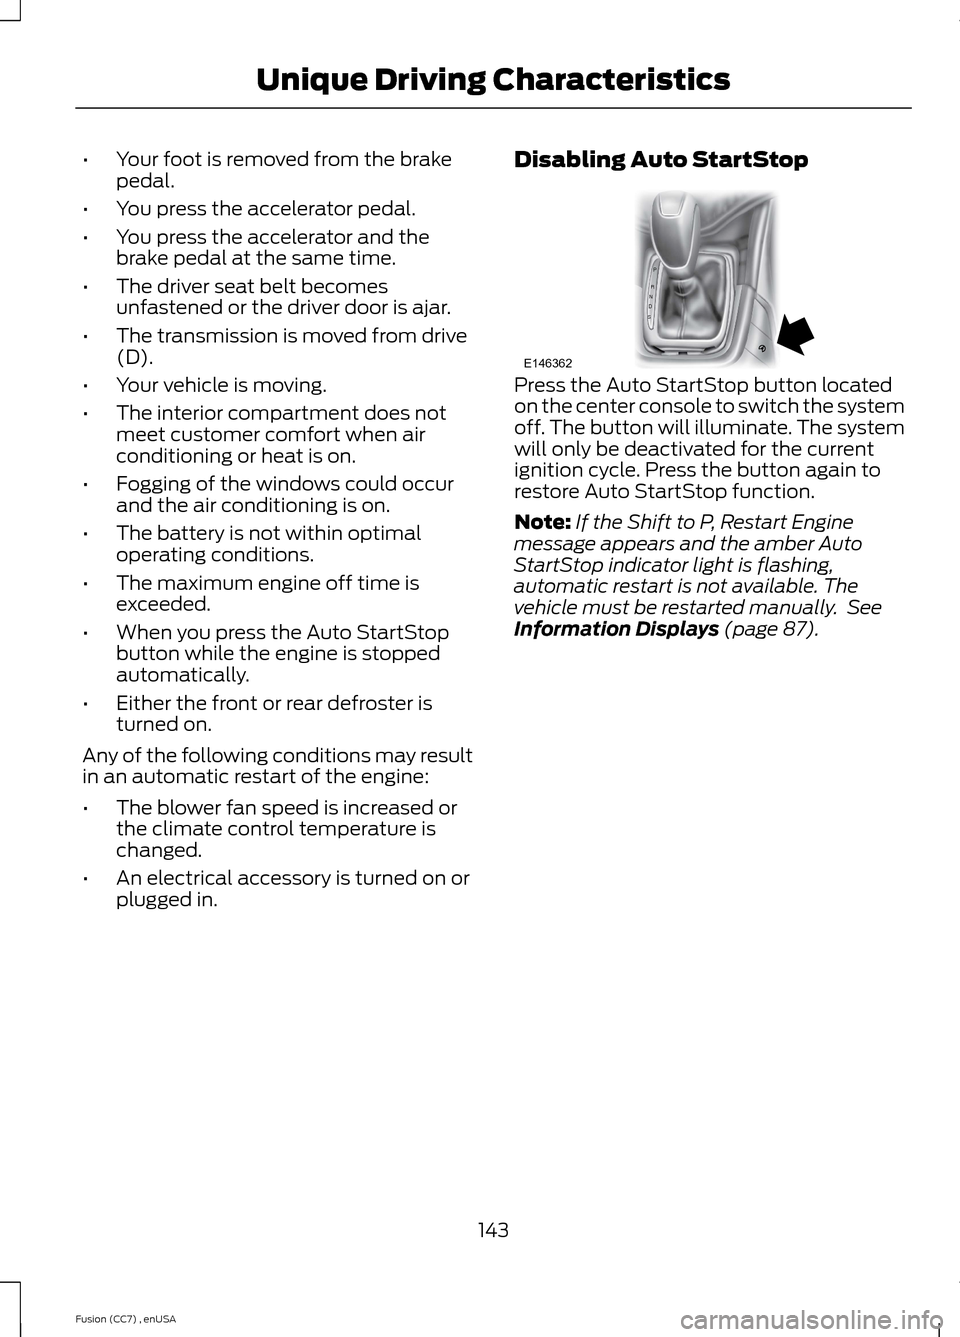
Press the Auto StartStop button locatedon the center console to switch the systemoff. The button will illuminate. The systemwill only be deactivated for the currentignition cycle. Press the button again torestore Auto StartStop function.
Note:If the Shift to P, Restart Enginemessage appears and the amber AutoStartStop indicator light is flashing,automatic restart is not available. Thevehicle must be restarted manually. SeeInformation Displays (page 87).
143Fusion (CC7) , enUSAUnique Driving CharacteristicsPRNDSE146362
Page 154 of 458

An improperly operating or damagedexhaust system may allow exhaust toenter the vehicle. Have a damaged orimproperly operating exhaust systeminspected and repaired immediately.
Do not make any unauthorized changes toyour vehicle or engine. By law, vehicleowners and anyone who manufactures,repairs, services, sells, leases, tradesvehicles, or supervises a fleet of vehiclesare not permitted to intentionally removean emission control device or prevent itfrom working. Information about yourvehicle’s emission system is on the VehicleEmission Control Information Decallocated on or near the engine. This decalalso lists engine displacement
Please consult your warranty informationfor complete details.
On-Board Diagnostics (OBD-II)
Your vehicle is equipped with an on-boarddiagnostics system (OBD-II) that monitorsthe engine’s emission control system. Thissystem protects the environment byensuring that your vehicle continues tomeet government emission standards. TheOBD-II system also assists your authorizeddealer in properly servicing your vehicle.
When the service engine soonindicator illuminates, the OBD-IIsystem has detected amalfunction. Temporary malfunctions maycause the service engine soon indicator toilluminate.
Examples of temporary malfunctions are:
•the vehicle has run out of fuel—theengine may misfire or run poorly
•poor fuel quality or water in thefuel—the engine may misfire or runpoorly
•the fuel fill inlet may not have beenproperly closed See Refueling (page147).
•driving through deep water—theelectrical system may be wet.
You can correct these temporarymalfunctions by filling the fuel tank withgood quality fuel, properly closing the fuelfill inlet or letting the electrical system dryout. After three driving cycles without theseor any other temporary malfunctionspresent, the service engine soon indicatorshould stay off the next time you start theengine. A driving cycle consists of a coldengine startup followed by mixedcity/highway driving. No additional vehicleservice is required.
If the service engine soon indicator remainson, have your vehicle serviced at the firstavailable opportunity. Although somemalfunctions detected by the OBD-II maynot have symptoms that are apparent,continued driving with the service enginesoon indicator on can result in increasedemissions, lower fuel economy, reducedengine and transmission smoothness, andlead to more costly repairs.
Readiness forInspection/Maintenance (I/M)Testing
Some state/provincial and localgovernments may haveInspection/Maintenance (I/M) programsto inspect the emission control equipmenton your vehicle. Failure to pass thisinspection could prevent you from gettinga vehicle registration.
If the service engine soonindicator is on or the bulb doesnot work, you may need to havethe vehicle serviced. See On-BoardDiagnostics (OBD-II).
151Fusion (CC7) , enUSAFuel and Refueling
Page 178 of 458
![FORD FUSION (AMERICAS) 2014 2.G Owners Manual The system does not position the vehicle where I want in the space
Your vehicle is rolling in the opposite direction of the transmission (rolling forward whenReverse [R] is selected)
An irregular curb FORD FUSION (AMERICAS) 2014 2.G Owners Manual The system does not position the vehicle where I want in the space
Your vehicle is rolling in the opposite direction of the transmission (rolling forward whenReverse [R] is selected)
An irregular curb](/manual-img/11/5191/w960_5191-177.png)
The system does not position the vehicle where I want in the space
Your vehicle is rolling in the opposite direction of the transmission (rolling forward whenReverse [R] is selected)
An irregular curb along the parking space prevents the system from aligning your vehicleproperly
Vehicles or objects bordering the space may not be positioned correctly
You pulled your vehicle too far past the parking space. The system performs best whenyou drive the same distance past the parking space
The tires may not be installed or maintained correctly (not inflated correctly, impropersize, or of different sizes)
A repair or alteration has changed detection capabilities
A parked vehicle has a high attachment (salt sprayer, snowplow, moving truck bed,etc.)
The parking space length or position of parked objects changed after your vehicle passed
The temperature around your vehicle changes quickly (driving from a heated garageinto the cold, or after leaving a car wash)
REAR VIEW CAMERA (IF EQUIPPED)
WARNINGS
The rear view camera system is areverse aid supplement device thatstill requires the driver to use it inconjunction with the interior and exteriormirrors for maximum coverage.
Objects that are close to eithercorner of the bumper or under thebumper, might not be seen on thescreen due to the limited coverage of thecamera system.
Back up as slow as possible sincehigher speeds might limit yourreaction time to stop the vehicle.
WARNINGS
Use caution when using the rearvideo camera and the trunk is ajar. Ifthe trunk is ajar, the camera will beout of position and the video image maybe incorrect. All guidelines (if enabled)have been removed when the trunk is ajar.
Use caution when turning camerafeatures on or off while in R(Reverse). Make sure the vehicle isnot moving.
The rear view camera system provides avideo image of the area behind the vehicle.The image will be displayed in either in therear view mirror or the display in the centerof the instrument panel.
During operation, lines appear in thedisplay which represent your vehicle’s pathand proximity to objects behind the vehicle.
175Fusion (CC7) , enUSAParking Aids
Page 186 of 458

When you override the system,the green indicator lightilluminates and the lead vehiclegraphic does not show in theinformation display.
The system will resume operation whenyou release the accelerator pedal. Thevehicle speed will decrease to the setspeed, or a lower speed if following aslower vehicle.
Changing the Set Speed
•Accelerate or brake to the desiredspeed, then press and release SET+.
•Press and hold SET+ or SET- until thedesired set speed shows on theinformation display. The vehicle speedwill gradually change to the selectedspeed.
•Press and release SET+ or SET-. Theset speed will change in approximately1 mph (2 km/h) increments.
The system may apply the brakes to slowthe vehicle to the new set speed. The setspeed will display continuously in theinformation display while the system isactive.
Resuming the Set Speed
Note:Only use resume if you are aware ofthe set speed and intend to return to it.
Press and release RES. The vehicle willreturn to the previously set speed. The setspeed will display continuously in theinformation display while the system isactive.
Low Speed AutomaticCancellation
The system is not functional at vehiclespeeds below 12 mph (20 km/h). Anaudible alarm will sound and theautomatic braking releases if the vehicledrops below this speed.
Hilly Condition Usage
Note:An audible alarm will sound and thesystem will shut down if it is applying brakesfor an extended period of time. This allowsthe brakes to cool down. The system willfunction normally again when the brakeshave cooled down.
You should select a lower gear positionwhen the system is active in situationssuch as prolonged downhill driving onsteep grades, for example in mountainousareas. The system needs additional enginebraking in these situations to reduce theload on the vehicle’s regular brake systemto prevent them from overheating.
Switching the System Off
Note:The set speed memory erases whenyou switch off the system.
Press and release OFF or turn off theignition.
Detection Issues
The radar sensor has a limited field ofvision. It may not detect vehicles at all ordetect a vehicle later than expected insome situations. The lead vehicle graphicwill not illuminate if the system does notdetect a vehicle in front of you.
183Fusion (CC7) , enUSACruise ControlE144529
Page 188 of 458

A message displays if something obstructsthe radar signals from the sensor. Thesensor is located behind a fascia covernear the driver side of the lower grille. Thesystem cannot detect a vehicle ahead and
will not function when something obstructsthe radar signals. The following table listspossible causes and actions for thismessage displaying.
ActionCause
Clean the grille surface in front of the radaror remove the object causing the obstruc-tion.
The surface of the radar in the grille is dirtyor obstructed in some way.
Wait a short time. It may take severalminutes for the radar to detect that it is freefrom obstruction.
The surface of the radar in the grille is cleanbut the message remains in the display.
Do not use the system in these conditionsbecause it may not detect any vehiclesahead.
Heavy rain or snow is interfering with theradar signals.
Do not use the system in these conditionsbecause it may not detect any vehiclesahead.
Swirling water, or snow or ice on the surfaceof the road may interfere with the radarsignals.
Wait a short time or switch to normal cruisecontrol.You are in a desert or remote area with noother vehicles and no roadside objects.
Due to the nature of radar technology, it ispossible to get a blockage warning and notbe blocked. This can happen, for example,when driving in sparse rural or desertenvironments. A false blocked conditionwill either self clear or clear after a keycycle.
Switching to Normal CruiseControl
WARNING
Normal cruise control will not brakedue to slower vehicles. Always beaware of which mode you haveselected and apply the brakes whennecessary.
You can manually change from adaptivecruise control to normal cruise controlthrough the information display.
The cruise control indicator lightreplaces the adaptive cruisecontrol indicator light if youselect normal cruise control. The gapsetting will not display, the system will notautomatically respond to lead vehicles andautomatic braking will not activate. Thesystem defaults to adaptive cruise controlwhen you start the vehicle.
185Fusion (CC7) , enUSACruise ControlE71340