2014 FORD F150 center
[x] Cancel search: centerPage 7 of 41

•Longer, cast aluminum lower controlarms
•Longer, forged steel upper control arms
•Front coil springs and rear leaf springs
•Fox Racing 1.8 inch piston internalbypass front shocks
•Fox Racing 1.8 inch, internal bypass,remote reservoir rear shocks
•Micro-cellular urethane jouncebumpers (front and rear)
•Raptor navigation welcome screen
•Full-size all-terrain spare tire
•Off-road specific calibrations forengine, transmission and AdvanceTracsystem
•Standard 17 inch Cast AluminumWheels
•Optional 17 inch forged aluminumbeadlock compatible wheels
•LT 315/70-17 BF Goodrich all-terraintires
Note:Your F-150 SVT Raptor is equippedwith unique front and rear high-performanceFox shock absorbers designed for severeoff-road use. Due to the hydraulic motionof the shock fluid in the unique internalbypass system, you can expect some noiseduring on-road driving, including boom,chirp, or clunk noises. This is a normalcharacteristic of the shock absorbers andyou should not attempt repair.
F-150 SVT Raptor-Specific Interior Features
•Instrument panel cluster graphics
•High line LCD cluster with unique SVToff-road screen
•Steering wheel - unique wrap withon-center marker, thumb pads andimproved grip contour
•Door trim inserts and center stack trim
•Off-road style floor mats with SVT logo
5F150 (TF6)At a GlanceE167332
Page 10 of 41
PRINCIPLE OF OPERATION
WARNINGS
Hill descent control cannot controldescent in all surface conditions andcircumstances, such as ice orextremely steep grades. Hill descentcontrol is a driver assist system and cannotsubstitute for good judgment by the driver.Failure to do so may result in loss of vehiclecontrol, crash or serious injury.
Hill descent control does not providehill hold at zero miles per hour (0kilometers per hour). When stopped,the parking brake must be applied or thevehicle must be placed in P (Park) or itmay roll away.
Hill descent control allows the driver to setand maintain vehicle speed whiledescending steep grades in various surfaceconditions.
Hill descent control can maintain vehiclespeeds on downhill grades between 2 mph(3 km/h) and 12 mph (20 km/h). Above 20mph (32 km/h), the system remainsarmed, but descent speed cannot be setor maintained.
Hill descent control requires a coolingdown interval after a period of sustaineduse. The amount of time that the featurecan remain active before cooling varieswith conditions. The system will provide awarning in the message center and a chimewill sound when the system is about todisengage for cooling. At this time,manually apply the brakes as needed tomaintain descent speed.
USING HILL DESCENT
CONTROL
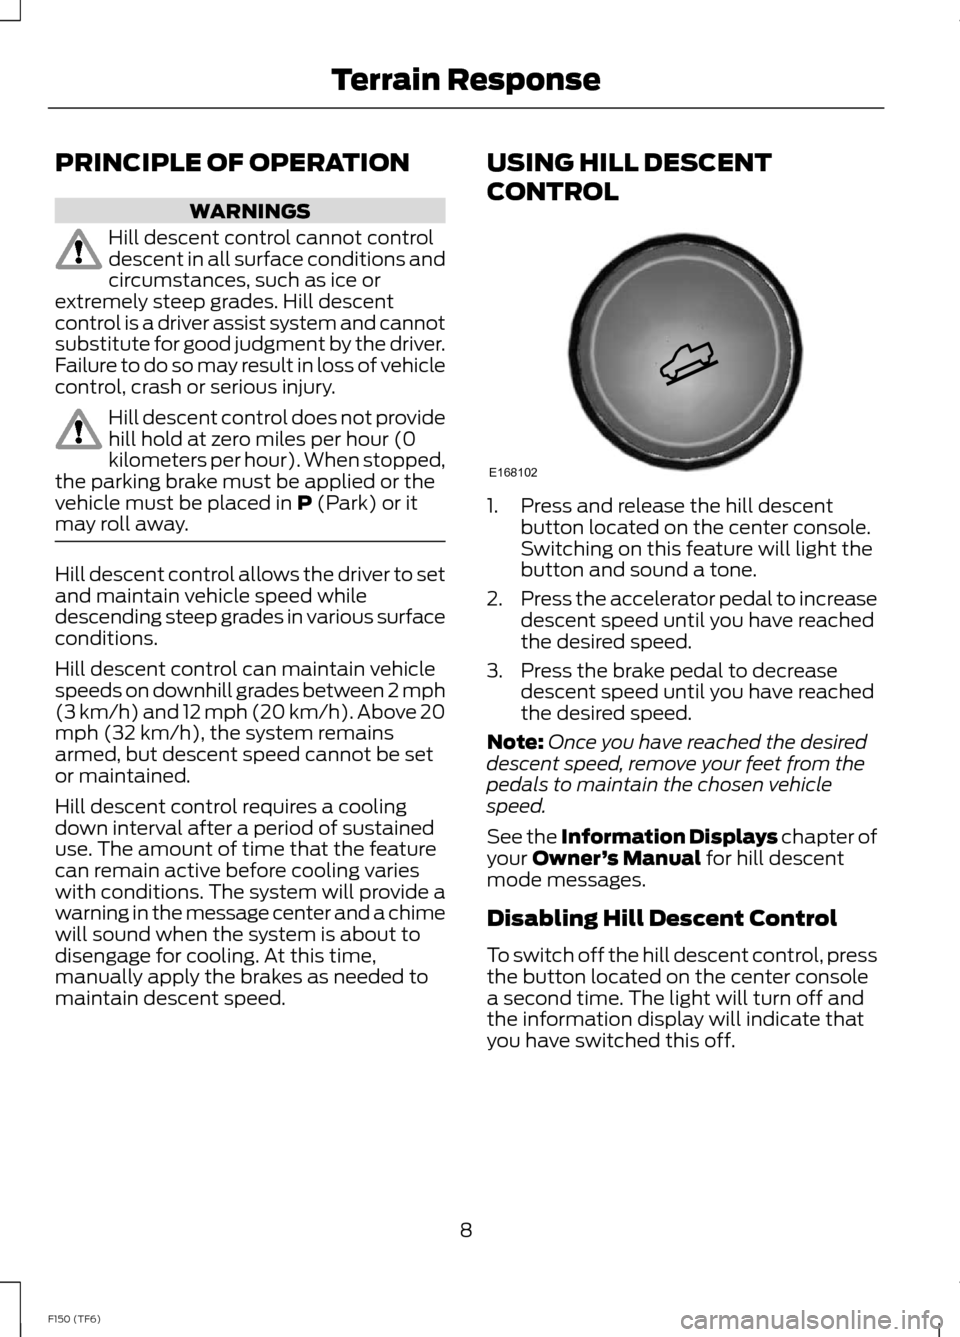
1.Press and release the hill descentbutton located on the center console.Switching on this feature will light thebutton and sound a tone.
2.Press the accelerator pedal to increasedescent speed until you have reachedthe desired speed.
3.Press the brake pedal to decreasedescent speed until you have reachedthe desired speed.
Note:Once you have reached the desireddescent speed, remove your feet from thepedals to maintain the chosen vehiclespeed.
See the Information Displays chapter ofyour Owner’s Manual for hill descentmode messages.
Disabling Hill Descent Control
To switch off the hill descent control, pressthe button located on the center consolea second time. The light will turn off andthe information display will indicate thatyou have switched this off.
8F150 (TF6)Terrain ResponseE168102
Page 14 of 41
TOWING A TRAILER
Towing Capacity
Gross combination weight rating(GCWR)Maximum tow weightVehicle type
12500 lb (5670 kg)6000 lb (2721 kg)SuperCab
14700 lb (6668 kg)8000 lb (3629 kg)SuperCrew
Refer to the Towing chapter in yourOwner’s Manual for additional towinginformation.
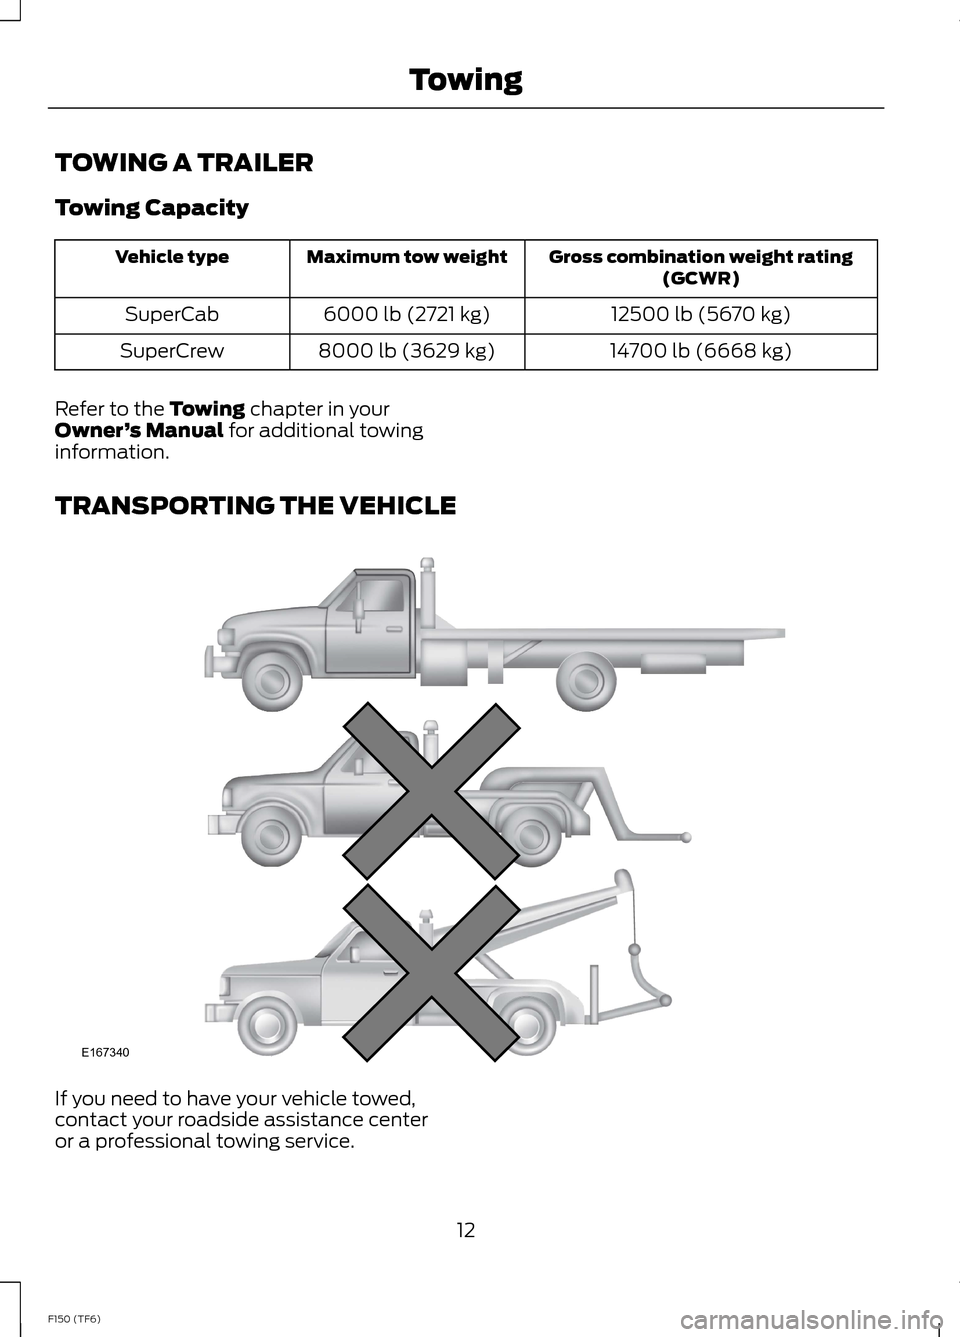
TRANSPORTING THE VEHICLE
If you need to have your vehicle towed,contact your roadside assistance centeror a professional towing service.
12F150 (TF6)TowingE167340
Page 18 of 41
Enabling off-road mode
WARNING
Off-road mode is specificallycalibrated for off-road drivingconditions and should never be usedon pavement.
To enter off-road mode the followingconditions must be met:
•The vehicle must be traveling less than5 mph (8 km/h).
•Your foot must be off of theaccelerator pedal.
Note:If any of the conditions are not met,the information display screen will displaythe appropriate messages to guide the driverthrough the proper operating procedures.
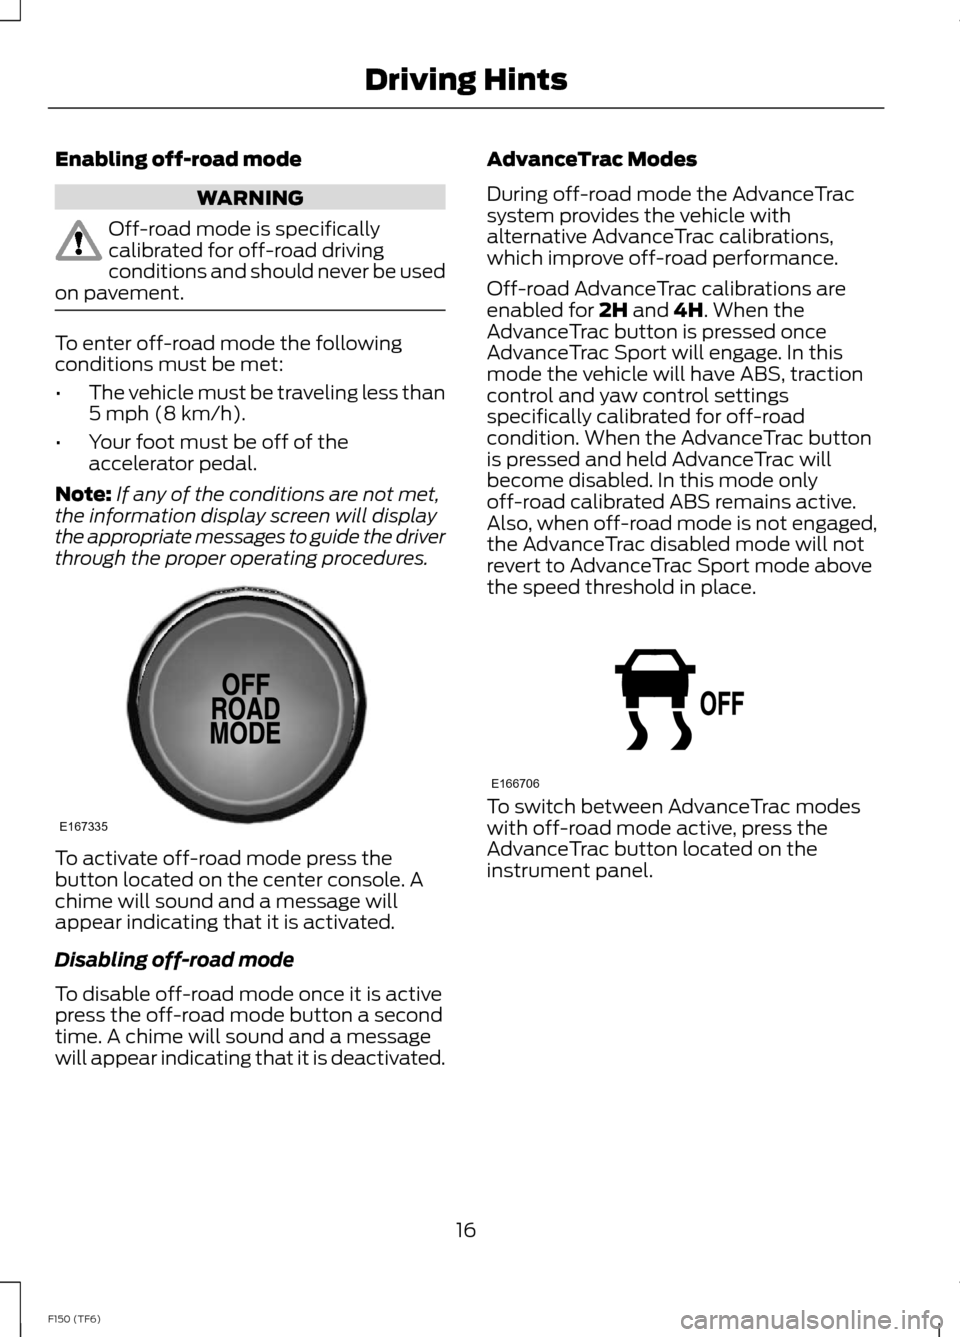
To activate off-road mode press thebutton located on the center console. Achime will sound and a message willappear indicating that it is activated.
Disabling off-road mode
To disable off-road mode once it is activepress the off-road mode button a secondtime. A chime will sound and a messagewill appear indicating that it is deactivated.
AdvanceTrac Modes
During off-road mode the AdvanceTracsystem provides the vehicle withalternative AdvanceTrac calibrations,which improve off-road performance.
Off-road AdvanceTrac calibrations areenabled for 2H and 4H. When theAdvanceTrac button is pressed onceAdvanceTrac Sport will engage. In thismode the vehicle will have ABS, tractioncontrol and yaw control settingsspecifically calibrated for off-roadcondition. When the AdvanceTrac buttonis pressed and held AdvanceTrac willbecome disabled. In this mode onlyoff-road calibrated ABS remains active.Also, when off-road mode is not engaged,the AdvanceTrac disabled mode will notrevert to AdvanceTrac Sport mode abovethe speed threshold in place.
To switch between AdvanceTrac modeswith off-road mode active, press theAdvanceTrac button located on theinstrument panel.
16F150 (TF6)Driving HintsE167335 E166706
Page 23 of 41
Driving in Deep Snow
•Maintain vehicle momentum.
•Apply the throttle very gently to avoidspinning the tires. Spinning the tires willpotentially dig the vehicle deeper intothe snow.
•Drive in a controlled manner, avoidingaggressive steering wheel movements,and keep braking to a minimum.
•Extremely deep snow may cause thevehicle to high center causing thevehicle to become stuck. Test thedepth of the snow before trying to drivethrough it.
Crossing Obstacles
•Review the path ahead beforeattempting to cross any obstacle. It isbest if the obstacle is reviewed fromoutside the vehicle so that there is agood understanding of terrain conditionboth in, front of, and behind theobstacle.
•Approach obstacles slowly and slowlyinch the vehicle over.
•If a large obstacle such as a rockcannot be avoided, choose a path thatplaces the rock directly under the tirerather than the undercarriage of thevehicle. This will help prevent damageto the vehicle.
•Ditches and washouts should becrossed at a 45 degree angle, allowingeach wheel to independently cross theobstacle.
Hill Climbing
WARNING
Extreme care should be used whensteering the vehicle in reverse downa slope so as not to cause the vehicleto swerve out of control.
•Always attempt to climb a steep hillalong the fall line of the slope and notdiagonally.
•If the vehicle is unable to make it upthe hill, DO NOT attempt to turn backdown the slope. Place the vehicle inlow range and slowly back down inreverse.
•When descending a steep slope, selectlow gear and engage hill descentcontrol. Use the throttle and brakepedals to control your descent speedas described earlier in this section usinghill descent control. Note that hilldescent control is functional in reverseand should be used in this situation.
Water Wading
Your vehicle is designed to operate in waterdepths up to 30 inches (760 millimeters).However, as the water depth increases,vehicle speed must be reduced to avoidpotential vehicle damage.
•Always determine the depth beforeattempting a water crossing.
•Proceed slowly and avoid splashingwater any more than is necessary.
•Be aware that obstacles and debrismay be beneath the water’s surface.
•Keep the doors fully closed during thewater crossing.
•Upon completion of the water crossing,slowly drive a short distance and checkthe brakes for full effectiveness.
Refer to chart below for the maximumallowable speeds when driving throughwater.
Note:Failure to follow the recommendedspeeds may result in vehicle damage.
21F150 (TF6)Driving Hints
Page 35 of 41
AUXILIARY SWITCHES
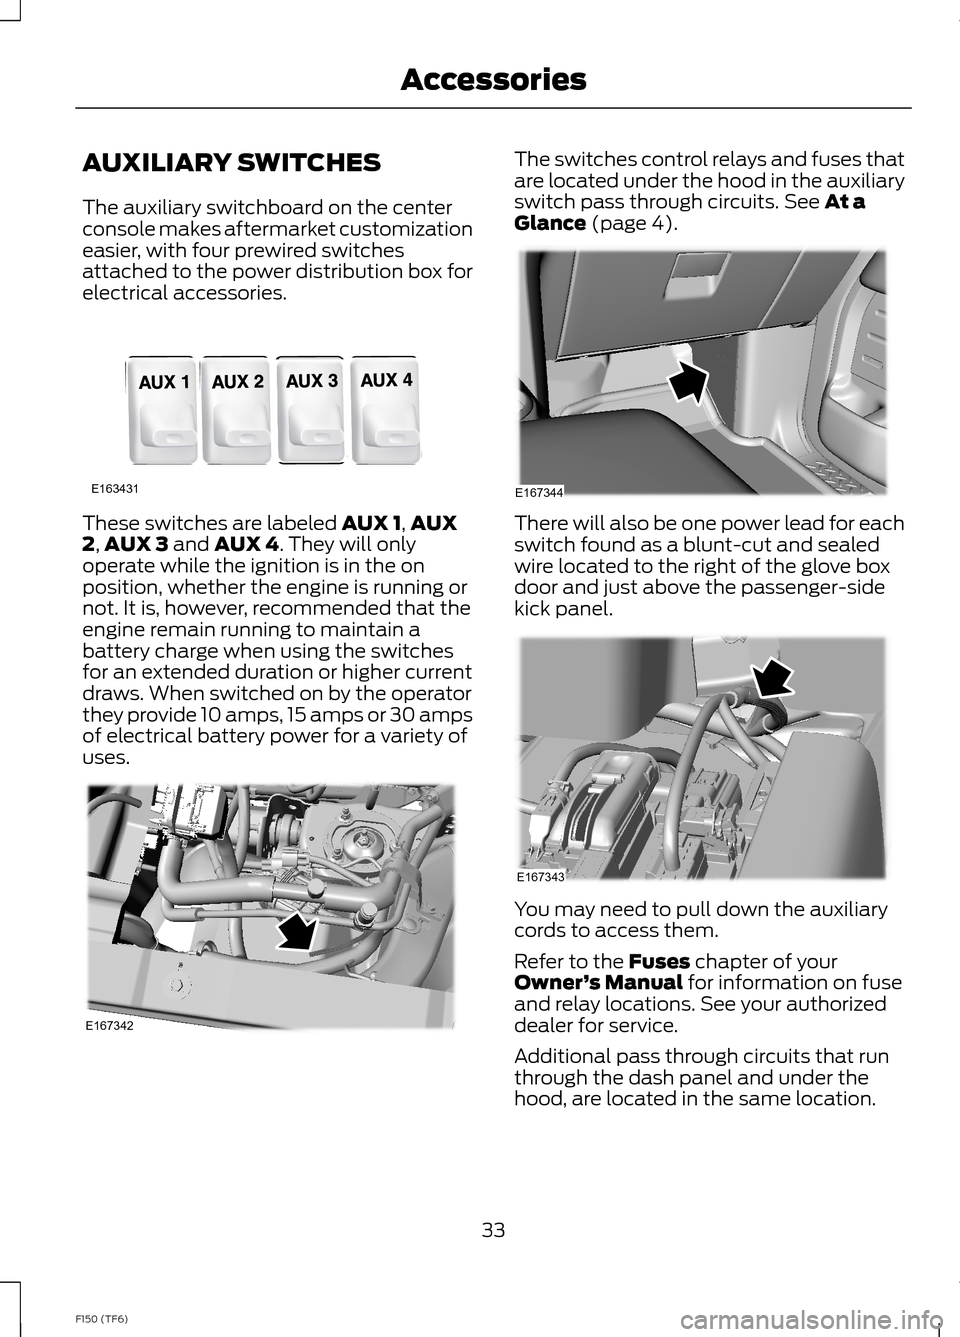
The auxiliary switchboard on the centerconsole makes aftermarket customizationeasier, with four prewired switchesattached to the power distribution box forelectrical accessories.
These switches are labeled AUX 1,AUX2,AUX 3 and AUX 4. They will onlyoperate while the ignition is in the onposition, whether the engine is running ornot. It is, however, recommended that theengine remain running to maintain abattery charge when using the switchesfor an extended duration or higher currentdraws. When switched on by the operatorthey provide 10 amps, 15 amps or 30 ampsof electrical battery power for a variety ofuses.
The switches control relays and fuses thatare located under the hood in the auxiliaryswitch pass through circuits. See At aGlance (page 4).
There will also be one power lead for eachswitch found as a blunt-cut and sealedwire located to the right of the glove boxdoor and just above the passenger-sidekick panel.
You may need to pull down the auxiliarycords to access them.
Refer to the Fuses chapter of yourOwner’s Manual for information on fuseand relay locations. See your authorizeddealer for service.
Additional pass through circuits that runthrough the dash panel and under thehood, are located in the same location.
33F150 (TF6)AccessoriesE163431 E167342 E167344 E167343