2014 FORD F150 warning lights
[x] Cancel search: warning lightsPage 41 of 472

The Personal Safety System provides an
improved overall level of frontal crash
protection to front seat occupants and is
designed to help further reduce the risk of
airbag-related injuries. The system is able
to analyze different occupant conditions
and crash severity before activating the
appropriate safety devices to help better
protect a range of occupants in a variety
of frontal crash situations.
Your vehicle's Personal Safety System
consists of:
•
Driver and passenger dual-stage airbag
supplemental restraints.
• Front outboard safety belts with
pretensioners, energy management
retractors (first row only), and safety
belt usage sensors.
• Driver ’s seat position sensor.
• Front passenger sensing system.
• Passenger airbag off and on indicator
lamp.
• Front crash severity sensors.
• Restraints control module with impact
and safing sensors.
• Restraint system warning light and
backup tone.
• The electrical wiring for the airbags,
crash sensor(s), safety belt
pretensioners, front safety belt usage
sensors, driver seat position sensor,
front passenger sensing system, and
indicator lights.
How Does the Personal Safety
System Work?
The Personal Safety System can adapt the
deployment strategy of your vehicle ’s
safety devices according to crash severity
and occupant conditions. A collection of
crash and occupant sensors provides
information to the restraints control module. During a crash, the restraints
control module may activate the safety
belt pretensioners and may activate either
one or both stages of the dual-stage airbag
supplemental restraints based on crash
severity and occupant conditions.
38
F150 (TF6) , enUSA Personal Safety System
™
Page 75 of 472

•
To turn autolamps on, rotate the
control to the fourth position.
• To turn autolamps off, rotate the
control to the first, second, or third
position.
INSTRUMENT LIGHTING
DIMMER Use the instrument lighting dimmer control
to adjust the brightness of the instrument
panel and all applicable lit components in
your vehicle.
•
Tap the left or right of the control to
the first detent to brighten or dim all
interior lit components incrementally.
• Press and hold the left or right of the
control to the first detent until the
desired lighting level is reached.
• Press and hold the right of the control
to the second detent to switch the
interior lights on.
• Press and hold the left of the control
to the second detent to switch the
interior lights off. DAYTIME RUNNING LAMPS (IF
EQUIPPED) WARNING
Always remember to switch your
headlamps on in low light situations
or during inclement weather. The
system does not activate the tail lamps
and may not provide adequate lighting
during these conditions. Failure to activate
your headlamps under these conditions
may result in a collision. The system turns the headlamps on with
a reduced intensity output (halogen
headlamps) or turns the front turn lamps
on (HID headlamps) in daylight conditions.
To switch the system on:
1. Ignition switch is in the on position.
2. Switch the lighting control to the off,
autolamp or parking lamp position.
FRONT FOG LAMPS
(IF EQUIPPED) The headlamp control also operates the
fog lamps. The fog lamps can be turned
on only when the headlamp control is in
the parking lamp (second) position,
headlamps on (third) position, or autolamp
(fourth) position, and the high beams are
not turned on.
72
F150 (TF6) , enUSA LightingE166125 E163271
A
Page 82 of 472

Note:
Do not clean the housing or glass of
any mirror with harsh abrasives, fuel or other
petroleum or ammonia-based cleaning
products.
You can adjust the interior mirror to your
preference. Some mirrors also have a
second pivot point. This lets you move the
mirror head up or down and from side to
side.
Pull the tab below the mirror toward you
to reduce glare at night.
Auto-Dimming Mirror (If Equipped)
Note: Do not block the sensors on the front
and back of the mirror. Mirror performance
may be affected. A rear center passenger or
raised rear center head restraint may also
block light from reaching the sensor.
The mirror will dim automatically to reduce
glare when bright lights are detected from
behind your vehicle. It will automatically
return to normal reflection when you select
reverse gear to make sure you have a clear
view when backing up.
SUN VISORS
Slide-on-rod
(If Equipped) Rotate the sun visor toward the side
window and extend it rearward for extra
shade. Illuminated Vanity Mirror
(If Equipped)
Lift the cover to switch the lamp on.
MOONROOF
(IF EQUIPPED)
WARNINGS
Do not let children play with the
moonroof or leave them unattended
in the vehicle. They may seriously
hurt themselves. When closing the moonroof, you
should verify that it is free of
obstructions and make sure that
children and pets are not in the proximity
of the roof opening. You can manually open or close the sliding
shade when the moonroof is closed. Pull
the shade toward the front of your vehicle
to close it.
The moonroof controls are located on the
overhead console and have a one-touch
open and close feature. To stop it during
one-touch operation, press the control a
second time.
79
F150 (TF6) , enUSA Windows and MirrorsE138666 E162197
Page 93 of 472

SETUP
Climate On or Off
Quiet On or Off
English, Spanish or French
LANGUAGE = ENGLISH,
SPANISH or FRENCH
PRESS RESET FOR SYSTEM CHECK
The information display will begin to cycle
through the vehicle systems and provide
a status of the item if needed.
Note: Some systems show a message only
if a condition is present
OIL LIFE XXX%
Displays the remaining oil life. An oil
change is required whenever indicated by
the information display and according to
the recommended maintenance schedule.
USE ONLY RECOMMENDED ENGINE OILS.
To reset the oil monitoring system to 100%
after each oil change, perform the
following:
1. Press and release the SETUP button to display OIL LIFE XXX% HOLD RESET
= NEW.
2. Press and hold the RESET button for two seconds and release to reset the
oil life to 100%.
Note: To change oil life 100% value (if
equipped with this feature) to another value,
proceed to Step 3.
3. Once OIL LIFE SET TO XXX% is displayed, release and press the RESET
button to change the Oil Life Start
Value. Each release and press will
reduce the value by 10%.
UNITS
Displays the current units English or Metric AUTOLAMP (SEC)
This feature keeps your headlights on for
up to three minutes after the ignition is
switched off.
AUTOLOCK
This feature automatically locks all vehicle
doors when the vehicle is shifted into any
gear, putting the vehicle in motion.
AUTOUNLOCK
This feature automatically unlocks all
vehicle doors when the driver
’s door is
opened within 10 minutes of the ignition
being turned off.
COURTESY WIPE
This feature allows for an extra swipe of
the wipers after a wipe/wash cycle.
EASY ENTRY EXIT
This feature automatically moves the
driver ’s seat rearward and adjusts the
steering wheel for easy exit/entry from the
vehicle.
REAR PARK AID (if equipped):
This feature sounds a warning tone to warn
the driver of obstacles near the rear
bumper, and functions only when R
(Reverse) gear is selected.
TRAILER SWAY (if equipped)
This feature uses the electronic stability
control to mitigate trailer sway.
90
F150 (TF6) , enUSA Information Displays
Page 123 of 472

Returning the Seat to the Seating
Position
WARNING
Make sure that cargo or any objects
are not trapped underneath the seat
cushion before returning the seat
cushion to its original position, and that the
seat cushion locks into place. Failure to do
so may prevent the seat from operating
properly in the event of a crash, which
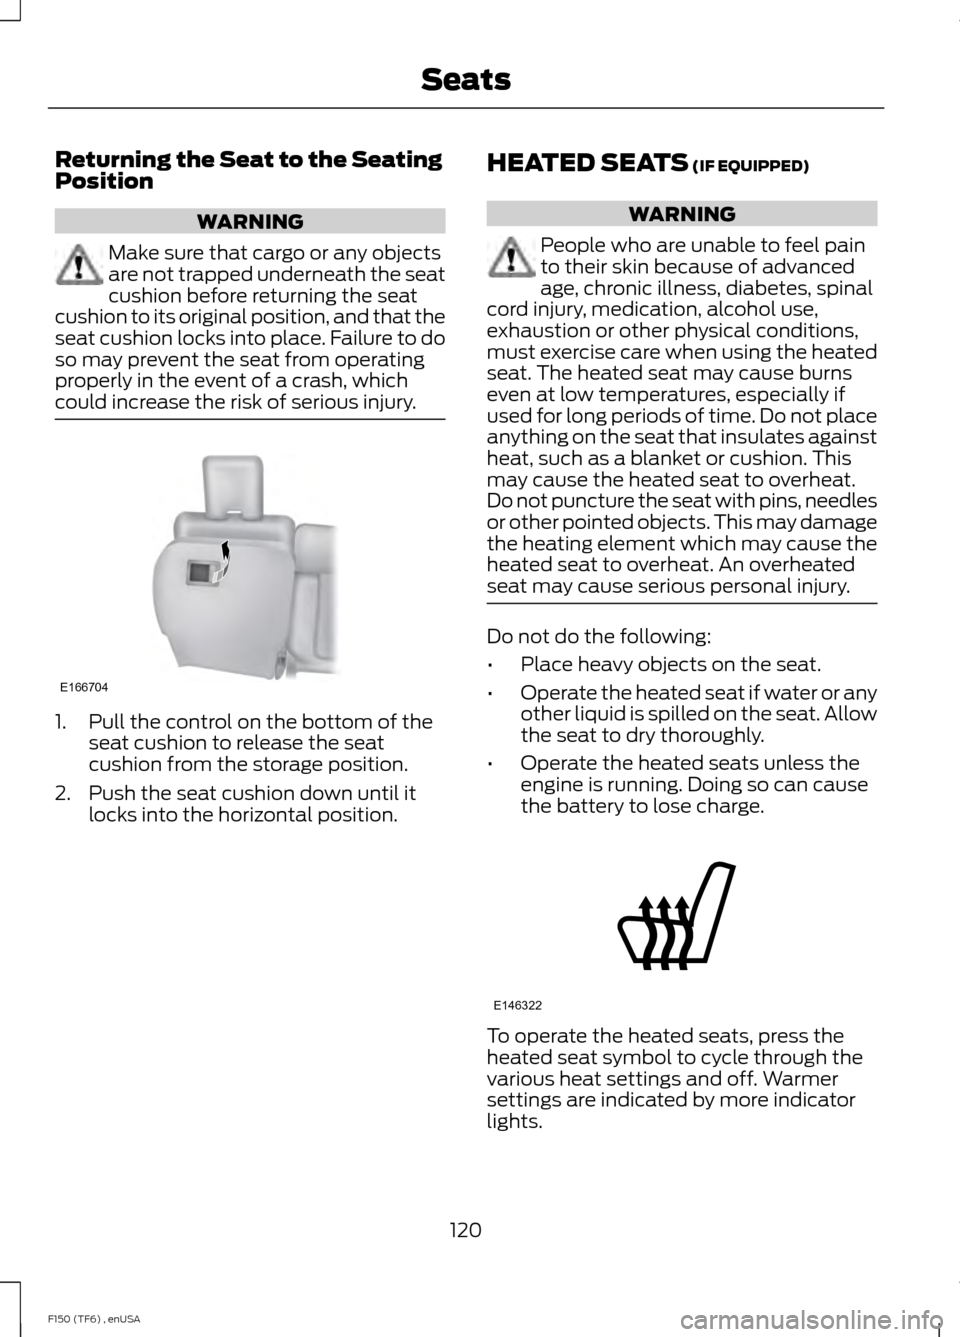
could increase the risk of serious injury. 1. Pull the control on the bottom of the
seat cushion to release the seat
cushion from the storage position.
2. Push the seat cushion down until it locks into the horizontal position. HEATED SEATS (IF EQUIPPED) WARNING
People who are unable to feel pain
to their skin because of advanced
age, chronic illness, diabetes, spinal
cord injury, medication, alcohol use,
exhaustion or other physical conditions,
must exercise care when using the heated
seat. The heated seat may cause burns
even at low temperatures, especially if
used for long periods of time. Do not place
anything on the seat that insulates against
heat, such as a blanket or cushion. This
may cause the heated seat to overheat.
Do not puncture the seat with pins, needles
or other pointed objects. This may damage
the heating element which may cause the
heated seat to overheat. An overheated
seat may cause serious personal injury. Do not do the following:
•
Place heavy objects on the seat.
• Operate the heated seat if water or any
other liquid is spilled on the seat. Allow
the seat to dry thoroughly.
• Operate the heated seats unless the
engine is running. Doing so can cause
the battery to lose charge. To operate the heated seats, press the
heated seat symbol to cycle through the
various heat settings and off. Warmer
settings are indicated by more indicator
lights.
120
F150 (TF6) , enUSA SeatsE166704 E146322
Page 124 of 472

Rear Heated Seats (If Equipped)
WARNING
People who are unable to feel pain
to the skin because of advanced age,
chronic illness, diabetes, spinal cord
injury, medication, alcohol use, exhaustion,
or other physical conditions, must exercise
care when using the seat heater. The seat
heater may cause burns even at low
temperatures, especially if used for long
periods of time. Do not place anything on
the seat that insulates against heat, such
as a blanket or cushion, because this may
cause the seat heater to overheat. Do not
puncture the seat with pins, needles, or
other pointed objects because this may
damage the heating element which may
cause the seat heater to overheat. An
overheated seat may cause serious
personal injury. Do not do the following:
•
Place heavy objects on the seat.
• Operate the seat heater if water or any
other liquid is spilled on the seat. Allow
the seat to dry thoroughly.
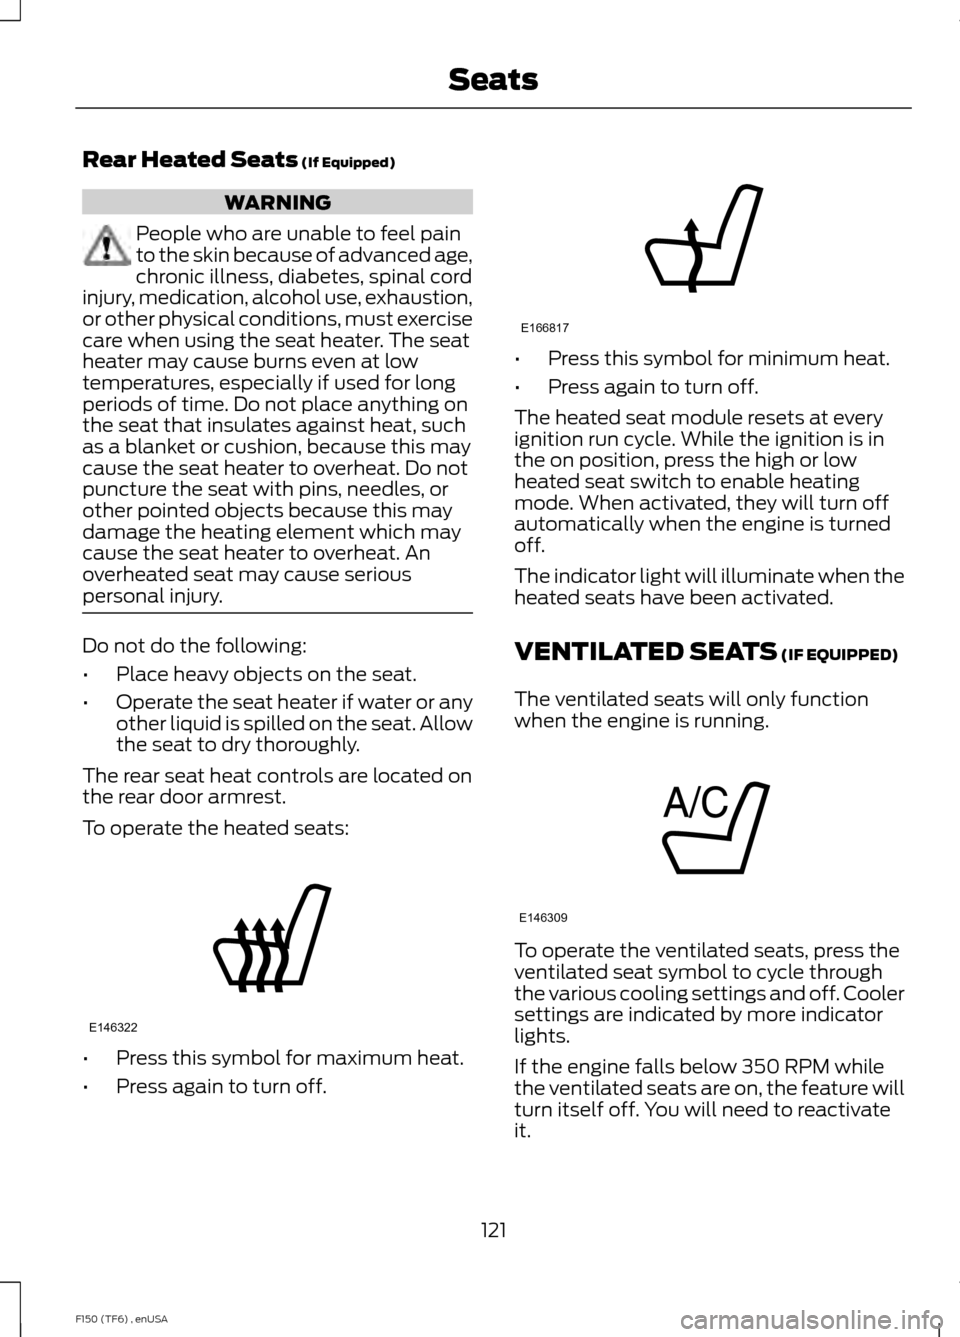
The rear seat heat controls are located on
the rear door armrest.
To operate the heated seats: •
Press this symbol for maximum heat.
• Press again to turn off. •
Press this symbol for minimum heat.
• Press again to turn off.
The heated seat module resets at every
ignition run cycle. While the ignition is in
the on position, press the high or low
heated seat switch to enable heating
mode. When activated, they will turn off
automatically when the engine is turned
off.
The indicator light will illuminate when the
heated seats have been activated.
VENTILATED SEATS
(IF EQUIPPED)
The ventilated seats will only function
when the engine is running. To operate the ventilated seats, press the
ventilated seat symbol to cycle through
the various cooling settings and off. Cooler
settings are indicated by more indicator
lights.
If the engine falls below 350 RPM while
the ventilated seats are on, the feature will
turn itself off. You will need to reactivate
it.
121
F150 (TF6) , enUSA SeatsE146322 E166817 E146309
Page 156 of 472

USING FOUR-WHEEL DRIVE
WARNING
For important information regarding
safe operation of this type of vehicle,
see General Information in the
Wheels and Tires chapter. Note:
Do not use 4X4 mode on dry, hard
surfaced roads. Doing so will produce
excessive noise, increase tire wear and may
damage drive components. 4X4 mode is
only intended for consistently slippery or
loose surfaces.
Note: If 4X4 low is selected while the
vehicle is moving above 3 mph (5 km/h),
the 4WD system will not perform a shift.
This is normal and should be no reason for
concern. Refer to Shifting to or from 4L (4X4
Low) for proper operation.
4WD Indicator Lights
Note: When a 4X4 system fault is present,
the system will typically remain in whichever
4X4 mode was selected prior to the fault
condition occurring. It will not default to 4X2
in all circumstances. When this warning is
displayed, have your vehicle serviced by an
authorized dealer.
4X2 Momentarily illuminates when
2H is selected.
4X4 Auto Continuously illuminates when
4A is selected (2-Speed
Automatic 4WD vehicles only)
4X4 HIGH Continuously illuminates when
4H is selected. 4X4 LOW Continuously illuminates when
4L is selected.
CHECK 4X4 Displays when a 4X4 fault is
present.
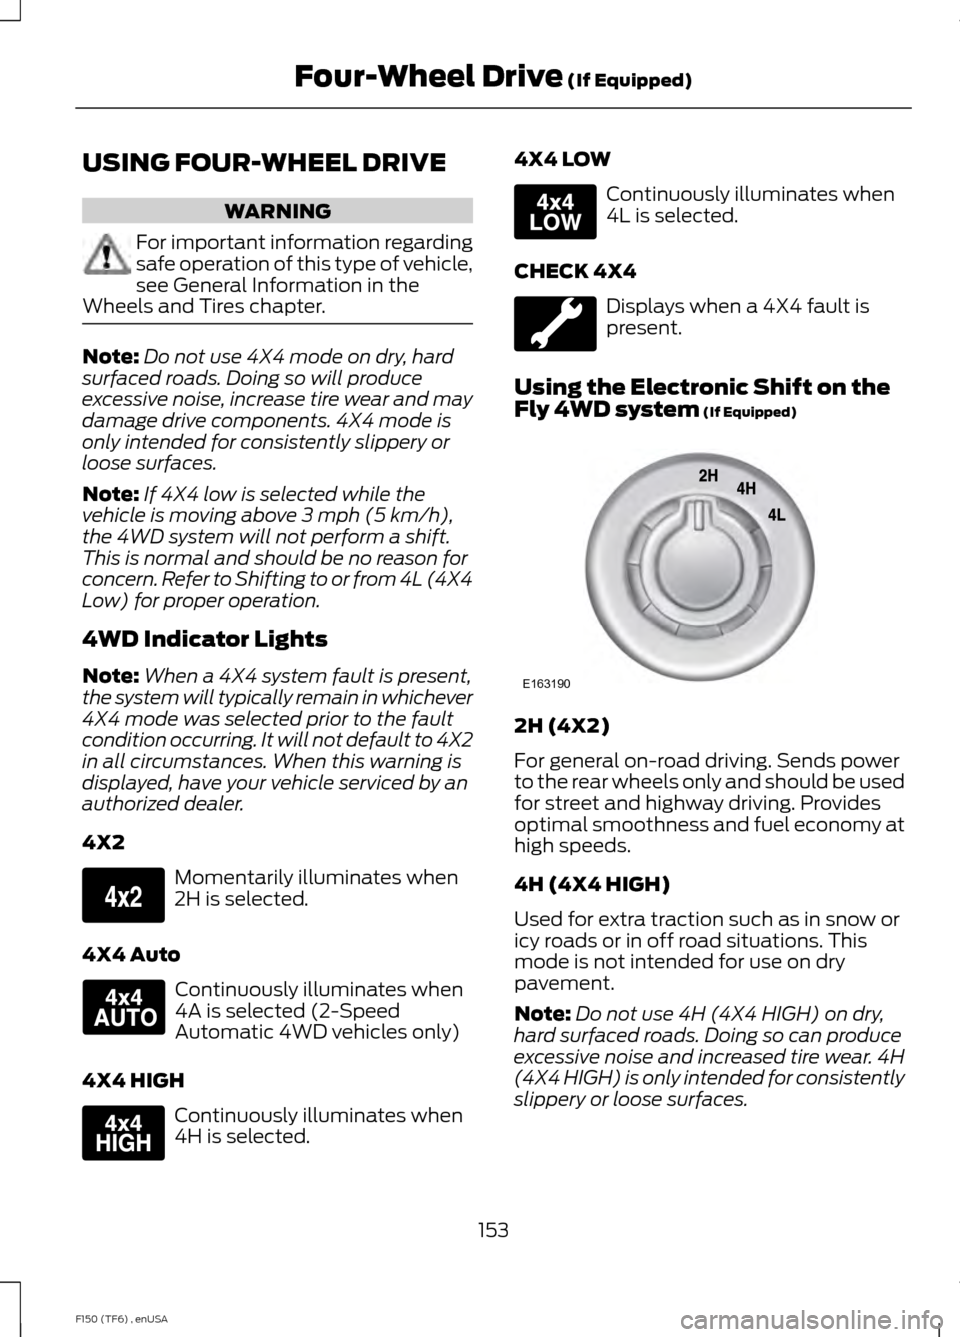
Using the Electronic Shift on the
Fly 4WD system (If Equipped) 2H (4X2)
For general on-road driving. Sends power
to the rear wheels only and should be used
for street and highway driving. Provides
optimal smoothness and fuel economy at
high speeds.
4H (4X4 HIGH)
Used for extra traction such as in snow or
icy roads or in off road situations. This
mode is not intended for use on dry
pavement.
Note:
Do not use 4H (4X4 HIGH) on dry,
hard surfaced roads. Doing so can produce
excessive noise and increased tire wear. 4H
(4X4 HIGH) is only intended for consistently
slippery or loose surfaces.
153
F150 (TF6) , enUSA Four-Wheel Drive
(If Equipped)E163173 E166922 E163175 E163174 E163190
Page 167 of 472

PARKING BRAKE
WARNING
Always set the parking brake fully
and make sure the transmission is
placed in park (P). Failure to set the
parking brake and engage park could result
in vehicle roll-away, property damage or
bodily injury. Turn the ignition to the lock
position and remove the key whenever you
leave your vehicle. Apply the parking brake whenever your
vehicle is parked. Press the pedal
downward to set the parking brake. The
brake warning lamp in the instrument
cluster will illuminate and remains
illuminated until the parking brake is
released.
To release, pull the brake release lever
located at the lower left side of the
instrument panel.
If you are parking your vehicle on a grade
or with a trailer, press and hold the brake
pedal down, then set the parking brake.
There may be a little vehicle movement as
the parking brake sets to hold the vehicle's
weight. This is normal and should be no
reason for concern. If needed, press and
hold the service brake pedal down, then
try reapplying the parking brake. Chock the
wheels if required. If the parking brake
cannot hold the weight of the vehicle, the
parking brake may need to be serviced or
the vehicle may be overloaded.
HILL START ASSIST
WARNINGS
The system does not replace the
parking brake. When you leave your
vehicle, always apply the parking
brake and put the transmission in park (P). WARNINGS
You must remain in your vehicle once
you have activated the system.
During all times, you are responsible
for controlling your vehicle,
supervising the system and
intervening, if required. If the engine is revved excessively, or
if a malfunction is detected, the
system will be deactivated.
The system makes it easier to pull away
when your vehicle is on a slope without the
need to use the parking brake.
When the system is active, your vehicle will
remain stationary on the slope for two to
three seconds after you release the brake
pedal. This allows you time to move your
foot from the brake to the accelerator
pedal. The brakes are released
automatically once the engine has
developed sufficient drive to prevent your
vehicle from rolling down the slope. This
is an advantage when pulling away on a
slope, (for example from a car park ramp,
traffic lights or when reversing uphill into
a parking space).
The system will activate automatically on
any slope that will cause significant vehicle
rollback.
Using Hill Start Assist
1. Press the brake pedal to bring your
vehicle to a complete standstill. Keep
the brake pedal pressed.
2. If the sensors detect that your vehicle is on a slope, the system will activate
automatically.
3. When you remove your foot from the brake pedal, your vehicle will remain
on the slope without rolling away for
about two or three seconds. This hold
time will automatically be extended if
you are in the process of driving off.
164
F150 (TF6) , enUSA Brakes