2014 FORD EXPEDITION clock
[x] Cancel search: clockPage 88 of 519
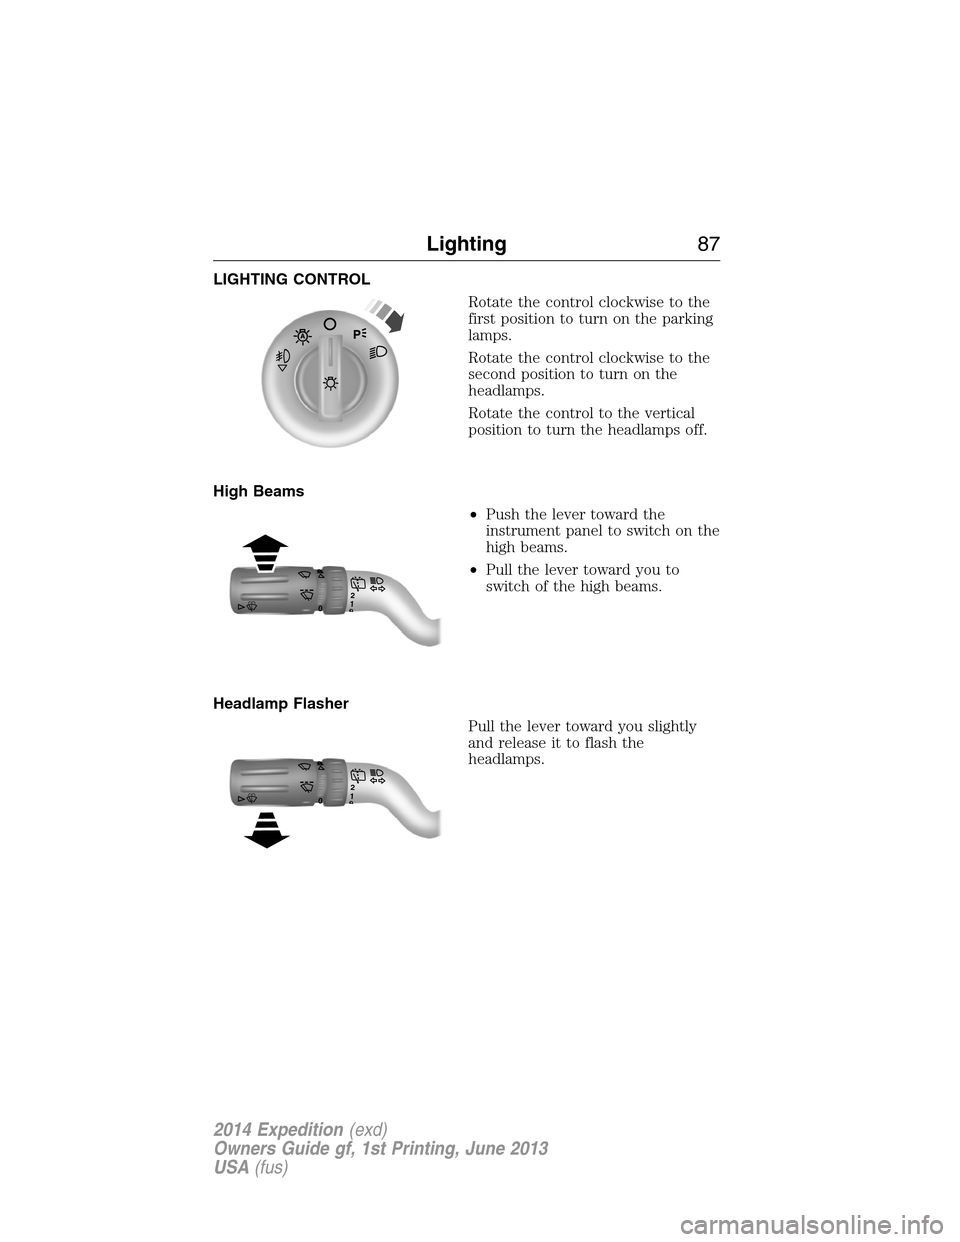
LIGHTING CONTROL
Rotate the control clockwise to the
first position to turn on the parking
lamps.
Rotate the control clockwise to the
second position to turn on the
headlamps.
Rotate the control to the vertical
position to turn the headlamps off.
High Beams
•Push the lever toward the
instrument panel to switch on the
high beams.
•Pull the lever toward you to
switch of the high beams.
Headlamp Flasher
Pull the lever toward you slightly
and release it to flash the
headlamps.
120
120
Lighting87
2014 Expedition(exd)
Owners Guide gf, 1st Printing, June 2013
USA(fus)
Page 89 of 519
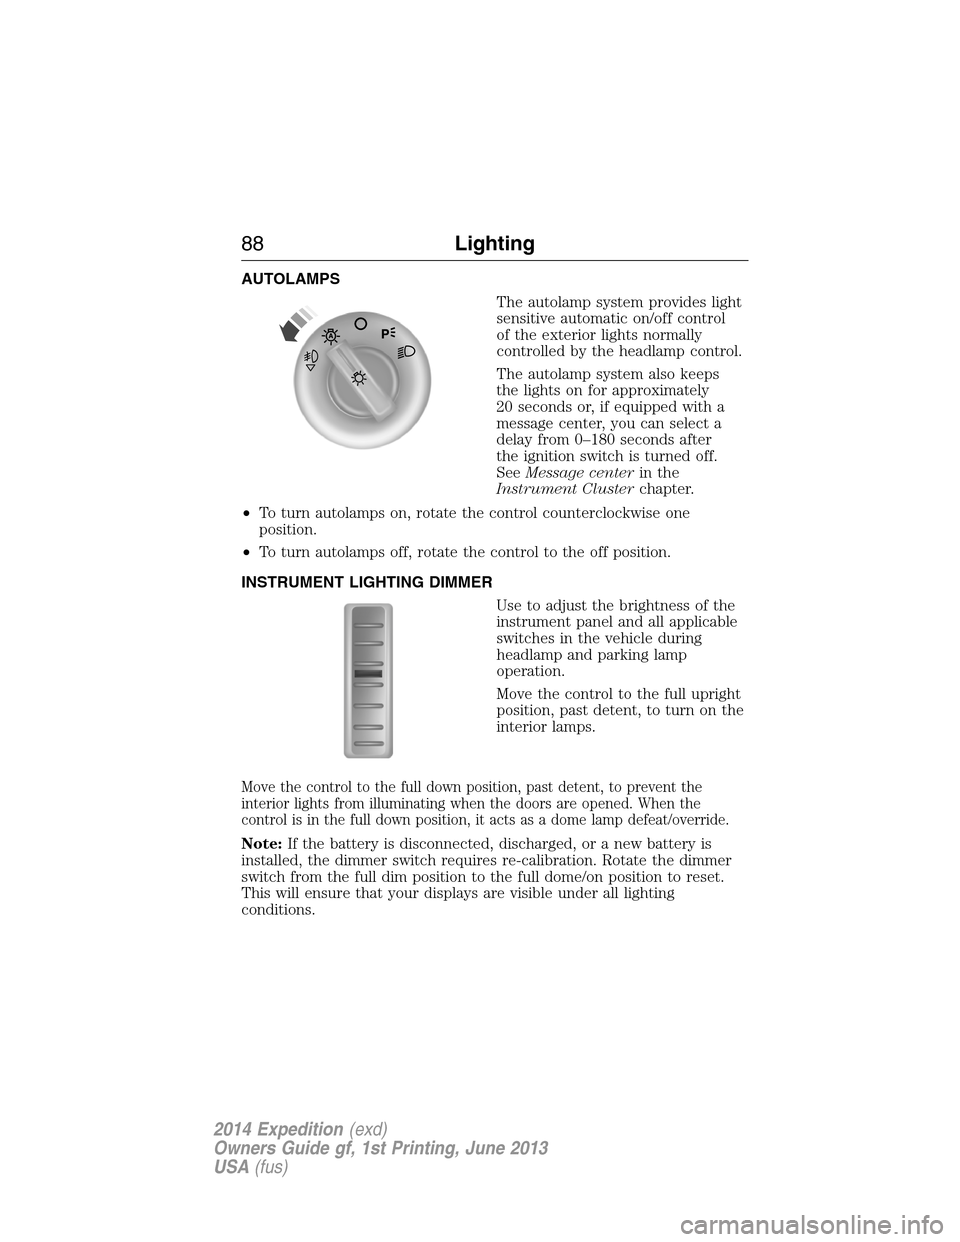
AUTOLAMPS
The autolamp system provides light
sensitive automatic on/off control
of the exterior lights normally
controlled by the headlamp control.
The autolamp system also keeps
the lights on for approximately
20 seconds or, if equipped with a
message center, you can select a
delay from 0–180 seconds after
the ignition switch is turned off.
SeeMessage centerin the
Instrument Clusterchapter.
•To turn autolamps on, rotate the control counterclockwise one
position.
•To turn autolamps off, rotate the control to the off position.
INSTRUMENT LIGHTING DIMMER
Use to adjust the brightness of the
instrument panel and all applicable
switches in the vehicle during
headlamp and parking lamp
operation.
Move the control to the full upright
position, past detent, to turn on the
interior lamps.
Move the control to the full down position, past detent, to prevent the
interior lights from illuminating when the doors are opened. When the
control is in the full down position, it acts as a dome lamp defeat/override.
Note:If the battery is disconnected, discharged, or a new battery is
installed, the dimmer switch requires re-calibration. Rotate the dimmer
switch from the full dim position to the full dome/on position to reset.
This will ensure that your displays are visible under all lighting
conditions.
88Lighting
2014 Expedition(exd)
Owners Guide gf, 1st Printing, June 2013
USA(fus)
Page 143 of 519
Heated and Ventilated Seats Air Filter Replacement (If Equipped)
The heated and ventilated seat system includes air filters. You must
replace them periodically. Seescheduled maintenance informationfor
more information.
There is a filter located under each front seat. You can access the filter
from the second row seat. Move the front seats all the way forward and
up to ease access.
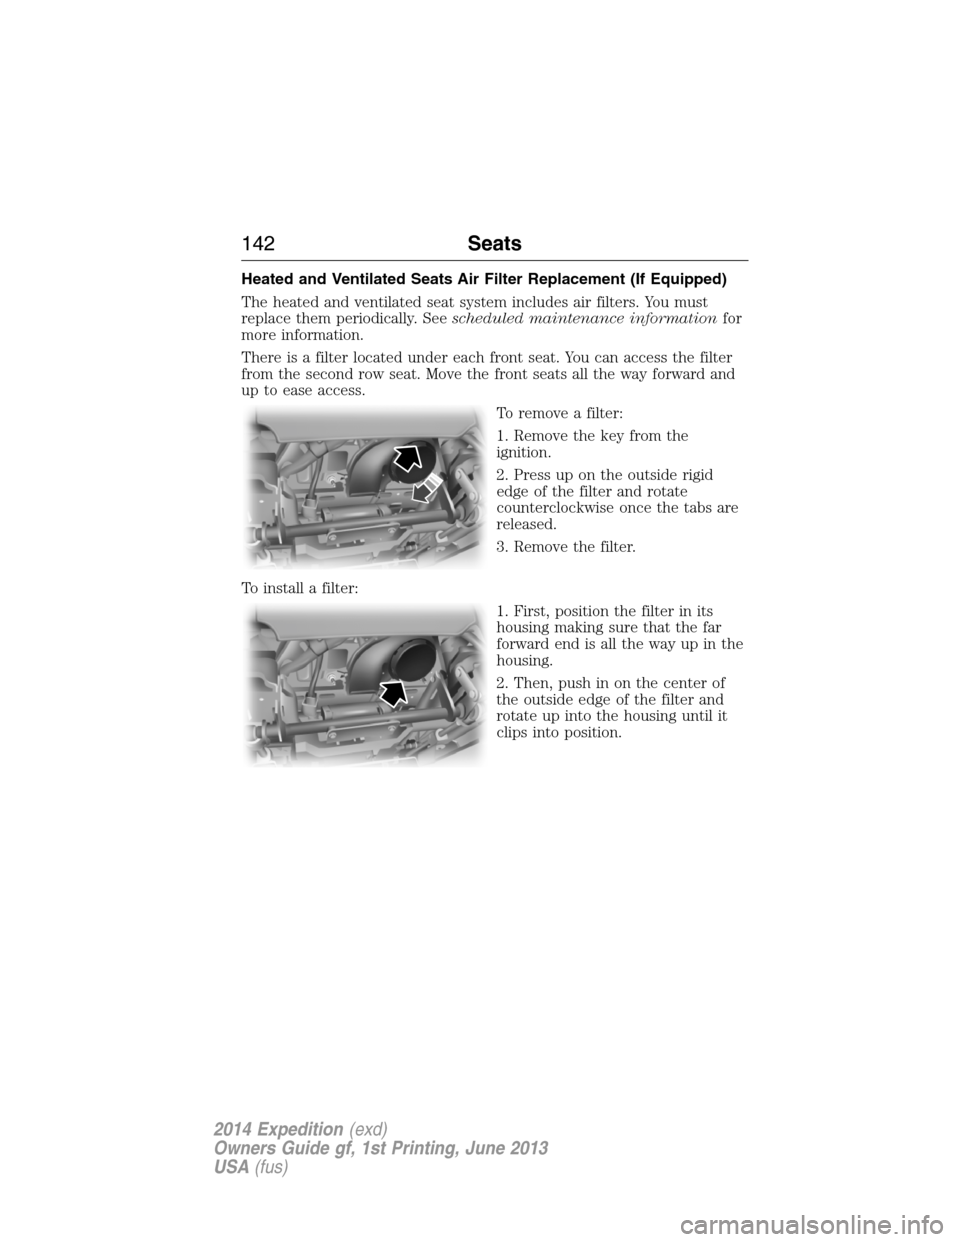
To remove a filter:
1. Remove the key from the
ignition.
2. Press up on the outside rigid
edge of the filter and rotate
counterclockwise once the tabs are
released.
3. Remove the filter.
To install a filter:
1. First, position the filter in its
housing making sure that the far
forward end is all the way up in the
housing.
2. Then, push in on the center of
the outside edge of the filter and
rotate up into the housing until it
clips into position.
142Seats
2014 Expedition(exd)
Owners Guide gf, 1st Printing, June 2013
USA(fus)
Page 180 of 519
Easy Fuel® “No Cap” Fuel System
WARNING:The fuel system may be under pressure. If you hear
a hissing sound near the fuel filler door, do not refuel until the
sound stops. Otherwise, fuel may spray out, which could cause serious
personal injury.
When fueling your vehicle:
1. Turn the engine off.
2. Open the fuel door by pulling the indent on the door.
3. Insert the fuel plug key (if equipped) into the locking plug and turn it
counterclockwise to unlock it.
4. Slowly insert the fuel filler nozzle fully into the fuel system, and leave
the nozzle fully inserted until you are done pumping.
5. After you are done pumping fuel, slowly remove the fuel filler
nozzle—allow about ten seconds after pumping fuel before removing the
fuel filler nozzle. This allows residual fuel to drain back into the fuel tank
and not spill onto the vehicle.
6. Reinstall the plug (if equipped) into the fuel fill inlet and turn the key
clockwise to lock.
Note:Do not overfill the tank or fuel spillage will occur.
If the fuel fill inlet was not properly closed, a Check Fuel Fill Inlet
message may appear on the information display. See theInformation
Displayschapter for more information.
At the next opportunity, do the following:
1. Safely pull off the road.
2. Turn off the engine.
3. Open the fuel filler door and remove any visible debris from the fuel
fill opening.
4. Insert either the fuel fill nozzle or the fuel fill funnel provided with the
vehicle several times to dislodge any debris and/or allow the inlet to
close properly.
If this action corrects the problem, the message may not reset
immediately. It may take several driving cycles for the message to turn
off. A driving cycle consists of an engine start-up (after four or more
hours with the engine off) followed by city/highway driving. Continuing
to drive with the message on may cause the service engine soon lamp to
turn on as well.
Fuel and Refueling179
2014 Expedition(exd)
Owners Guide gf, 1st Printing, June 2013
USA(fus)
Page 216 of 519
ROOF RACKS AND LOAD CARRIERS
WARNING:When loading the roof rail crossbars, it is
recommended to evenly distribute the load, as well as maintain a
low center of gravity. Loaded vehicles, with higher centers of gravity,
may handle differently than unloaded vehicles. Extra precautions, such
as slower speeds and increased stopping distance, should be taken
when driving a heavily loaded vehicle.
Note:The maximum recommended load is 200 pounds (90 kilograms),
evenly distributed on the crossbars.
Note:Loads should never be placed directly on the roof panel. The roof
panel is not designed to directly carry a load.
For proper function of the roof rack system, loads must be placed
directly on crossbars affixed to the roof rack side rails. Your vehicle may
be equipped with factory-installed crossbars. Ford Genuine Accessory
crossbars, designed specifically for your vehicle, are also recommended
for use with your roof rack system.
Make sure that the load is securely fastened. Check the tightness of the
load before driving and at each fuel stop.
Adjusting the Crossbars (If Equipped)
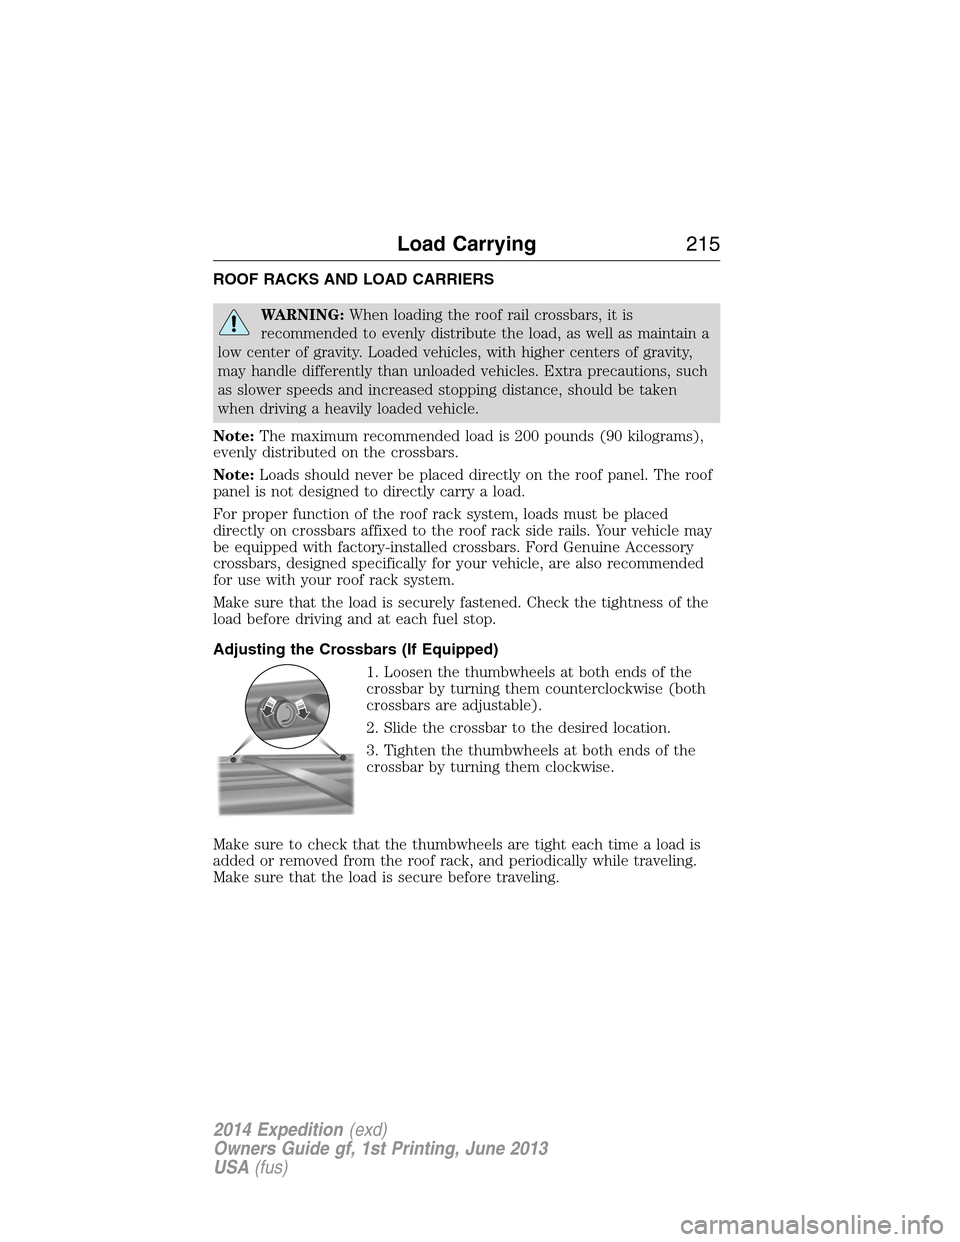
1. Loosen the thumbwheels at both ends of the
crossbar by turning them counterclockwise (both
crossbars are adjustable).
2. Slide the crossbar to the desired location.
3. Tighten the thumbwheels at both ends of the
crossbar by turning them clockwise.
Make sure to check that the thumbwheels are tight each time a load is
added or removed from the roof rack, and periodically while traveling.
Make sure that the load is secure before traveling.
Load Carrying215
2014 Expedition(exd)
Owners Guide gf, 1st Printing, June 2013
USA(fus)
Page 274 of 519
Adding Engine Oil
Note:Do not remove the engine oil level dipstick or the filler cap when
the engine is running.
Note:Do not add engine oil further than the MAX mark. Oil levels above
the MAX mark may cause engine damage.
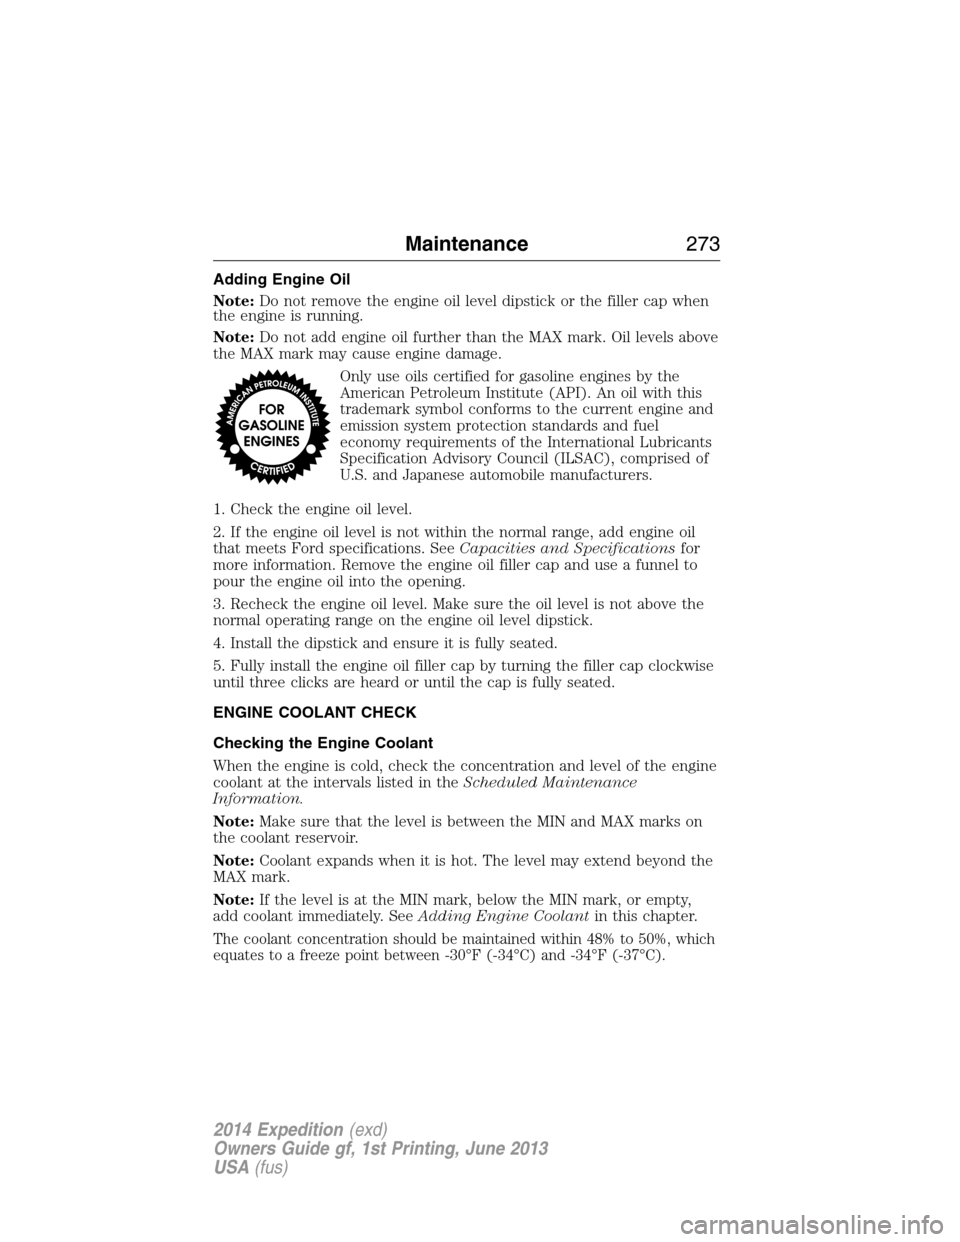
Only use oils certified for gasoline engines by the
American Petroleum Institute (API). An oil with this
trademark symbol conforms to the current engine and
emission system protection standards and fuel
economy requirements of the International Lubricants
Specification Advisory Council (ILSAC), comprised of
U.S. and Japanese automobile manufacturers.
1. Check the engine oil level.
2. If the engine oil level is not within the normal range, add engine oil
that meets Ford specifications. SeeCapacities and Specificationsfor
more information. Remove the engine oil filler cap and use a funnel to
pour the engine oil into the opening.
3. Recheck the engine oil level. Make sure the oil level is not above the
normal operating range on the engine oil level dipstick.
4. Install the dipstick and ensure it is fully seated.
5. Fully install the engine oil filler cap by turning the filler cap clockwise
until three clicks are heard or until the cap is fully seated.
ENGINE COOLANT CHECK
Checking the Engine Coolant
When the engine is cold, check the concentration and level of the engine
coolant at the intervals listed in theScheduled Maintenance
Information.
Note:Make sure that the level is between the MIN and MAX marks on
the coolant reservoir.
Note:Coolant expands when it is hot. The level may extend beyond the
MAX mark.
Note:If the level is at the MIN mark, below the MIN mark, or empty,
add coolant immediately. SeeAdding Engine Coolantin this chapter.
The coolant concentration should be maintained within 48% to 50%, which
equates to a freeze point between -30°F (-34°C) and -34°F (-37°C).
Maintenance273
2014 Expedition(exd)
Owners Guide gf, 1st Printing, June 2013
USA(fus)
Page 282 of 519
Because your vehicle’s engine is electronically controlled by a computer,
some control conditions are maintained by power from the battery. When
the battery is disconnected or a new battery is installed, the engine must
relearn its idle and fuel trim strategy for optimum driveability and
performance. To begin this process:
1. With the vehicle at a complete stop, set the parking brake.
2. Put the gearshift in P (Park), turn off all accessories and start the
engine.
3. Run the engine until it reaches normal operating temperature.
4. Allow the engine to idle for at least one minute.
5. Turn the A/C on and allow the engine to idle for at least one minute.
6. Drive the vehicle to complete the relearning process.
•The vehicle may need to be driven 10 miles (16 km) or more to
relearn the idle and fuel trim strategy.
•Note:If you do not allow the engine to relearn its idle trim, the idle
quality of your vehicle may be adversely affected until the idle trim is
eventually relearned.
If the battery has been disconnected or a new battery has been installed,
the clock and radio settings must be reset once the battery is
reconnected.
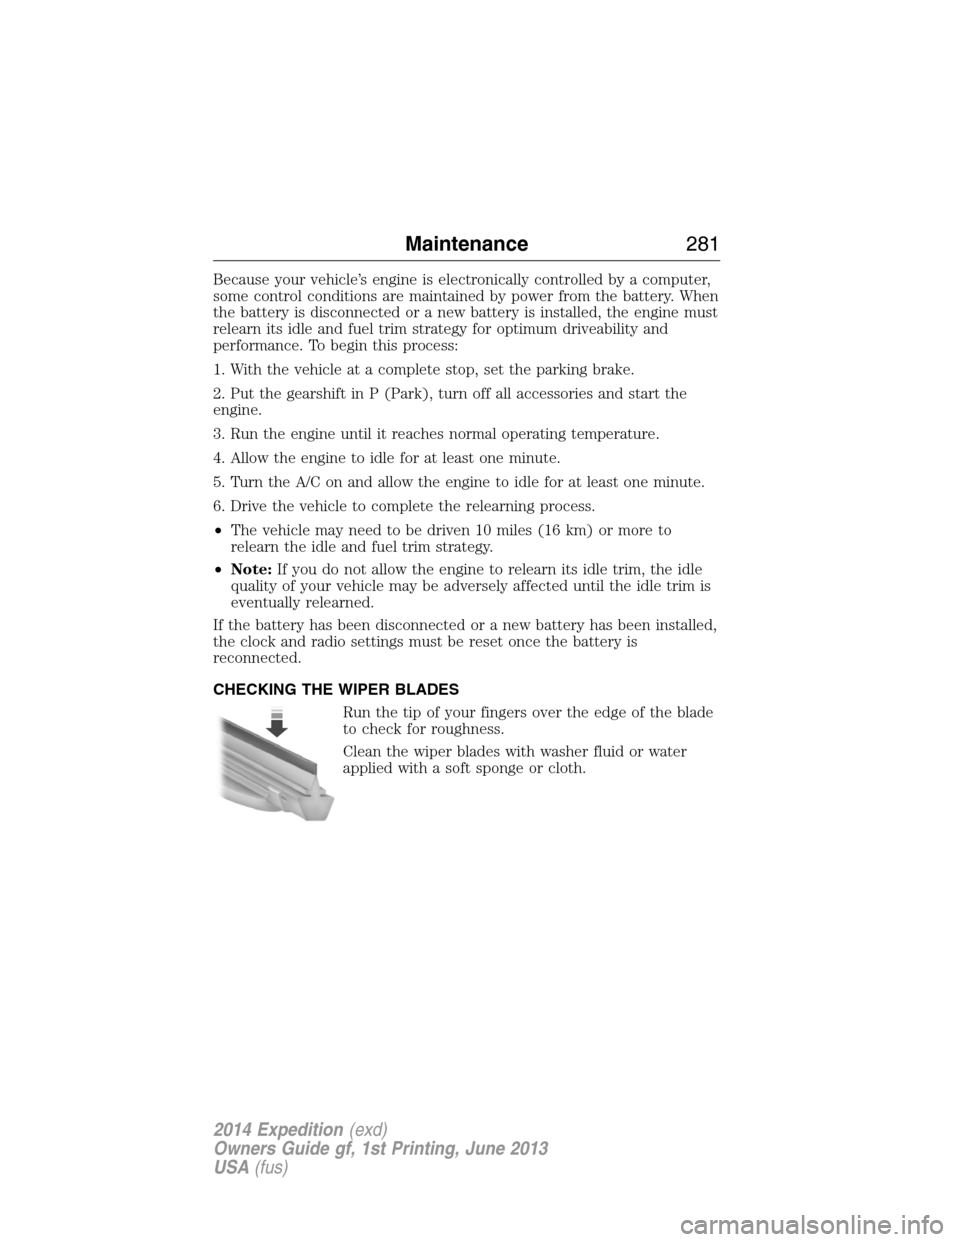
CHECKING THE WIPER BLADES
Run the tip of your fingers over the edge of the blade
to check for roughness.
Clean the wiper blades with washer fluid or water
applied with a soft sponge or cloth.
Maintenance281
2014 Expedition(exd)
Owners Guide gf, 1st Printing, June 2013
USA(fus)
Page 288 of 519
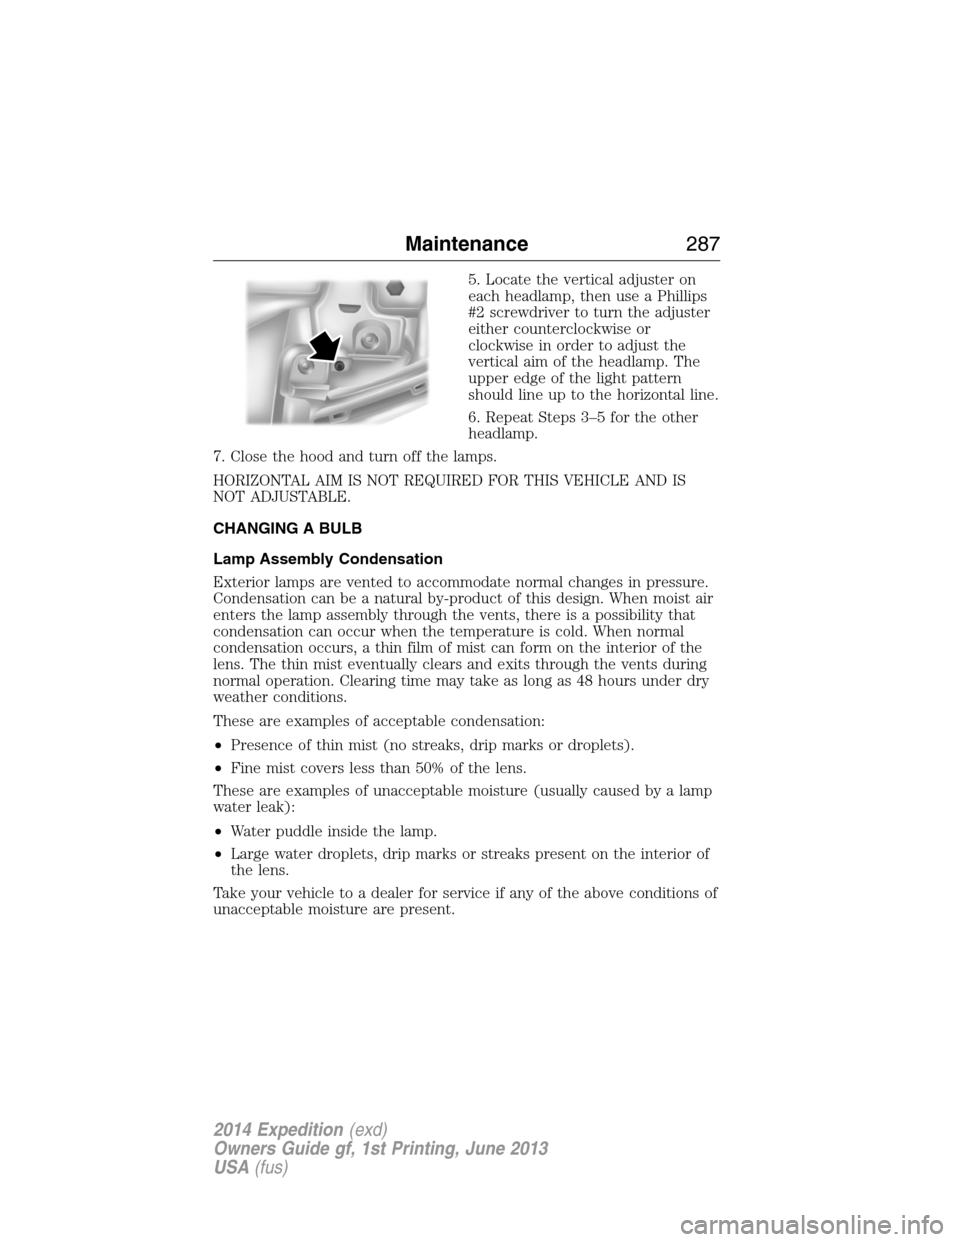
5. Locate the vertical adjuster on
each headlamp, then use a Phillips
#2 screwdriver to turn the adjuster
either counterclockwise or
clockwise in order to adjust the
vertical aim of the headlamp. The
upper edge of the light pattern
should line up to the horizontal line.
6. Repeat Steps 3–5 for the other
headlamp.
7. Close the hood and turn off the lamps.
HORIZONTAL AIM IS NOT REQUIRED FOR THIS VEHICLE AND IS
NOT ADJUSTABLE.
CHANGING A BULB
Lamp Assembly Condensation
Exterior lamps are vented to accommodate normal changes in pressure.
Condensation can be a natural by-product of this design. When moist air
enters the lamp assembly through the vents, there is a possibility that
condensation can occur when the temperature is cold. When normal
condensation occurs, a thin film of mist can form on the interior of the
lens. The thin mist eventually clears and exits through the vents during
normal operation. Clearing time may take as long as 48 hours under dry
weather conditions.
These are examples of acceptable condensation:
•Presence of thin mist (no streaks, drip marks or droplets).
•Fine mist covers less than 50% of the lens.
These are examples of unacceptable moisture (usually caused by a lamp
water leak):
•Water puddle inside the lamp.
•Large water droplets, drip marks or streaks present on the interior of
the lens.
Take your vehicle to a dealer for service if any of the above conditions of
unacceptable moisture are present.
Maintenance287
2014 Expedition(exd)
Owners Guide gf, 1st Printing, June 2013
USA(fus)