2014 FORD EXPEDITION warning
[x] Cancel search: warningPage 179 of 519
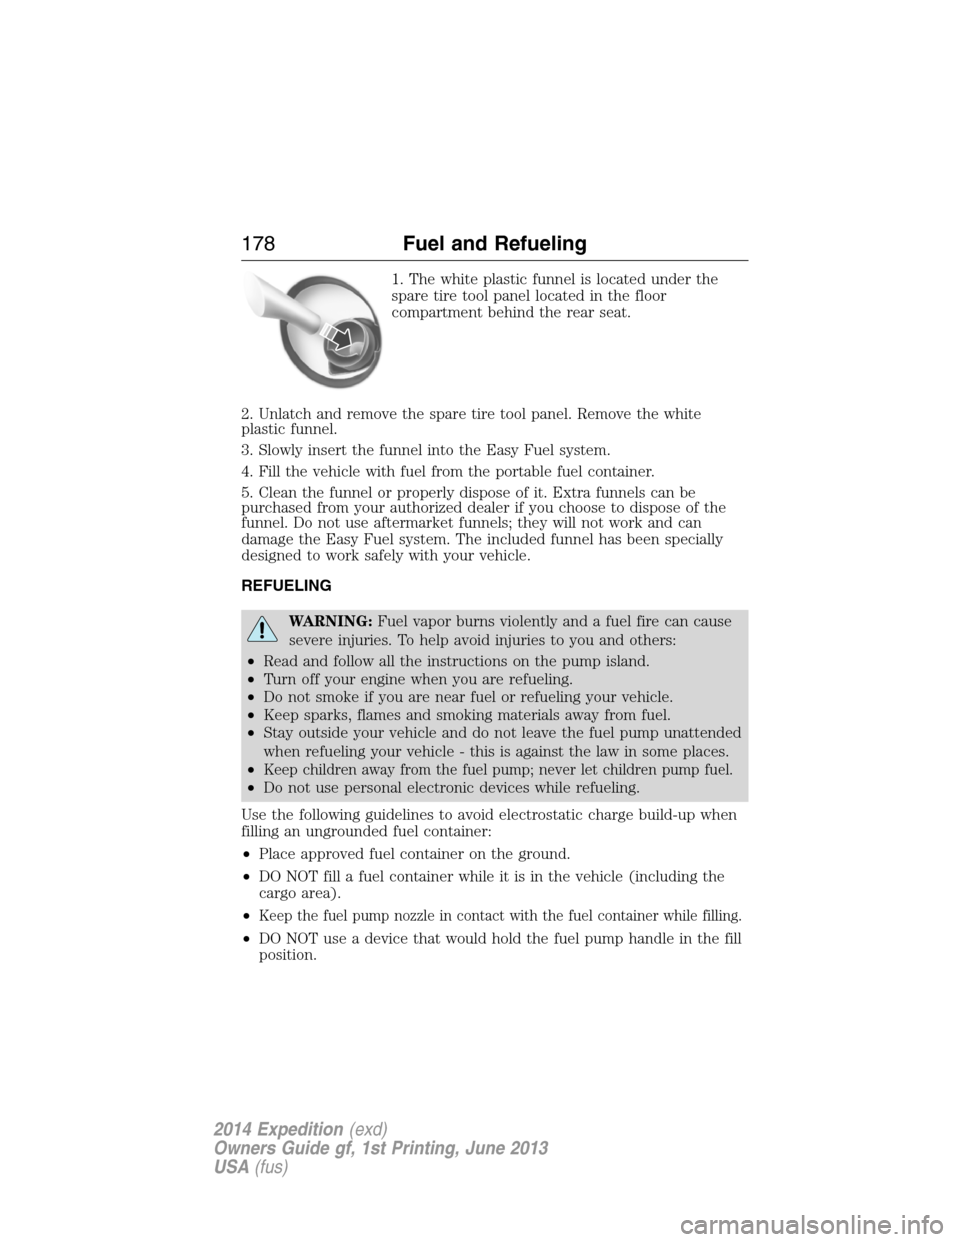
1. The white plastic funnel is located under the
spare tire tool panel located in the floor
compartment behind the rear seat.
2. Unlatch and remove the spare tire tool panel. Remove the white
plastic funnel.
3. Slowly insert the funnel into the Easy Fuel system.
4. Fill the vehicle with fuel from the portable fuel container.
5. Clean the funnel or properly dispose of it. Extra funnels can be
purchased from your authorized dealer if you choose to dispose of the
funnel. Do not use aftermarket funnels; they will not work and can
damage the Easy Fuel system. The included funnel has been specially
designed to work safely with your vehicle.
REFUELING
WARNING:Fuel vapor burns violently and a fuel fire can cause
severe injuries. To help avoid injuries to you and others:
•Read and follow all the instructions on the pump island.
•Turn off your engine when you are refueling.
•Do not smoke if you are near fuel or refueling your vehicle.
•Keep sparks, flames and smoking materials away from fuel.
•Stay outside your vehicle and do not leave the fuel pump unattended
when refueling your vehicle - this is against the law in some places.
•
Keep children away from the fuel pump; never let children pump fuel.
•Do not use personal electronic devices while refueling.
Use the following guidelines to avoid electrostatic charge build-up when
filling an ungrounded fuel container:
•Place approved fuel container on the ground.
•DO NOT fill a fuel container while it is in the vehicle (including the
cargo area).
•
Keep the fuel pump nozzle in contact with the fuel container while filling.
•DO NOT use a device that would hold the fuel pump handle in the fill
position.
178Fuel and Refueling
2014 Expedition(exd)
Owners Guide gf, 1st Printing, June 2013
USA(fus)
Page 180 of 519
Easy Fuel® “No Cap” Fuel System
WARNING:The fuel system may be under pressure. If you hear
a hissing sound near the fuel filler door, do not refuel until the
sound stops. Otherwise, fuel may spray out, which could cause serious
personal injury.
When fueling your vehicle:
1. Turn the engine off.
2. Open the fuel door by pulling the indent on the door.
3. Insert the fuel plug key (if equipped) into the locking plug and turn it
counterclockwise to unlock it.
4. Slowly insert the fuel filler nozzle fully into the fuel system, and leave
the nozzle fully inserted until you are done pumping.
5. After you are done pumping fuel, slowly remove the fuel filler
nozzle—allow about ten seconds after pumping fuel before removing the
fuel filler nozzle. This allows residual fuel to drain back into the fuel tank
and not spill onto the vehicle.
6. Reinstall the plug (if equipped) into the fuel fill inlet and turn the key
clockwise to lock.
Note:Do not overfill the tank or fuel spillage will occur.
If the fuel fill inlet was not properly closed, a Check Fuel Fill Inlet
message may appear on the information display. See theInformation
Displayschapter for more information.
At the next opportunity, do the following:
1. Safely pull off the road.
2. Turn off the engine.
3. Open the fuel filler door and remove any visible debris from the fuel
fill opening.
4. Insert either the fuel fill nozzle or the fuel fill funnel provided with the
vehicle several times to dislodge any debris and/or allow the inlet to
close properly.
If this action corrects the problem, the message may not reset
immediately. It may take several driving cycles for the message to turn
off. A driving cycle consists of an engine start-up (after four or more
hours with the engine off) followed by city/highway driving. Continuing
to drive with the message on may cause the service engine soon lamp to
turn on as well.
Fuel and Refueling179
2014 Expedition(exd)
Owners Guide gf, 1st Printing, June 2013
USA(fus)
Page 182 of 519

EMISSION CONTROL SYSTEM
WARNING:Do not park, idle, or drive your vehicle in dry grass
or other dry ground cover. The emission system heats up the
engine compartment and exhaust system, which can start a fire.
WARNING:Exhaust leaks may result in entry of harmful and
potentially lethal fumes into the passenger compartment. If you
smell exhaust fumes inside your vehicle, have your dealer inspect your
vehicle immediately. Do not drive if you smell exhaust fumes.
Your vehicle is equipped with various emission control components and a
catalytic converter which will enable your vehicle to comply with
applicable exhaust emission standards. To make sure that the catalytic
converter and other emission control components continue to work
properly:
•Use only the specified fuel listed.
•Avoid running out of fuel.
•Do not turn off the ignition while your vehicle is moving, especially at
high speeds.
•Have the items listed inScheduled Maintenance Information
performed according to the specified schedule.
The scheduled maintenance items listed inScheduled Maintenance
Informationare essential to the life and performance of your vehicle
and to its emissions system.
If other than Ford, Motorcraft® or Ford-authorized parts are used for
maintenance replacements or for service of components affecting
emission control, such non-Ford parts should be equivalent to genuine
Ford Motor Company parts in performance and durability.
Illumination of the service engine soon indicator, charging system
warning light or the temperature warning light, fluid leaks, strange odors,
smoke or loss of engine power could indicate that the emission control
system is not working properly.
An improperly operating or damaged exhaust system may allow exhaust
to enter the vehicle. Have a damaged or improperly operating exhaust
system inspected and repaired immediately.
Fuel and Refueling181
2014 Expedition(exd)
Owners Guide gf, 1st Printing, June 2013
USA(fus)
Page 185 of 519
AUTOMATIC TRANSMISSION
WARNING:Always set the parking brake fully and make sure
the gearshift is latched in P (Park). Turn the ignition to the off
position and remove the key whenever you leave your vehicle.
WARNING:Do not use the Tow/Haul feature when driving in icy
or slippery conditions as the increased engine braking can cause
the rear wheels to slide and the vehicle to swing around with the
possible loss of vehicle control.
Your vehicle is equipped with an Adaptive Transmission Shift Strategy.
The Adaptive Transmission Shift Strategy offers the optimal transmission
operation and shift quality. When the engine is turned off, the shift data
which includes the adaptive information will be stored automatically in
the Powertrain Control Module. If the battery is disconnected for any
reason, the stored information from the last time the key was turned to
OFF will be read. This way, no information will be lost with any battery
removal or battery disconnect.
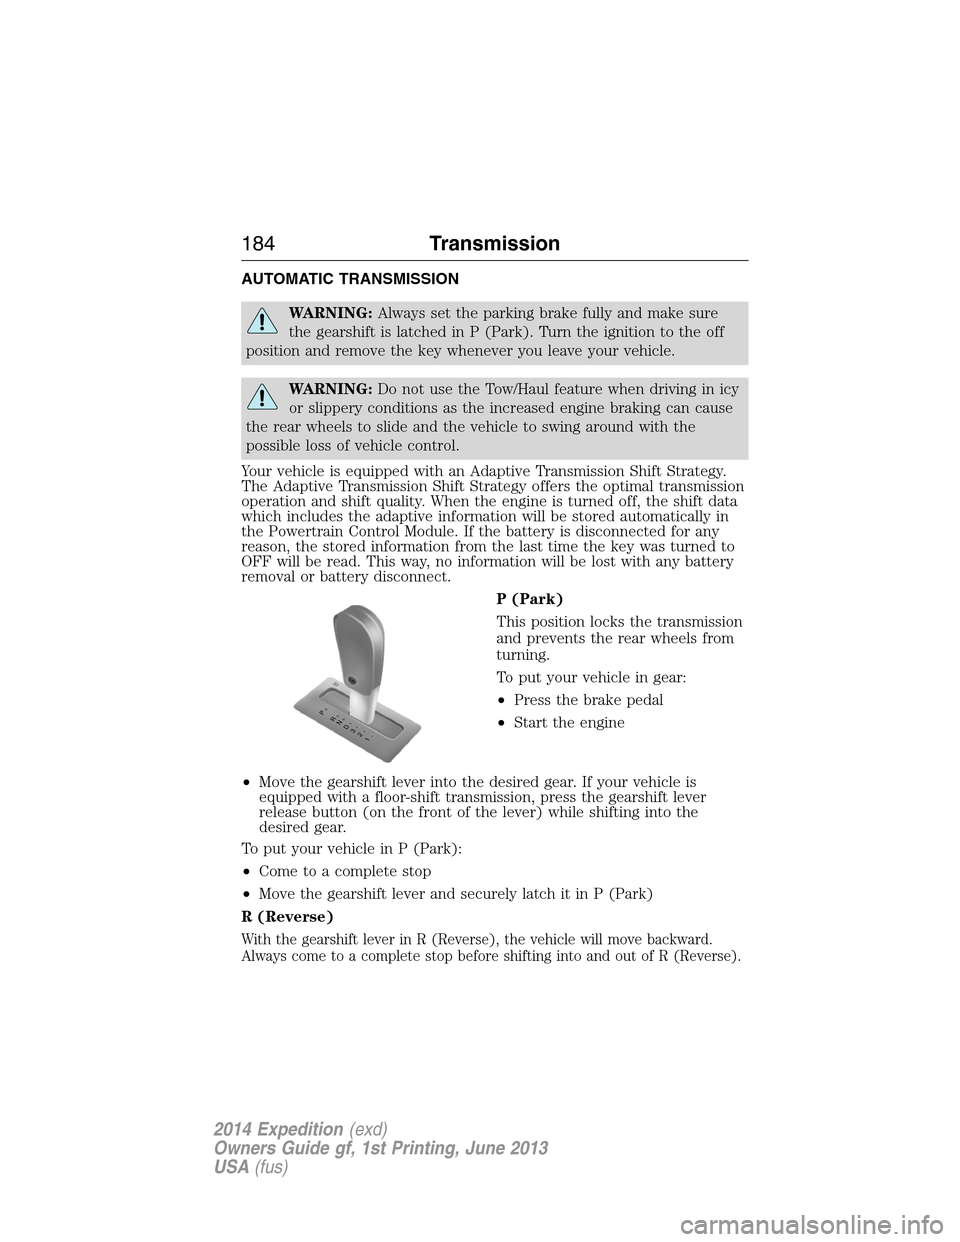
P (Park)
This position locks the transmission
and prevents the rear wheels from
turning.
To put your vehicle in gear:
•Press the brake pedal
•Start the engine
•Move the gearshift lever into the desired gear. If your vehicle is
equipped with a floor-shift transmission, press the gearshift lever
release button (on the front of the lever) while shifting into the
desired gear.
To put your vehicle in P (Park):
•Come to a complete stop
•Move the gearshift lever and securely latch it in P (Park)
R (Reverse)
With the gearshift lever in R (Reverse), the vehicle will move backward.
Always come to a complete stop before shifting into and out of R (Reverse).
T/H
PR
N
D
3
2
1
184Transmission
2014 Expedition(exd)
Owners Guide gf, 1st Printing, June 2013
USA(fus)
Page 188 of 519
Brake-Shift Interlock – Floor-Shift Transmission
WARNING:Do not drive your vehicle until you verify that the
brake lamps are working.
WARNING:When doing this procedure, you will be taking the
vehicle out of park which means the vehicle can roll freely. To
avoid unwanted vehicle movement, always fully set the parking brake
prior to doing this procedure. Use wheel chocks if appropriate.
WARNING:If the parking brake is fully released, but the brake
warning lamp remains illuminated, the brakes may not be
working properly. See your authorized dealer.
This vehicle is equipped with a brake-shift interlock feature that prevents
the gearshift lever from being moved from P (Park) when the ignition is
in the on position unless the brake pedal is pressed.
If you cannot move the gearshift lever out of P (Park) with ignition in
the on position and the brake pedal pressed, it is possible that a fuse has
blown or the vehicle’s brake lamps are not operating properly. Refer to
Fuseschapter for more information.
If the fuse is not blown and the brake lamps are working properly, the
following procedure will allow you to move the gearshift lever from P
(Park):
1. Apply the parking brake, turn the
ignition key to the off position, and
remove the key.
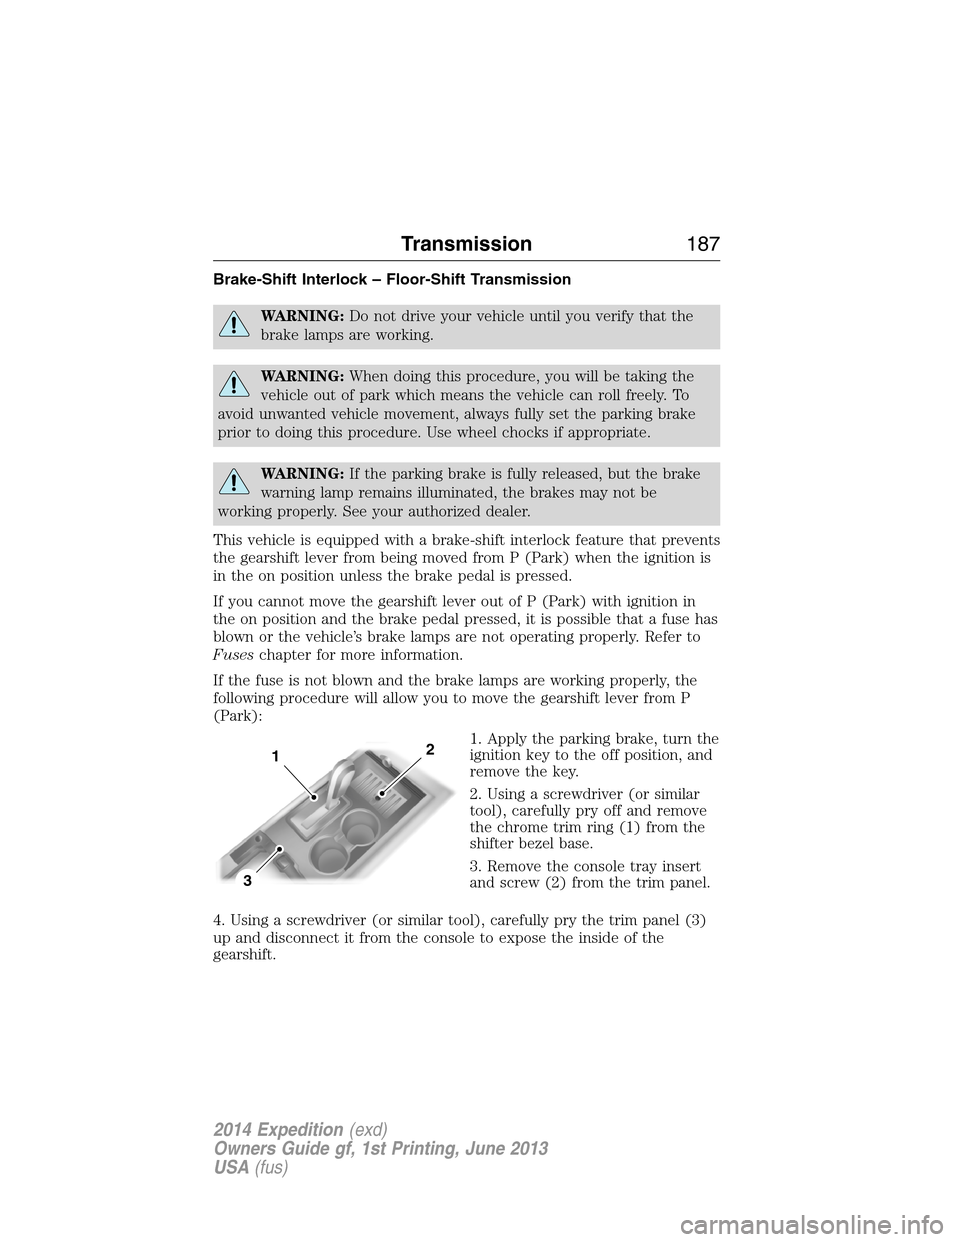
2. Using a screwdriver (or similar
tool), carefully pry off and remove
the chrome trim ring (1) from the
shifter bezel base.
3. Remove the console tray insert
and screw (2) from the trim panel.
4. Using a screwdriver (or similar tool), carefully pry the trim panel (3)
up and disconnect it from the console to expose the inside of the
gearshift.
3
12
Transmission187
2014 Expedition(exd)
Owners Guide gf, 1st Printing, June 2013
USA(fus)
Page 189 of 519
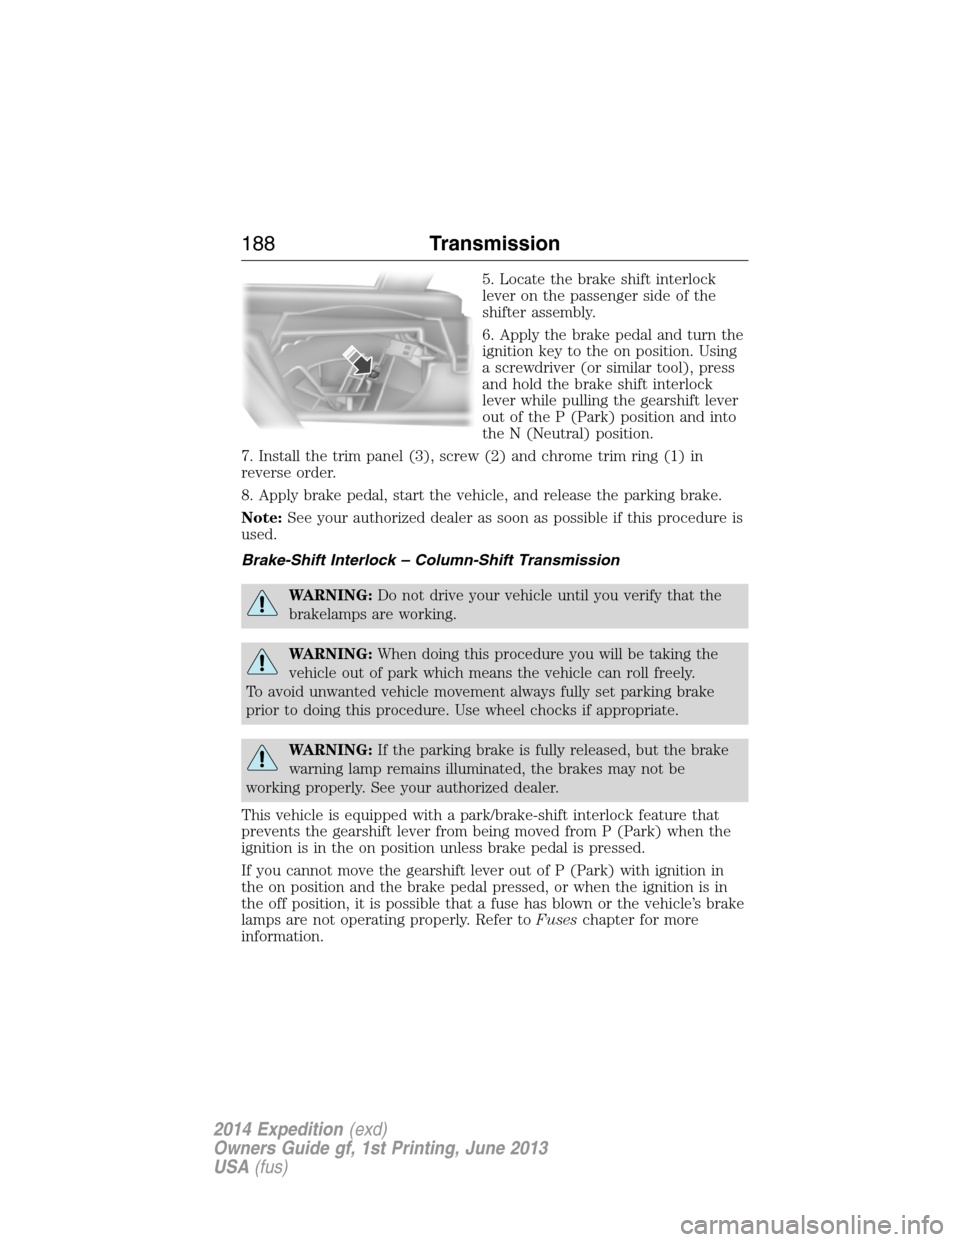
5. Locate the brake shift interlock
lever on the passenger side of the
shifter assembly.
6. Apply the brake pedal and turn the
ignition key to the on position. Using
a screwdriver (or similar tool), press
and hold the brake shift interlock
lever while pulling the gearshift lever
out of the P (Park) position and into
the N (Neutral) position.
7. Install the trim panel (3), screw (2) and chrome trim ring (1) in
reverse order.
8. Apply brake pedal, start the vehicle, and release the parking brake.
Note:See your authorized dealer as soon as possible if this procedure is
used.
Brake-Shift Interlock – Column-Shift Transmission
WARNING:Do not drive your vehicle until you verify that the
brakelamps are working.
WARNING:When doing this procedure you will be taking the
vehicle out of park which means the vehicle can roll freely.
To avoid unwanted vehicle movement always fully set parking brake
prior to doing this procedure. Use wheel chocks if appropriate.
WARNING:If the parking brake is fully released, but the brake
warning lamp remains illuminated, the brakes may not be
working properly. See your authorized dealer.
This vehicle is equipped with a park/brake-shift interlock feature that
prevents the gearshift lever from being moved from P (Park) when the
ignition is in the on position unless brake pedal is pressed.
If you cannot move the gearshift lever out of P (Park) with ignition in
the on position and the brake pedal pressed, or when the ignition is in
the off position, it is possible that a fuse has blown or the vehicle’s brake
lamps are not operating properly. Refer toFuseschapter for more
information.
188Transmission
2014 Expedition(exd)
Owners Guide gf, 1st Printing, June 2013
USA(fus)
Page 191 of 519
USING FOUR-WHEEL DRIVE (4WD) (IF EQUIPPED )
WARNING:For important information regarding safe operation
of this type of vehicle, seeGeneral Informationin theWheels
and Tireschapter.
Note:Do not use 4X4 mode on dry, hard surfaced roads. Doing so will
produce excessive noise, increase tire wear and may damage drive
components. 4X4 mode is only intended for consistently slippery or loose
surfaces.
Note:If 4X4 low is selected while the vehicle is moving above 3 mph
(5 km/h), the 4WD system will not perform a shift. This is normal and
should be no reason for concern. Refer toShifting to/from 4L
(4X4 Low)for proper operation.
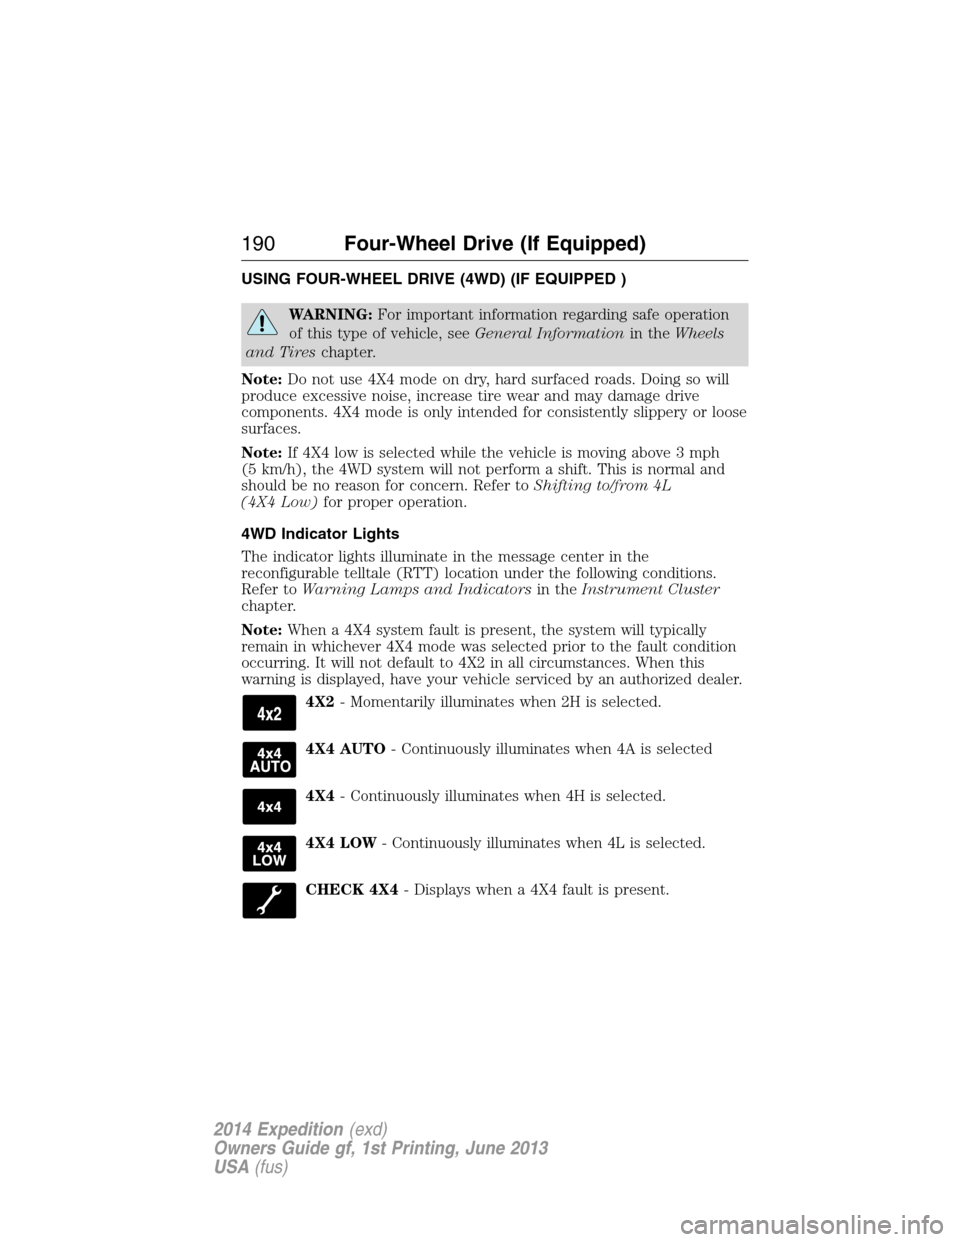
4WD Indicator Lights
The indicator lights illuminate in the message center in the
reconfigurable telltale (RTT) location under the following conditions.
Refer toWarning Lamps and Indicatorsin theInstrument Cluster
chapter.
Note:When a 4X4 system fault is present, the system will typically
remain in whichever 4X4 mode was selected prior to the fault condition
occurring. It will not default to 4X2 in all circumstances. When this
warning is displayed, have your vehicle serviced by an authorized dealer.
4X2- Momentarily illuminates when 2H is selected.
4X4 AUTO- Continuously illuminates when 4A is selected
4X4- Continuously illuminates when 4H is selected.
4X4 LOW- Continuously illuminates when 4L is selected.
CHECK 4X4- Displays when a 4X4 fault is present.
190Four-Wheel Drive (If Equipped)
2014 Expedition(exd)
Owners Guide gf, 1st Printing, June 2013
USA(fus)
Page 192 of 519
4WD switch positions
WARNING:Utility and four-wheel drive vehicles arenot
designed for cornering at speeds as high as passenger cars any
more than low-slung sports cars are designed to perform satisfactorily
under off-road conditions. Avoid sharp turns or abrupt maneuvers in
these vehicles.
Note:If your vehicle is equipped with AdvanceTrac® with RSC®, the
system will automatically turn off the stability enhancement feature
when you shift the 4WD system into 4L (4X4 LOW). You can manually
turn the system off by pressing the AdvanceTrac button, see the
Traction Controlchapter for more information. This will disable the
engine management feature, allowing the vehicle to maintain full power
and enhanced momentum through the obstacle. The brake traction
enhancement feature will still be enabled.
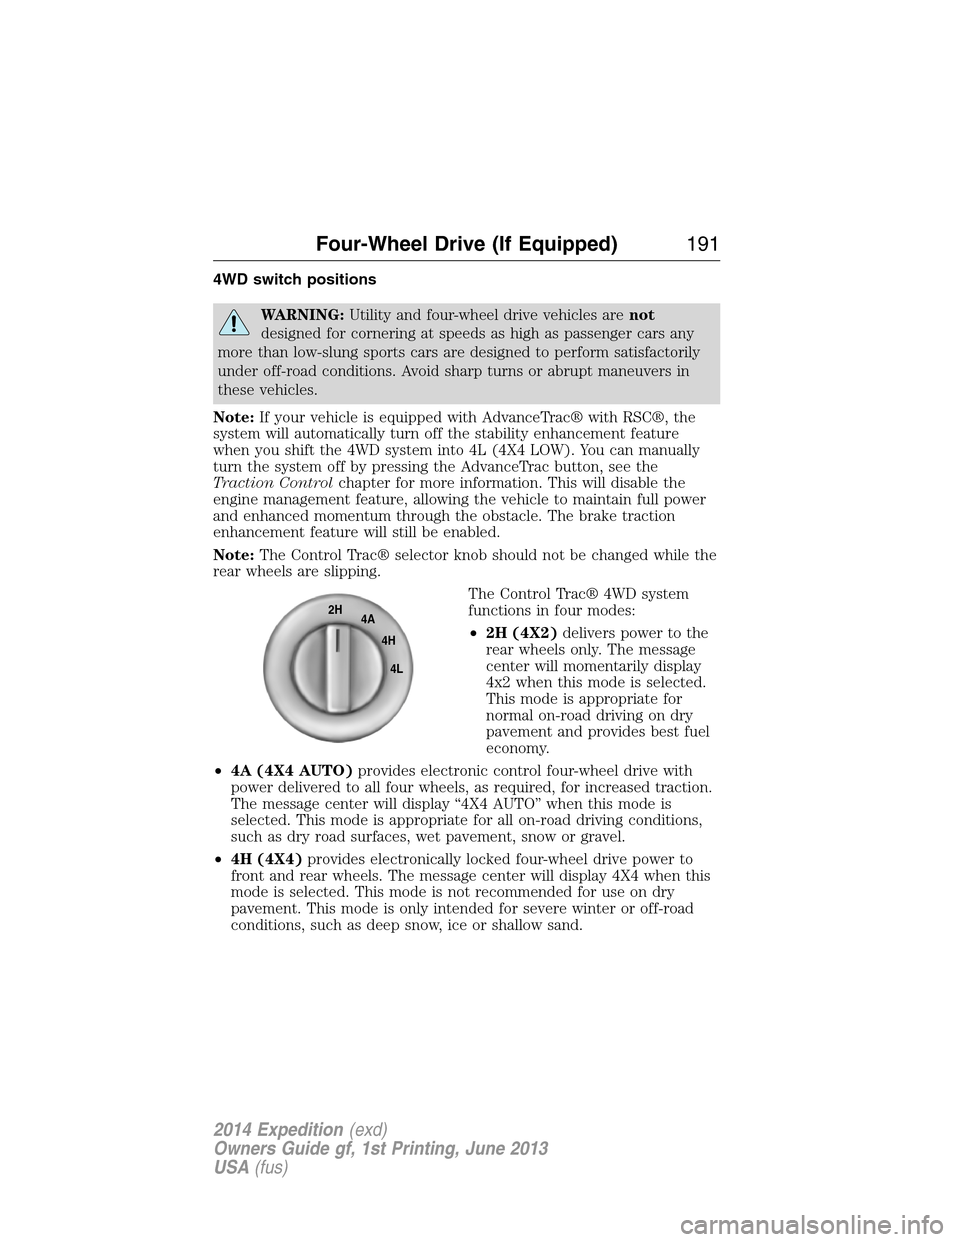
Note:The Control Trac® selector knob should not be changed while the
rear wheels are slipping.
The Control Trac® 4WD system
functions in four modes:
•2H (4X2)delivers power to the
rear wheels only. The message
center will momentarily display
4x2 when this mode is selected.
This mode is appropriate for
normal on-road driving on dry
pavement and provides best fuel
economy.
•4A (4X4 AUTO)provides electronic control four-wheel drive with
power delivered to all four wheels, as required, for increased traction.
The message center will display “4X4 AUTO” when this mode is
selected. This mode is appropriate for all on-road driving conditions,
such as dry road surfaces, wet pavement, snow or gravel.
•4H (4X4)provides electronically locked four-wheel drive power to
front and rear wheels. The message center will display 4X4 when this
mode is selected. This mode is not recommended for use on dry
pavement. This mode is only intended for severe winter or off-road
conditions, such as deep snow, ice or shallow sand.
2H
4A
4H
4L
Four-Wheel Drive (If Equipped)191
2014 Expedition(exd)
Owners Guide gf, 1st Printing, June 2013
USA(fus)