Page 224 of 476

SafeHold
SafeHold is a safety feature of the EPB system that will
engage the park brake automatically if the vehicle is left
unsecured while the ignition switch is in the RUN
mode.
For automatic transmissions, the EPB will automatically
engage if all of the following conditions are met:
•Vehicle speed is below 1.9 mph (3 km/h).
• There is no attempt to depress the brake pedal or
accelerator pedal.
• The seat belt is unbuckled.
• The driver door is open.
• The vehicle is not in the PARK position.
For manual transmissions, the EPB will automatically
engage if all of the following conditions are met:
• Vehicle speed is below 1.9 mph (3 km/h).
• There is no attempt to depress the brake pedal or
accelerator pedal.
• The clutch pedal is not pressed.
• The seat belt is unbuckled. •
The driver door is open.
SafeHold can be temporarily bypassed by pushing the
EPB Switch while the driver door is open and the brake
pedal is pressed. Once manually bypassed, SafeHold
will be enabled again once the vehicle reaches 12 mph
(20 km/h) or the ignition is cycled to the OFF mode and
back to RUN mode.
Brake Service Mode
We recommend having your brakes serviced by your
authorized dealer. You should only make repairs for
which you have the knowledge and the right equip-
ment. You should only enter Brake Service Mode during
brake service.
When servicing your rear brakes, it may be necessary
for you or your technician to push the rear piston into
the rear caliper bore. With the electric park brake
system, this can only be done after retracting the EPB
actuator. The actuator retraction can be done easily by
entering the Brake Service Mode through the Uconnect
Settings in your vehicle. This menu based system will
guide you through the steps necessary to retract the
EPB actuator in order to perform rear brake service.
222 STARTING AND OPERATING
Page 262 of 476

Check TPMS Warnings
The Tire Pressure Monitoring Telltale Light will flash on
and off for 75 seconds and remain on solid when a
system fault is detected, an audible chime will be
activated and the “Service Tire Pressure Monitoring
System” text message will display. If the ignition is
cycled, this sequence will repeat providing the system
fault still exists. The Tire Pressure Monitoring Telltale
Light will turn off when the fault condition no longer
exists. A system fault can occur with any of the follow-
ing scenarios:
•Jamming due to electronic devices or driving next to
facilities emitting the same radio frequencies as the
TPM sensors.
• Installing some form of aftermarket window tinting
that affects radio wave signals.
• Snow or ice around the wheels or wheel housings.
• Using tire chains on the vehicle.
• Using wheels/tires not equipped with TPM sensors.
NOTE: Your vehicle may be equipped with a compact
spare wheel and tire assembly. •
The compact spare tire does not have a tire pressure
monitoring sensor. Therefore, the TPMS will not
monitor the tire pressure in the compact spare tire.
• If you install the compact spare tire in place of a road
tire that has a pressure below the low-pressure
warning limit, upon the next ignition cycle, a chime
will sound and the Tire Pressure Monitoring Telltale
Light will still turn ON due to the low tire.
• However, after driving the vehicle for up to 20
minutes above 15 mph (24 km/h), the Tire Pressure
Monitoring Telltale Light will flash on and off for 75
seconds and then remain on solid.
• This occurs for each subsequent ignition cycle, a
chime will sound and the Tire Pressure Monitoring
Telltale Light will flash on and off for 75 seconds and
then remain on solid.
• Once you repair or replace the original road tire and
reinstall it on the vehicle in place of the compact
spare tire, the TPMS will update automatically and
the Tire Pressure Monitoring Telltale Light will turn
OFF, as long as no tire pressure is below the low-
pressure warning limit in any of the four active road
260 STARTING AND OPERATING
Page 267 of 476

NOTE:Intentional tampering with the emissions con-
trol system can result in civil penalties being assessed
against you.
Carbon Monoxide Warnings
WARNING!
Carbon monoxide (CO) in exhaust gases is deadly.
Follow the precautions below to prevent carbon
monoxide poisoning:
• Do not inhale exhaust gases. They contain carbon
monoxide, a colorless and odorless gas, which can
kill. Never run the engine in a closed area, such as
a garage, and never sit in a parked vehicle with
the engine running for an extended period. If the
vehicle is stopped in an open area with the engine
running for more than a short period, adjust the
ventilation system to force fresh, outside air into
the vehicle.
• Guard against carbon monoxide with proper
maintenance. Have the exhaust system inspected
every time the vehicle is raised. Have any abnor-
mal conditions repaired promptly. Until repaired,
drive with all side windows fully open.
ADDING FUEL
The Capless Fuel System uses a flapper placed at the
filler pipe of the fuel tank; it opens and closes automati-
cally upon insertion/extraction of the fuel nozzle.
The Capless Fuel System is designed so that it prevents
the filling of an incorrect type of fuel.
Opening The Door
For filling, proceed as follows:
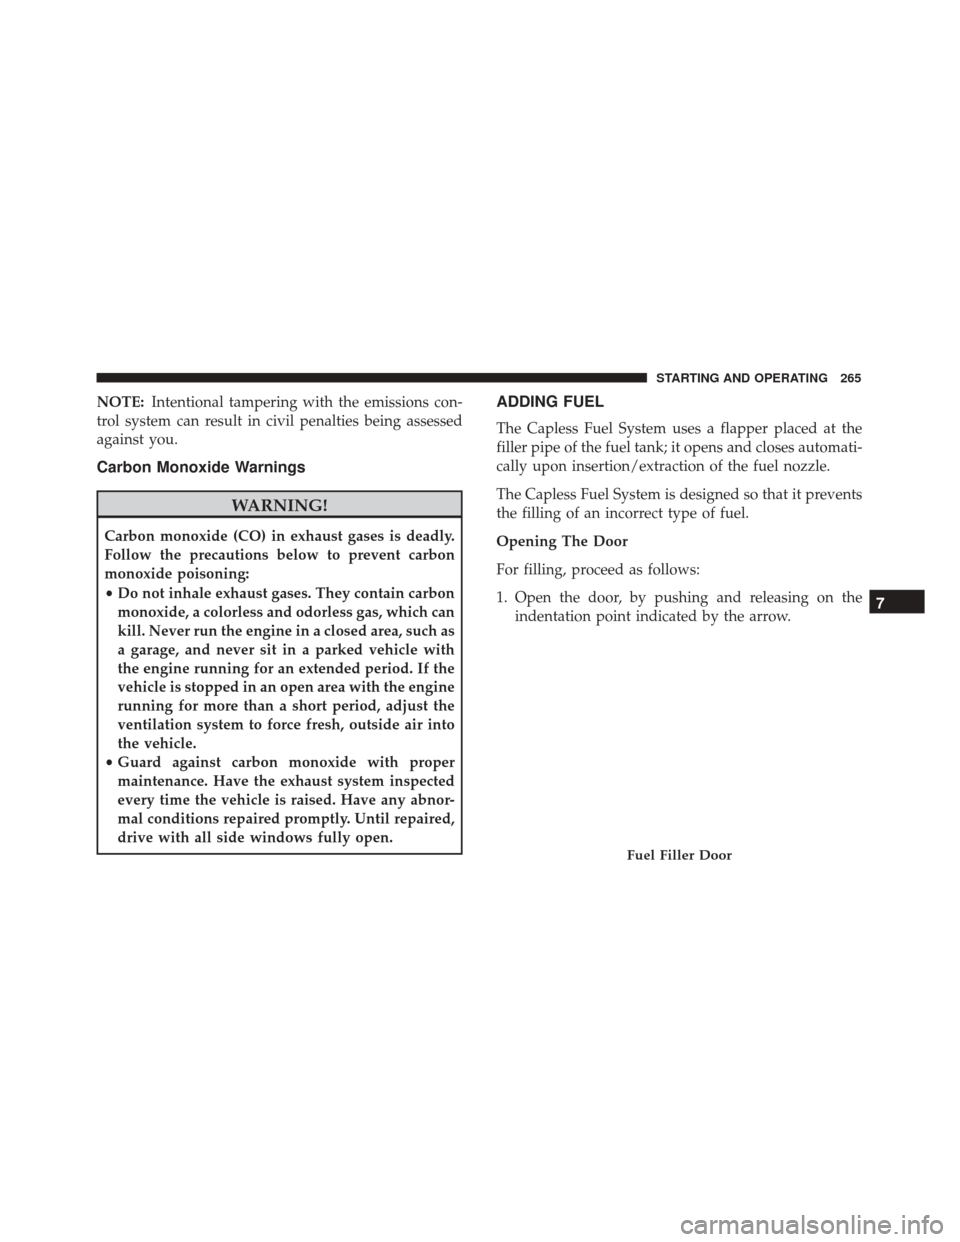
1. Open the door, by pushing and releasing on the indentation point indicated by the arrow.
Fuel Filler Door
7
STARTING AND OPERATING 265
Page 286 of 476
Highway Driving
Reduce speed.Air Conditioning
Turn off temporarily.
RECREATIONAL TOWING (BEHIND MOTORHOME, ETC.)
Towing This Vehicle Behind Another Vehicle
TOWING CONDITION
WHEELS OFF THE
GROUND FRONT WHEEL DRIVE
(FWD) ALL-WHEEL DRIVE
(AWD)
Flat Tow NONENOT ALLOWED NOT ALLOWED
Dolly Tow REARNOT ALLOWED NOT ALLOWED
FRONT OKNOT ALLOWED
On Trailer ALLBEST METHOD OK
NOTE: When towing your vehicle, always follow applicable state and provincial laws. Contact state and pro-
vincial Highway Safety offices for additional details.
NOTE: You must ensure that the Auto Park Brake
feature is disabled before towing this vehicle, to avoid
inadvertent Electric Park Brake engagement. The Auto
Park Brake feature is enabled or disabled via the
Customer Programmable Features in the Uconnect Set-
tings.
284 STARTING AND OPERATING
Page 312 of 476
CavityMaxi Fuse Cartage Fuse Mini Fuse Description
F16 ––5 Amp Tan Engine Control
Module Power, Au-tomatic Transmis- sion
F17 ––10 Amp Red
15 Amp Blue Supply Primary
Loads (1.4L)
Supply Primary Loads (2.4L)
F18 ––30 Amp Green Power All-Wheel
Drive
F19 ––7.5 Amp Brown Air Conditioner
Compressor
F20 ––5 Amp Tan Electronic Power
Four-Wheel Drive
F21 ––15 Amp Blue Fuel Pump
F22 ––20 Amp Yelow Power Control
Module Engine
F23 ––20 Amp Yellow
(Customer In- stalled) Power Outlet (Bat-
tery Powered)
310 IN CASE OF EMERGENCY
Page 313 of 476
CavityMaxi Fuse Cartage Fuse Mini Fuse Description
F24 ––15 Amp Blue Electronic Unit Sup-
ply AutomaticTransmission
F30 ––30 Amp Green Heated Windshield
– If Equipped
F83 –40 Amp Green –Air Conditioning
Fan
F84 ––20 Amp Yellow Power Outlet (Igni-
tion Powered)
F87 ––5 Amp Tan Gear Selector Auto-
matic Transmission
F88 ––7.5 Amp Brown Heated Outside
Mirrors
F89 –30 Amp Pink –Heated Rear Win-
dow
F90 ––5 Amp Tan IBS Sensor (Battery
State of Charge)
8
IN CASE OF EMERGENCY 311
Page 315 of 476

Cavity Mini FuseDescription
F31 7.5 Amp Brown Fan Air Conditioning, Power Socket
F33 20 Amp Yellow Power Window Front (Passenger Side)
F34 20 Amp Yellow Power Window Front (Driver ’s Side)
F36 15 Amp Blue Supply Uconnect System, Air Conditioning, USB Port, Rear lateral ceiling light in case of open roof, EOBD port
F37 10 Amp Red System Power Forward Collision Warning Plus, All Wheel Drive (AWD), IPC, Central stack switches, Brake Pedal Switch (NC)
F38 20 Amp Yellow Central Locking
F42 7.5 Amp Brown BSM - Brake Control Module, EPS - Electric Power-Assisted Steering
F43 20 Amp Yellow Bi-directional Pump Washer
F47 20 Amp Yellow Power Rear Window (Driver Side)
F48 20 Amp Yellow Power Rear Window (Passenger Side)
F49 7.5 Amp Brown Supply ParkSense, Spot Lights Front Dome, Internal Electocromic Mirror, Heated Front Seats
F50 7.5 Amp Brown Supply Air Bag
F51 7.5 Amp Brown Air Conditioning Compressor, Plaque Automatic Transmission, Rear Camera, Air Conditioning, LDW - Lane Departure Warning, ASS - Auxiliary Stack
Switch, DSU - Drive Syle Selector Unit, Reverse gear switch, side mirrors and
rear window defrost
F53 7.5 Amp Brown Supply IPC/Starter Device/System Keyless Enter-N-Go, Brake Pedal Switch (NA), EPB - Electric Parking Brake
8
IN CASE OF EMERGENCY 313
Page 326 of 476

Tire Service Kit — If Equipped
If a tire is punctured, you can make a first emergency
repair using the Tire Service Kit located in the rear
storage compartment inside the storage container.Remove the Tire Service Kit from the vehicle, take it out
from the bag and place it near the punctured tire. Screw
the clear flexible filling tube to the tire valve.
WARNING!
•
Do not attempt to seal a tire on the side of the
vehicle closest to traffic. Pull far enough off the
road to avoid the danger of being hit when using
the Tire Service Kit.
• Do not use Tire Service Kit or drive the vehicle
under the following circumstances:
• If the puncture in the tire tread is approxi-
mately 1/4 inch (6 mm) or larger.
• If the tire has any sidewall damage.
• If the tire has any damage from driving with
extremely low tire pressure.
• If the tire has any damage from driving on a flat
tire.
• If the wheel has any damage.
• If you are unsure of the condition of the tire or
the wheel.
• Keep Tire Service Kit away from open flames or
heat sources.
(Continued)
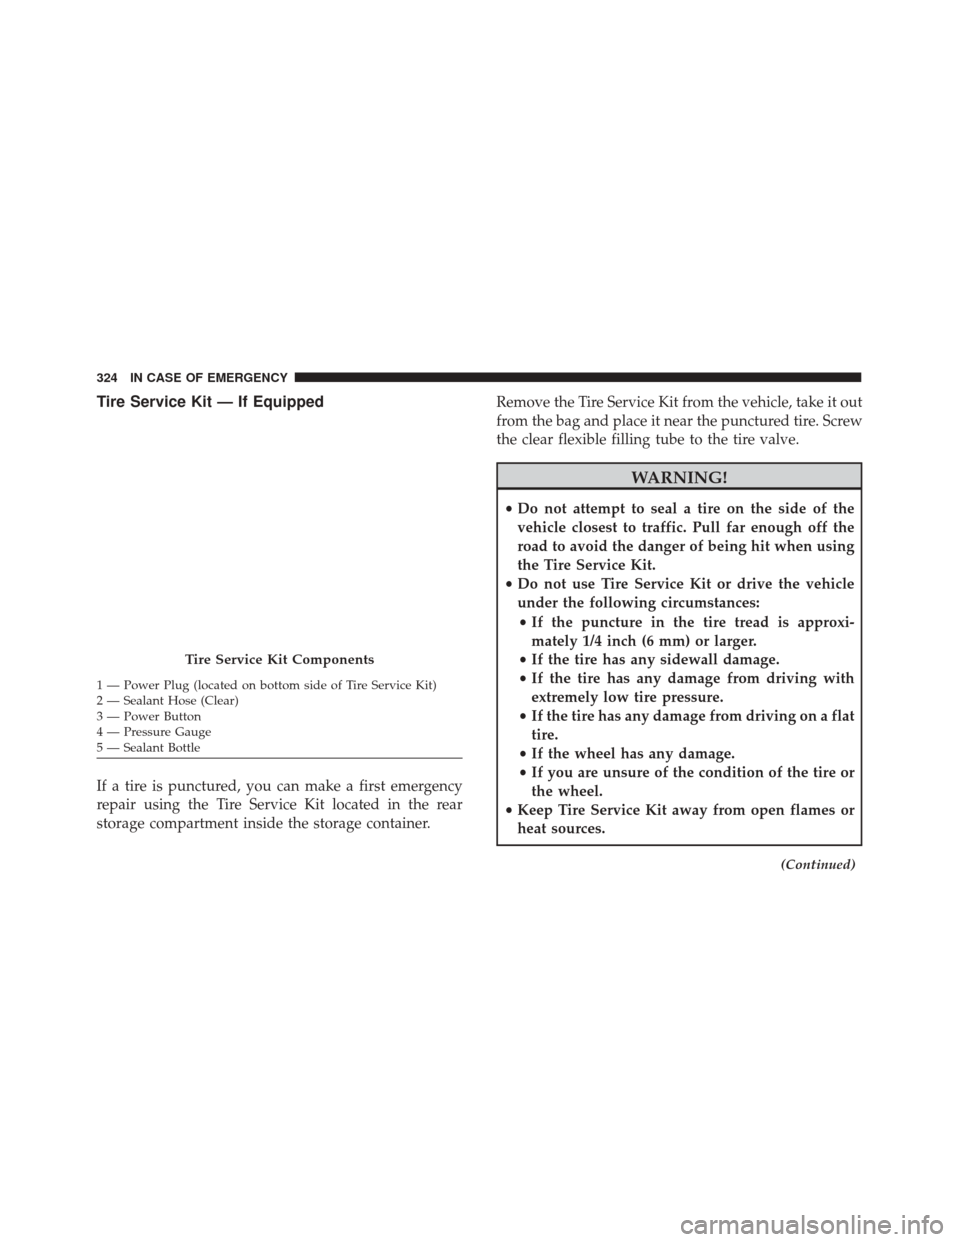
Tire Service Kit Components
1 — Power Plug (located on bottom side of Tire Service Kit)
2 — Sealant Hose (Clear)
3 — Power Button
4 — Pressure Gauge
5 — Sealant Bottle 324 IN CASE OF EMERGENCY