Page 401 of 476

tires must meet under the Federal Motor Vehicle
Safety Standard No. 109. Grades B and A represent
higher levels of performance on the laboratory test
wheel, than the minimum required by law.
WARNING!
The temperature grade for this tire is established
for a tire that is properly inflated and not over-
loaded. Excessive speed, under-inflation, or ex-
cessive loading, either separately or in combina-
tion, can cause heat buildup and possible tire
failure.
TIRE ROTATION RECOMMENDATIONS
The tires on the front and rear of your vehicle operate at
different loads and perform different steering, han-
dling, and braking functions. For these reasons, they
wear at unequal rates.
These effects can be reduced by timely rotation of tires.
The benefits of rotation are especially worthwhile with
aggressive tread designs such as those on On/Off Road
type tires. Rotation will increase tread life, help to
maintain mud, snow, and wet traction levels, and
contribute to a smooth, quiet ride. Refer to the “Maintenance Plan” in this section for the
proper maintenance intervals. The reasons for any rapid
or unusual wear should be corrected prior to rotation
being performed.
The suggested Front Wheel Drive (FWD) rotation
method is the “forward cross” shown in the following
diagram. This rotation pattern does not apply to some
directional tires that must not be reversed.
The suggested Four Wheel Drive (4WD) Tire rotation
method is the “rearward cross” shown in the following
diagram.
Front Wheel Drive (FWD) Tire Rotation
9
MAINTAINING AND CARING FOR YOUR VEHICLE 399
Page 402 of 476

CAUTION!
Proper operation of four-wheel drive vehicles de-
pends on tires of equal size, type and circumference
on each wheel. Any difference in tire size can cause
damage to the power transfer unit. Tire rotation
schedule should be followed to balance tire wear.
STORING THE VEHICLE
If the vehicle should remain stationary for more than a
month, observe the following precautions:
•Park your vehicle in a covered, dry and possibly airy
location the windows open slightly.
• Check that the Electric Park Brake is not engaged.
• Disconnect the negative (-) terminal from the battery
post and be sure that the battery is fully charged.
During storage check battery charge quarterly.
• If you do not disconnect the battery from the electri-
cal system, check the battery charge every thirty
days.
• Clean and protect the painted parts by applying
protective waxes.
• Clean and protect polished metal parts by applying
protective waxes.
• Apply talcum powder to the front and rear wiper
blades and leave raised from the glass.
• Cover the vehicle with an appropriate cover taking
care not to damage the painted surface by dragging
Four Wheel Drive (4WD) Tire Rotation
400 MAINTAINING AND CARING FOR YOUR VEHICLE
Page 405 of 476
TECHNICAL DATA
CONTENTS
�VEHICLE IDENTIFICATION NUMBER ......404
� WHEEL AND TIRE TORQUE
SPECIFICATIONS .....................404
▫ Torque Specifications ..................405
� FLUID CAPACITIES ...................407 �
FLUIDS, LUBRICANTS, AND GENUINE
PARTS ............................ .408
▫ Engine ........................... .408
▫ Chassis .......................... .409
10
Page 406 of 476
VEHICLE IDENTIFICATION NUMBER
The chassis number (VIN) and stamped on the plate
illustrated in, located on the left front corner of the
instrument panel cover, visible from the outside vehicle
through the windshield.
This number is also stamped on the floor of the passen-
ger compartment, in front of the right front seat.The stamp includes:
•
Type of the vehicle
• Sequential production number of the chassis
WHEEL AND TIRE TORQUE SPECIFICATIONS
Proper lug nut/bolt torque is very important to ensure
that the wheel is properly mounted to the vehicle. Any
time a wheel has been removed and reinstalled on the
vehicle, the lug nuts/bolts should be torqued using a
properly calibrated torque wrench.
Vehicle Identification Number (VIN)
Vehicle Identification Number (VIN)
404 TECHNICAL DATA
Page 407 of 476
Torque Specifications
Lug Nut/Bolt Torque **Lug Nut/Bolt SizeLug Nut/
Bolt
Socket Size
89 Ft-Lbs (120 N·m) M12 x 1.25 x 25.517 mm
**Use only your authorized dealer recommended lug
nuts/bolts and clean or remove any dirt or oil before
tightening.
Inspect the wheel mounting surface prior to mounting
the tire and remove any corrosion or loose particles.
Wheel Mounting Surface
10
TECHNICAL DATA 405
Page 408 of 476
Tighten the lug nuts/bolts in a star pattern until each
nut/bolt has been tightened twice.After 25 miles (40 km) check the lug nut/bolt torque to
be sure that all the lug nuts/bolts are properly seated
against the wheel.
WARNING!
To avoid the risk of forcing the vehicle off the jack,
do not tighten the lug nuts fully until the vehicle
has been lowered. Failure to follow this warning
may result in personal injury.
Torque Patterns
406 TECHNICAL DATA
Page 413 of 476

MULTIMEDIA
CONTENTS
�CYBERSECURITY ..................... .412
� UCONNECT SETTINGS .................413
▫ Buttons On The Faceplate ...............415
▫ Buttons On The Touchscreen .............415
▫ Customer Programmable Features — Uconnect
5.0 Settings ....................... .415
▫ Customer Programmable Features — Uconnect
6.5 NAV Settings .....................430
� UCONNECT RADIOS ..................445
� USB/MEDIA PLAYER CONTROL — IF
EQUIPPED ......................... .445
� STEERING WHEEL AUDIO CONTROLS .....446
▫ Radio Operation .....................447
▫ Media Mode ....................... .447
�
RADIO OPERATION AND MOBILE DEVICES . .447
▫ Regulatory And Safety Information ........447
� VOICE RECOGNITION QUICK TIPS .......449
▫ Introducing Uconnect ..................449
▫ Get Started ........................ .450
▫ Basic Voice Commands ................451
▫ Radio ............................ .451
▫ Media ............................ .452
▫ Phone ............................ .453
▫ Voice Text Reply .....................454
▫ Navigation (6.5 NAV) ..................455
▫ Siri Eyes Free — If Equipped ............456
▫ General Information ...................458
▫ Additional Information ................458
11
Page 421 of 476

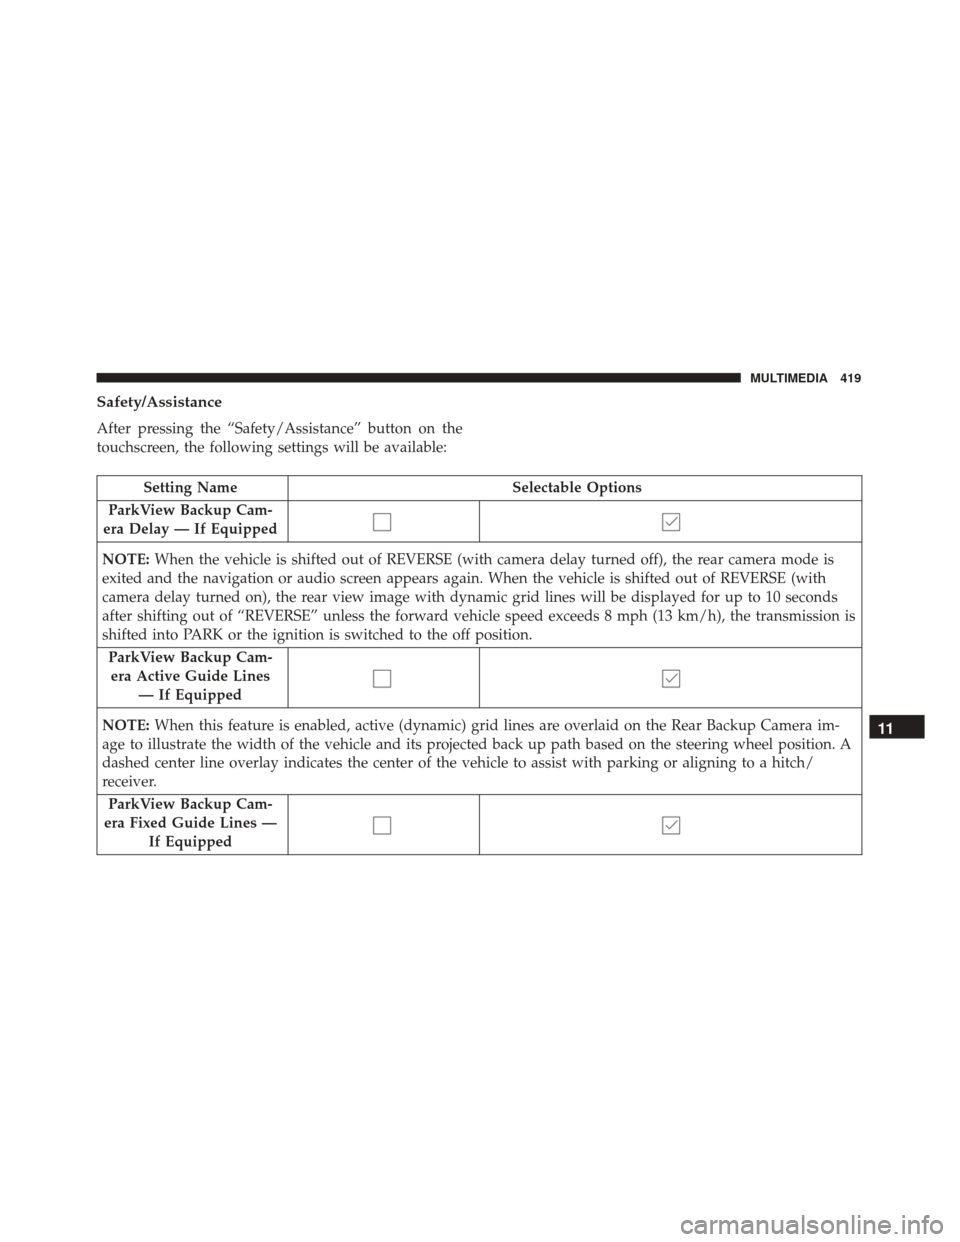
Safety/Assistance
After pressing the “Safety/Assistance” button on the
touchscreen, the following settings will be available:
Setting NameSelectable Options
ParkView Backup Cam-
era Delay — If Equipped
NOTE: When the vehicle is shifted out of REVERSE (with camera delay turned off), the rear camera mode is
exited and the navigation or audio screen appears again. When the vehicle is shifted out of REVERSE (with
camera delay turned on), the rear view image with dynamic grid lines will be displayed for up to 10 seconds
after shifting out of “REVERSE” unless the forward vehicle speed exceeds 8 mph (13 km/h), the transmission is
shifted into PARK or the ignition is switched to the off position.
ParkView Backup Cam-era Active Guide Lines — If Equipped
NOTE: When this feature is enabled, active (dynamic) grid lines are overlaid on the Rear Backup Camera im-
age to illustrate the width of the vehicle and its projected back up path based on the steering wheel position. A
dashed center line overlay indicates the center of the vehicle to assist with parking or aligning to a hitch/
receiver.
ParkView Backup Cam-
era Fixed Guide Lines — If Equipped
11
MULTIMEDIA 419