Page 33 of 148

Rain Sensing Wipers
• This feature senses moisture on the vehicle's windshield and automatically activates thewipers for the driver when the switch is in the intermittent position. Rotate the end of the
lever to one of four settings to activate this feature and adjust sensitivity.
• Rain Sensing can be turned on and off using the Uconnect® System, refer to the Owner's Manual on the DVD for further details.
High Beam Operation
• Push the lever forward to activate the high beams. Pull the lever toward you for flash topass.
NOTE:
For safe driving, turn off the high beams when oncoming traffic is present to prevent
headlight glare and as a courtesy to other motorists.
HEADLIGHT SWITCH
Automatic Headlights/Parking Lights/Headlights
• Rotate the headlight switch, located on the instrument panel to the left of the
steering wheel, to the first detent from the
off position for parking light
and
to the second detent for headlight
.
• With the parking lights or low beam head- lights on, press the headlight switch for
front fog lights. Pressing the switch a sec-
ond time will deactivate the front fog
lights. Turning the headlight switch off
will also deactivate the front fog lights.
• Rotate the headlight switch to “AUTO” for AUTO headlights.
• When set to AUTO, the system automati- cally turns the headlights on or off based
on ambient light levels.
Automatic High Beams
The Automatic High Beams system provides increased forward lighting at night by auto-
mating high beam control through the use of a digital camera mounted on the inside
rearview mirror. This camera detects vehicle specific light and automatically switches from
high beams to low beams until the approaching vehicle is out of view. This feature is
programmable through the Uconnect® system. Refer to “Uconnect® Settings ” in “Under-
standing Your Instrument Panel” in the Owner's Manual on the DVD for further details.
OPERATING YOUR VEHICLE
31
Page 34 of 148

Instrument Panel Dimmer
• Rotate the dimmer control to the extreme bottom position to fully dim the instrumentpanel lights and prevent the interior lights from illuminating when a door is opened.
• Rotate the dimmer control up to increase the brightness of the instrument panel and cupholders when the parking lights or headlights are on.
• Rotate the dimmer control up to the next detent position to fully brighten the odometer and radio when the parking lights or headlights are on.
• Rotate the dimmer control up to the last detent position to turn on the interior lighting.
• If your vehicle is equipped with a touchscreen, the dimming is programmable through the Uconnect® system. Refer to “Uconnect® Settings ” in “Understanding Your Instrument
Panel” in the Owner's Manual on the DVD for further details.
Ambient Light Dimmer
• Rotate the ambient light control up or down to increase or decrease the brightness of therelease handle, map pocket (if equipped), overhead and floor lighting when the parking
lights or headlights are on.
• Rotate to extreme bottom position to turn off.
SPEED CONTROL
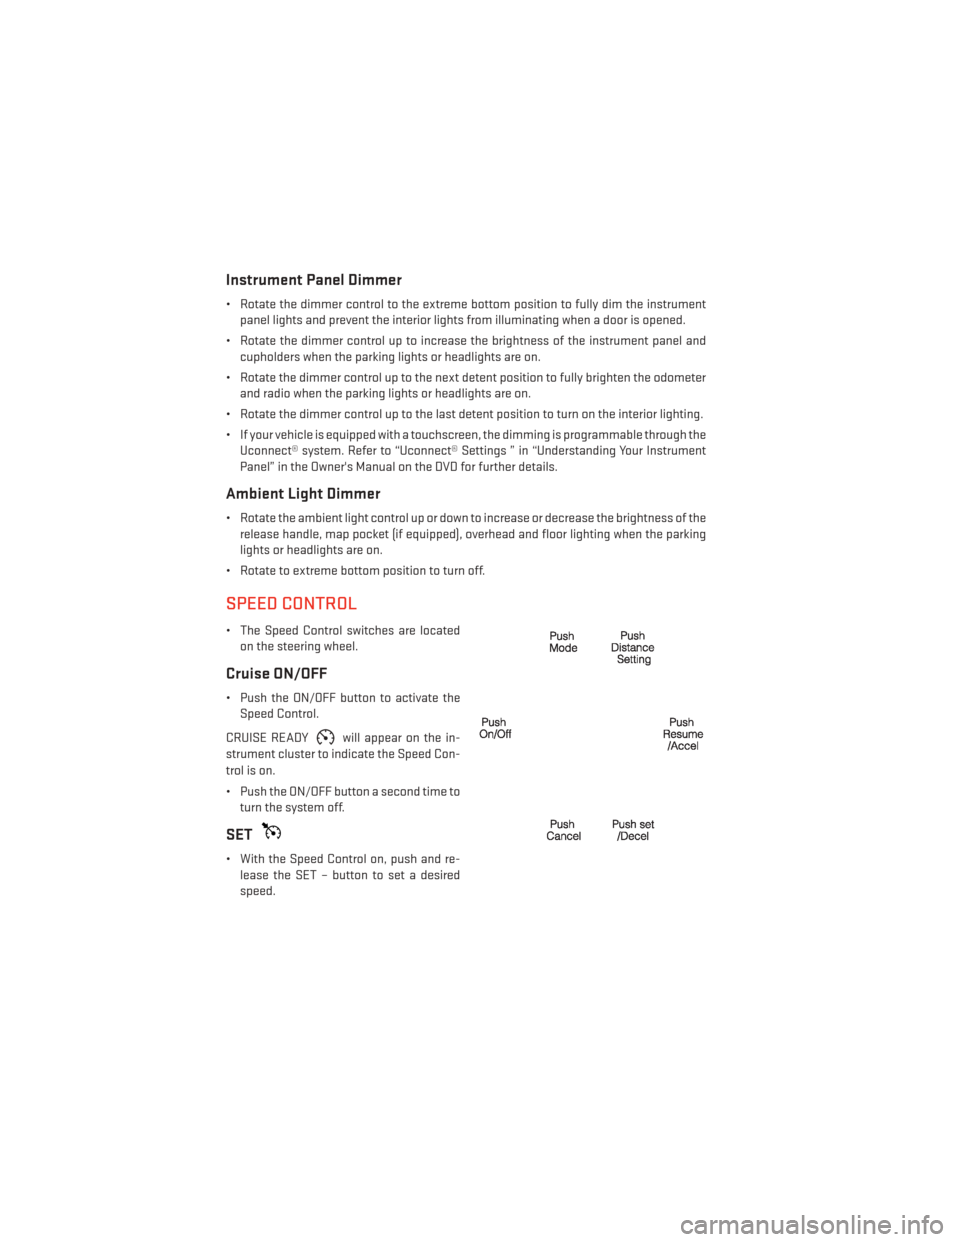
• The Speed Control switches are located on the steering wheel.
Cruise ON/OFF
• Push the ON/OFF button to activate theSpeed Control.
CRUISE READY
will appear on the in-
strument cluster to indicate the Speed Con-
trol is on.
• Push the ON/OFF button a second time to turn the system off.
SET
• With the Speed Control on, push and re-lease the SET – button to set a desired
speed.
OPERATING YOUR VEHICLE
32
Page 37 of 148

Changing FCW Status
The FCW feature has three settings and can be changed within the Uconnect® System:
•Far
• Near
• Off
NOTE:
The FCW settings can only be changed when the vehicle is in PARK.
Far
The default status of FCW is the “Far” setting.
The far setting provides warnings for potential collisions more distant in front of the vehicle,
allowing the driver to have the most reaction time to avoid a collision.
This setting is designed to provide early warnings per NHTSA (National Highway Traffic
Safety Administration) recommendations.
More cautious drivers that do not mind frequent warnings may prefer this setting.
NOTE:
This setting gives you the most reaction time.
Near
Changing the FCW status to the “Near” setting, allows the system to warn you of a potential
frontal collision when you are much closer.
This setting provides less reaction time than the “Far” setting, which allows for a more
dynamic driving experience.
More dynamic or aggressive drivers that want to avoid frequent warnings may prefer this
setting.
Off
Changing the FCW status to “Off” prevents the system from warning you of a potential
frontal collision.
NOTE:
• If FCW is set to “Off”, “FCW OFF” will be displayed in the EVIC.
• Refer to the Owner's Manual on the DVD for further details.
OPERATING YOUR VEHICLE
35
Page 42 of 148
CLIMATE CONTROLS
Uconnect® 4.3 Climate Controls
Uconnect® 8.4 Climate Controls
OPERATING YOUR VEHICLE
40
Page 46 of 148
YOUR VEHICLE'S SOUND SYSTEM
1. Uconnect® Voice Command Button pg. 68
2. Uconnect® Phone Button pg. 62
3. Steering Wheel Audio Controls (Left) pg. 60
4. Steering Wheel Audio Controls (Right) pg. 60
5. Volume Knob/Audio Power Button
6. SD Card (push in to insert/eject) pg. 61
ELECTRONICS
44
Page 47 of 148
7. Uconnect® Radio pg. 46
8. Tune/Scroll Knob/Browse/Enter Button
9. CD Player pg. 54
10. Media Hub: Audio Jack / USB Port (located inside front console) pg. 60
11. CD Eject Button
ELECTRONICS
45
Page 48 of 148
IDENTIFYING YOUR RADIO
Uconnect® 4.3 & 4.3S
• Models 4.3 and 4.3S have a 4.3 inchtouchscreen with hard-keys to each side
of it.
• Model 4.3S has all Model 4.3 features, plus SiriusXM Satellite Radio (1 year trial
subscription included).
• Model 4.3S is identified by the presence of SAT on the band button, indicating the
presence of satellite radio.
Uconnect® 8.4 & 8.4N
• Models 8.4 and 8.4N have an 8.4 inchtouchscreen.
• Model 8.4N has all Model 8.4 features, plus Garmin® Navigation and SiriusXM
Travel Link (1-year trial subscription in-
cluded).
• Model 8.4N is identified by the unique Nav button on the main screen menu bar, lo-
cated at the bottom of the screen, and the
presence of SiriusXM Travel Link within
the More menu.
ELECTRONICS
46
Page 49 of 148
Uconnect® 4.3 & 4.3S AT A GLANCE
Displaying The Time
• If the time is not currently displayed at the top of the screen when in Radio mode, pressthe SETTINGS button, then touch “Clock.” Select “Show Time,” then touch “On.”
Setting The Time
• Press the SETTINGS hard-key, then touch the “Clock” soft-key.
• Touch the “Time” soft-key.
• Touch the “Up or Down” soft-keys to adjust the hours, minutes or AM/PM.
NOTE:
12hr format and 24hr format can also be set.
• Once the time is set press the “Done” soft-key to exit the time screen.
Audio Settings
• Press the SETTINGS hard-key on the right side of the unit.
• Then scroll down and press the “Audio” soft-key to get to the Audio menu.
• The Audio Menu shows the following options for you to customize your audio settings. • Equalizer
• Balance/Fade
• Speed Adjust Volume
• Touch the “Exit” soft-key to exit from the Audio Menu.
ELECTRONICS
47