Page 405 of 703
NOTE:The Blu-ray™ Player has basic control functions
such as Menu, Play, Pause, FF, RW and Stop.
2. To watch a Blu-ray™ Disc on Screen 1 for second row passengers, ensure the Remote Control and Head-
phone switch is on Channel 1.
3. To watch a Blu-ray™ Disc on Screen 2 for third row passengers, ensure the Remote Control and Head-
phone switch is on Channel 2.
Using The Remote Control
1. Press the SOURCE button on the Blu-ray™ PlayerRemote Control.
2. While looking at Screen 1 or 2, highlight Blu-ray™ by either pressing Up/Down/Left/Right buttons or by
repeatedly pressing the SOURCE button, then press
OK on the Remote Control. NOTE:
•
Channel/Screen 1 select mode information is shown
on the left side of the screen.
• Channel/Screen 2 select mode information is shown
on the right side of the screen.
• The VES™ will retain the last setting when turned off.
Using The Touchscreen Radio Controls
1. Press the MENU hard-key on the radio faceplate.
2. Touch the Rear VES™ soft-key to display the Rear
VES™ Controls. If a channel list is displayed, touch
the HIDE LIST soft-key to display the Rear VES™
Controls screen.
3. Touch the 1 or 2 soft-key and then the VES™ Disc soft-key in the VES™ column. To exit touch the back
arrow soft-key at the top left of the screen.
4
UNDERSTANDING YOUR INSTRUMENT PANEL 403
Page 407 of 703
Using The Touchscreen Radio Controls
1. Press the MENU hard-key on the radio faceplate.
2.
Touch the Rear VES™ soft-key to display the Rear VES™
Controls. If a channel list is displayed, press the HIDE
LIST soft-key to display the Rear VES™ Controls screen.
Select FM Mode On The VES™ Screen
Rear VES™ Soft-Key
4
UNDERSTANDING YOUR INSTRUMENT PANEL 405
Page 409 of 703
•Selecting a video source on Channel 2, the video
source will display on the third row screen or Screen 2
and can be heard on Channel 2.
• The 2nd row screen and 3rd row screen of the Video
Entertainment System can play two separate discs by
utilizing the touchscreen radio DVD player and Blu-
ray™ Disc Player.
• Audio can be heard through the headphones even
when the screen(s) are closed.VES™ Remote Control — If Equipped
Controls And Indicators
1. Power – Turns the screen and wireless headphone transmitter for the selected Channel on or off. To hear
audio while the screen is closed, press the Power
button to turn the headphone transmitter on.
Remote Control
4
UNDERSTANDING YOUR INSTRUMENT PANEL 407
Page 410 of 703
2. Channel Selector Indicators – When a button ispressed, the currently affected channel or channel
button is illuminated momentarily.
3. Light – Turns the remote control backlighting on or off. The remote backlighting turns off automatically after
five seconds.
4. Channel/Screen Selector Switch - Indicates which channel is being controlled by the remote control.
When the selector switch is in the Channel 1 position,
the remote controls the functionality of headphone
Channel 1 (right side of the screen). When the selector
switch is in the Channel 2, position the remote controls
the functionality of headphone Channel 2 (left side of
the screen).
5. �� – In radio modes, press to seek the next tunable
station. In disc modes, press and hold to fast forward
through the current audio track or video chapter. In
menu modes use to navigate in the menu. 6.�
/ Prev – In radio modes, press to select to the
previous station. In disc modes, press to advance to the
start of the current or previous audio track or video
chapter. In menu modes, use to navigate in the menu.
7. POP UP/MENU – Press to return to the main menu of a DVD disc, to select a satellite audio channel from the
Station list, or select playback modes (SCAN/
RANDOM for a CD).
8. �/�(Play/Pause) – Begin/resume or pause disc play.
9. ▪(Stop) – Stops disc play
10. PROG Up/Down / Rewind/skip back and fast fwd/ skip forward – When listening to a radio mode,
pressing PROG Up selects the next preset and press-
ing PROG Down selects the previous preset stored in
the radio. When listening to compressed audio on a
data disc, PROG Up selects the next directory and
PROG Down selects the previous directory. When
408 UNDERSTANDING YOUR INSTRUMENT PANEL
Page 420 of 703
System Information
Shared Modes
This allows the VES™ to output radio sources to the
headphones and the radio to output VES™ sources to the
vehicle speakers. When the radio and VES™ channel 1 or
2 are in the same (shared) mode, a VES™ icon will be
visible on the radio’s display for that channel, and the
shared icon will be visible on the VES™ screen. When in
shared mode, the same audio source is heard in the
shared headphone channel 1 or channel 2.
If the radio functions (FM, AM, or SAT) are in the shared
mode with the VES™, only the radio is able to control the
radio functions. In this case, VES™ can share the radio
mode, but not change stations until the radio mode is
changed to a mode that is different from the VES™
selected radio mode. When shared, the radio has priority
over the VES™ or all radio modes (FM, AM, and SAT).The VES™ has the ability to switch tuner (AM/FM),
SEEK, SCAN, TUNE, and recall presets in radio modes as
long as it is not in shared mode.
When in shared disc mode both the radio and the VES™
have control of the video functions. The VES™ has the
ability to control the following video modes:
1. CD: Ability to Fast Forward, Rewind, Scan, and Track
Up/Down.
2. CD Changer (in radio): Ability to Disk Up/Down and program all listed CD controls (Fast Forward, Rewind,
Scan, and Track Up/Down).
The VES™ can even control radio modes or video modes
while the radio is turned off. The VES™ can access the
radio modes or disc modes by navigating to those modes
on the VES™ and activating a radio mode or disc mode.
418 UNDERSTANDING YOUR INSTRUMENT PANEL
Page 437 of 703
STEERING WHEEL AUDIO CONTROLS — IF
EQUIPPED
The remote sound system controls are located on the rear
surface of the steering wheel, at the three and nine
o’clock positions.The right-hand rocker switch has a pushbutton in the
center, and controls the volume and mode of the sound
system. Pressing the top of the rocker switch will increase
the volume. Pressing the bottom of the rocker switch will
decrease the volume. Pressing the center button changes
the operation of the radio from AM to FM, or to CD
mode, depending on which radio is in the vehicle.
The left-hand rocker switch has a pushbutton in the
center. The function of the left-hand switch is different,
depending on which mode you are in.
The following describes the left-hand rocker switch op-
eration in each mode.
Remote Sound System Controls (Back View Of Steering
Wheel)
4
UNDERSTANDING YOUR INSTRUMENT PANEL 435
Page 439 of 703
NOTE:If you experience difficulty in playing a particular
disc, it may be damaged (i.e., scratched, reflective coating
removed, a hair, moisture or dew on the disc) oversized,
or have protection encoding. Try a known good disc
before considering disc player service.
RADIO OPERATION AND MOBILE PHONES
Under certain conditions, the mobile phone being on in
your vehicle can cause erratic or noisy performance from
your radio. This condition may be lessened or eliminated
by relocating the mobile phone antenna. This condition is
not harmful to the radio. If your radio performance does
not satisfactorily “clear” by the repositioning of the
antenna, it is recommended that the radio volume be
turned down or off during mobile phone operation when
not using Uconnect® (if equipped).
CLIMATE CONTROLS
The Climate Control system allows you to regulate the
temperature, amount, and direction of air circulating
throughout the vehicle. The controls are located on the
instrument panel, below the radio.
Manual Heating And Air Conditioning System —
If Equipped
The controls for the manual system in this vehicle contain
a series of outer rotary dials and inner push knobs. These
comfort controls can be set to obtain desired interior
conditions.
With the Three-Zone Temperature Control system, each
front seat occupant can independently control the Heat-
ing, Ventilation and Air Conditioning operations coming
from the outlets on their side of the vehicle.
4
UNDERSTANDING YOUR INSTRUMENT PANEL 437
Page 682 of 703
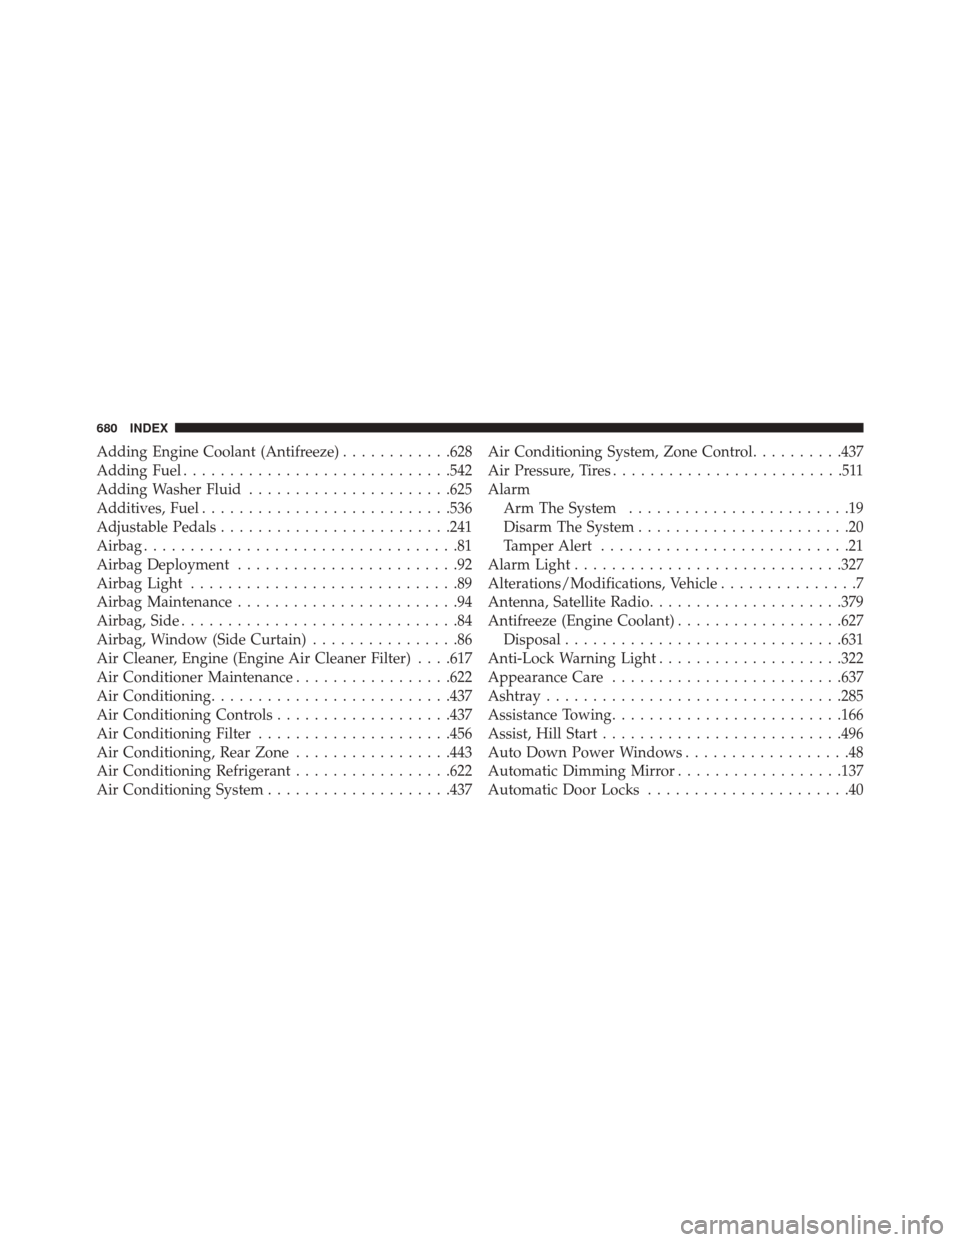
Adding Engine Coolant (Antifreeze)............628
Adding Fuel ............................ .542
Adding Washer Fluid ..................... .625
Additives, Fuel .......................... .536
Adjustable Pedals ........................ .241
Airbag ..................................81
Airbag Deployment ........................92
Airbag Light .............................89
Airbag Maintenance ........................94
Airbag, Side ..............................84
Airbag, Window (Side Curtain) ................86
Air Cleaner, Engine (Engine Air Cleaner Filter) . . . .617
Air Conditioner Maintenance .................622
Air Conditioning ......................... .437
Air Conditioning Controls ...................437
Air Conditioning Filter .....................456
Air Conditioning, Rear Zone .................443
Air Conditioning Refrigerant .................622
Air Conditioning System ....................437 Air Conditioning System, Zone Control
..........437
Air Pressure, Tires .........................511
Alarm Arm The System ........................19
Disarm The System .......................20
Tamper Alert ...........................21
Alarm Light ............................ .327
Alterations/Modifications, Vehicle ...............7
Antenna, Satellite Radio .....................379
Antifreeze (Engine Coolant) ..................627
Disposal ............................. .631
Anti-Lock Warning Light ....................322
Appearance Care ........................ .637
Ashtray ............................... .285
Assistance Towing ........................ .166
Assist, Hill Start ......................... .496
Auto Down Power Windows ..................48
Automatic Dimming Mirror ..................137
Automatic Door Locks ......................40
680 INDEX