Page 519 of 590
FUSES
WARNING!
•When replacing a blown fuse, always use an appro-
priate replacement fuse with the same amp rating as
the original fuse. Never replace a fuse with another
fuse of higher amp rating. Never replace a blown
fuse with metal wires or any other material. Failure
to use proper fuses may result in serious personal
injury, fire and/or property damage.
• Before replacing a fuse, make sure that the ignition
is off and that all the other services are switched off
and/or disengaged.
• If the replaced fuse blows again, contact an autho-
rized dealer.
(Continued)
WARNING! (Continued)
•If a general protection fuse for safety systems (air
bag system, braking system), power unit systems
(engine system, gearbox system) or steering system
blows, contact an authorized dealer.
Front Power Distribution Center (Fuses)
The Front Power Distribution Center is located in the
engine compartment. This module contains fuses and
relays.
7
MAINTAINING YOUR VEHICLE 517
Page 521 of 590
CavityCartridge Fuse Mini-Fuse Description
3 50 Amp Red –Power Steering #1
4 30 Amp Pink – Starter
5 40 Amp Green –Anti-Lock Brakes
6 25 Amp Natural –Anti-Lock Brakes
7 –– Fuse – Spare
8 –– Fuse – Spare
9 –20 Amp Yellow All-Wheel Drive Module – If Equipped
10 –5 Amp Tan Security
11 –20 Amp Yellow Horns
12 –10 Amp Red Air Conditioning Clutch
13 –– Fuse – Spare
14 –– Fuse – Spare
15 –– Fuse – Spare
16 –– Fuse – Spare
18 50 Amp Red –Radiator Fan #2
7
MAINTAINING YOUR VEHICLE 519
Page 522 of 590
CavityCartridge Fuse Mini-Fuse Description
19 50 Amp Red –Power Steering #2
20 30 Amp Pink –Wiper Motor
21 30 Amp Pink –Headlamp Washers
22 –– Fuse – Spare
23 –– Fuse – Spare
24 –– Fuse – Spare
28 –25 Amp Natural Fuel Pump
29 –15 Amp Blue Transmission Shifter
30 –– Fuse – Spare
31 –25 Amp Natural Engine Module
32 –– Fuse – Spare
33 –– Fuse – Spare
34 –25 Amp Natural Powertrain #1
35 –20 Amp Yellow Powertrain #2
36 –10 Amp Red Anti-Lock Brake Module
520 MAINTAINING YOUR VEHICLE
Page 523 of 590
CavityCartridge Fuse Mini-Fuse Description
37 –10 Amp Red Engine Controller/Rad Fan Relays
38 –10 Amp Red Airbag Module
39 –10 Amp Red Power Steering Module/AC Clutch Relay
48 –10 Amp Red AWD Module/Front Axle Disconnect
49 –– Fuse – Spare
50 –– Fuse – Spare
51 –20 Amp Yellow Vacuum Pump
52 –– Fuse – Spare
53 –– Fuse – Spare
7
MAINTAINING YOUR VEHICLE 521
Page 527 of 590
Cavity Cartridge Fuse Mini-FuseDescription
33 –15 Amp Blue Ignition Switch/Wireless Module
34 –10 Amp Red Steering Column Module/Clock
35 –10 Amp Red Battery Sensor
36 –– Fuse – Spare
37 –15 Amp Blue Radio
38 – 20 Amp Yellow Power Outlet Inside Arm Rest
40 –– Fuse – Spare
41 –– Fuse – Spare
42 30 Amp Pink – Rear Defrost
43 –
25 Amp NaturalRear Heated Seats/Steering Wheel
44 –10 Amp Red Park Assist/Blind Spot/Camera
45 –15 Amp Blue Cluster/Rearview Mirror/Compass
46 –10 Amp Red Adaptive Cruise Control
47 –10 Amp Red Adaptive Front Lighting
48 – 20 Amp Yellow Active Suspension7
MAINTAINING YOUR VEHICLE 525
Page 538 of 590
Chassis
ComponentFluid, Lubricant, or Genuine Part
Automatic Transmission Use only ATF+4® Automatic Transmission Fluid. Fail-
ure to use ATF+4® fluid may affect the function or
performance of your transmission. We recommend
MOPAR® ATF+4® fluid.
Brake Master Cylinder We recommend you use MOPAR® DOT 3 brake fluid. If
DOT 3 brake fluid is not available, then DOT 4 is
acceptable.
Power Steering Reservoir We recommend you use MOPAR® Power Steering Fluid
+ 4, or MOPAR® ATF+4® Automatic Transmission
Fluid.
Rear Axle We recommend you use MOPAR® Synthetic Gear Lu-
bricant SAE 75W–90 (API GL-5) in addition to MOPAR®
Friction Modifier — Hypoid Gear Additive).
536 MAINTAINING YOUR VEHICLE
Page 541 of 590

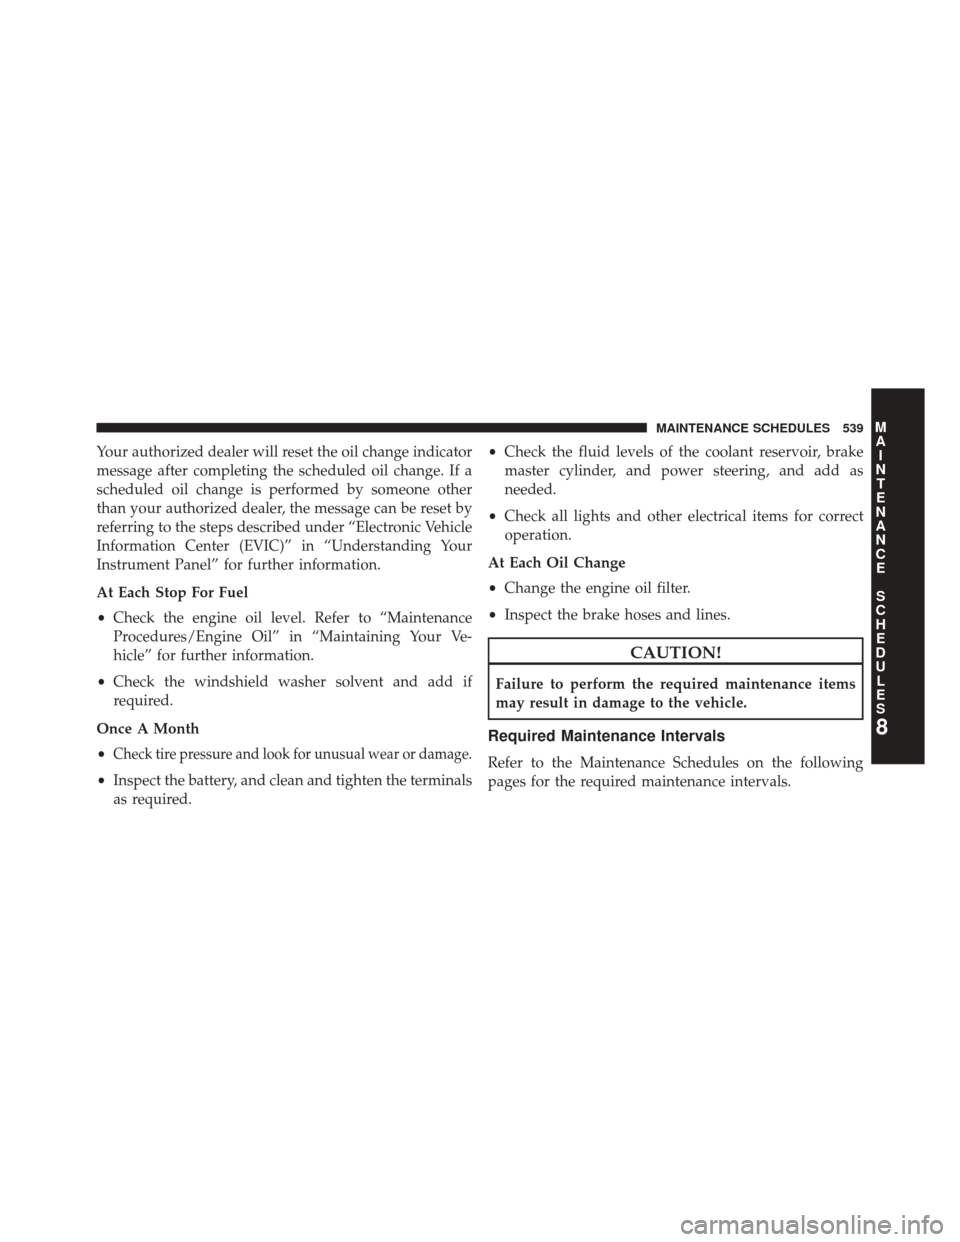
Your authorized dealer will reset the oil change indicator
message after completing the scheduled oil change. If a
scheduled oil change is performed by someone other
than your authorized dealer, the message can be reset by
referring to the steps described under “Electronic Vehicle
Information Center (EVIC)” in “Understanding Your
Instrument Panel” for further information.
At Each Stop For Fuel
•Check the engine oil level. Refer to “Maintenance
Procedures/Engine Oil” in “Maintaining Your Ve-
hicle” for further information.
• Check the windshield washer solvent and add if
required.
Once A Month
•
Check tire pressure and look for unusual wear or damage.
• Inspect the battery, and clean and tighten the terminals
as required. •
Check the fluid levels of the coolant reservoir, brake
master cylinder, and power steering, and add as
needed.
• Check all lights and other electrical items for correct
operation.
At Each Oil Change
• Change the engine oil filter.
• Inspect the brake hoses and lines.
CAUTION!
Failure to perform the required maintenance items
may result in damage to the vehicle.
Required Maintenance Intervals
Refer to the Maintenance Schedules on the following
pages for the required maintenance intervals.
8
M
A I
N T
E
N
A
N
C E
S
C
H E
D
U L
E
SMAINTENANCE SCHEDULES 539
Page 570 of 590

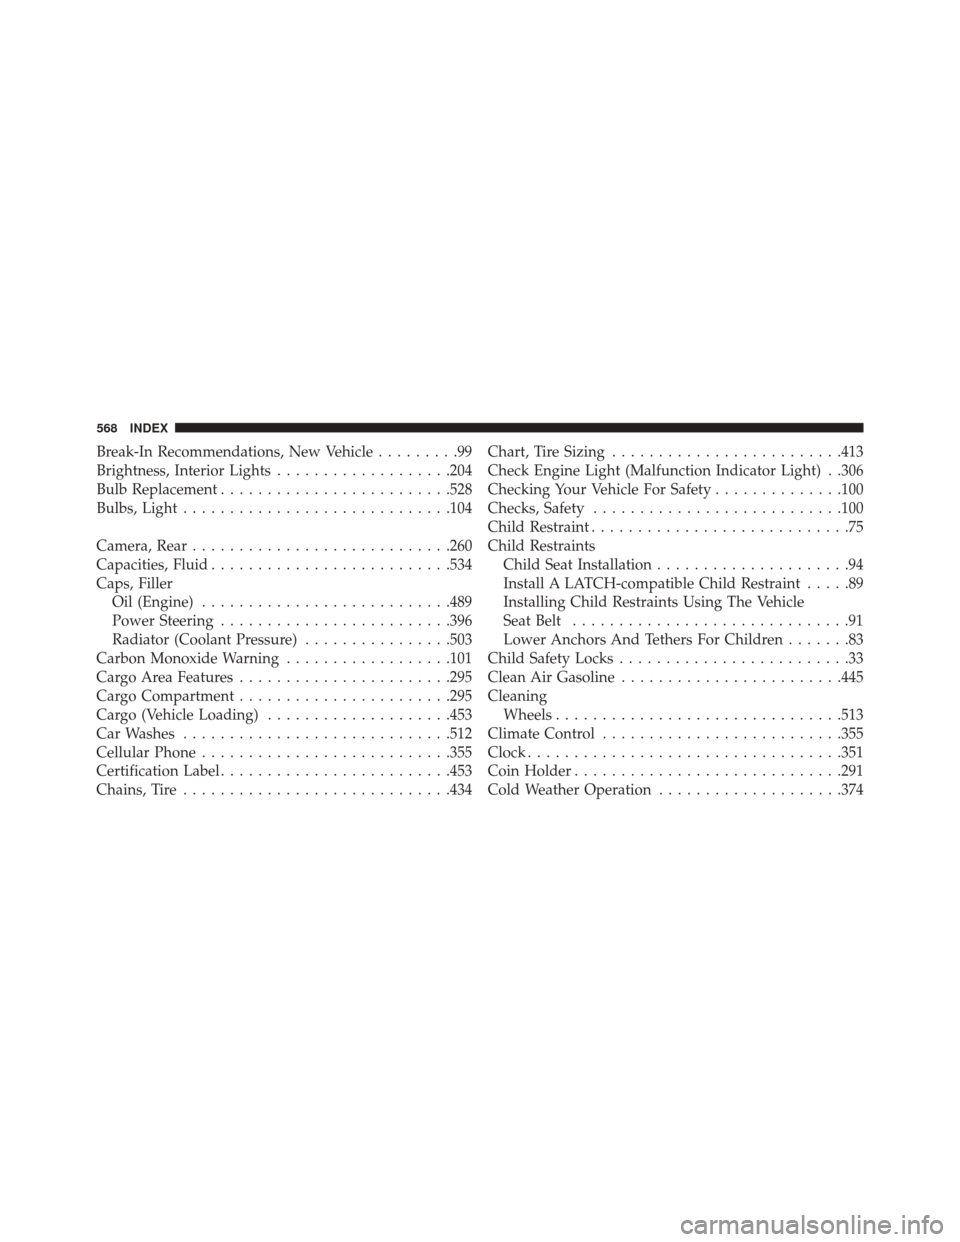
Break-In Recommendations, New Vehicle.........99
Brightness, Interior Lights ...................204
Bulb Replacement ........................ .528
Bulbs, Light ............................ .104
Camera, Rear ........................... .260
Capacities, Fluid ......................... .534
Caps, Filler Oil (Engine) .......................... .489
Power Steering ........................ .396
Radiator (Coolant Pressure) ................503
Carbon Monoxide Warning ..................101
Cargo Area Features ...................... .295
Cargo Compartment ...................... .295
Cargo (Vehicle Loading) ....................453
Car Washes ............................ .512
Cellular Phone .......................... .355
Certification Label ........................ .453
Chains, Tire ............................ .434Chart, Tire Sizing
........................ .413
Check Engine Light (Malfunction Indicator Light) . .306
Checking Your Vehicle For Safety ..............100
Checks, Safety .......................... .100
Child Restraint ............................75
Child Restraints Child Seat Installation .....................94
Install A LATCH-compatible Child Restraint .....89
Installing Child Restraints Using The Vehicle
Seat Belt ..............................91
Lower Anchors And Tethers For Children .......83
Child Safety Locks .........................33
Clean Air Gasoline ....................... .445
Cleaning Wheels .............................. .513
Climate Control ......................... .355
Clock ................................. .351
Coin Holder ............................ .291
Cold Weather Operation ....................374
568 INDEX