Page 217 of 590
Vehicles Equipped With Remote Start
On models that are equipped with remote start, the
heated steering wheel can be programmed to come on
during a remote start through the Uconnect® system.
Refer to “Uconnect® Settings” in “Understanding Your
Instrument Panel” for further information.
WARNING!
•Persons who are unable to feel pain to the skin
because of advanced age, chronic illness, diabetes,
spinal cord injury, medication, alcohol use, exhaus-
tion, or other physical conditions must exercise
care when using the steering wheel heater. It may
cause burns even at low temperatures, especially if
used for long periods.
(Continued)
WARNING! (Continued)
•Do not place anything on the steering wheel that
insulates against heat, such as a blanket or steering
wheel covers of any type and material. This may
cause the steering wheel heater to overheat.
ADJUSTABLE PEDALS — IF EQUIPPED
The adjustable pedals system is designed to allow a
greater range of driver comfort for steering wheel tilt and
seat position. This feature allows the brake, accelerator,
and clutch pedals (if equipped) to move toward or away
from the driver to provide improved position with the
steering wheel.
The switch is located on the front side of the driver’s seat
cushion side shield.
3
UNDERSTANDING THE FEATURES OF YOUR VEHICLE 215
Page 318 of 590
messages that consist of approximately 60 possible warn-
ing or information messages. These pop up messages fall
into several categories:
•Five Second Stored Message
When the appropriate conditions occur, this type of
message takes control of the main display area for five
seconds and then returns to the previous screen. Most of
the messages of this type are then stored (as long as the
condition that activated it remains active) and can be
reviewed from the �Messages�main menu item. As long
as there is a stored message, an �i�will be displayed in the
EVIC’s compass/outside temp line. Examples of this
message type are �Right Front Turn Signal Lamp Out�
and �Low Tire Pressure�.
• Unstored Messages
This message type is displayed indefinitely or until the
condition that activated the message is cleared. Examples of this message type are
�Turn Signal On�(if a turn signal
is left on) and �Lights On�(if driver leaves the vehicle).
• Unstored Messages Until RUN
These messages deal primarily with the Remote Start
feature. This message type is displayed until the ignition
is in the RUN state. Examples of this message type are
�Remote Start Aborted - Door Ajar� and�Press Brake
Pedal and Push Button to Start�.
• Five Second Unstored Messages
When the appropriate conditions occur, this type of
message takes control of the main display area for five
seconds and then returns to the previous screen. Ex-
amples of this message type are �Memory System Un-
available - Not in Park� and�Automatic High Beams On�.
The Reconfigurable Telltales section is divided into the
white telltales area on the right, amber telltales in the
middle, and red telltales on the left.
316 UNDERSTANDING YOUR INSTRUMENT PANEL
Page 344 of 590
•Flash Lamps With Lock
When this feature is selected, the front and headlights
will flash when the doors are locked or unlocked with the
Remote Keyless Entry (RKE) transmitter. To make your
selection, touch the Flash Lights With Lock soft-key, until
a check-mark appears next to setting, showing that
setting has been selected. Touch the back arrow soft-key
to return to the previous menu.
• Sound Horn With Lock
When this feature is selected, the horn will sound when
the remote start is activated. To make your selection,
touch the Sound Horn With Lock soft-key, until a check-
mark appears next to setting, showing that setting has
been selected. Touch the back arrow soft-key to return to
the previous menu. •
Sound Horn With Remote Start
When this feature is selected, the horn will sound when
the remote start is activated. To make your selection,
touch the Sound Horn With Remote Start soft-key, until a
check-mark appears next to setting, showing that setting
has been selected. Touch the back arrow soft-key to
return to the previous menu.
• 1st Press Of Key Fob Unlocks
When 1st Press Of Key Fob Unlocks is selected, only the
driver’s door will unlock on the first press of the Remote
Keyless Entry (RKE) transmitter UNLOCK button. When
1st Press Of Key Fob Unlocks is selected, you must press
the RKE transmitter UNLOCK button twice to unlock the
passenger’s doors. When Unlock All Doors On 1st Press
is selected, all of the doors will unlock on the first press
of the RKE transmitter UNLOCK button.
342 UNDERSTANDING YOUR INSTRUMENT PANEL
Page 345 of 590
NOTE:If the vehicle is programmed 1st Press Of Key Fob
Unlocks, all doors will unlock no matter which Passive
Entry equipped door handle is grasped. If 1st Press Of
Key Fob Unlocks is programmed, only the driver ’s door
will unlock when the driver ’s door is grasped. With
Passive Entry, if 1st Press Of Key Fob Unlocks is pro-
grammed touching the handle more than once will only
result in the driver ’s door opening. If driver door first is
selected, once the driver door is opened, the interior door
lock/unlock switch can be used to unlock all doors (or
use RKE transmitter).
• Passive Entry
This feature allows you to lock and unlock the vehicle’s
door(s) without having to press the Remote Keyless
Entry (RKE) transmitter lock or unlock buttons. To make
your selection, touch the Passive Entry soft-key, until a
check-mark appears next to setting, showing that setting
has been selected. Touch the back arrow soft-key to return to the previous menu. Refer to “Keyless Enter-N-
Go™” in “Things To Know Before Starting Your Vehicle”.
•
Personal Settings Linked To Key Fob— If Equipped
This feature provides automatic driver seat positioning to
enhance driver mobility when entering and exiting the
vehicle. To make your selection, touch the Memory
Linked To FOB soft-key, until a check-mark appears next
to setting, showing that setting has been selected. Touch
the back arrow soft-key to return to the previous menu.
NOTE: The seat will return to the memorized seat
location (if Recall Memory with Remote Key Unlock is set
to ON) when the Remote Keyless Entry (RKE) transmitter
is used to unlock the door. Refer to “Driver Memory
Seat” in “Understanding The Features Of Your Vehicle”
for further information.
4
UNDERSTANDING YOUR INSTRUMENT PANEL 343
Page 346 of 590
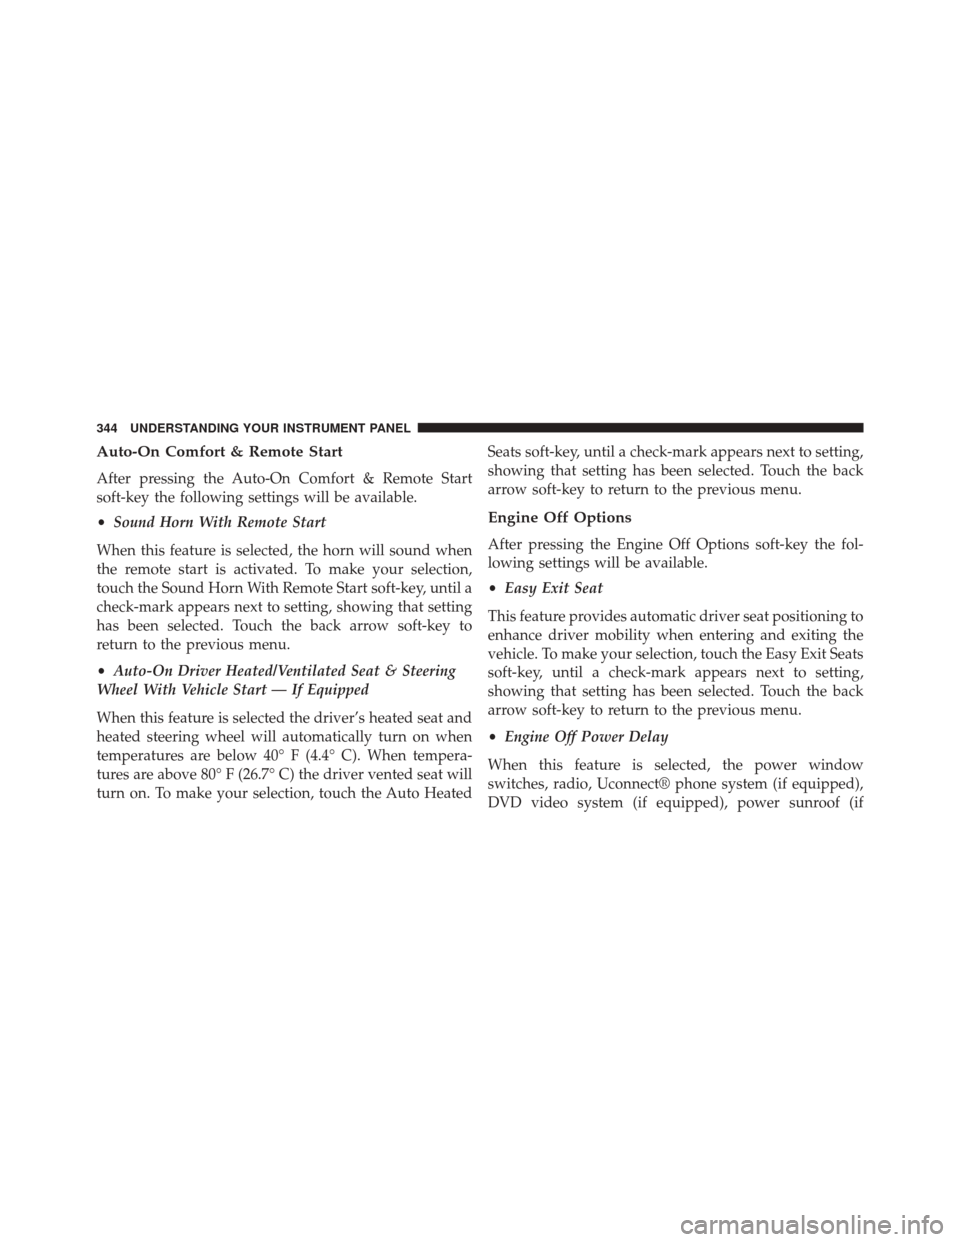
Auto-On Comfort & Remote Start
After pressing the Auto-On Comfort & Remote Start
soft-key the following settings will be available.
•Sound Horn With Remote Start
When this feature is selected, the horn will sound when
the remote start is activated. To make your selection,
touch the Sound Horn With Remote Start soft-key, until a
check-mark appears next to setting, showing that setting
has been selected. Touch the back arrow soft-key to
return to the previous menu.
• Auto-On Driver Heated/Ventilated Seat & Steering
Wheel With Vehicle Start — If Equipped
When this feature is selected the driver’s heated seat and
heated steering wheel will automatically turn on when
temperatures are below 40° F (4.4° C). When tempera-
tures are above 80° F (26.7° C) the driver vented seat will
turn on. To make your selection, touch the Auto Heated Seats soft-key, until a check-mark appears next to setting,
showing that setting has been selected. Touch the back
arrow soft-key to return to the previous menu.
Engine Off Options
After pressing the Engine Off Options soft-key the fol-
lowing settings will be available.
•
Easy Exit Seat
This feature provides automatic driver seat positioning to
enhance driver mobility when entering and exiting the
vehicle. To make your selection, touch the Easy Exit Seats
soft-key, until a check-mark appears next to setting,
showing that setting has been selected. Touch the back
arrow soft-key to return to the previous menu.
• Engine Off Power Delay
When this feature is selected, the power window
switches, radio, Uconnect® phone system (if equipped),
DVD video system (if equipped), power sunroof (if
344 UNDERSTANDING YOUR INSTRUMENT PANEL
Page 374 of 590
CAUTION!
Damage to the transmission may occur if the follow-
ing precautions are not observed:
•Do not shift from REVERSE, PARK, or NEUTRAL
into any forward gear when the engine is above
idle speed.
• Shift into PARK only after the vehicle has come to
a complete stop.
• Shift into or out of REVERSE only after the vehicle
has come to a complete stop and the engine is at
idle speed.
• Before shifting into any gear, make sure your foot
is firmly on the brake pedal.
Keyless Enter-N-Go™
This feature allows the driver to oper-
ate the ignition switch with the push
of a button, as long as the Remote
Start/Keyless Enter-N-Go™ Key Fob
is in the passenger compartment.
Normal Starting
Using The ENGINE START/STOP Button
1. The transmission must be in PARK or NEUTRAL.
2. Press and hold the brake pedal while pressing the ENGINE START/STOP button once.
372 STARTING AND OPERATING
Page 474 of 590
CAUTION!
Do not use a portable battery booster pack or any
other booster source with a system voltage greater
than 12 Volts or damage to the battery, starter motor,
alternator or electrical system may occur.
WARNING!
Do not attempt jump-starting if the battery is frozen.
It could rupture or explode and cause personal injury.
Preparations For Jump-Start
The battery is stored under an access cover in the trunk.
Remote battery posts are located on the right side of the
engine compartment for jump-starting.
Remote Battery Post Locations
1 — Remote Positive(+)Post
2 — Remote Negative (-)Post
472 WHAT TO DO IN EMERGENCIES
Page 476 of 590
CAUTION!
Failure to follow these procedures could result in
damage to the charging system of the booster vehicle
or the discharged vehicle.
Connecting The Jumper Cables
1. Connect the positive (+)end of the jumper cable to the
remote positive (+)post of the discharged vehicle.
2. Connect the opposite end of the positive (+)jumper
cable to the positive (+)post of the booster battery.
3. Connect the negative end (-)of the jumper cable to the
negative (-)post of the booster battery. 4. Connect the opposite end of the negative
(-)jumper
cable to the remote negative (-)post of the vehicle with
the discharged battery.
WARNING!
Do not connect the jumper cable to the negative (-)
post of the discharged battery. The resulting electri-
cal spark could cause the battery to explode and
could result in personal injury. Only use the specific
ground point, do not use any other exposed metal
parts.
5. Start the engine in the vehicle that has the booster battery, let the engine idle a few minutes, and then
start the engine in the vehicle with the discharged
battery.
474 WHAT TO DO IN EMERGENCIES