Page 123 of 522
![CHRYSLER 200 CONVERTIBLE 2014 1.G Owners Manual EVIC
Message�EVIC
Message
Display
Time�Odometer
Message
(<5mph
[8 km/h])��Odometer
Message
Display
Time��Odometer
Message
(>5mph
[8 km/h])��Odometer
Message
Display
Time��ChimeConditionOperator
Action CHRYSLER 200 CONVERTIBLE 2014 1.G Owners Manual EVIC
Message�EVIC
Message
Display
Time�Odometer
Message
(<5mph
[8 km/h])��Odometer
Message
Display
Time��Odometer
Message
(>5mph
[8 km/h])��Odometer
Message
Display
Time��ChimeConditionOperator
Action](/manual-img/25/8450/w960_8450-122.png)
EVIC
Message�EVIC
Message
Display
Time�Odometer
Message
(<5mph
[8 km/h])��Odometer
Message
Display
Time��Odometer
Message
(>5mph
[8 km/h])��Odometer
Message
Display
Time��ChimeConditionOperator
Action
Required
CON-
VERTIBLE
TOP MAL-
FUNC-
TION Until
Fault is
No Lon-
ger De-
tected or
RepairedTOP FAIL
Display
Scrolls un-
til Fault is
No Lon-
ger De-
tected or
RepairedTOPDisplay
Flashes
until Fault
is No Lon-
ger De-
tected or
RepairedSingle
ChimeThe
PTCM Ac-
tivated
the Sys-
tem
LOCK-
OUT Fea-
tureSee your
autho-
rized
dealer for
service
� If so equipped.
�� For vehicles not equipped with the EVIC.
���
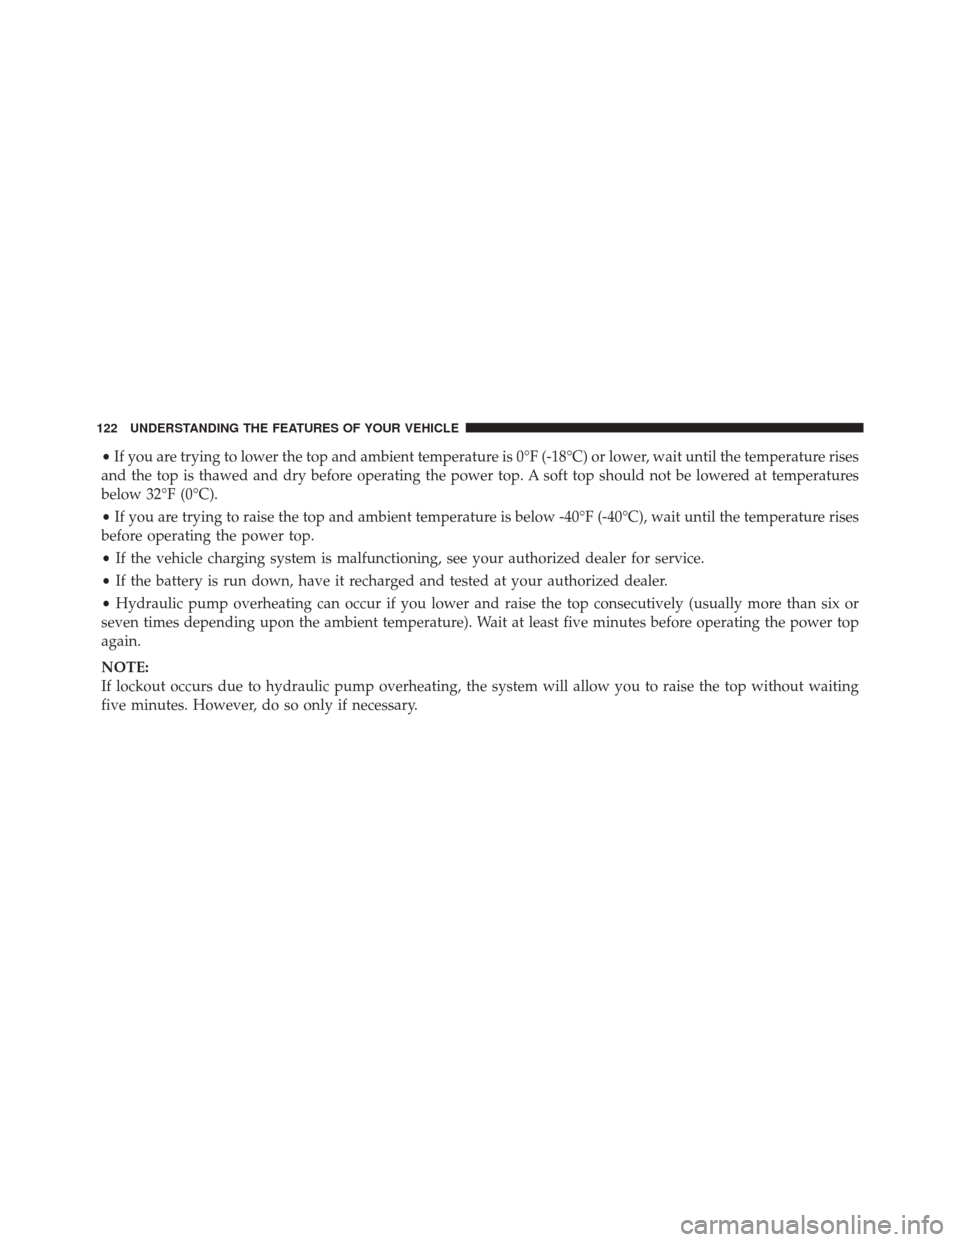
The PTCM will lockout the power convertible top system if the vehicle charging system is malfunctioning, or the
battery is run down, or the hydraulic pump is overheating. In addition, the system prohibits lowering the top when
ambient temperature is at 0°F (-18°C) or lower and raising the top when ambient temperature is below -40°F (-40°C).
3
UNDERSTANDING THE FEATURES OF YOUR VEHICLE 121
Page 124 of 522

•If you are trying to lower the top and ambient temperature is 0°F (-18°C) or lower, wait until the temperature rises
and the top is thawed and dry before operating the power top. A soft top should not be lowered at temperatures
below 32°F (0°C).
• If you are trying to raise the top and ambient temperature is below -40°F (-40°C), wait until the temperature rises
before operating the power top.
• If the vehicle charging system is malfunctioning, see your authorized dealer for service.
• If the battery is run down, have it recharged and tested at your authorized dealer.
• Hydraulic pump overheating can occur if you lower and raise the top consecutively (usually more than six or
seven times depending upon the ambient temperature). Wait at least five minutes before operating the power top
again.
NOTE:
If lockout occurs due to hydraulic pump overheating, the system will allow you to raise the top without waiting
five minutes. However, do so only if necessary.
122 UNDERSTANDING THE FEATURES OF YOUR VEHICLE
Page 199 of 522

5. Press and hold the programmed HomeLink® buttonand observe the indicator light.
• If the indicator light stays on constantly, program-
ming is complete and the garage door/device should
activate when the HomeLink® button is pressed.
• To program the two remaining HomeLink® buttons,
repeat each step for each remaining button. DO NOT
erase the channels.
Reprogramming A Single HomeLink® Button
To reprogram a channel that has been previously trained,
follow these steps:
1. Cycle the ignition to the ON/RUN position.
2. Press and hold the desired HomeLink® button until the indicator light begins to flash after 20 seconds. Do
not release the button. 3.
Without releasing the button proceed with “Program-
ming A Non-Rolling Code” Step 2 and follow all
remaining steps.
Canadian/Gate Operator Programming
For programming transmitters in Canada/United States
that require the transmitter signals to “time-out” after
several seconds of transmission.
Canadian radio frequency laws require transmitter sig-
nals to time-out (or quit) after several seconds of trans-
mission – which may not be long enough for HomeLink®
to pick up the signal during programming. Similar to this
Canadian law, some U.S. gate operators are designed to
time-out in the same manner.
It may be helpful to unplug the device during the cycling
process to prevent possible overheating of the garage
door or gate motor.
1. Cycle the ignition to the ON/RUN position.3
UNDERSTANDING THE FEATURES OF YOUR VEHICLE 197
Page 222 of 522

flash or remain on continuously. Refer to “Occupant
Restraints” in “Things To Know Before Starting Your
Vehicle” for further information.
9. Oil Pressure Warning LightThis light indicates low engine oil pressure. The
light will come on and remain on when the ignition
switch is turned from the OFF to the ON/RUN position,
and the light will turn off after the engine is started. If the
bulb does not come on during starting, have the system
checked by an authorized dealer.
If the light comes on and remains on while driving, stop
the vehicle and shut off the engine. DO NOT OPERATE
THE VEHICLE UNTIL THE CAUSE IS CORRECTED.
The light does not show the quantity of oil in the engine.
This can be determined using the procedure shown in
“Maintaining Your Vehicle”. 10. Engine Temperature Warning Light
This light warns of an overheated engine condi-
tion. As engine coolant temperatures rise and the
gauge approaches H, this indicator will illuminate and a
single chime will sound after reaching a set threshold.
Further overheating will cause the temperature gauge to
pass H, and a continuous chime will occur until the
engine is allowed to cool or the 4 minutes duration is
expired, whichever come first.
If the light turns on while driving, safely pull over and
stop the vehicle. If the A/C system is on, turn it off. Also,
shift the transmission into NEUTRAL and idle the ve-
hicle. If the temperature reading does not return to
normal, turn the engine off immediately and call for
service. Refer to “If Your Engine Overheats” in “What To
Do In Emergencies” for further information.
220 UNDERSTANDING YOUR INSTRUMENT PANEL
Page 295 of 522

•Most of the time, when in Automatic Operation, you
can temporarily put the system into Recirculation
Mode by pressing the Recirculation button. However,
under certain conditions, while in Automatic Mode,
the system is blowing air out the defrost vents. When
these conditions are present, and the Recirculation
button is pressed, the indicator will flash and then turn
off. This tells you that you are unable to go into
Recirculation Mode at this time. If you would like the
system to go into Recirculation Mode, you must first
move the Mode knob to Panel, Mix and then press the
Recirculation button. This feature reduces the possibil-
ity of window fogging.Blower Control
For full automatic operation or for
automatic blower operation, turn the
knob to the AUTO position. In manual
mode there are seven blower speeds
that can be individual selected. In off
position the blower will shut off.
Operating Tips
NOTE: Refer to the chart at the end of this section for
suggested control settings for various weather condi-
tions.
Summer Operation
The engine cooling system must be protected with a
high-quality antifreeze coolant to provide proper corro-
sion protection and to protect against engine overheating.
A solution of 50% OAT (Organic Additive Technology)
4
UNDERSTANDING YOUR INSTRUMENT PANEL 293
Page 311 of 522

WARNING!
Do not coast in NEUTRAL and never turn off the
ignition to coast down a hill. These are unsafe
practices that limit your response to changing traffic
or road conditions. You might lose control of the
vehicle and have a collision.
CAUTION!
Towing the vehicle, coasting, or driving for any other
reason with the transmission in NEUTRAL can cause
severe transmission damage. Refer to “Recreational
Towing” in “Starting And Operating” and “Towing A
Disabled Vehicle” in “What To Do In Emergencies”
for further information.DRIVE (D)
This range should be used for most city and highway
driving. It provides the smoothest upshifts and down-
shifts, and the best fuel economy. The transmission
automatically upshifts through all forward gears. The
DRIVE position provides optimum driving characteris-
tics under all normal operating conditions.
When frequent transmission shifting occurs (such as
when operating the vehicle under heavy loading condi-
tions, in hilly terrain, traveling into strong head winds, or
while towing heavy trailers), select the
�3�range. Under
these conditions, using the �3�range will improve perfor-
mance and extend transmission life by reducing exces-
sive shifting and heat buildup.
If the transmission temperature exceeds normal operat-
ing limits, the powertrain controller will modify the
DRIVE and “3” range shift points. This is done to prevent
transmission damage due to overheating.
5
STARTING AND OPERATING 309
Page 323 of 522

•The transmission will automatically upshift when nec-
essary to prevent engine over-speed.
• If a requested downshift would cause the engine to
over-speed, that shift will not occur.
• Avoid using speed control when AutoStick® is en-
gaged.
• Transmission shifting will be more noticeable when
AutoStick® is engaged.
• If the system detects powertrain overheating, the
transmission will revert to automatic shift mode and
remain in that mode until the powertrain cools off.
• If the system detects a problem, it will disable
AutoStick® mode and the transmission will return to
automatic mode until the problem is corrected.
To disengage AutoStick® mode, return the shift lever to
the DRIVE position. You can shift in or out of the AutoStick® position at any time without taking your foot
off the accelerator pedal.
WARNING!
Do not downshift for additional engine braking on a
slippery surface. The drive wheels could lose their
grip and the vehicle could skid, causing a collision or
personal injury.
DRIVING ON SLIPPERY SURFACES
Acceleration
Rapid acceleration on snow covered, wet, or other slip-
pery surfaces may cause the driving wheels to pull
erratically to the right or left. This phenomenon occurs
when there is a difference in the surface traction under
the front (driving) wheels.
5
STARTING AND OPERATING 321
Page 399 of 522
WHAT TO DO IN EMERGENCIES
CONTENTS
�HAZARD WARNING FLASHERS ...........398
� IF YOUR ENGINE OVERHEATS ............398
▫ Engine Oil Overheating — 2.4L Engine Only
(If Equipped) ........................ .399
� JACKING AND TIRE CHANGING ..........400
▫ Jack Location ....................... .400
▫ Spare Tire Stowage ....................400
▫ Preparations For Jacking ................401
▫ Jacking Instructions ...................402 ▫
Road Tire Installation ...................408
� JUMP-STARTING ......................411
▫ Preparations For Jump-Start ..............412
▫ Jump-Starting Procedure ................414
� FREEING A STUCK VEHICLE .............416
� SHIFT LEVER OVERRIDE ................417
� TOWING A DISABLED VEHICLE ...........418
▫ Without The Ignition Key ................420
6