2014 CHEVROLET CRUZE ECO mode
[x] Cancel search: ECO modePage 21 of 420
Black plate (15,1)Chevrolet Cruze Owner Manual (GMNA-Localizing-U.S./Canada-6007168) -
2014 - 2nd Edition - 7/15/13
In Brief 1-15
8. Recirculation
9. MODE (Air Delivery Mode)
10. AQS (Air Quality Sensor)
11. Air Conditioning
SeeClimate Control Systems on
page 8-1 orAutomatic Climate
Control System on page 8-3 (If
Equipped).
Transmission
Manual Mode
Driver Shift Control (DSC) allows
the automatic transmission to be
shifted similar to a manual
transmission.
Electronic Range Select (ERS)
allows for the selection of a range of
gears.
See Manual Mode on page 9-35.
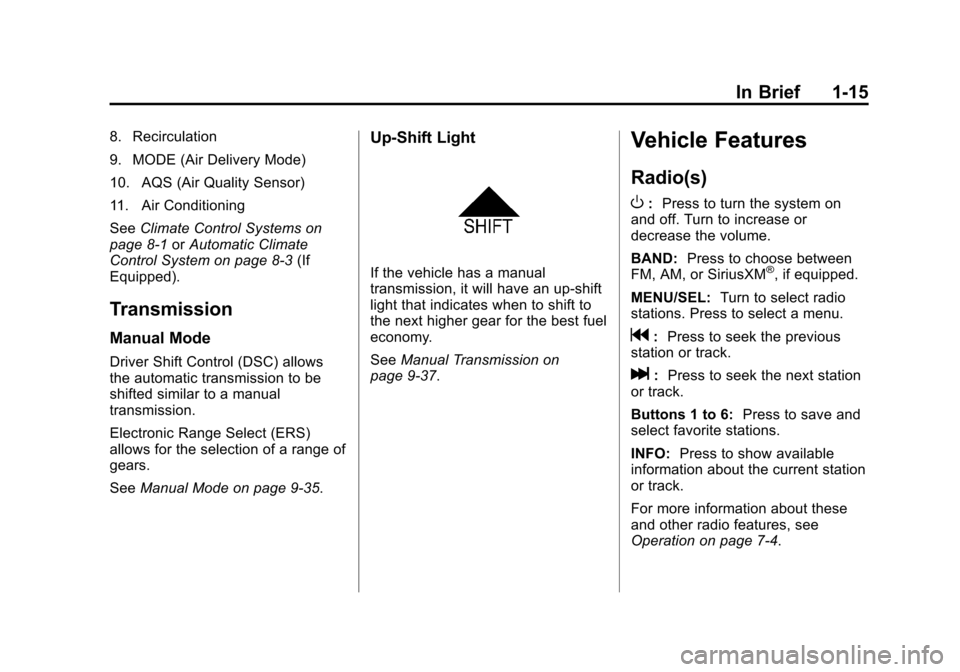
Up‐Shift Light
If the vehicle has a manual
transmission, it will have an up-shift
light that indicates when to shift to
the next higher gear for the best fuel
economy.
SeeManual Transmission on
page 9-37.
Vehicle Features
Radio(s)
O
: Press to turn the system on
and off. Turn to increase or
decrease the volume.
BAND: Press to choose between
FM, AM, or SiriusXM
®, if equipped.
MENU/SEL: Turn to select radio
stations. Press to select a menu.
g: Press to seek the previous
station or track.
l: Press to seek the next station
or track.
Buttons 1 to 6: Press to save and
select favorite stations.
INFO: Press to show available
information about the current station
or track.
For more information about these
and other radio features, see
Operation on page 7-4.
Page 37 of 420
Black plate (7,1)Chevrolet Cruze Owner Manual (GMNA-Localizing-U.S./Canada-6007168) -
2014 - 2nd Edition - 7/15/13
Keys, Doors, and Windows 2-7
Programming with a Recognized
Transmitter (Keyless Access
Vehicles Only)
A new transmitter can be
programmed to the vehicle when
there is one recognized transmitter.
To program, the vehicle must be off
and all of the transmitters, both
currently recognized and new, must
be with you.
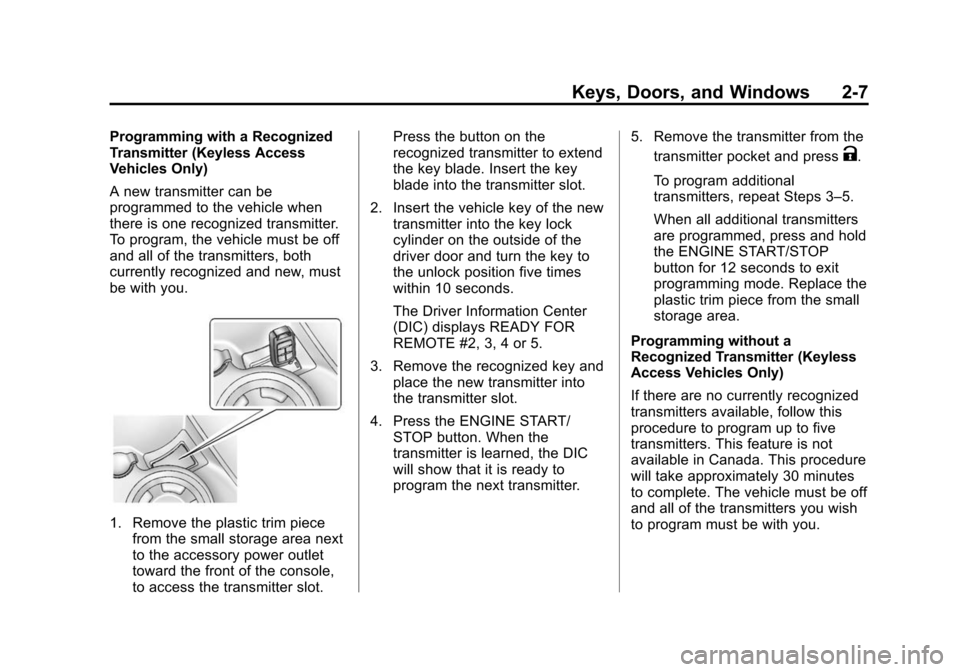
1. Remove the plastic trim piecefrom the small storage area next
to the accessory power outlet
toward the front of the console,
to access the transmitter slot. Press the button on the
recognized transmitter to extend
the key blade. Insert the key
blade into the transmitter slot.
2. Insert the vehicle key of the new transmitter into the key lock
cylinder on the outside of the
driver door and turn the key to
the unlock position five times
within 10 seconds.
The Driver Information Center
(DIC) displays READY FOR
REMOTE #2, 3, 4 or 5.
3. Remove the recognized key and place the new transmitter into
the transmitter slot.
4. Press the ENGINE START/ STOP button. When the
transmitter is learned, the DIC
will show that it is ready to
program the next transmitter. 5. Remove the transmitter from the
transmitter pocket and press
K.
To program additional
transmitters, repeat Steps 3–5.
When all additional transmitters
are programmed, press and hold
the ENGINE START/STOP
button for 12 seconds to exit
programming mode. Replace the
plastic trim piece from the small
storage area.
Programming without a
Recognized Transmitter (Keyless
Access Vehicles Only)
If there are no currently recognized
transmitters available, follow this
procedure to program up to five
transmitters. This feature is not
available in Canada. This procedure
will take approximately 30 minutes
to complete. The vehicle must be off
and all of the transmitters you wish
to program must be with you.
Page 38 of 420
Black plate (8,1)Chevrolet Cruze Owner Manual (GMNA-Localizing-U.S./Canada-6007168) -
2014 - 2nd Edition - 7/15/13
2-8 Keys, Doors, and Windows
1. Insert the vehicle key of thetransmitter into the key lock
cylinder on the outside of the
driver door and turn the key to
the unlock position five times
within 10 seconds.
The Driver Information Center
(DIC) displays REMOTE LEARN
PENDING, PLEASE WAIT.
2. Wait for 10 minutes until the DIC displays PRESS ENGINE
START BUTTON TO LEARN
and then press the ENGINE
START/STOP button.
The DIC displays will again
show REMOTE LEARN
PENDING, PLEASE WAIT.
3. Repeat Step 2 two additional times. After the third time all
previously known transmitters
will no longer work with the
vehicle. Remaining transmitters
can be relearned during the next
steps. The DIC display should now
show READY FOR REMOTE
# 1.
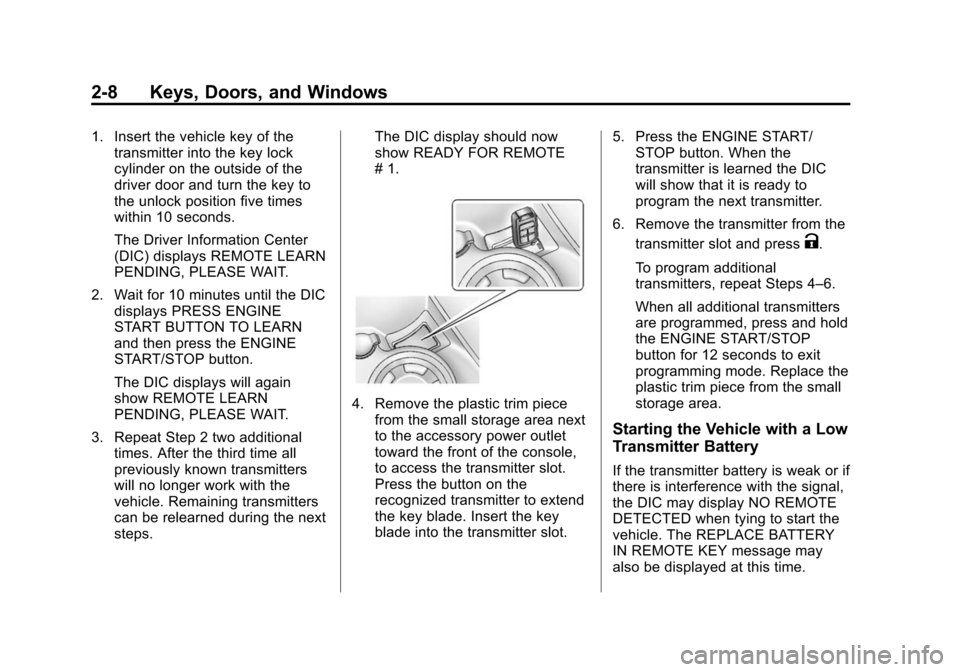
4. Remove the plastic trim piece
from the small storage area next
to the accessory power outlet
toward the front of the console,
to access the transmitter slot.
Press the button on the
recognized transmitter to extend
the key blade. Insert the key
blade into the transmitter slot. 5. Press the ENGINE START/
STOP button. When the
transmitter is learned the DIC
will show that it is ready to
program the next transmitter.
6. Remove the transmitter from the transmitter slot and press
K.
To program additional
transmitters, repeat Steps 4–6.
When all additional transmitters
are programmed, press and hold
the ENGINE START/STOP
button for 12 seconds to exit
programming mode. Replace the
plastic trim piece from the small
storage area.
Starting the Vehicle with a Low
Transmitter Battery
If the transmitter battery is weak or if
there is interference with the signal,
the DIC may display NO REMOTE
DETECTED when tying to start the
vehicle. The REPLACE BATTERY
IN REMOTE KEY message may
also be displayed at this time.
Page 75 of 420
Black plate (21,1)Chevrolet Cruze Owner Manual (GMNA-Localizing-U.S./Canada-6007168) -
2014 - 2nd Edition - 7/15/13
Seats and Restraints 3-21
Seat-mounted side impact airbags
are designed to inflate in moderate
to severe side crashes depending
on the location of the impact.
Seat-mounted side impact airbags
are not designed to inflate in frontal
impacts, near frontal impacts,
rollovers, or rear impacts.
A seat-mounted side impact airbag
is designed to inflate on the side of
the vehicle that is struck.
Roof-rail airbags are designed to
inflate in moderate to severe side
crashes depending on the location
of the impact. In addition, these
roof-rail airbags are designed to
inflate during a rollover or in a
severe frontal impact. Roof-rail
airbags are not designed to inflate in
rear impacts. Both roof-rail airbags
will inflate when either side of the
vehicle is struck, if the sensing
system predicts that the vehicle is
about to roll over on its side, or in a
severe frontal impact.In any particular crash, no one can
say whether an airbag should have
inflated simply because of the
vehicle damage or repair costs.
What Makes an Airbag
Inflate?
In a deployment event, the sensing
system sends an electrical signal
triggering a release of gas from the
inflator. Gas from the inflator fills the
airbag causing the bag to break out
of the cover. The inflator, the airbag,
and related hardware are all part of
the airbag module.
For airbag locations, see
Where Are
the Airbags? on page 3-18.
How Does an Airbag
Restrain?
In moderate to severe frontal or
near frontal collisions, even belted
occupants can contact the steering
wheel or the instrument panel. In moderate to severe side collisions,
even belted occupants can contact
the inside of the vehicle.
Airbags supplement the protection
provided by safety belts by
distributing the force of the impact
more evenly over the
occupant's body.
Rollover capable roof-rail airbags
are designed to help contain the
head and chest of occupants in the
outboard seating positions in the
first and second rows. The rollover
capable roof-rail airbags are
designed to help reduce the risk of
full or partial ejection in rollover
events, although no system can
prevent all such ejections.
But airbags would not help in many
types of collisions, primarily
because the occupant's motion is
not toward those airbags. See
When
Should an Airbag Inflate? on
page 3-20.
Airbags should never be regarded
as anything more than a supplement
to safety belts.
Page 120 of 420

Black plate (14,1)Chevrolet Cruze Owner Manual (GMNA-Localizing-U.S./Canada-6007168) -
2014 - 2nd Edition - 7/15/13
5-14 Instruments and Controls
The light turns off when the engine
is started. If it does not, have the
vehicle serviced by your dealer.
If the light stays on, or comes on
while driving, there could be a
problem with the electrical charging
system. Have it checked by your
dealer. Driving while this light is on
could drain the battery.
If a short distance must be driven
with the light on, be sure to turn off
all accessories, such as the radio
and air conditioner.
Malfunction
Indicator Lamp
A computer system called OBD II
(On-Board Diagnostics-Second
Generation) monitors the operation
of the vehicle to ensure emissions
are at acceptable levels, helping to
maintain a clean environment. The
malfunction indicator lamp comes
on when the vehicle is placed in
ON/RUN for key access or Service
Only Mode for Keyless Access, as a
check to show it is working. If itdoes not, have the vehicle serviced
by your dealer. See
Ignition
Positions (Keyless Access) on
page 9-14 orIgnition Positions (Key
Access) on page 9-16.
If the malfunction indicator lamp
comes on while the engine is
running, this indicates that the OBD
II system has detected a problem
and diagnosis and service might be
required.
With a diesel engine, this light may
also come on when the OBD II
system has detected a problem with
the Diesel Exhaust Fluid (DEF)
management system. See Diesel
Exhaust Fluid on page 9-27.
Malfunctions often are indicated by
the system before any problem is
apparent. Being aware of the light can prevent more serious damage
to the vehicle. This system also
assists the dealer technician in
correctly diagnosing any
malfunction.
{Caution
If the vehicle is continually driven
with this light on, the emission
controls might not work as well,
the vehicle fuel economy might
not be as good, and the engine
might not run as smoothly. This
could lead to costly repairs that
might not be covered by the
vehicle warranty.
{Caution
Modifications made to the engine,
transmission, exhaust, intake,
or fuel system of the vehicle or
the replacement of the original
tires with other than those of the
(Continued)
Page 131 of 420

Black plate (25,1)Chevrolet Cruze Owner Manual (GMNA-Localizing-U.S./Canada-6007168) -
2014 - 2nd Edition - 7/15/13
Instruments and Controls 5-25
Vehicle Information Menu
(OPTION) Items
Press MENU on the turn signal
lever until the OPTION menu is
displayed. Use
w xto scroll
through the menu items. Not all
items are available on every vehicle.
The following is a list of all possible
menu items:
Units: Move
w xto change
between Metric or US when the Unit
display is active. Press SET/CLR to
confirm the setting. On some
models, you will have to select 1, 2,
or 3 for the Unit display. 1 is
Imperial units, 2 is US units, and 3
is metric units. This will change the
displays on the cluster and DIC to
the type of measurements you
select.
Tire Pressure: May display a
vehicle with the approximate
pressures of all four tires. Tire
pressure is displayed in either
kilopascal (kPa) or in pounds per
square inch (psi). On some models, this display only allows for matching
of the TPMS sensors. In this case,
the display will show TIRE LEARN.
See
Tire Pressure Monitor System
on page 10-52 andTire Pressure
Monitor Operation on page 10-53.
Remaining Oil Life: Displays an
estimate of the oil's remaining useful
life. If REMAINING OIL LIFE 99% is
displayed, that means 99% of the
current oil life remains. This display
may be shown as
:%.
When the remaining oil life is low,
the CHANGE ENGINE OIL SOON
message will appear on the display.
See Engine Oil Messages on
page 5-29. The oil should be
changed as soon as possible. See
Engine Oil on page 10-11. In
addition to the engine oil life system
monitoring the oil life, additional
maintenance is recommended in the
Maintenance Schedule in this
manual. See Maintenance Schedule
on page 11-2. The Oil Life display must be reset
after each oil change. Do not reset
the Oil Life display accidentally at
any time other than when the oil has
just been changed. It cannot be
reset accurately until the next oil
change. To reset the engine oil life
system, see
Engine Oil Life System
on page 10-15.
Battery Voltage: Displays the
current battery voltage, if equipped.
Battery voltage changes are normal
while driving. See Charging System
Light on page 5-13. If there is a
problem with the battery charging
system, the DIC will display a
message. See Battery Voltage and
Charging Messages on page 5-27.
Diesel Exhaust Fluid Level (Diesel
Engine Only): Displays the current
Diesel Exhaust Fluid (DEF) level.
Remaining Fuel Filter (Diesel
Engine Only): Displays an
estimate of the remaining fuel filter
life. If REMAINING FUEL FILTER
50% is displayed, that means 50%
of the current fuel filter life remains.
Page 170 of 420
Black plate (18,1)Chevrolet Cruze Owner Manual (GMNA-Localizing-U.S./Canada-6007168) -
2014 - 2nd Edition - 7/15/13
7-18 Infotainment System
Searching for a Track
It is normal for the search feature to
take some time to display the
information after reading the device
due to the amount of information
stored.
Files that do not have any meta
data stored in the ID3 tag display as
Unknown.
Tracks can be searched for by:
.Playlists*
.Artists
.Albums
.Song Titles
.Genres
.Folder View
*This only displays if a playlist is
found on the device.
To search for tracks:
1. Turn the MENU/SEL knob.
2. Select Search. 3. Select: Playlists, Artists, Albums,
Song Titles, Genres,
or Folder View.
4. Select the track.
Shuffle Functionality
Turn the MENU/SEL knob and set
Shuffle Songs (Random) to On
or Off.
On: Plays current tracks in random
order.
Off: Plays current tracks in
sequential order.
Repeat Functionality
Turn the MENU/SEL knob and set
Repeat to On or Off.
Repeat On: Repeats the current
track.
Repeat Off: Starts playback from
the beginning of the current track
after the last track finishes.
Phone
Bluetooth (Overview)
For vehicles equipped with
Bluetooth capability, the system can
interact with many cell phones,
allowing:
.Placement and receipt of calls in
a hands-free mode.
.Sharing of the cell phone’s
address book or contact list with
the vehicle.
To minimize driver distraction,
before driving, and with the vehicle
parked:
.Become familiar with the
features of the cell phone.
Organize the phone book and
contact lists clearly and delete
duplicate or rarely used entries.
If possible, program speed dial
or other shortcuts.
.Review the controls and
operation of the infotainment
system.
Page 193 of 420
Black plate (1,1)Chevrolet Cruze Owner Manual (GMNA-Localizing-U.S./Canada-6007168) -
2014 - 2nd Edition - 7/15/13
Driving and Operating 9-1
Driving and
Operating
Driving Information
Distracted Driving . . . . . . . . . . . . . 9-2
Defensive Driving . . . . . . . . . . . . . 9-3
Drunk Driving . . . . . . . . . . . . . . . . . 9-3
Control of a Vehicle . . . . . . . . . . . 9-3
Braking . . . . . . . . . . . . . . . . . . . . . . . 9-3
Steering . . . . . . . . . . . . . . . . . . . . . . . 9-4
Off-Road Recovery . . . . . . . . . . . . 9-4
Loss of Control . . . . . . . . . . . . . . . . 9-5
Driving on Wet Roads . . . . . . . . . 9-5
Highway Hypnosis . . . . . . . . . . . . 9-6
Hill and Mountain Roads . . . . . . 9-6
Winter Driving . . . . . . . . . . . . . . . . . 9-7
If the Vehicle Is Stuck . . . . . . . . . 9-9
Vehicle Load Limits . . . . . . . . . . . 9-9
Starting and Operating
New Vehicle Break-In . . . . . . . . 9-14
Ignition Positions (KeylessAccess) . . . . . . . . . . . . . . . . . . . . 9-14
Ignition Positions (Key Access) . . . . . . . . . . . . . . . . . . . . 9-16
Starting the Engine . . . . . . . . . . 9-18
Engine Heater . . . . . . . . . . . . . . . 9-22 Retained Accessory
Power (RAP) . . . . . . . . . . . . . . . 9-23
Shifting Into Park . . . . . . . . . . . . 9-23
Shifting out of Park . . . . . . . . . . 9-24
Parking . . . . . . . . . . . . . . . . . . . . . . 9-25
Parking over Things That Burn . . . . . . . . . . . . . . . . . . 9-26
Engine Exhaust
Engine Exhaust . . . . . . . . . . . . . . 9-26
Diesel Particulate Filter . . . . . . 9-26
Diesel Exhaust Fluid . . . . . . . . . 9-27
Running the Vehicle WhileParked . . . . . . . . . . . . . . . . . . . . . 9-33
Automatic Transmission
Automatic Transmission . . . . . 9-33
Manual Mode . . . . . . . . . . . . . . . . 9-35
Manual Transmission
Manual Transmission . . . . . . . . 9-37
Brakes
Antilock BrakeSystem (ABS) . . . . . . . . . . . . . . 9-39
Parking Brake . . . . . . . . . . . . . . . 9-40
Brake Assist . . . . . . . . . . . . . . . . . 9-40
Ride Control Systems
Traction Control/Electronic Stability Control . . . . . . . . . . . . 9-41
Cruise Control
Cruise Control . . . . . . . . . . . . . . . 9-43
Driver Assistance Systems
Ultrasonic Parking Assist . . . . 9-45
Side Blind ZoneAlert (SBZA) . . . . . . . . . . . . . . . 9-47
Rear Vision Camera (RVC) . . . . . . . . . . . . . 9-49
Fuel
Fuel . . . . . . . . . . . . . . . . . . . . . . . . . 9-52
Recommended Fuel(Gasoline) . . . . . . . . . . . . . . . . . . 9-52
Gasoline Specifications . . . . . . 9-53
California Fuel Requirements . . . . . . . . . . . . . . 9-53
Fuels in Foreign Countries . . . 9-53
Fuel Additives (Gasoline) . . . . 9-54
Fuel for Diesel Engines . . . . . . 9-54
What Fuel to Use in Canada and Mexico (Diesel) . . . . . . . . 9-59
Cold Weather Operation (Diesel) . . . . . . . . . . . . . . . . . . . . . 9-60
Water in Fuel (Diesel) . . . . . . . . 9-61