2014 BMW 5 SERIES GRAN TURISMO ECU
[x] Cancel search: ECUPage 31 of 259
Executing functions using short
commands
Execute functions on the main menu via short
commands. It almost doesn't matter which
menu item is selected, e.g., ›Vehicle status‹.
List of short commands for the voice activation
system, see Navigation, Entertainment, Com‐
munication Owner's Manual.
Help dialog for the voice activation
system
Calling up help dialog: ›Help‹
Additional commands for the help dialog:▷›Help with examples‹: announces informa‐
tion about the current operating options
and the most important commands for
them.▷›Help with voice activation‹: information
about the principle of operation for the
voice activation system is announced.
One example: open the tone
settings
Via the main menu The commands of the menu items are spoken
just as they are selected via the controller.
1.Turn on the Entertainment sound output if
needed.2. Press button on the steering
wheel.3.›Radio‹4.›Tone‹
Via short command
The desired tone settings can also be started
via a short command.
1.Turn on the Entertainment sound output if
needed.2. Press button on the steering
wheel.3.›Tone‹
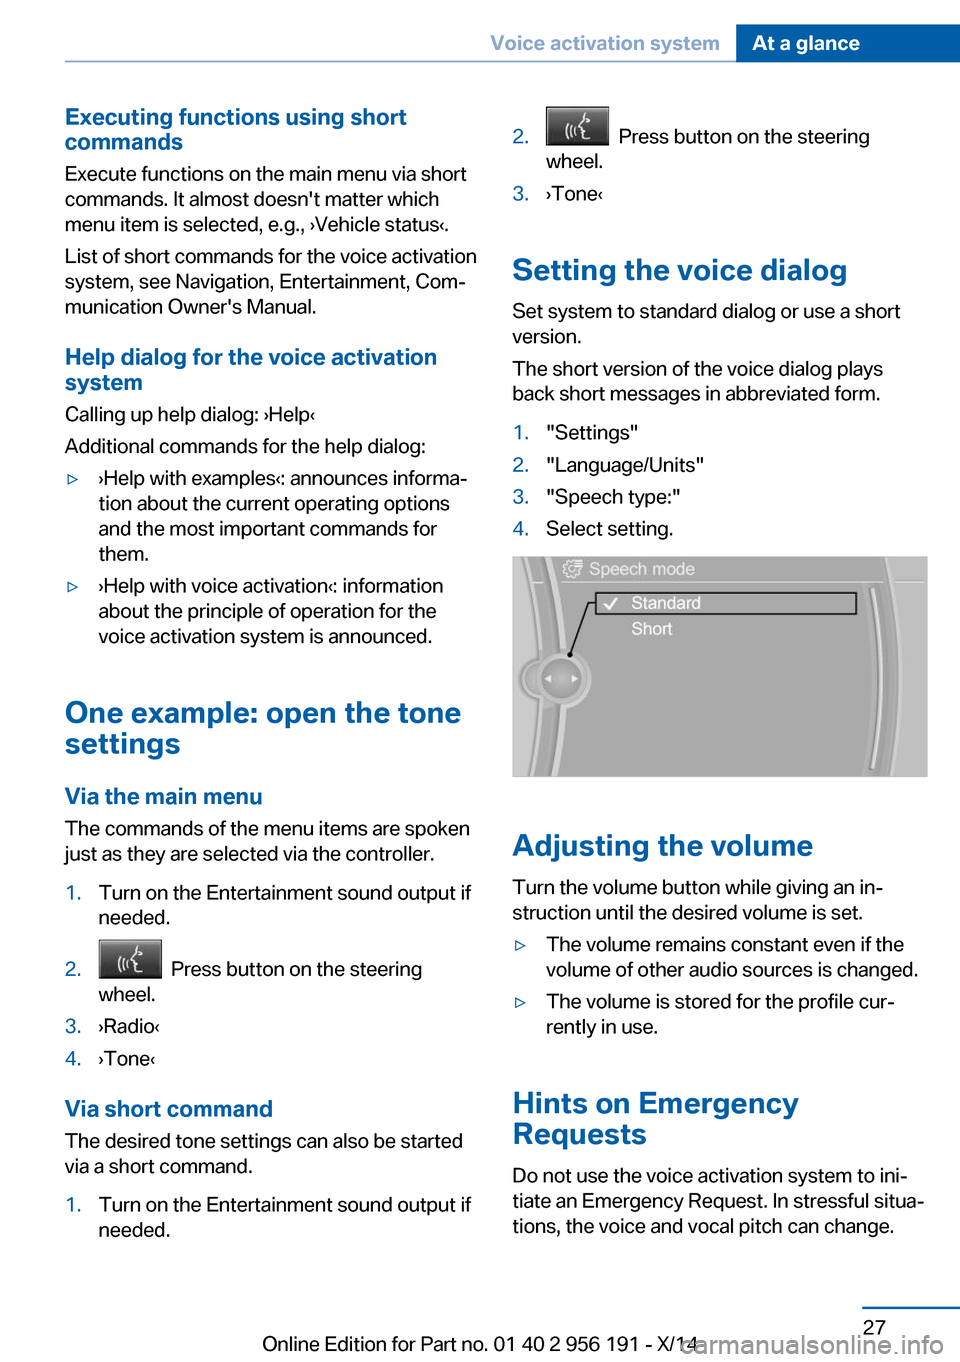
Setting the voice dialog
Set system to standard dialog or use a short
version.
The short version of the voice dialog plays
back short messages in abbreviated form.
1."Settings"2."Language/Units"3."Speech type:"4.Select setting.
Adjusting the volume
Turn the volume button while giving an in‐
struction until the desired volume is set.
▷The volume remains constant even if the
volume of other audio sources is changed.▷The volume is stored for the profile cur‐
rently in use.
Hints on Emergency
Requests
Do not use the voice activation system to ini‐
tiate an Emergency Request. In stressful situa‐
tions, the voice and vocal pitch can change.
Seite 27Voice activation systemAt a glance27
Online Edition for Part no. 01 40 2 956 191 - X/14
Page 34 of 259
Context help - Owner's Manual to the
temporarily selected function
You may open the relevant information di‐
rectly.
Opening via the iDrive
To move directly from the application on the
Control Display to the Options menu:1. Press button or move the controller
to the right repeatedly until the "Options"
menu is displayed.2."Display Owner's Manual"
Opening when a Check Control
message is displayed
Directly from the Check Control message on
the Control Display:
"Display Owner's Manual"
Changing between a function and the
Owner's Manual
To reel from a function, e. g., radio, to the
Owner's Manual on the Control Display and to
alternate between the two displays:
1. Press button or move the controller
to the right repeatedly until the "Options"
menu is displayed.2."Display Owner's Manual"3.Select the desired page in the Owner's
Manual.4. Press button again to return to last
displayed function.5. Press button to return to the page of
the Owner's Manual displayed last.
To alternate permanently between the last dis‐
played function and the Owner's Manual re‐
peat steps 4 & 5. Opens a new display every
time.
Programmable memory buttons
General information
The Owner's Manual can be stored on the pro‐
grammable memory buttons and called up di‐
rectly.
Storing1."Owner's Manual" Select via the iDrive.2. Press selected button for more
than 2 seconds.
Executing
Press button.
The Owner's Manual is displayed im‐
mediately.
Seite 30At a glanceIntegrated Owner's Manual in the vehicle30
Online Edition for Part no. 01 40 2 956 191 - X/14
Page 38 of 259
Opening and closingVehicle features and options
This chapter describes all standard, country-
specific and optional features offered with the
series. It also describes features that are not
necessarily available in your car, e. g., due to
the selected options or country versions. This
also applies to safety-related functions and
systems.
Remote control/key
General information The vehicle is supplied with two remote con‐
trols with integrated key.
Every remote control holds a replaceable bat‐
tery.
You may set the key functions depending on
the optional features and country-specific ver‐
sion. For Settings, refer to page 46.
The vehicle stores personal settings for every
remote control. Personal Profile, refer to
page 35.
The remote controls hold information on re‐
quired maintenance. Service data in the re‐
mote control, refer to page 219.
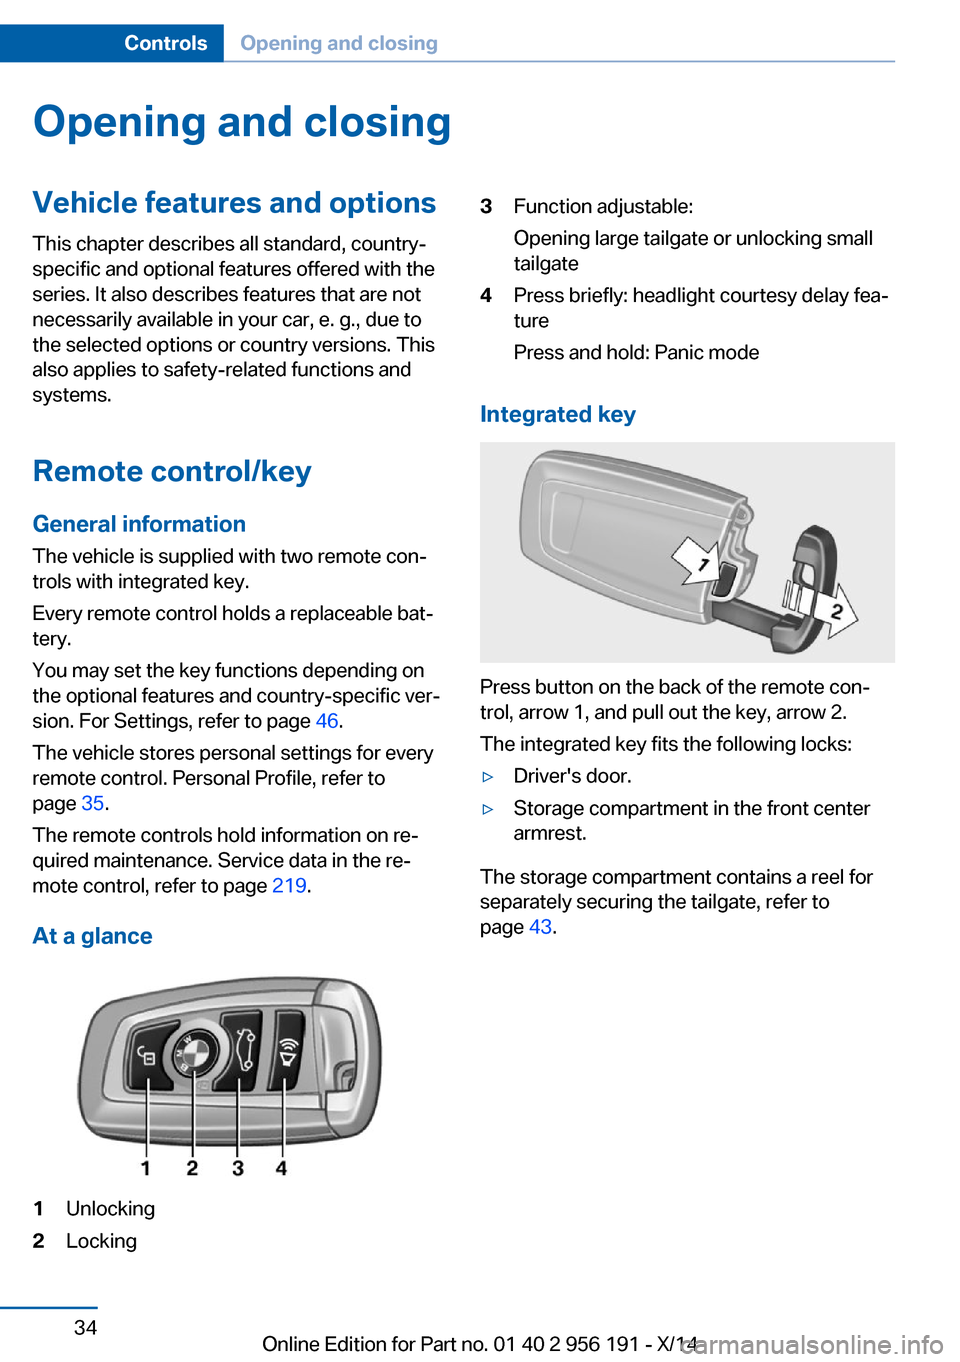
At a glance1Unlocking2Locking3Function adjustable:
Opening large tailgate or unlocking small
tailgate4Press briefly: headlight courtesy delay fea‐
ture
Press and hold: Panic mode
Integrated key
Press button on the back of the remote con‐
trol, arrow 1, and pull out the key, arrow 2.
The integrated key fits the following locks:
▷Driver's door.▷Storage compartment in the front center
armrest.
The storage compartment contains a reel for
separately securing the tailgate, refer to
page 43.
Seite 34ControlsOpening and closing34
Online Edition for Part no. 01 40 2 956 191 - X/14
Page 40 of 259
▷Your personal settings will be recognized
and activated even if the vehicle had been
operated with another remote control.
Adjusting
The settings for the following systems and
functions are saved in the active profile. The
scope of storable settings is country- and
equipment-dependable.
▷Unlocking and locking.▷Lights.▷Climate control.▷Radio.▷Instrument cluster.▷Programmable memory buttons.▷Volumes, tone.▷Control Display.▷Navigation.▷Park Distance Control PDC.▷Rearview camera▷Side View.▷Head-up Display.▷Driving Dynamics Control.▷Driver's seat position, exterior mirror posi‐
tion, steering wheel position.▷Cruise control.▷Intelligent Safety.▷Active Blind Spot Detection.▷Night vision.
Profile management
Opening profiles Regardless of the remote control in use a dif‐
ferent profile may be activated.
1."Settings"2."Profiles"3.Select a profile.The activated profile is assigned to the cur‐
rently used remote control.
Renaming profiles1."Settings"2."Profiles"3."Options"4."Rename current profile"
Resetting profiles The settings of the active profile are reset to
their default values.
1."Settings"2."Profiles"3."Options"4."Reset current profile"
Exporting profiles
Most settings of the active profile and the
saved contacts can be exported.
This can be helpful for securing and retrieving
personal settings, before delivering the vehicle
to a workshop, e.g. Profiles can be taken to an‐
other vehicle equipped with the Personal Pro‐
file function.
The following export options are available:
▷Via BMW Online.▷Via the USB port to a USB device.
Popular file systems for USB devices are
supported. FAT32 and exFAT are the rec‐
ommended formats for profile export.
Other formats may not support the export.1."Settings"2."Profiles"3."Export profile"4.BMW Online: "BMW Online"
USB port: "USB device"Seite 36ControlsOpening and closing36
Online Edition for Part no. 01 40 2 956 191 - X/14
Page 44 of 259
Alarm system
With some country versions, the alarm system
is not armed if the vehicle is locked with the
integrated key.
In some country-specific versions, the alarm
system is triggered when the vehicle is un‐
locked via the door lock.
In order to terminate this alarm, unlock vehicle
with the remote control or reel on the ignition,
if needed, through emergency detection of the
remote control, refer to page 35.
From the inside
Unlocking and locking
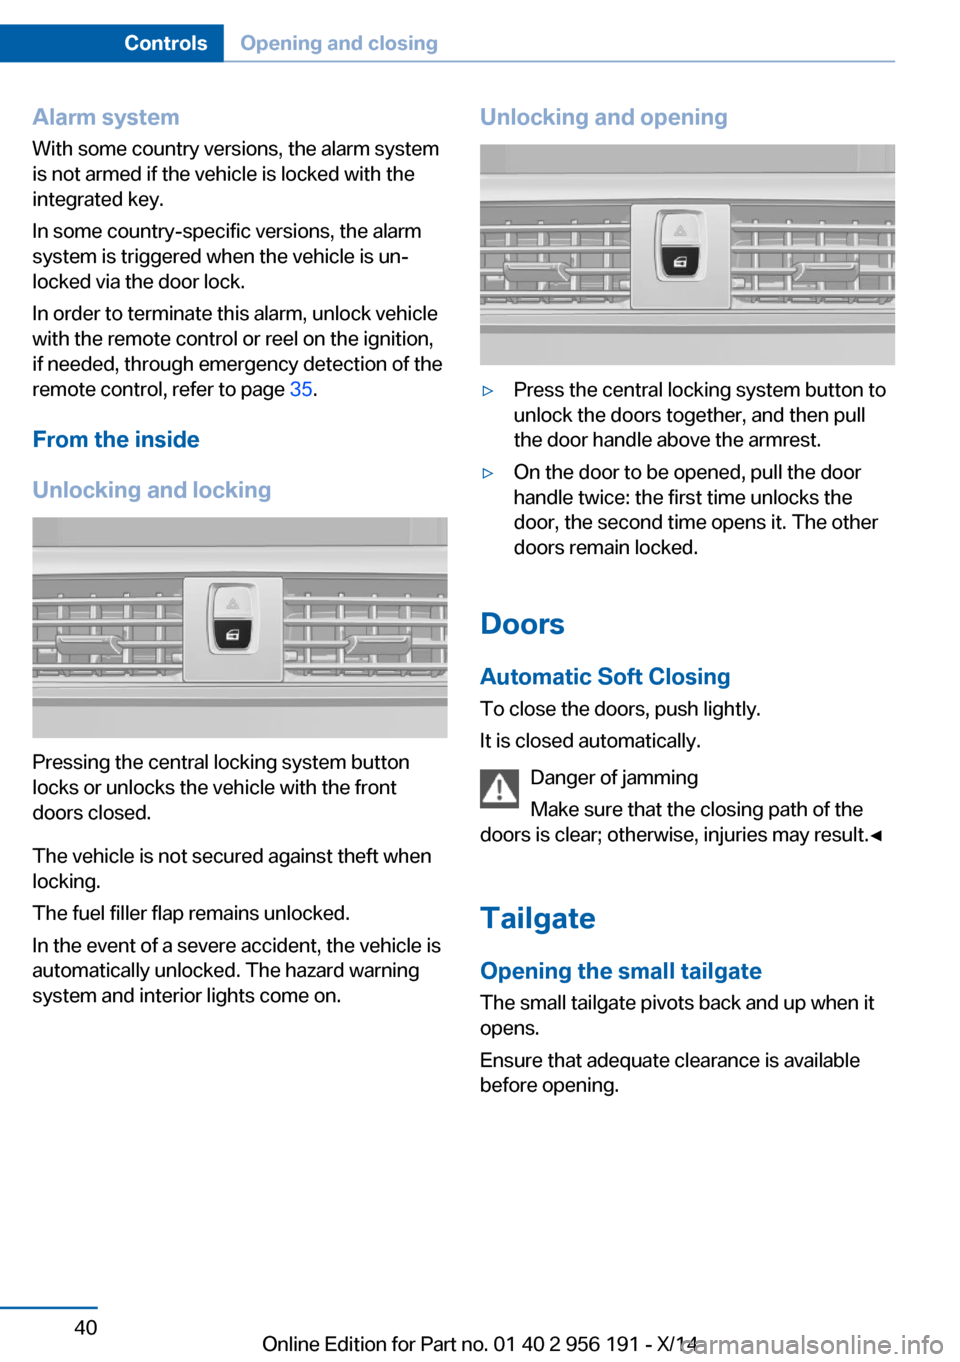
Pressing the central locking system button
locks or unlocks the vehicle with the front
doors closed.
The vehicle is not secured against theft when
locking.
The fuel filler flap remains unlocked.
In the event of a severe accident, the vehicle is
automatically unlocked. The hazard warning
system and interior lights come on.
Unlocking and opening▷Press the central locking system button to
unlock the doors together, and then pull
the door handle above the armrest.▷On the door to be opened, pull the door
handle twice: the first time unlocks the
door, the second time opens it. The other
doors remain locked.
Doors
Automatic Soft Closing
To close the doors, push lightly.
It is closed automatically.
Danger of jamming
Make sure that the closing path of the
doors is clear; otherwise, injuries may result.◀
Tailgate
Opening the small tailgate
The small tailgate pivots back and up when it
opens.
Ensure that adequate clearance is available
before opening.
Seite 40ControlsOpening and closing40
Online Edition for Part no. 01 40 2 956 191 - X/14
Page 47 of 259

▷Press button, arrow 1, on the inside of the
tailgate.
Pressing the button again stops the mo‐
tion.
With Comfort Access:
▷Press button on the open tailgate.
The vehicle will be locked after closing the
tailgate. The driver's door must be closed
for this purpose and the remote control
must be outside of the vehicle in the area
of the tailgate.
Pressing the button again stops the mo‐
tion.▷Press button on tailgate's exterior arrow 1.'Pressing the button again stops the mo‐
tion.
An acoustic signal sounds and the tailgate
closes.
The closing operation is interrupted:
▷When starting the engine.▷The vehicle starts off with jerks.
Manual operation
Do not operate the tailgate manually if it
is blocked
If the tailgate is blocked, do not operate it man‐
ually as the tailgate may otherwise become
damaged and injury may result.
Contact your service center.◀
In the event of an electrical malfunction, oper‐
ate the unlocked tailgate manually with a slow
and smooth motion.
Locking separately The tailgate can be locked separately, using
the reel in the front center armrest.
▷The tailgate is locked, ar‐
row 1.
The small and large tailgates
are locked.▷The tailgate is unlocked, ar‐
row 2.
Slide the reel into the arrow 1 position. This
secures the tailgate and disconnects it from
the central locking system.
When the center armrest is locked, the tailgate
cannot be accessed. This is beneficial when
the vehicle is parked using valet service. The
infrared remote control can be handed out
without the key.
Seite 43Opening and closingControls43
Online Edition for Part no. 01 40 2 956 191 - X/14
Page 54 of 259
Closing without the pinch protection
system
Keep the closing path clear
Monitor closing and make sure that the
closing path of the window is clear; otherwise,
injuries may result.◀
E.g. danger from the outside or ice might pre‐
vent window from closing properly - proceed
as follows:1.Pull the reel past the resistance point and
hold it there.
The pinch protection is limited and the
window reopens slightly if the closing force
exceeds a certain margin.2.Pull the reel past the resistance point again
within approx. 4 seconds and hold it there.
The window closes without jam protection.
Safety reel
General information
The following functions can be locked simulta‐
neously, using the reel:
▷Opening and closing of the rear windows
using the switches in the rear.▷Operation of the roller sunblinds using the
switches in the rear.▷Adjustment of the power rear seats.▷Adjustment of the power head restraints in
the rear.
Switching on and off
Press button.
The LED lights up if the safety func‐
tion is switched on.
Safety reel for rear operation
Press the safety reel when transporting
children in the rear; otherwise, injury may re‐
sult if the windows are closed without supervi‐
sion.◀
Roller sunblinds
General information The safety reel in the driver's door can be used
to prevent children, e. g., from operating the roller sunblinds using the switches in the rear.
Press the safety reel in the driver's door. The
LED lights up if the safety function is switched
on.
If you are no longer able to move the roller sun‐
blinds after having activated them consecu‐
tively a number of times, the system is blocked
for a limited time to prevent overheating. Let
the system cool.
The roller sunblinds cannot be moved at low
interior temperatures.
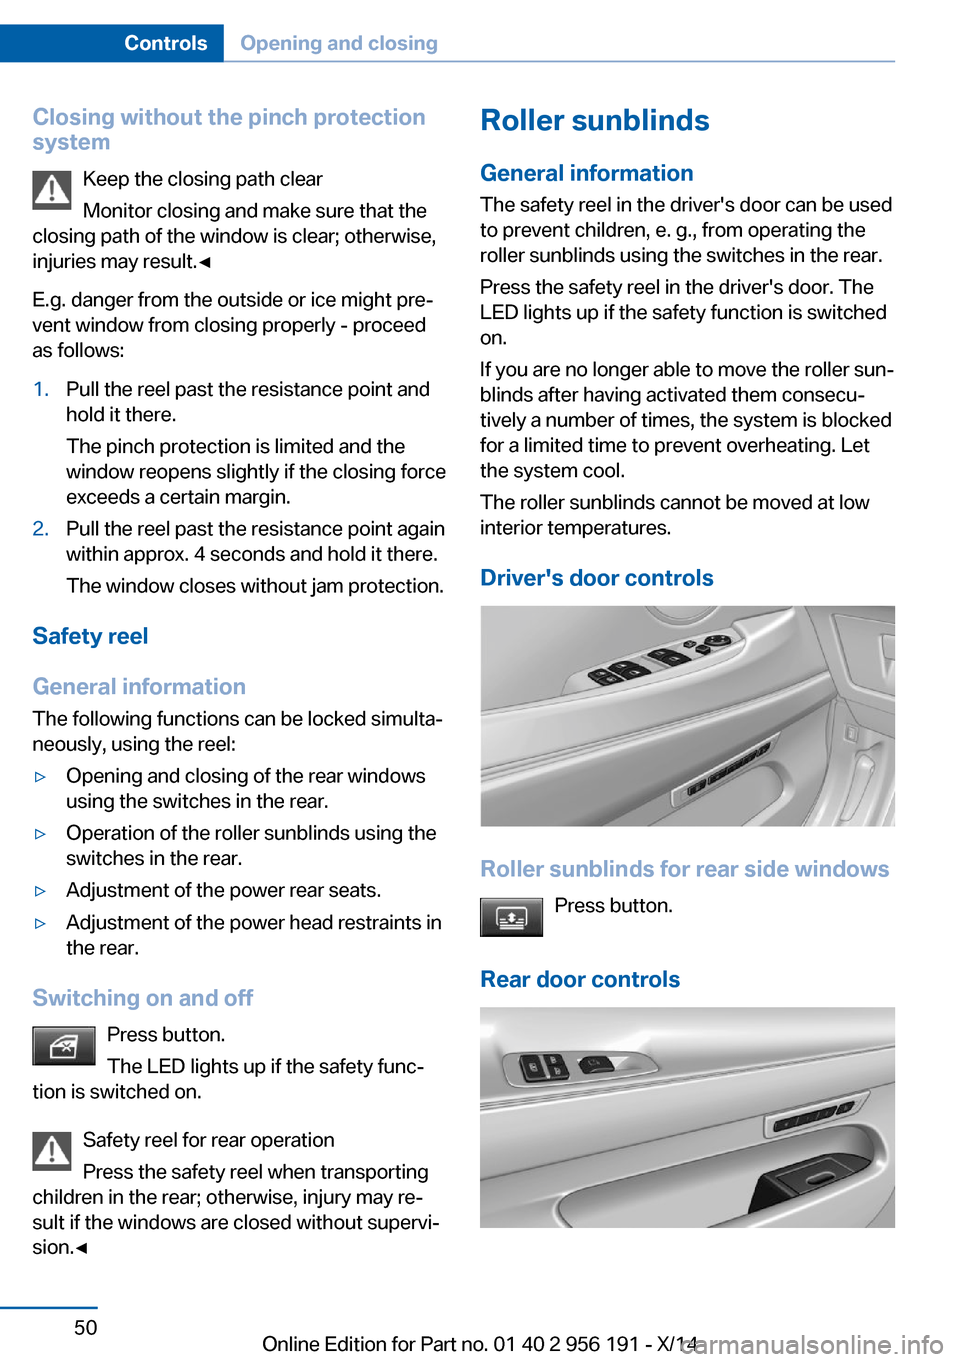
Driver's door controls
Roller sunblinds for rear side windows Press button.
Rear door controls
Seite 50ControlsOpening and closing50
Online Edition for Part no. 01 40 2 956 191 - X/14
Page 69 of 259
Transporting children safelyVehicle features and optionsThis chapter describes all standard, country-
specific and optional features offered with the
series. It also describes features that are notnecessarily available in your car, e. g., due to
the selected options or country versions. This
also applies to safety-related functions and
systems.
The right place for children
Note
Children in the vehicle
Do not leave children unattended in the
vehicle; otherwise, they could endanger them‐
selves and other persons, e.g., by opening the
doors.◀
Children should always be in the rear Accident research shows that the safest place
for children is in the back seat.
Transporting children in the rear
Only transport children younger than
13 years of age or shorter than 5 ft/150 cm in
the rear in child restraint systems provided in
accordance with the age, weight and size of
the child; otherwise, there is an increased risk
of injury in an accident.
Children 13 years of age or older must wear a
safety belt as soon as a suitable child restraint
system can no longer be used due to their age,
weight and size.◀
Children on the front passenger seat
Should it ever be necessary to use a child re‐
straint system in the front passenger seat,
make sure that the front, knee and side airbags
on the front passenger side are deactivated.
Automatic deactivation of front-seat passen‐
ger airbags, refer to page 109.Note
Deactivating the front-seat passenger
airbags
If a child restraint system is used in the front
passenger seat, deactivate the front-seat pas‐
senger airbags; otherwise, there is an in‐
creased risk of injury to the child when the air‐
bags are activated, even with a child restraint
system.◀
Installing child restraint
systems
Hints Manufacturer's information for child re‐straint systems
To select, mount and use child restraint sys‐
tems, observe the information provided by the
system manufacturer; otherwise, the protec‐
tive effect can be lost.◀
Ensuring the stability of the child seat
When installing child restraint systems,
make sure that the child seat is securely fas‐
tened to the backrest of the seat. Angle and
headrest of the backrest might need to be ad‐
justed or possibly be removed. Make sure that
all backrests are securely locked. Otherwise
the stability of the child seat can be affected,
and there is an increased risk of injury becauseSeite 65Transporting children safelyControls65
Online Edition for Part no. 01 40 2 956 191 - X/14