Page 291 of 653

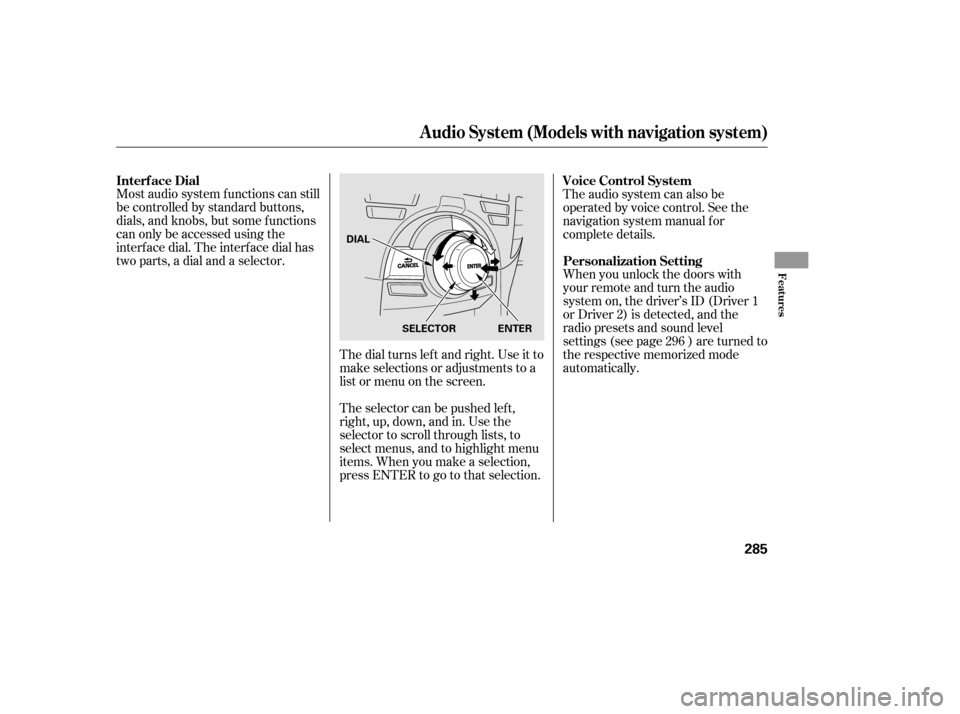
Most audio system f unctions can still
be controlled by standard buttons,
dials, and knobs, but some f unctions
can only be accessed using the
interf ace dial. The interf ace dial has
two parts, a dial and a selector.The dial turns lef t and right. Use it to
make selections or adjustments to a
list or menu on the screen.
The selector can be pushed lef t,
right, up, down, and in. Use the
selector to scroll through lists, to
select menus, and to highlight menu
items. When you make a selection,
press ENTER to go to that selection.The audio system can also be
operated by voice control. See the
navigation system manual f or
complete details.
When you unlock the doors with
your remote and turn the audio
system on, the driver’s ID (Driver 1
or Driver 2) is detected, and the
radio presets and sound level
settings (see page ) are turned to
the respective memorized mode
automatically.
296
Interf ace Dial Voice Control System
Personalization Setting
Audio System (Models with navigation system)
Features
285
SELECTOR ENTER
DIAL
12/07/20 11:06:05 31TK4640_290
Page 316 of 653

Select the disc player by pressing the
DISC button. The system will begin
playing the last selected track in the
disc. You will see the current track
position highlighted.
Title inf ormation will be displayed in
a list when the inf ormation is f ound
in the Gracenote
Album Inf o
(Gracenote
Media Database) on the
built-inharddiskdrive.Whenyou
play a CD recorded with text data,
you will see the genre, artist name,
album and track name on the screen.
When you play MP3/WMA/AAC
discs, you will see the genre, artist
name, album name and track name
on the screen. If the disc was not
recorded with this inf ormation, it will
not be displayed. Each time you press the TITLE
button, the center display changes
f rom artist name to album name, to
track name and then to normal
display that shows the track number
and the elapsed time. When playing
a disc in MP3/WMA/AAC, the
display mode changes f rom f older
name,tofilename,toartisttag,to
album tag, to track tag, and then to
normal display.
Each time you press and release the
side of the skip bar, the player
skips forward to the beginning of the
next track. Press and release the side of the skip bar to skip
backward to the beginning of the
current track. Press the side
againtoskiptotheprevioustrack.
To move rapidly within a track, press
andholdeithersideof theskipbar.
When you insert a CD f or the f irst
time, the system automatically starts
recording to the hard disc. For
inf ormation on recording f rom music
CDs, see page .
When you insert a CD f or the f irst
time, a Gracenote notif ication
appears. For more inf ormation, see
page . 322
351
To Play a Disc To Change Tracks
Playing a Disc (Models with navigation system)
310
12/07/20 11:09:27 31TK4640_315
Page 327 of 653

�µ
�µ
�µ
�µ
�µ
�µ
�µ
�µ
�µRecording f unction f rom f ollowing
media is not supported.
CD-DA which prohibits the
copying by SCMS
CD-DA with copy control
SACD (Super Audio CD)
DTS-CD
DVD-A
CD-R/RW
DVD-R/RW
Copy controlled CDs (Playback
cannot be guaranteed)
DTS-CDs (Only enabled f or
playback)
The Hard Disc Drive (HDD) Audio
f unction can record tracks f rom
music CDs to the navigation system’s
hard disc. This f unction also allows
f or various playing methods, such as
playingrecordedtracksonanartist-
by-artist or genre-by-genre basis. For
example, you can play the tracks that
youwanttolistentoinanyorder
that you like f or each playlist.
Music data recorded on HDD can
only be used f or personal
enjoyment.
Data is recorded using ultra-
ef f icient compression technology,
theref ore, sound quality may vary
slightly f rom the original.
Title inf ormation will be displayed
when the inf ormation is f ound in
the Gracenote
Album Inf o
(Gracenote
Media Database) on
the built-in hard disk drive. See
page . If the HDD is ever replaced, all data
will be lost and stored music will not
be recovered.
Only recordings f rom a standard
CD-DA (44.1 kHz, 16 bit stereo
PCM digital sound data) to HDD
are supported.
Digital music f iles, such as MP3,
WMA, AAC etc., in CD-R, DVD-R
and USB f lash memory devices
cannot be copied to HDD.
Likewise, digital music f iles
recorded to HDD cannot be copied
to CD-R, DVD-R and USB devices. 351
Playing Hard Disc Drive (HDD) Audio (Models with navigation system)
Features
321
NOTE:
12/07/20 11:10:45 31TK4640_326
Page 362 of 653
Do not connect your iPod using a
hub.
Do not keep the iPod and dock
connector cable in the vehicle.
Direct sunlight and high heat will
damage it.
Do not use an extension cable
between the USB adapter cable
equipped with your vehicle and
your dock connector.
We recommend backing up your
data bef ore playing it.
Some devices cannot be powered
or charged via the USB adapter. If
this is the case, use the accessory
adapter to supply power to your
device.Unclip the USB connector by
pulling it up, and pull out the USB
adapter cable in the console
compartment.
Connect your dock connector to
the iPod correctly and securely.
Install the dock connector to the
USB adapter cable securely.
1. 2.
3.
Playing an iPod(Models with navigation system)
Connect ing an iPod
356
NOTE:
USB ADAPTER CABLE
USB CONNECTOR
USB ADAPTER CABLE
DOCK CONNECTOR
12/07/20 11:15:34 31TK4640_361
Page 371 of 653

�Î
�Î
This audio system can select and
play the audio f iles on a USB f lash
memory device with the same
controls used f or the disc player. To
play a USB f lash memory device,
connect it to the USB adapter cable
in the console compartment, then
press the HDD/AUX button until
you see ‘‘USB’’ in the display. The
power mode must be ACCESSORY
or ON.
Your vehicle has the engine start/
stop button instead of an ignition
switch. For more inf ormation on how
to select the power mode, see page
. Do not use a device such as a card
reader or hard drive as it or your
f iles may be damaged.
Do not connect your USB f lash
memory device using a hub.
Do not use an extension cable to
the USB adapter cable equipped
with your vehicle.
Do not keep a USB f lash memory
device in the vehicle. Direct
sunlight and high heat will damage
it.
We recommend backing up your
data bef ore playing a USB f lash
memory device.
The audio system reads and plays
the audio f iles on the USB f lash
memory device in MP3, WMA or
AAC formats.
Depending on the type and
number of f iles, it may take some
time bef ore they begin to play.
Only AAC f ormat f iles recorded
with iTunes are playable on this
audio unit.
The recommended USB f lash
memory devices are 256 MB or
higher, and f ormatted with the FAT
f ile system. Some digital audio
players may be compatible as well.
Some USB f lash memory devices
(such as devices with security lock-
out f eatures, etc.) will not work in
this audio unit. :
184
CONT INUED
To Play a USB Flash Memory
Device
Playing a USB Flash Memory Device (Models with navigation system)
Features
365
NOTE:
12/07/20 11:16:50 31TK4640_370
Page 374 of 653

�µ�µ
�´ �µ
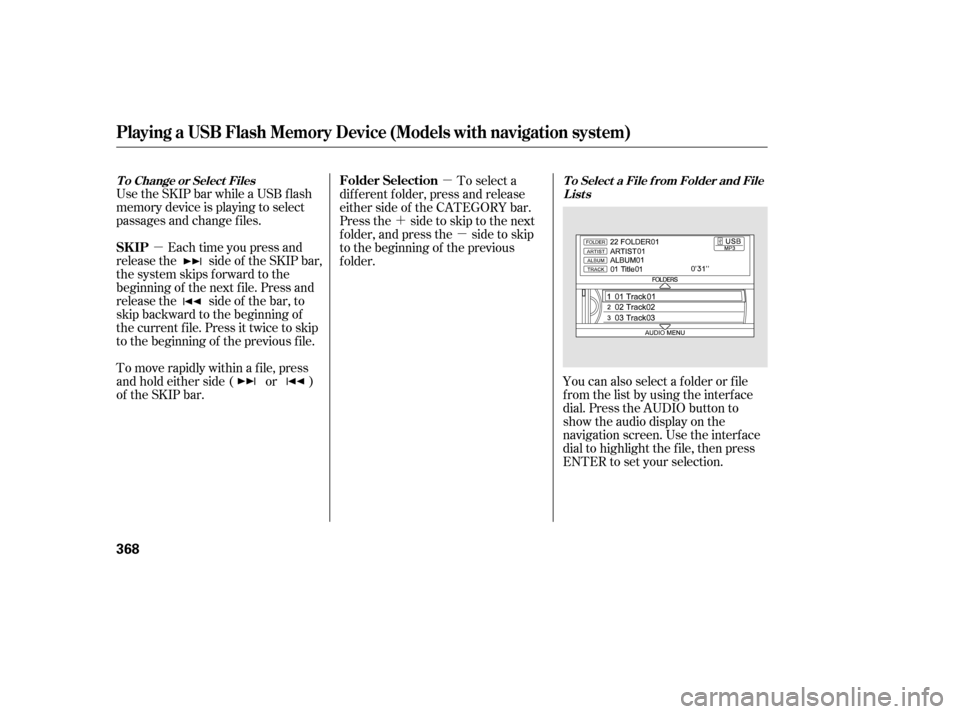
You can also select a f older or f ile
from the list by using the interface
dial. Press the AUDIO button to
show the audio display on the
navigation screen. Use the interf ace
dial to highlight the f ile, then press
ENTER to set your selection.
Use the SKIP bar while a USB f lash
memory device is playing to select
passages and change f iles.
Each time you press and
releasethe sideof theSKIPbar,
the system skips forward to the
beginning of the next f ile. Press and
releasethe sideof thebar,to
skip backward to the beginning of
the current f ile. Press it twice to skip
to the beginning of the previous file.
To move rapidly within a f ile, press
andholdeitherside( or )
of the SKIP bar. To select a
dif f erent f older, press and release
either side of the CATEGORY bar.
Press the side to skip to the next
f older, and press the side to skip
to the beginning of the previous
f older.
T o Select a File f rom Folder and File
Lists
T o Change or Select Files
SK IP Folder Selection
Playing a USB Flash Memory Device (Models with navigation system)
368
12/07/20 11:17:09 31TK4640_373
Page 388 of 653

When a disc is not being played,
store it in its case to protect it f rom
dust and other contamination. To
prevent warpage, keep discs out of
direct sunlight and extreme heat.
To clean a disc, use a clean sof t cloth.
Wipe across the disc f rom the center
to the outside edge.
A new disc may be rough on the
inner and outer edges. The small
plastic pieces causing this roughness
can f lake of f and f all on the
recording surf ace of the disc,
causing skipping or other problems.
Remove these pieces by rubbing the
inner and outer edges with the side
of a pencil or pen.
Never try to insert f oreign objects in
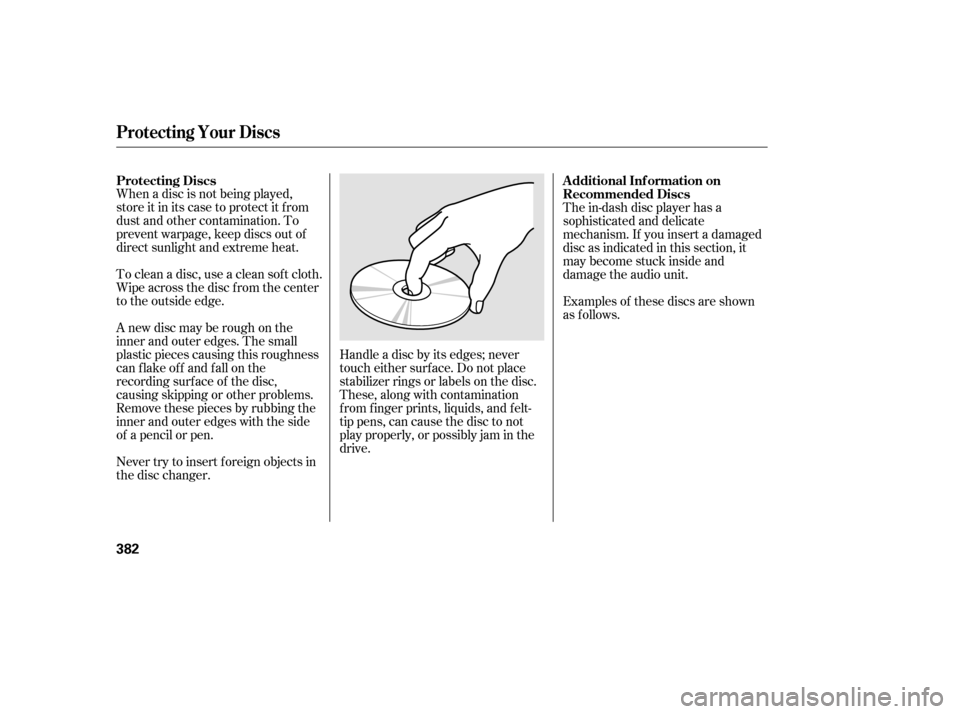
the disc changer.Handle a disc by its edges; never
touch either surf ace. Do not place
stabilizer rings or labels on the disc.
These, along with contamination
f rom f inger prints, liquids, and f elt-
tip pens, can cause the disc to not
play properly, or possibly jam in the
drive.The in-dash disc player has a
sophisticated and delicate
mechanism. If you insert a damaged
disc as indicated in this section, it
maybecomestuckinsideand
damage the audio unit.
Examples of these discs are shown
as f ollows.
Protecting Discs Additional Inf ormation on
Recommended Discs
Protecting Your Discs
382
12/07/20 11:18:58 31TK4640_387
Page 401 of 653

�Î
CONT INUED
The security system helps to protect
your vehicle and valuables f rom thef t.
The horn sounds and a combination
of headlights, parking lights, side
marker lights and taillights f lashes if
someone attempts to break into your
vehicle or remove the audio unit.
This alarm continues for two
minutes, then the system resets. To
deactivate the system before the two
minutes have elapsed, unlock the
driver’s door with the key or use the
remote transmitter/keyless access
remote.
You can also deactivate the system
by grabbing either f ront door handle
while carrying the keyless access
remote to unlock the door.
The security system automatically
sets 15 seconds after you lock the
doors, hood, and trunk. For the
system to activate, you must lock the
doors f rom the outside with the key,or use driver’s lock tab, master door
lock switch, or remote transmitter
(keyless access remote on models
with keyless access system). The
security system indicator on the
instrument panel starts blinking
immediately to show you the system
is setting itself .Once the security system sets,
opening any door, the trunk, or hood
without using the key or the remote
transmitter/keyless access remote,
will cause the alarm to activate. It
also activates if the ignition switch
is turned to the ON (II) position, the
audio unit is removed f rom the
dashboard, or the wiring is cut.
You can also set the security system
by pressing the lock button on either
f ront door handle while carrying the
keyless access remote.
On models with keyless access system
On models with keyless access system
Security System
Features
395
SECURITY SYSTEM INDICATOR
A/T model is shown.
12/07/20 11:20:37 31TK4640_400