2014.5 VAUXHALL CORSA ESP
[x] Cancel search: ESPPage 70 of 177

70Navigation
Notice
You can only define one single
exclusion street or one exclusion
section at a time in the route list.
To perform the street exclusion:select the Recalculate Route menu
item (first entry in route list).
The route will be recalculated, and
the excluded streets will be
indicated by a black line and a
"Closed road" symbol (see chapter
"Symbols overview" 3 73) on the
map display.
■ Use Road Ahead : cancels the
street exclusion previously
performed via Avoid Road Ahead .
■ Use Road In Route List : cancels the
street exclusion previously
performed via Avoid Road In Route
List .
Adding a waypoint (intermediate destination) to the routeAt any time during active route
guidance you can add a waypoint to
your route.Press the NAV button, and then
select the Destination menu item or
the Previous Destinations menu item.
In the message that is displayed now, select the Add waypoint screen
button.
Enter or select a destination for the
waypoint, see chapter "Destination
input" 3 48.
After adding the desired waypoint, the
navigation system will calculate the
route from the current position to that new intermediate destination, and the
route from the intermediate
destination to the final destination.
The waypoint will be indicated on the
map by a red chequered flag.
After reaching the waypoint, the route
guidance will automatically proceed
with guidance to the final destination.
Notice
For every trip you can set only one
waypoint at a time. If there is a
waypoint already active when
setting a new waypoint, route
guidance to the old waypoint will be
cancelled.Enabling user defined POI
warnings
You can define "POI warnings" for
POIs that you want to be warned of
(e.g. very sharp turns on a road),
before reaching the corresponding
location.
Defining your personal POI warnings,
and downloading them to the
Infotainment system, see chapter
"Usage" 3 37.
Enabling POI warnings:
Press the SETUP button, select the
Navigation menu item, and then set
POI Warning to On.
Dynamic guidance If dynamic route guidance is active,
the entire current traffic situation that the Infotainment system receives via
TMC is included in the calculation of
the route. The route is suggested
taking into account all traffic problems
or restrictions as per preset criteria
(e.g. „shortest route“, „avoid
motorways“ etc.).
Page 82 of 177

82Phone
Enter the first letters of the contact
name you are searching for (select
the Delete screen button once or
several times to delete already
entered letters).
As soon as the system finds a contact
name whose first letters match the
entered letters, the entire name of the corresponding phone book entry is
displayed (see image above).
Select the OK screen button to
display a menu with all phone
numbers stored for the selected
contact.
Notice
If you search for a phone book entry
that was stored by using the phone
number only, or that contains special characters, select the 123ÄÖ screen
button to change the keypad type.
Using the call lists
All incoming, outgoing, or missed
calls are registered in corresponding
call lists.
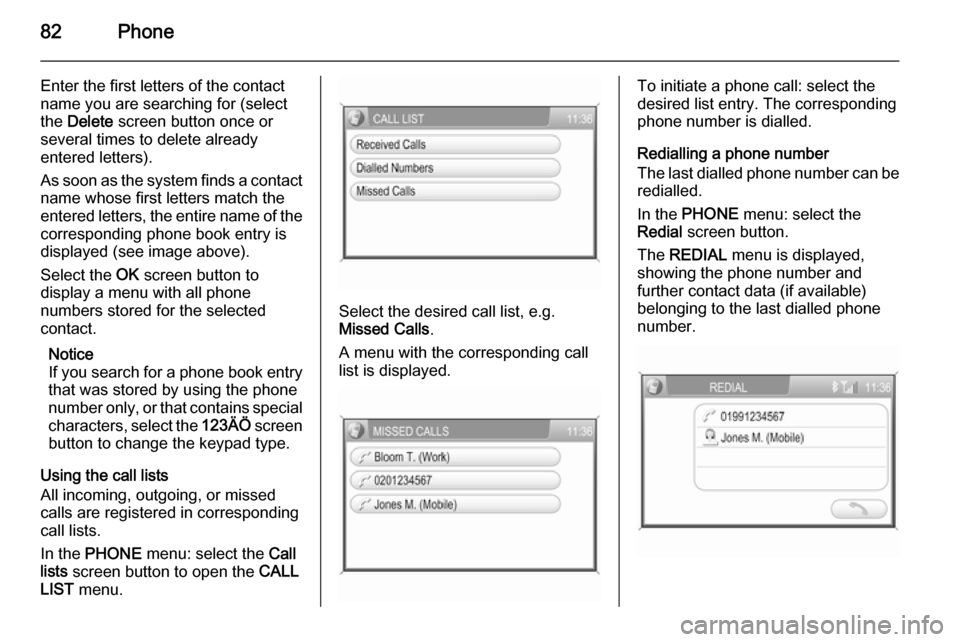
In the PHONE menu: select the Call
lists screen button to open the CALL
LIST menu.
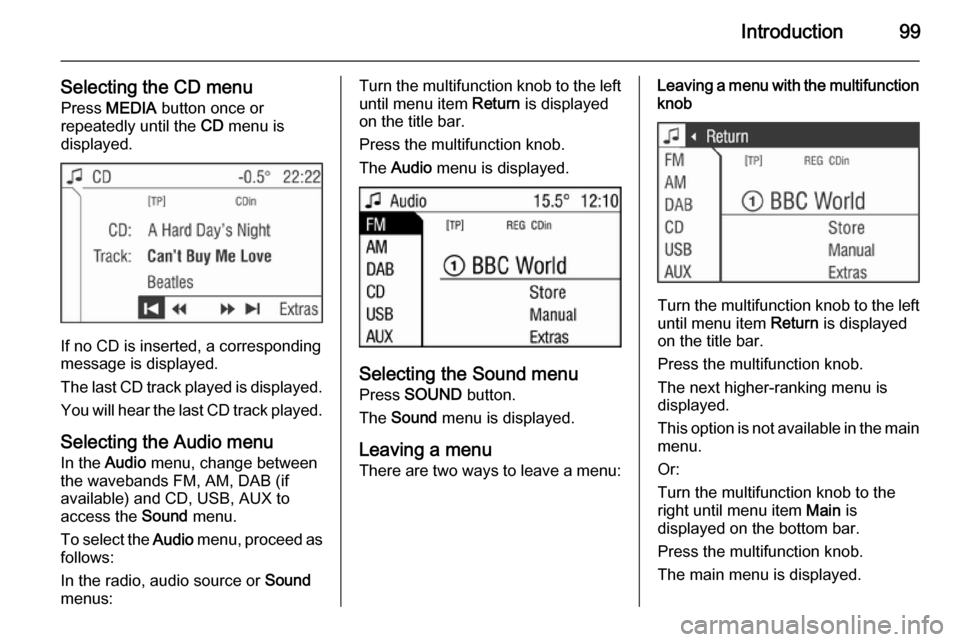
Select the desired call list, e.g.
Missed Calls .
A menu with the corresponding call
list is displayed.
To initiate a phone call: select the
desired list entry. The corresponding
phone number is dialled.
Redialling a phone number
The last dialled phone number can be
redialled.
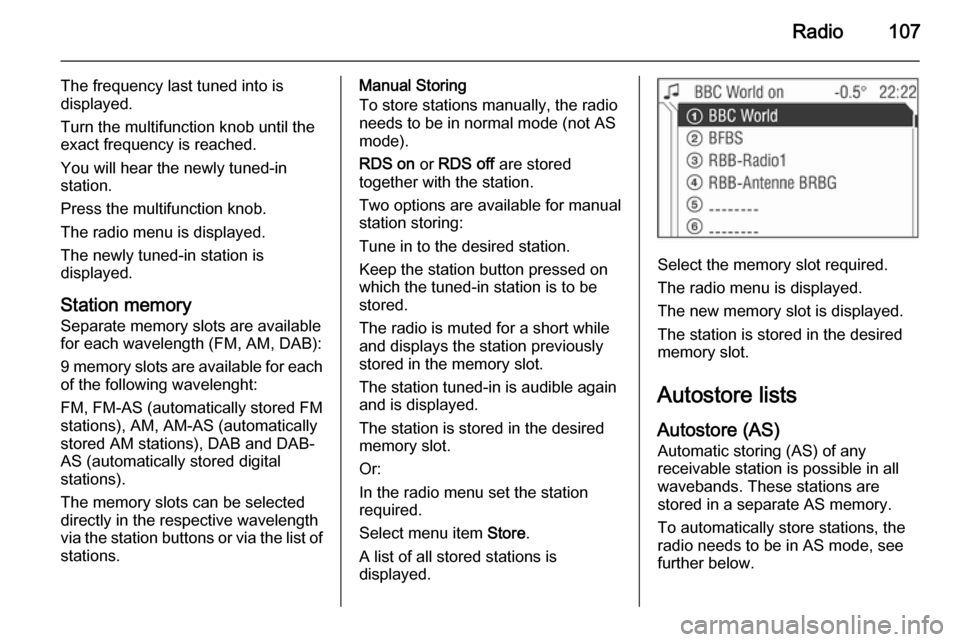
In the PHONE menu: select the
Redial screen button.
The REDIAL menu is displayed,
showing the phone number and
further contact data (if available)
belonging to the last dialled phone
number.
Page 95 of 177

Introduction95
■ If the automatic switch-on isdisabled, the Infotainment system
can only be switched on with the
e switch and with the j button for
CD ejection and off with the e
button.
■ If the Infotainment system is switched off when the ignition is
switched off, regardless of the
current setting of the automatic
switch-on, it can only be switched
on via the e button and with the
j button for CD ejection.
■ The automatic start is always enabled after the Infotainmentsystem has been disconnected
from the operating voltage and re-
connected.
Enable/Disable Ignition Logic
In the main menu press SETTINGS
button.
The system Settings menu is
displayed.
Enable/disable Ignition logic tick box.
Enabled: on the right side of the
display the message appears "Turn
on/off Radio via Ignition logic".Disabled: on the right side of the
display the message appears "Turn
on Radio via ON/OFF button only".
Automatic switch-off
The Infotainment system switches
itself off automatically after one hour
if you switch it on with the ignition off.
Setting the volume Turn the e knob.
■ The Infotainment system plays at the volume last set, provided the
volume was below the maximum
switch-on volume 3 102.
■ Traffic announcements and external audio sources are inserted
at a preset minimum volume
3 102.
■ If the respective source is enabled,
the volume of the traffic
announcements, the external audio
sources and the radio and CD can
be adjusted separately.Speed dependent volume control
(SDVC)
When SDVC is activated 3 102, the
volume is adapted automatically to make up for the road and wind noise
when driving.
External source An external source, e.g. a mobile
phone or a navigation system, can be
connected to the Infotainment
system.
In this case External In appears in the
display.
We recommend having appliances
installed by a Vauxhall Authorised
Repairer.
AUX input
An external audio source, e.g. a
portable CD player, can be connected via the AUX input of your vehicle.
Stereo sound from this source is
played back via the loudspeakers of
the Infotainment system.
Location of AUX input connector
3 121.
Page 99 of 177

Introduction99
Selecting the CD menuPress MEDIA button once or
repeatedly until the CD menu is
displayed.
If no CD is inserted, a corresponding
message is displayed.
The last CD track played is displayed. You will hear the last CD track played.
Selecting the Audio menu In the Audio menu, change between
the wavebands FM, AM, DAB (if
available) and CD, USB, AUX to
access the Sound menu.
To select the Audio menu, proceed as
follows:
In the radio, audio source or Sound
menus:
Turn the multifunction knob to the left until menu item Return is displayed
on the title bar.
Press the multifunction knob.
The Audio menu is displayed.
Selecting the Sound menu
Press SOUND button.
The Sound menu is displayed.
Leaving a menu
There are two ways to leave a menu:
Leaving a menu with the multifunction
knob
Turn the multifunction knob to the left
until menu item Return is displayed
on the title bar.
Press the multifunction knob.
The next higher-ranking menu is
displayed.
This option is not available in the main
menu.
Or:
Turn the multifunction knob to the
right until menu item Main is
displayed on the bottom bar.
Press the multifunction knob.
The main menu is displayed.
Page 107 of 177

Radio107
The frequency last tuned into is
displayed.
Turn the multifunction knob until the
exact frequency is reached.
You will hear the newly tuned-in
station.
Press the multifunction knob.
The radio menu is displayed.
The newly tuned-in station is
displayed.
Station memory
Separate memory slots are available
for each wavelength (FM, AM, DAB):
9 memory slots are available for each of the following wavelenght:
FM, FM-AS (automatically stored FM
stations), AM, AM-AS (automatically
stored AM stations), DAB and DAB-
AS (automatically stored digital
stations).
The memory slots can be selected
directly in the respective wavelength
via the station buttons or via the list of
stations.Manual Storing
To store stations manually, the radio
needs to be in normal mode (not AS
mode).
RDS on or RDS off are stored
together with the station.
Two options are available for manual
station storing:
Tune in to the desired station.
Keep the station button pressed on
which the tuned-in station is to be
stored.
The radio is muted for a short while
and displays the station previously
stored in the memory slot.
The station tuned-in is audible again
and is displayed.
The station is stored in the desired
memory slot.
Or:
In the radio menu set the station
required.
Select menu item Store.
A list of all stored stations is
displayed.
Select the memory slot required.
The radio menu is displayed.
The new memory slot is displayed.
The station is stored in the desired
memory slot.
Autostore lists
Autostore (AS) Automatic storing (AS) of any
receivable station is possible in all
wavebands. These stations are
stored in a separate AS memory.
To automatically store stations, the
radio needs to be in AS mode, see further below.
Page 108 of 177

108Radio
In the radio menu enable/disable on
standby for traffic announcements if
desired 3 109.
Select menu item Autostore.
The entire waveband is displayed.
The automatic station storing is
started.
The 9 best receivable stations in the selected waveband are stored to
memory slots 1 to 9.
After the stations have been stored,
the desired station can be selected by pressing the appropriate station
button or in the station menu 3 104.
RDS is switched on automatically
when automatic storing is enabled.
First, all receivable RDS stations are
stored.
If on standby for traffic announcement
is switched on prior to or during
automatic storing, the radio will select a memory slot with a traffic
announcement station on completion
of the automatic station search.
If on standby for traffic announcement is switched on during automatic
storing, then the automatic station
search will remain active until at least one traffic programme is found.
Switching between AS and
normal mode
Switching to AS mode
If the Autostore menu item is not
available in the radio menu, proceed
as follows:
Select menu item Extras.
The corresponding waveband
specific Extras menu is displayed.
Select menu item AS level.
The radio switches to the AS mode of the selected waveband.
The radio menu appears on the
display, the menu item Autostore is
listed there.
Switching to normal mode
If the Autostore menu item is listed in
the radio menu, proceed as follows:
Select menu item Extras.
The corresponding waveband
specific Extras menu is displayed.
Page 110 of 177

110Radio
Switching RDS on/off
If you switch RDS on, the RDS
functions are enabled and only RDS stations are sought during the
automatic station search.
If you switch RDS off, the RDS
functions will be disabled and the
automatic station search will not only
look for RDS stations.
Select menu item RDS.
Select the option field On or Off.
If the RDS function is switched on, the
programme name of an RDS station
is displayed.
If the RDS function is not switched on, the frequency of an RDS station is
displayed.
Automatic RDS
Use this function to ensure that the
RDS function is enabled even when
RDS is disabled. However, the
automatic station search will also
respond to non-RDS stations.
This function is only applied if RDS is switched off.
Select menu item RDS.Enable/disable the Automatic tick
box.
Programme type (PTY)
Many RDS stations transmit a PTY
code describing the type of
programme broadcast (e. g. news).
The PTY code allows selection of
stations by programme type.
■ Programme type and station selection is only possible in the FMwaveband.
■ This function is set in the radio menu.
Programme type selection
You are listening to the station last
tuned in.
Select menu item Extras.
Select menu item PTY selection.
Several programme types such as
e. g. News or Sport are available.
Select the desired programme type.
The radio menu appears on the
display and PTY Search is displayed.
The station last found is displayed.
You will hear the station found.
Programme type station list
You can make your choice from a list
of all the receivable stations with their programme type.
You are listening to the station last
tuned in.
Select menu item Extras.
Select menu item PTY stations.
The PTY station list with the
receivable stations and your selected
programme types is displayed.
Page 114 of 177

114Radio
Selecting an ensemble
You can select ensembles directly
which you have already received
once (the ensemble needs to be
receivable).
This function is set in the radio menu.
Select the arrow next to the ensemble
name.
Select the desired ensemble.
The radio menu is displayed.
The desired ensemble and its first
available programme are displayed.
The first available programme of the
ensemble is played.
Automatic ensemble search
Keep rocker switch c or d pressed
until the ensemble search starts.
The radio is muted until an ensemble
is found.
The first available programme of the
ensemble is played.
Or:
This function is set in the radio menu.
Select the arrow next to the ensemble
name.Select menu item Search available
ensembles .
The DAB Ensemble menu is
displayed.
The entire waveband is displayed.
The automatic ensemble search
starts.
After going through the wavelength,
the system changes back to the
ensemble list.
You will hear the program available
from the first ensemble. This is
marked with an arrow.
DAB menu
DAB menu functions are set in the
radio menu.
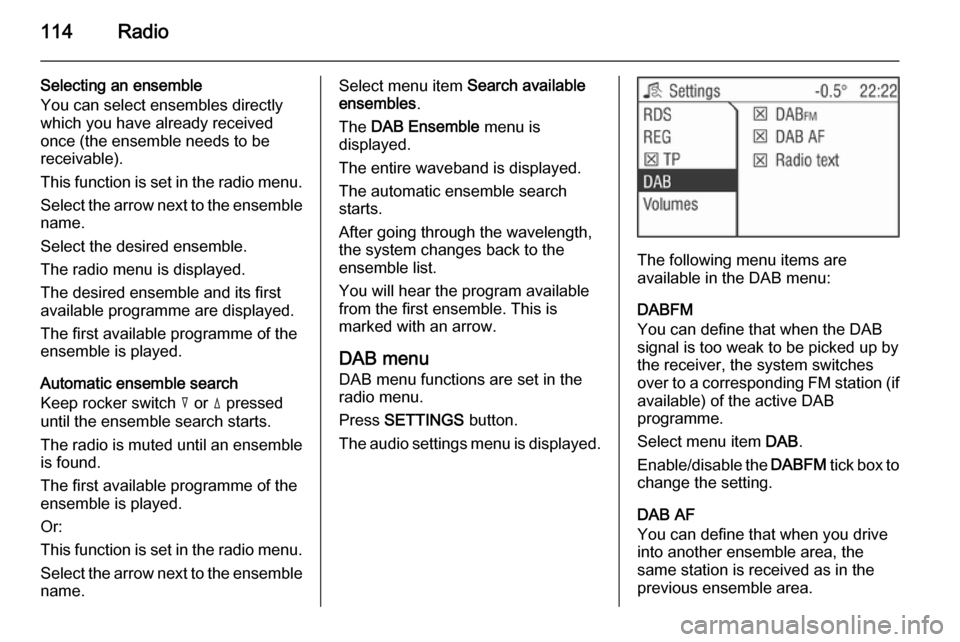
Press SETTINGS button.
The audio settings menu is displayed.
The following menu items are
available in the DAB menu:
DABFM
You can define that when the DAB
signal is too weak to be picked up by the receiver, the system switches
over to a corresponding FM station (if
available) of the active DAB
programme.
Select menu item DAB.
Enable/disable the DABFM tick box to
change the setting.
DAB AF
You can define that when you drive into another ensemble area, the
same station is received as in the
previous ensemble area.