2014.5 Citroen BERLINGO MULTISPACE RHD Time
[x] Cancel search: TimePage 200 of 276

04
10.10
Berlingo_2_VP_en_Chap10b_RT6-2-8_ed02-2014
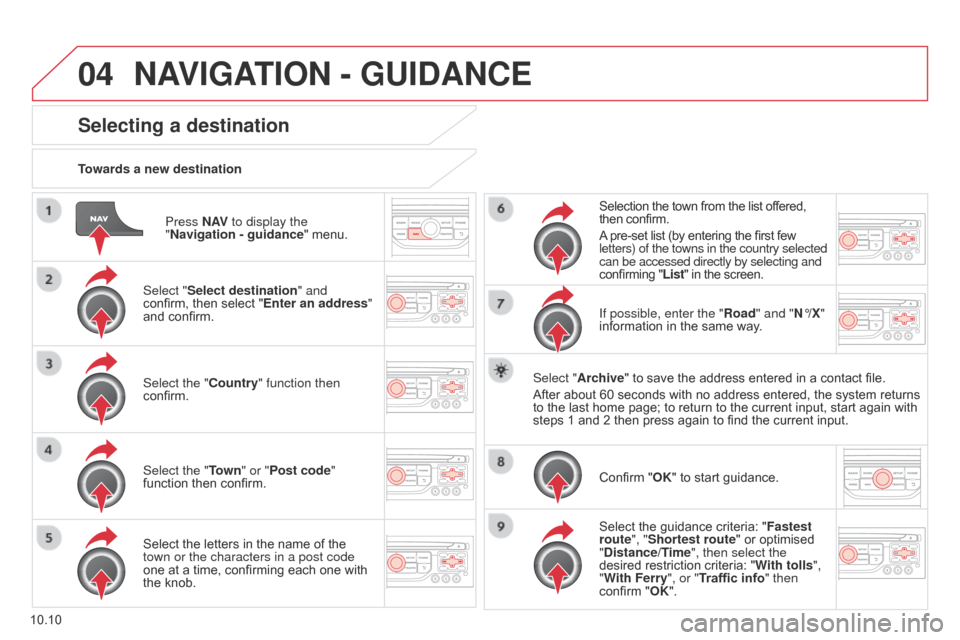
Press nAV to display the
" n avigation - guidance "
menu.
towards a new destination
Selecting a destination
Select "Select destination" and
confirm, then select "Enter an address"
and
confirm.
Select the "
c ountry" function then
confirm.
Select the "
t
own" or "
Post code"
function
then confirm.
Select
the letters in the name of the
town or the characters in a post code
one
at a time, confirming each one with
the
knob. Selection
the town from the list offered,
then
confirm.
A
pre-set list (by entering the first few
letters) of the towns in the country selected
can be accessed directly by selecting and
confirming "List" in the screen.
If possible, enter the " r oad" and " n °/X"
information
in the same way.
Select "Archive"
to save the address entered in a contact file.
After
about 60 seconds with no address entered, the system returns
to
the last home page; to return to the current input, start again with
steps
1 and 2 then press again to find the current input.
Confirm
"OK" to start guidance.
Select
the guidance criteria: "Fastest
route", "Shortest route"
or optimised
"
d istance/ t
ime
", then select the
desired
restriction criteria: "With tolls ",
"With Ferry", or "Traffic info" then
confirm
"OK".
nAVIGAtIO n - Gu I d A nc E
Page 205 of 276

04
10.15
Berlingo_2_VP_en_Chap10b_RT6-2-8_ed02-2014
nAVIGAtIO n - Gu I d A nc E
Select:
-
"V
isual alert"
-
"
a udible alert"
-
"
a lert only in guidance"
-
"Overspeed
alarm only".
The
choice of time of notification defines
how
long in advance that Risk area
warnings
are given.
Select "OK"
to confirm the screen.
Select "Guidance options
" and confirm,
then select "
Set parameters for risk
areas " and confirm. These functions are only available if risk areas have been
downloaded
and installed on the system.
The detailed procedure for updating risk area POIs can be found at
http://citroen.navigation.com.
Press
n
AV
to display the "
n avigation -
guidance" menu.
Settings for risk area / danger area alerts
Page 213 of 276

05
10.23
Berlingo_2_VP_en_Chap10b_RT6-2-8_ed02-2014
configure the filtering and display of tM c messages
TMC (Traffic Message Channel) messages with GPS Navigation provide traffic information in real time.
Press the tr AFFI c button to display the
"Traffic information"
menu.
Select the "Geographic filter" function
and
confirm. The
system offers a choice of:
-
" r etain all the messages",
or
-
" r etain the messages"
●
"
Around the vehicle",
(confirm
the
mileage to modify and select
the distance),
●
"
On the route".
Confirm
"OK" to save the
modifications.
We
recommend:
-
a
filter on the route and
-
a
filter around the vehicle of:
-
12
miles (20 km) in urban areas,
-
30
miles (50 km) on motorways.
trAFFIc InFOrMAtIO n
Page 214 of 276

05
10.24
Berlingo_2_VP_en_Chap10b_RT6-2-8_ed02-2014
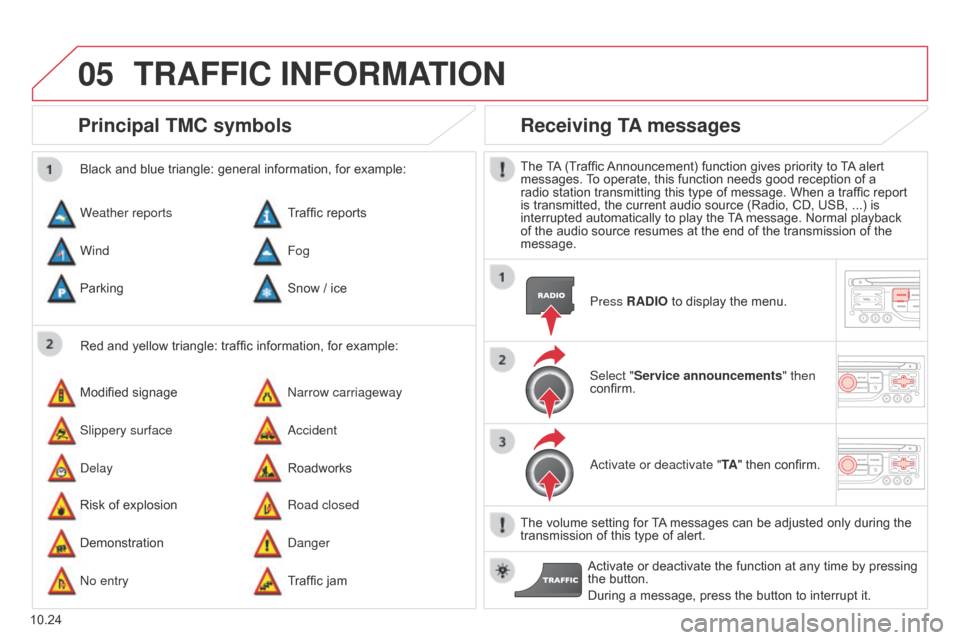
Principal tM c symbols
Red and yellow triangle: traffic information, for example:
Black and blue triangle: general information, for example:
Weather reports
Modified
signage
Risk
of explosion Traffic
reports
n
arrow carriageway
Road closed
Wind
Slippery surface
Demonstration Fog
a
ccident
d
anger
Parking
d
elay
n
o entry Snow
/ ice
Roadworks
Traffic
jam
receiving tA messages
The TA (Traffic Announcement) function gives priority to T A alert messages.
T o operate, this function needs good reception of a
radio
station transmitting this type of message. When a traffic report
is
transmitted, the current audio source (Radio, CD, USB, ...) is
interrupted
automatically to play the
T
A
message. Normal playback
of
the audio source resumes at the end of the transmission of the
message.Press
r A d IO to display the menu.
Select "Service announcements" then
confirm.
a
ctivate or deactivate " t A"
then confirm.
The
volume setting for
T
A
messages can be adjusted only during the
transmission
of this type of alert.
Activate
or deactivate the function at any time by pressing
the
button.
During
a message, press the button to interrupt it.
trAFFIc InFOrMAtIO n
Page 217 of 276

06
10.27
Berlingo_2_VP_en_Chap10b_RT6-2-8_ed02-2014
uSInG tHE tELEPHOnE
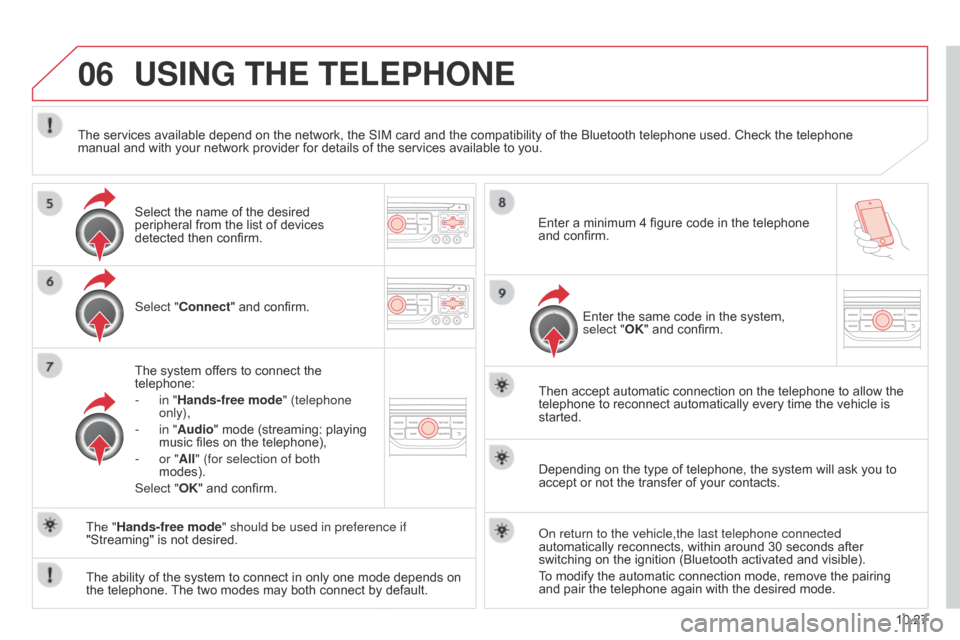
Select "connect" and confirm.
The system offers to connect the
telephone:
-
in "
Hands-free mode" (telephone
only),
-
in "
Audio" mode (streaming: playing
music
files on the telephone),
-
or "
All" (for selection of both
modes).
Select "OK"
and confirm. Then
accept automatic connection on the telephone to allow the
telephone
to reconnect automatically every time the vehicle is
started.
The
ability of the system to connect in only one mode depends on
the
telephone.
The
two modes may both connect by default.
The "Hands-free mode" should be used in preference if
"Streaming"
is not desired.
The
services available depend on the network, the SIM card and the compatibility of the Bluetooth telephone used. Check the telephone
manual
and with your network provider for details of the services available to you.
Depending on the type of telephone, the system will ask you to
accept
or not the transfer of your contacts.
o
n return to the vehicle,the last telephone connected
automatically
reconnects, within around 30 seconds after
switching
on the ignition (Bluetooth activated and visible).
To
modify the automatic connection mode, remove the pairing
and
pair the telephone again with the desired mode.
Enter
a minimum 4 figure code in the telephone
and
confirm.
Enter the same code in the system,
select "
OK" and confirm.
Select
the name of the desired
peripheral
from the list of devices
detected
then confirm.
Page 221 of 276

06
10.31
Berlingo_2_VP_en_Chap10b_RT6-2-8_ed02-2014
uSInG tHE tELEPHOnE
calling a recently entered numberPress t EL, select " c all list" and
confirm,
Select
the desired number and confirm.
To erase the calls log, press PHO
n E twice, select "Phone
functions"
and confirm then select " d elete calls log" and confirm.
Ending a call
Press PHOnE then select "OK" to end
the call.
Or
make a long press on t EL at the
steering
mounted controls.
Or
make two short presses on t EL at
the
steering mounted controls.
o
r press the MO d E button, as many
times
as necessary, until the telephone
screen
is displayed.
Press PHO
n
E
to
display
the
calls
log.
or
Press "OK" to display the contextual
menu
then select "Hang up" and
confirm.
It
is
always
possible
to
start
a
call
directly
from
the
telephone;
park
the
vehicle
as
a
safety
measure.
Page 223 of 276

06
10.33
Berlingo_2_VP_en_Chap10b_RT6-2-8_ed02-2014
Options during a call*
during a call, press the MO d E button
several times to select display of the
telephone screen, then press "OK
" to
open
the contextual menu.
Select "Private mode"
and confirm to
take
the call on the handset.
o
r select "Hands-free mode" and
confirm
to take the call via the vehicle's
speakers.
Select "
Put call on hold "
and confirm to
put
the current call on hold.
o
r select " r esume the call" and
confirm
to resume the call on hold. Select "
dt MF ring tones
" to use the
numerical keypad, so as to navigate through
the menu of an interactive vocal
server
.
Select "Hang up"
to end the call.
*
Depending on the compatibility of the phone and your service plan.
it is possible to hold a 3-way conference
call
by making 2 calls in succession*.
Select "
c onference mode call" in the
contextual
menu accessible using this
button.
Or
make a short press on this button.
uSInG tHE tELEPHOnE
Page 229 of 276

08
10.39
Berlingo_2_VP_en_Chap10b_RT6-2-8_ed02-2014
cd, MP3 cd / uSB player
The audio equipment will only play audio files with ".wma, .aac, .flac, .ogg
and .mp3" file extensions and with a bit rate of between 32 Kbps
and
320 Kbps.
It
also supports VBR (Variable Bit Rate) mode.
No
other type of file (.mp4, .m3u...) can be played.
WMA
files must be of the standard wma 9 type.
The
sampling rates supported are greater than 32 KHz.
It
is advisable to restrict file names to 20 characters, without using of
special
characters (e.g.: " " ? ; ù) to avoid any playing and displaying
problems.
In order to be able to play a recorded C
d R or C d RW, when recording
it
is preferable to select the ISO 9660 level 1, 2 or Joliet standard.
If
the disc is recorded in another format (udf, ...), it may not be played
correctly
.
It
is recommended that the same recording standard is always used
for
an individual disc, with as low a speed as possible (4x maximum)
for
optimum sound quality.
In
the particular case of a multi-session CD, the Joliet standard is
recommended.Information and advice
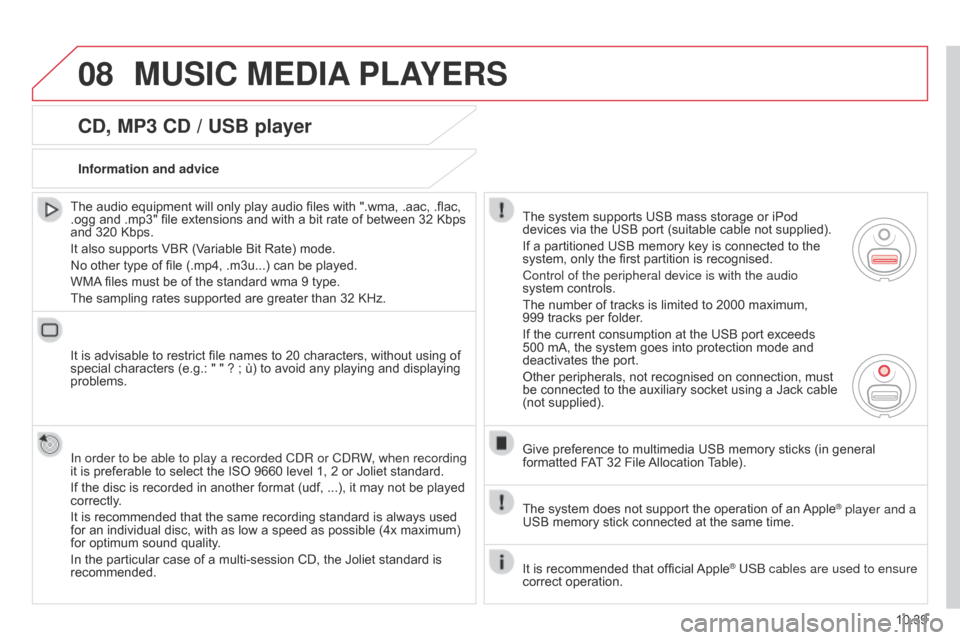
The
system supports USB mass storage or iPod
devices
via the USB port (suitable cable not supplied).
If
a partitioned USB memory key is connected to the
system,
only the first partition is recognised.
Control of the peripheral device is with the audio
system
controls.
The
number of tracks is limited to 2000 maximum,
999 tracks
per folder.
If
the current consumption at the USB port exceeds
500
mA, the system goes into protection mode and
deactivates
the port.
Other
peripherals, not recognised on connection, must
be
connected to the auxiliary socket using a Jack cable
(not
supplied).
Give
preference to multimedia USB memory sticks (in general
formatted
FAT
32 File
Allocation
T
able).
The
system does not support the operation of an
Apple® player and a
USB
memory
stick
connected
at
the
same
time.
It
is
recommended
that
official
Apple® USB cables are used to ensure
correct
operation.
MuSIc MEdIA PLAYE r S