2013 VOLKSWAGEN TRANSPORTER heating
[x] Cancel search: heatingPage 70 of 486
• The seat cushion is damp or wet.
• The interior or exterior temperature is above 2s•c (7rF).
Function
Switching on
Adjusting the heating output
Switching off
Action 49
Press the 0 or (9 button. The seat heating is switched on at the highest setting. All indicator lamps light up.
Press the 0 or (9 button repeat-edly until the required heat level is set.
Press the button 0 or (9 until the indicator lamps in the button go out 49.
A WARNING
Anyone experiencing reduced sensitivity to pain or temperature due to medication, para-lysis or chronic illness (e.g. diabetes) could sustain burns on the back, buttocks and legs when using the seat heating. These burns may take a long time to heal or may never heal fully. Please consult a doctor to deter-mine your own level of health.
Memory seats
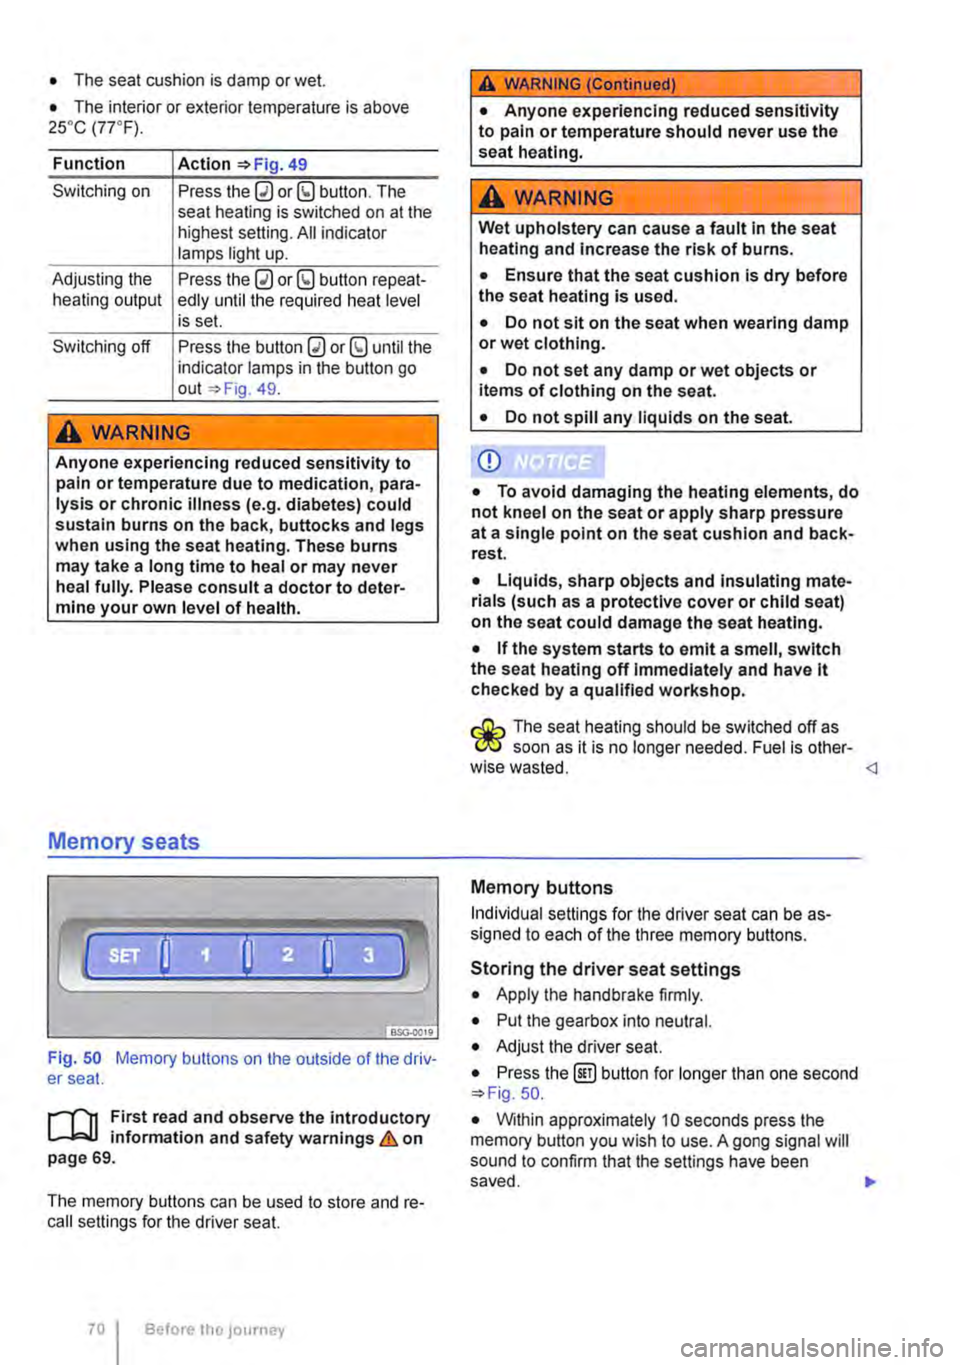
Fig. 50 Memory buttons on the outside of the driv-er seat.
r"''l1 First read and observe the introductory L-JcJ.I information and safety warnings & on page 69.
The memory buttons can be used to store and re-call settings for the driver seat.
Before the JOurney
A WARNING (Continued)
• Anyone experiencing reduced sensitivity to pain or temperature should never use the seat heating.
A wARNING
Wet upholstery can cause a fault In the seat heating and Increase the risk of burns.
• Ensure that the seat cushion is dry before the seat heating is used.
• Do not sit on the seat when wearing damp or wet clothing.
• Do not set any damp or wet objects or items of clothing on the seat.
• Do not spill any liquids on the seat.
Q)
• To avoid damaging the heating elements, do not kneel on the seat or apply sharp pressure at a single point on the seat cushion and back-rest.
• Liquids, sharp objects and Insulating mate-rials (such as a protective cover or child seat) on the seat could damage the seat heating.
• If the system starts to emit a smell, switch the seat heating off Immediately and have lt checked by a qualified workshop.
r:O:-, The seat heating should be switched off as C!JtJ soon as it is no longer needed. Fuel is other-wise wasted.
Individual settings for the driver seat can be as-signed to each of the three memory buttons.
Storing the driver seat settings
• Apply the handbrake firmly.
• Put the gearbox into neutral.
• Adjust the driver seat.
• Press the @] button for longer than one second 50.
• Within approximately 10 seconds press the memory button you wish to use. A gong signal will sound to confirm that the settings have been saved. .,..
Page 123 of 486
Do not attach external navigation devices to the windscreen or near interior automatic anti-dazzle
Manual anti-dazzle interior mirror
• Basic position: the lever on the lower part of the mirror is pointing towards the windscreen.
• Pull the lever to the back to select the anti-daz-zle function 99.
Exterior mirrors
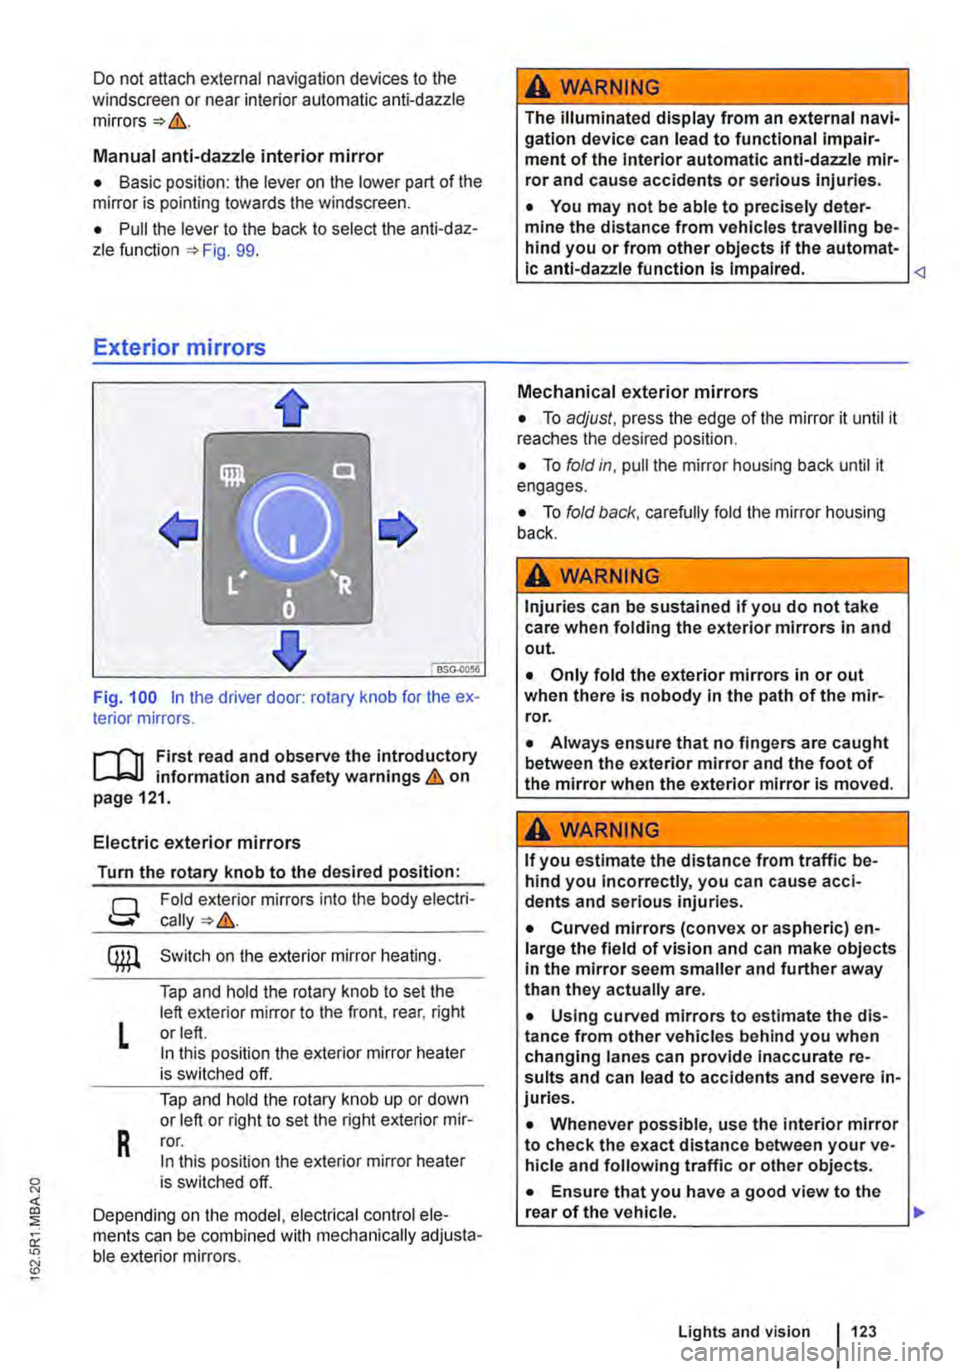
Fig. 100 in the driver door: rotary knob for the ex-terior mirrors.
First read and observe the introductory L..-Jr:.U information and safety warnings & on page 121.
Electric exterior mirrors
Turn the rotary knob to the desired position:
g
L
R
Fold exterior mirrors into the body electri-
Switch on the exterior mirror heating.
Tap and hold the rotary knob to set the left exterior mirror to the front, rear, right or left. In this position the exterior mirror heater is switched off.
Tap and hold the rotary knob up or down or left or right to set the right exterior mir-ror. In this position the exterior mirror heater is switched off.
Depending on the model, electrical control ele-ments can be combined with mechanically adjusta-ble exterior mirrors.
A WARNING
The illuminated display from an external navi-gation device can lead to functional impair-ment of the Interior automatic anti-dazzle mir-ror and cause accidents or serious injuries.
• You may not be able to precisely deter-mine the distance from vehicles travelling be-hind you or from other objects if the automat-ic anti-dazzle function is Impaired.
• To adjust, press the edge of the mirror it until it reaches the desired position.
• To fold in, pull the mirror housing back until it engages.
• To fold back, carefully fold the mirror housing back.
A WARNING
Injuries can be sustained if you do not take care when folding the exterior mirrors in and out.
• Only fold the exterior mirrors in or out when there is nobody in the path of the mir-ror.
• Always ensure that no fingers are caught between the exterior mirror and the foot of the mirror when the exterior mirror is moved.
A WARNING
If you estimate the distance from traffic be-hind you Incorrectly, you can cause acci-dents and serious injuries.
• Curved mirrors (convex or aspheric) en-large the field of vision and can make objects in the mirror seem smaller and further away than they actually are.
• Using curved mirrors to estimate the dis-tance from other vehicles behind you when changing lanes can provide inaccurate re-sults and can lead to accidents and severe in-juries.
• Whenever possible, use the interior mirror to check the exact distance between your ve-hicle and following traffic or other objects.
• Ensure that you have a good view to the rear of the vehicle. .,..
Lights and vision 123
Page 124 of 486
• Do not fold electrically folding exterior mir-rors In or out manually as this can damage the electric motor.
r:lil:-. The exteriormirror heating should be switch-W ed off when 11 IS no longer needed. Fuel is otherwise wasted.
1241 Before the JOurney
m In the event of a fault, the electric exterior W mirrors can be adjusted by hand by pressing on the outer edge of the mirror.
m The vehicle aerials are located in the exterior W mirrors. If any metallic chrome plates, such as chrome mirror caps, are retrofitted to the exteri-or mirrors, you may experience problems with the radio, mobile telephone and navigation services or they may lose the ability to send and receive sig-nals completely.
Page 127 of 486
Always stow all items of luggage in the vehicle securely.
• Distribute items in the vehicle, on the roof and on the trailer as evenly as possible.
• Place heavy objects as far forward in the lug-gage compartment as possible. Position the rear seat backrests securely in the upright position.
• Secure luggage in the luggage compartment to the fastening rings with suitable straps 130.
• Adjust the headlight range 106.
• Adjust the tyre pressure according to the vehi-cle load. Adhere to the tyre pressure plate 367.
• In vehicles with a tyre monitoring system, set the new vehicle load level as necessary 318.
Stowing cargo
r-111 First read and observe the introductory L-l=:.LI information and safety warnings & on page 125.
Stow the load securely in the vehicle or on the load surface
• Before loading the vehicle, place a sturdy mat or similar cover flush with the vehicle floor. Where necessary, do not cover protruding parts of the ve-hicle floor.
• If necessary, remove the seats to increase the load area.
• The vehicle floor must be free of oil and dust, dry and fully clean in order to help prevent the load from sliding.
• Observe gross axle weight ratings and the gross vehicle weight rating.
• Distribute items in the vehicle, on the load sur-face, on the roof and on the trailer as evenly as possible.
• Stow heavy objects directly on the floor and above or in front of the rear axle and engage the rear seat backrests securely in an upright position.
CD
Hard objects on the shelf can chafe against the wires of the heating element in the rear window and cause damage.
m • Observe any information concerning the l!J loading of a trailer 139 .
• Observe any information concerning the load-ing of a roof carrier 137.
• Protect the seat rails or seat anchor points from damage.
• Secure luggage with suitable securing straps on the fastening rings 130.
• Adjust the headlight range 106.
• Adjust the tyre pressure according to the vehi-cle load. Adhere to the tyre pressure plate 367.
• In vehicles with a tyre monitoring system, set the new vehicle load level as necessary 318.
CD
Hard objects on the shelf can chafe against the wires of the heating element in the rear window and cause damage.
m • Observe any information concerning the l!J loading of a trailer =>page 139 .
• Observe any information concerning the load-ing of a roof carrier =>page 137 .
Page 131 of 486
Additional information and warnings:
• Airbag system =:.page 87
• Lights =:.page 106
• Transporting =:.page 125
• Towing a trailer=> page 139
• Luggage net, California =>page 192
• Wheels and tyres =>page 367
A WARNING
When the vehicle is not in use or is not being supervised, always lock the doors and tail-gate to reduce the risk of severe or fatal inju-ries.
• Never leave children unattended, especial-ly when the tailgate is open. Children could make their way into the luggage compart-ment, close the tailgate and be unable to get out. This can cause severe or fatal injuries.
• Never let children play in or around the ve-hicle.
• Do not travel with people in the luggage compartment.
A WARNING
Objects that are not secured, or are secured Incorrectly, can cause serious injuries in the event of a sudden driving or braking manoeu-vre or accident. This applies particularly if objects are struck by the alrbag when activa-ted and then flung through the vehicle interi-or. To reduce the risk of accidents, please ob-serve the following guidelines:
• Always stow all objects In the vehicle se· curely. Always stow luggage and heavy ob-jects in the luggage compartment.
• Always use suitable straps to prevent lug-gage from being thrown through the vehicle Interior and entering the deployment zones of
A WARNING (Continued)
the curtain alrbag, the combined curtain and side airbag or the front airbag In the event of a sudden driving or braking manoeuvre.
• Always keep stowage compartments closed while the vehicle is In motion.
• Do not stow any hard, heavy or sharp ob· jects loose in any of the vehicle's open stow-age areas, on the luggage compartment cov-er or on the dash panel.
• Remove any hard, heavy or sharp objects from items of clothing and bags Inside the vehicle and stow them securely.
A WARNING
Transporting heavy objects changes the vehi-cle's handling and increases the braking dis-tance. Heavy loads that are not properly stowed or secured in the vehicle can lead to a loss of vehicle control and can cause serious injury.
• Transporting heavy objects changes the vehicle's handling and the centre of gravity.
• The payload should be distributed as evenly as possible in the vehicle.
• Always secure heavy objects In the lug-gage compartment as far in front of the rear axle as possible.
CD
Hard objects on the shelf can chafe against the wires of the heating element in the rear window and cause damage.
m Always ensure that the venlilalion openings L!J between the rear window and the stowage area are uncovered to allow stale air to escape from the vehicle.
Page 151 of 486
A WARNING (Continued)
• Never stow lighters in stowage areas or compartments or on other surfaces In the ve-hicle. Cigarette lighters may self-Ignite on high-temperature surfaces, especially in sum-mer.
CD
• Hard objects on the shelf can chafe against the wires of the heating element In the rear win-dow and cause damage.
• Objects stored In the vehicle that are made from transparent materials, such as glasses, magnifying glasses or transparent suction cups on the windows, can concentrate the sun's rays and thus cause damage to the vehi-cle.
r:F1 Always ensure that the ventilation openings W between the rear window and the stowage area are uncovered to allow stale air to escape from the vehicle.
r('n First read and observe the introductory L-Jc.lJ information and safety warnings.& on page 150.
There is a stowage compartment in the centre con-sole, which. depending on the vehicle equipment level, may have a cover flap.
To open, press the button on the cover flap. The stowage compartment opens automatically.
To close, press the cover down until it engages. Do not press the button while doing this.
Depending on the vehicle equipment level, there may be open stowage compartments under the vents on the dash panel.
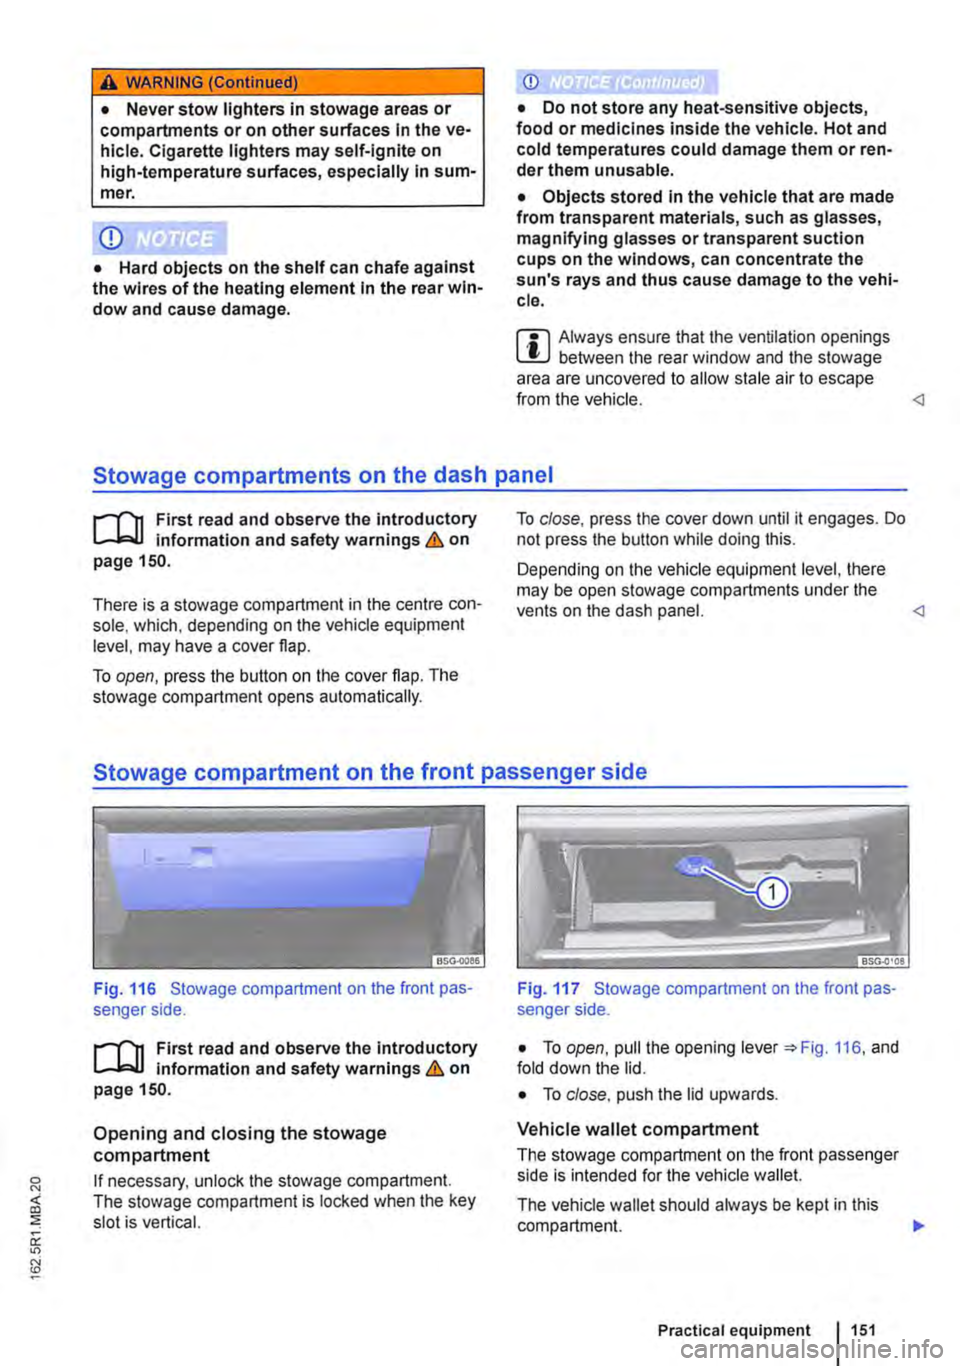
Fig. 116 Stowage compartment on the front pas-senger side.
r('n First read and observe the introductory L-Jc.lJ Information and safety warnings.& on page 150.
Opening and closing the stowage compartment
If necessary, unlock the stowage compartment. The stowage compartment is locked when the key slot is vertical.
Fig. 117 Stowage compartment on the front pas-senger side.
• To open, pull the opening lever =:.Fig. 116, and fold down the lid.
• To close. push the lid upwards.
Vehicle wallet compartment
The stowage compartment on the front passenger side is intended for the vehicle wallet.
The vehicle wallet should always be kept in this compartment. .,.
Practical equipment 1151
Page 161 of 486
Switching the cool box on and off
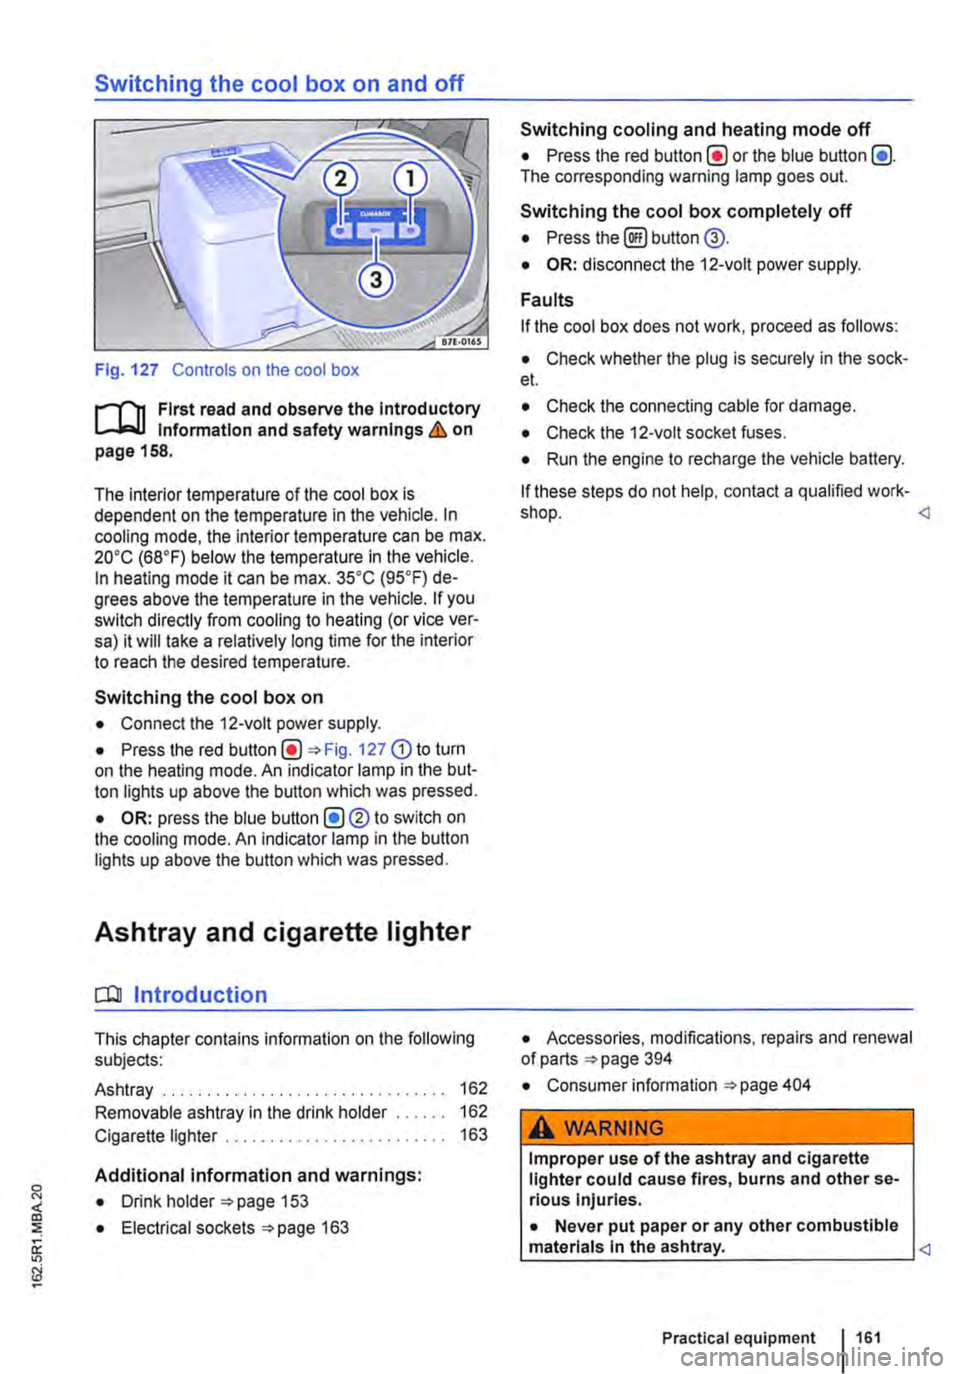
Fig. 127 Controls on the cool box
r-f'n First read and observe the Introductory Information and safety warnings & on page 158.
The interior temperature of the cool box is dependent on the temperature in the vehicle. In cooling mode, the interior temperature can be max. 20•c (68°F) below the temperature in the vehicle. In heating mode it can be max. 35•c (95.F) de-grees above the temperature in the vehicle. If you switch directly from cooling to heating (or vice ver-sa) it will take a relatively long time for the interior to reach the desired temperature.
Switching the cool box on
• Connect the 12-volt power supply.
• Press the red Fig. 127 G) to turn on the heating mode. An indicator lamp in the but-ton lights up above the button which was pressed.
• OR: press the blue button (!)®to switch on the cooling mode. An indicator lamp in the button lights up above the button which was pressed.
Ashtray and cigarette lighter
o:n Introduction
This chapter contains information on the following subjects:
Ashtray . . . . . . . . . . . . . . . . . . . 162
Removable ashtray in the drink holder 162
Cigarette lighter . . . . . . . . . . . . . . . . . . . 163
Additional information and warnings:
• Drink holder 153
• Electrical sockets 163
Switching cooling and heating mode off
• Press the red button(!) or the blue button (!). The corresponding warning lamp goes out.
Switching the cool box completely off
• Press the@) button @.
• OR: disconnect the 12-volt power supply.
Faults
If the cool box does not work, proceed as follows:
• Check whether the plug is securely in the sock-et.
• Check the connecting cable for damage.
• Check the 12-volt socket fuses.
• Run the engine to recharge the vehicle battery.
If these steps do not help, contact a qualified work-shop.
• Consumer information 404
A WARNING
Improper use of the ashtray and cigarette lighter could cause fires, burns and other se-rious Injuries.
• Never put paper or any other combustible materials In the ashtray.
Page 182 of 486
Seat functions, rear, Business
ct:lJ Introduction
This chapter contains information on the following subjects:
Controls of the 2-seat arrangement. . . . . . . . . 183
Seat heater in the 2-seat arrangement . . . . . . 183
Armrests . . . . . . . . . . . . .. . . . .. .. .. . .. .. .. 184
Moving the 2-seat arrangement . . . . . . . . . . . 185
Centre console of the 2-seat arrangement . . 185
Refrigerator box . . . . . . . . . . . . . . . . . . . . . . . 186
The seats of the 2-seat arrangement are not suita-ble for the attachment of child seats => &.
Features of the 2-seat arrangement
• Optimised seat belts for both seats.
• Head restraints and seat belts can be electrical-ly adjusted for height.
• The height, forwards/backwards position and angle of the seat cushion can be adjusted electri-cally.
• The backrest angle can be adjusted electrically.
• Electrically adjustable lumbar support.
• seat heating.
• Armrests with stowage compartment.
Additional information and warnings:
• Sitting correctly and safely =>page 61
• Seat functions. rear =>page 72
• Seat belts => page 79
• Airbag system =>page 87
• Child seats (accessories) =>page 96
• Luggage compartment =>page 130
• Stowage =>page 150
• Central table =>page 155
A WARNING
Incorrect use of the seat functions can cause serious Injuries.
• Always assume a correct sitting position before you drive and maintain this position throughout the trip. This also applies to all passengers.
• Keep hands, fingers, feet and other body parts away from the moving parts of the seats.
1821 Before the journey
A WARNING
The seats of the 2-seat arrangement are not suitable for the attachment of child seats of any kind.
• Never use a child seat on the 2-seat ar-rangement.
A WARNING
Incorrect adjustment or removal and Installa-tion of single seats and/or the 2-seat arrange-ment can cause accidents and severe Inju-ries.
• All adjustments as well as removing/In-stalling should be carried out only when the vehicle Is stationary; otherwise the single seats and/or the 2-seat arrangement could move unexpectedly when the vehicle Is in motion. Furthermore, an Incorrect seating po-sition Is adopted while adjusting the seat.
• All single seats and the 2-seat arrange-ment must always be fitted In the seat rails and must be securely engaged.
• Never use the table while the vehicle is in motion. All backrests must be In the upright position and securely engaged In this posi-tion while the vehicle Is In motion.
• While the vehicle Is In motion the feet of a fitted single seat must not be positioned close to the removable covers In the seat rails.
• Never move single seats and/or the 2-seat arrangement when the vehicle is on a steep slope. The single seats and/or the 2-seat ar-rangement could move unexpectedly and cause Injuries.
• The area for adjustment of the single seats and/or the 2-seat arrangement should not be restricted by any Items.
• While fitting and removing the single seats and/or the 2-seat arrangement, make sure that the seat feet are not soiled or dam-aged.
• The rotating single seats In the passenger compartment can be engaged securely only when facing either the front or rear of the ve-hicle. .,.