Page 430 of 644
430 3-3. Using the “touch screen”
HILUX_OM_OM0K134E_(EE)When this screen is displayed,
input the passcode displayed on
the screen into your Bluetooth
device.
For the operation of the
Bluetooth® device, see the
manual that comes with your
Bluetooth
® device.
Passcodes are not required for
SSP (Secure Simple Pairing)
compatible Bluetooth
® devices.
Depending on the phone, you
may need to select “Yes” to
register, or “No” to cancel on your
cellular phone.
If you want to cancel it, touch
“Cancel”.
If a completion message is
displayed, registration is
complete.
If an error message is displayed,
follow the guidance on the screen
to try again.
STEP4
Page 457 of 644
457
3-6. Other interior features
3
Interior features
HILUX_OM_OM0K134E_(EE)
Floor mat
Use only floor mats designed specifically for vehicles of the same
model and model year as your vehicle. Fix them securely in place
onto the carpet.
Insert the retaining hooks
(clips) into the floor mat eye-
lets.
Turn the upper knob of each
retaining hook (clip) to secure
the floor mats in place.
*: Always align the marks.
The shape of the retaining hooks (clips) may differ from that shown in the
illustration.
STEP1
STEP2
*
Page 458 of 644

458 3-6. Other interior features
HILUX_OM_OM0K134E_(EE)
CAUTION
Observe the following precautions.
Failure to do so may cause the driver’s floor mat to slip, possibly interfering
with the pedals while driving. An unexpectedly high speed may result or it may
become difficult to stop the vehicle, leading to a serious accident.
When installing the driver’s floor mat
Do not use floor mats designed for other models or different model year
vehicles, even if they are Toyota Genuine floor mats.
Only use floor mats designed for the driver’s seat.
Always install the floor mat securely using the retaining hooks (clips) pro-
vided.
Do not use two or more floor mats on top of each other.
Do not place the floor mat bottom-side up or upside-down.
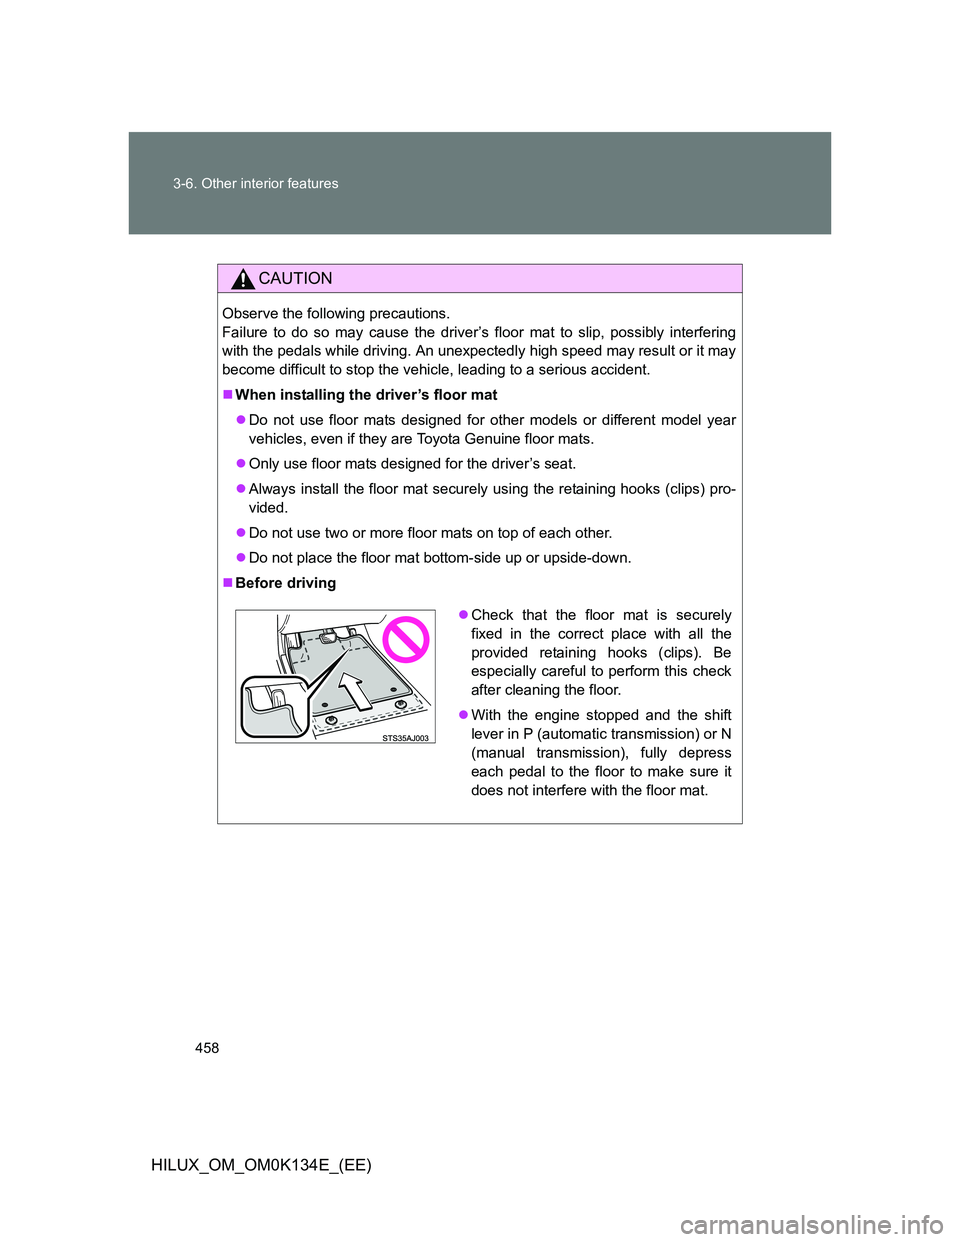
Before driving
Check that the floor mat is securely
fixed in the correct place with all the
provided retaining hooks (clips). Be
especially careful to perform this check
after cleaning the floor.
With the engine stopped and the shift
lever in P (automatic transmission) or N
(manual transmission), fully depress
each pedal to the floor to make sure it
does not interfere with the floor mat.
Page 464 of 644
464 3-6. Other interior features
HILUX_OM_OM0K134E_(EE)
CAUTION
While driving the vehicle
Do not adjust the display. Adjust the display only when the vehicle is
stopped.
When doing the circling calibration
Secure a wide space, and watch out for people and vehicles in the vicinity.
Do not violate any local traffic rules while performing circling calibration.
NOTICE
To avoid compass malfunctions
Do not place magnets or any metal objects near the multi-information dis-
play.
Doing this may cause the compass sensor to malfunction.
To ensure normal operation of the compass
Do not perform a circling calibration of the compass in a place where the
earth’s magnetic field is subject to interference by artificial magnetic fields.
During calibration, do not operate electric systems (power windows etc.)
as they may interfere with the calibration.
Page 465 of 644
465
3-6. Other interior features
3
Interior features
HILUX_OM_OM0K134E_(EE)
Deck hooks
: If equipped
CAUTION
When the deck hooks are not in use
To avoid injury, always return the deck hooks to their stowed positions.
Raise the hooks when
needed.
The deck hooks are provided
for securing loose items.
Page 485 of 644
485 4-3. Do-it-yourself maintenance
4
Maintenance and care
HILUX_OM_OM0K134E_(EE)
CAUTION
Pre-driving check
Check that the hood is fully closed and locked.
If the hood is not locked properly, it may open while the vehicle is in motion
and cause an accident, which may result in death or serious injury.
After installing the support rod into the slot
Make sure the rod supports the hood securely from falling down on to your
head or body.
NOTICE
When closing the hood
Be sure to return the support rod to its clip before closing the hood. Closing
the hood with the support rod up could cause the hood to bend.
Page 497 of 644
497 4-3. Do-it-yourself maintenance
4
Maintenance and care
HILUX_OM_OM0K134E_(EE)Checking battery fluid
Check that the level is between
the upper and lower lines.
Upper line
Lower line
If the fluid level is at or below the
lower line, add distilled water.
Adding distilled water
Remove the vent plug.
Add distilled water.
If the upper line cannot be seen, check the fluid level by looking
directly at the cell.
Put the vent plug back on and close it securely.
Low O.K.
STEP1
STEP2
STEP3
Page 525 of 644
525 4-3. Do-it-yourself maintenance
4
Maintenance and care
HILUX_OM_OM0K134E_(EE)
FuseAmpereCircuit
24ECU-B10 A
Door courtesy switches, power
door lock system, wireless remote
control system, steering sensor
and headlights
25RAD15 AAudio system
26DOME7.5 A
Interior lights, engine switch light,
personal light, gauges and meters,
clock, multi-information display,
wireless remote control system,
daytime running light system and
fog light
27A/F20 AEmission control system
28ALT-S7.5 ACharging system
29TURN-HAZ15 AEmergency flashers and turn signal
lights
30ECU-B No.27.5 AAir conditioning system
31DCC30 AECU-B, DOME and RAD fuses