Page 499 of 644

499 4-3. Do-it-yourself maintenance
4
Maintenance and care
HILUX_OM_OM0K134E_(EE)
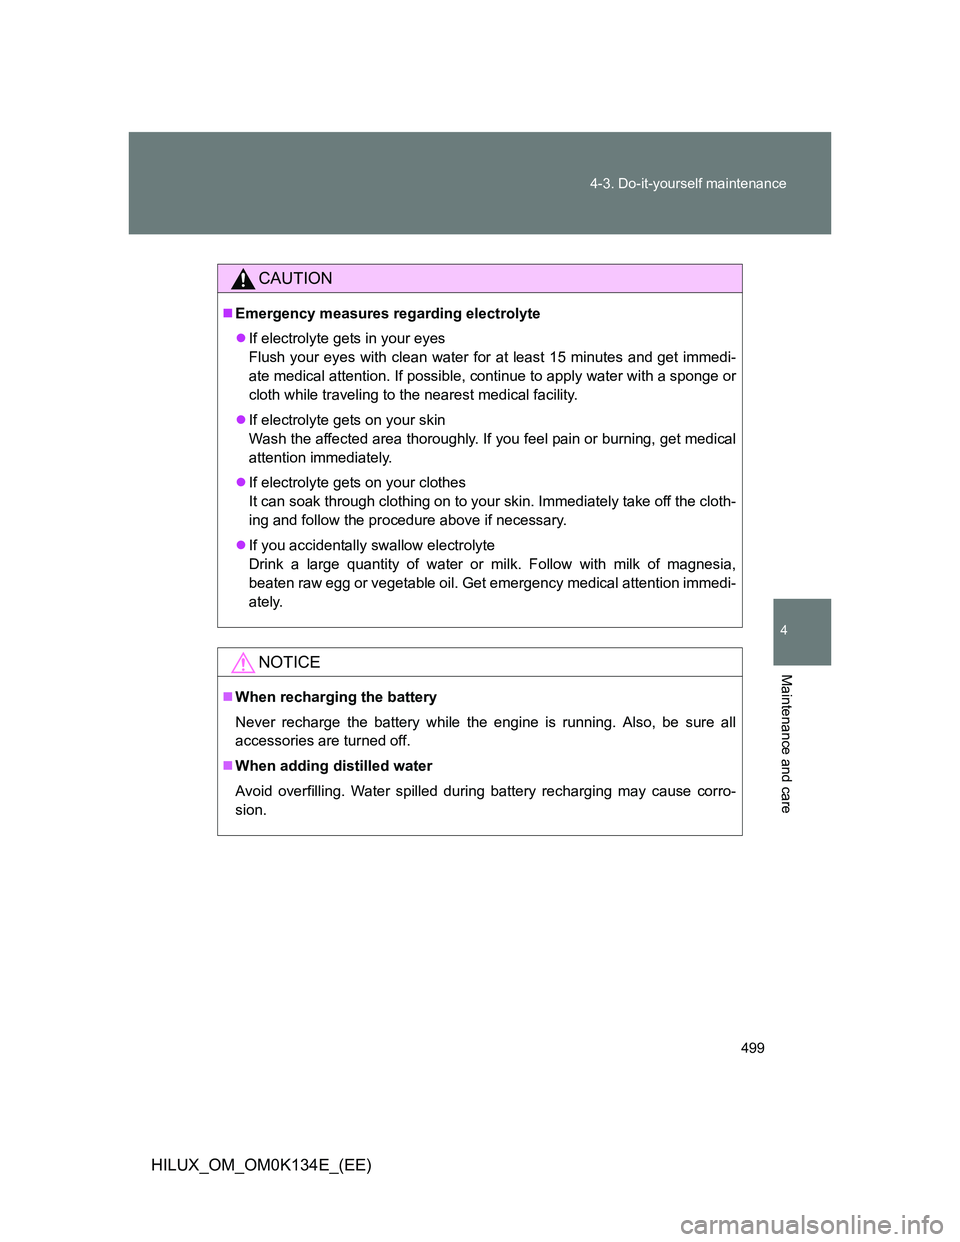
CAUTION
Emergency measures regarding electrolyte
If electrolyte gets in your eyes
Flush your eyes with clean water for at least 15 minutes and get immedi-
ate medical attention. If possible, continue to apply water with a sponge or
cloth while traveling to the nearest medical facility.
If electrolyte gets on your skin
Wash the affected area thoroughly. If you feel pain or burning, get medical
attention immediately.
If electrolyte gets on your clothes
It can soak through clothing on to your skin. Immediately take off the cloth-
ing and follow the procedure above if necessary.
If you accidentally swallow electrolyte
Drink a large quantity of water or milk. Follow with milk of magnesia,
beaten raw egg or vegetable oil. Get emergency medical attention immedi-
ately.
NOTICE
When recharging the battery
Never recharge the battery while the engine is running. Also, be sure all
accessories are turned off.
When adding distilled water
Avoid overfilling. Water spilled during battery recharging may cause corro-
sion.
Page 501 of 644
501 4-3. Do-it-yourself maintenance
4
Maintenance and care
HILUX_OM_OM0K134E_(EE)
Using the gauge (if equipped)
CAUTION
When adding washer fluid
Do not add washer fluid when the engine is hot or running as washer fluid
contains alcohol and may catch fire if spilled on the engine etc.
NOTICE
Do not use any fluid other than washer fluid
Do not use soapy water or engine antifreeze instead of washer fluid.
Doing so may cause streaking on the vehicle’s painted surfaces.
Diluting washer fluid
Dilute washer fluid with water as necessary.
Refer to the freezing temperatures listed on the label of the washer fluid bot-
tle.
The washer fluid level can be checked by
observing the position of the level on the
liquid-covered holes in the gauge.
If the level falls below the second hole
from the bottom (the “LOW” position),
refill the washer fluid.
Current
fluid level
Page 502 of 644
502 4-3. Do-it-yourself maintenance
HILUX_OM_OM0K134E_(EE)
Fuel filter
You may drain the fuel filter yourself. However, as the operation is dif-
ficult, we recommend having it drained by any authorized Toyota
dealer or repairer, or another duly qualified and equipped profes-
sional. Even if you decide to drain it yourself, contact any authorized
Toyota dealer or repairer, or another duly qualified and equipped pro-
fessional.
The water in the fuel filter needs to be drained if the fuel system
warning light flashes. (P. 560)
Turn the engine switch to the “LOCK” position.
Place a small tray under the drain plug or drain hose to catch
the water and any fuel that comes out.
Turn the drain plug counter-
clockwise about 2 to 2 1/2
turns.
Operate the priming pump
until fuel begins to run out.
After draining, tighten the drain plug by hand.
STEP1
STEP2
STEP3
STEP4
Page 511 of 644
511
4-3. Do-it-yourself maintenance
4
Maintenance and care
HILUX_OM_OM0K134E_(EE)
Air conditioning filter
The air conditioning filter must be changed regularly to maintain air
conditioning efficiency.
Removal method
Turn the engine switch off.
Open the glove box.
Push in each side of the glove
box to disconnect the claws.
Remove the filter cover.
STEP1
STEP2
STEP3
STEP4
Page 516 of 644
516
4-3. Do-it-yourself maintenance
HILUX_OM_OM0K134E_(EE)
Checking and replacing fuses
If any of the electrical components do not operate, a fuse may have
blown. If this happens, check and replace the fuses as necessary.
Turn the engine switch off.
Open the fuse box cover.
Engine compartment
Push the tab in and lift the lid
off.
Driver’s side instrument panel for left-hand drive vehicles
(front and rear sides)
Remove the lower instrument
panel.
Rear side: Inspection and
replacement of the fuses, con-
tact any authorized Toyota
dealer or repairer, or another
duly qualified and equipped
professional.
STEP1
STEP2
Page 523 of 644
523 4-3. Do-it-yourself maintenance
4
Maintenance and care
HILUX_OM_OM0K134E_(EE)
Fuse layout and amperage ratings
The provision of fuses and systems connected to the circuit may dif-
fer depending on the model and specification.
Engine compartment
FuseAmpereCircuit
1SPARE25 ASpare fuse
2SPARE15 ASpare fuse
3SPARE10 ASpare fuse
4FOG15 AFront fog lights
5HORN10 AHorn
6EFI25 A
Multiport fuel injection system/
sequential multiport fuel injection
system
7PTC NO.150 APower heater
Page 524 of 644
524 4-3. Do-it-yourself maintenance
HILUX_OM_OM0K134E_(EE)
FuseAmpereCircuit
8PWR SEAT30 APower seat
9PTC NO.250 APower heater
10H-LP CLN40 AHeadlight cleaners
11FR HTR50 AAir conditioning system, A/C fuse
12ABS NO.230 AABS, TRC and VSC
13ABS NO.140 AABS, TRC and VSC
14ALT100 A
Charging system, PWR SEAT, H-
LP CLN, FR HTR, AM1, IG1, PTC
NO.1, PTC NO.2, PWR OUT,
STOP, TAIL and OBD fuses
15GLOW80 AEngine glow system
16BATT P/I50 AFOG, HORN and EFI fuses
17AM230 AEngine starter, ST, IGN, INJ and
MET
18MAIN40 AH-LP RH, H-LP LH, H-LP RL and
H-LP LL fuses
19H-LP RL15 ARight-hand headlight (Low)
20H-LP LL15 ALeft-hand headlight (Low)
21H-LP RH15 ARight-hand headlight (High) and
right-hand headlight (Low)
22H-LP LH15 ALeft-hand headlight (High) and left-
hand headlight (Low)
23EFI No.210 A
Multiport fuel injection system/
sequential multiport fuel injection
system
Page 525 of 644
525 4-3. Do-it-yourself maintenance
4
Maintenance and care
HILUX_OM_OM0K134E_(EE)
FuseAmpereCircuit
24ECU-B10 A
Door courtesy switches, power
door lock system, wireless remote
control system, steering sensor
and headlights
25RAD15 AAudio system
26DOME7.5 A
Interior lights, engine switch light,
personal light, gauges and meters,
clock, multi-information display,
wireless remote control system,
daytime running light system and
fog light
27A/F20 AEmission control system
28ALT-S7.5 ACharging system
29TURN-HAZ15 AEmergency flashers and turn signal
lights
30ECU-B No.27.5 AAir conditioning system
31DCC30 AECU-B, DOME and RAD fuses