2013 RENAULT KANGOO fuel pressure
[x] Cancel search: fuel pressurePage 243 of 279

17B-243
AFTER REPAIRCarry out a road test, then check with the diagnostic tool.
V2 MR-376-X76-17B050$160.mif
PETROL INJECTION
Fault finding – Fault Finding Chart17B
V42 Injection
Program No.: 2A
Vdiag No.: 04, 05, 06,
14, 16, 18
ALP 23 Jerking or hesitation
Check the alternator charge signal module by running TEST 2 Alternator signal module check.
Check the fuel pump relay by running TEST 1 Petrol supply pump relay check.
Check the accelerator pedal potentiometer by running TEST 8 Accelerator pedal potentiometer check.
Check the brake pedal switch by running TEST 9 Brake pedal switch check.
Check the air filter unit.
Check the inlet manifold air pressure sensor by running TEST 7 Air inlet pressure sensor check.
Check the air pipes.
Check the air inlet temperature sensor by running TEST 6 Checking the air temperature sensor.
Check the throttle valve by running TEST 3 Throttle valve check.
Check the additional fuel circuit solenoid valve by running TEST 5 Checking the additional fuel tank.
Check the spark plugs.
Check the injector rail.
Check the inlet manifold.
Check the ignition coil by running TEST 14 Checking the ignition coil.
Check the injectors by running TEST 13 Checking the injectors.
Check the additional petrol circuit pump by running TEST 12 Additional fuel tank pump check.
Check the TDC sensor by running TEST 10 TDC sensor check.
Check the upstream oxygen sensor by running TEST 17 Checking the upstream O2 sensor.
Check the downstream oxygen sensor by running TEST 18 Checking the downstream O2 sensor.
Check the camshaft.
Check the valves.
Check the timing.
Check the supply relay and the injection computer.
If the fault is still present, contact the techline.
V42_V04_ALP23/V42_V05_ALP23/V42_V06_ALP23/V42_V14_ALP23/V42_V16_ALP23/V42_V18_ALP23
Page 244 of 279

17B-244
AFTER REPAIRCarry out a road test, then check with the diagnostic tool.
V2 MR-376-X76-17B050$160.mif
PETROL INJECTION
Fault finding – Fault Finding Chart17B
V42 Injection
Program No.: 2A
Vdiag No.: 04, 05, 06,
14, 16, 18
ALP 24 Engine stalls
Check the fuel pump relay by running TEST 1 Petrol supply pump relay check.
Check the air filter unit.
Check the inlet manifold air pressure sensor by running TEST 7 Air inlet pressure sensor check.
Check the air pipes.
Check the additional fuel circuit solenoid valve by running TEST 5 Checking the additional fuel tank.
Check the injector rail.
Check the injectors by running TEST 13 Checking the injectors.
Check the additional petrol circuit pump by running TEST 12 Additional fuel tank pump check.
Check the TDC sensor by running TEST 10 TDC sensor check.
Check the upstream oxygen sensor by running TEST 17 Checking the upstream O2 sensor.
Check the downstream oxygen sensor by running TEST 18 Checking the downstream O2 sensor.
Check the camshaft.
Check the valves.
Check the timing.
Check the injection computer.
Check the injection computer supply relay.
If the fault is still present, contact the techline.
V42_V04_ALP24/V42_V05_ALP24/V42_V06_ALP24/V42_V14_ALP24/V42_V16_ALP24/V42_V18_ALP24
Page 248 of 279

17B-248V2 MR-376-X76-17B050$170.mif
17B
V42 Injection
Program No.: 2A
Vdiag No.: 04, 05, 06,
14, 16, 18
Fuel supply pump relay check TEST 1
Alternator signal module check TEST 2
Throttle valve checkTEST 3
Fuel vapour absorber solenoid valve check TEST 4
Additional fuel tank checkTEST 5
Air temperature sensor check TEST 6
Air inlet pressure sensor check TEST 7
Accelerator pedal potentiometer check TEST 8
Brake pedal switch checkTEST 9
TDC sensor checkTEST 10
Pinking sensor checkTEST 11
Additional fuel tank pump check TEST 12
Injector checkTEST 13
Ignition coil checkTEST 14
Coolant temperature sensor check TEST 15
PETROL INJECTION
Fault finding – Test summary table
Page 258 of 279

17B-258
AFTER REPAIRCarry out a road test, then check with the diagnostic tool.
V2 MR-376-X76-17B050$180.mif
PETROL INJECTION
Fault finding – Tests17B
V42 Injection
Program No.: 2A
Vdiag No.: 04, 05, 06,
14, 16, 18
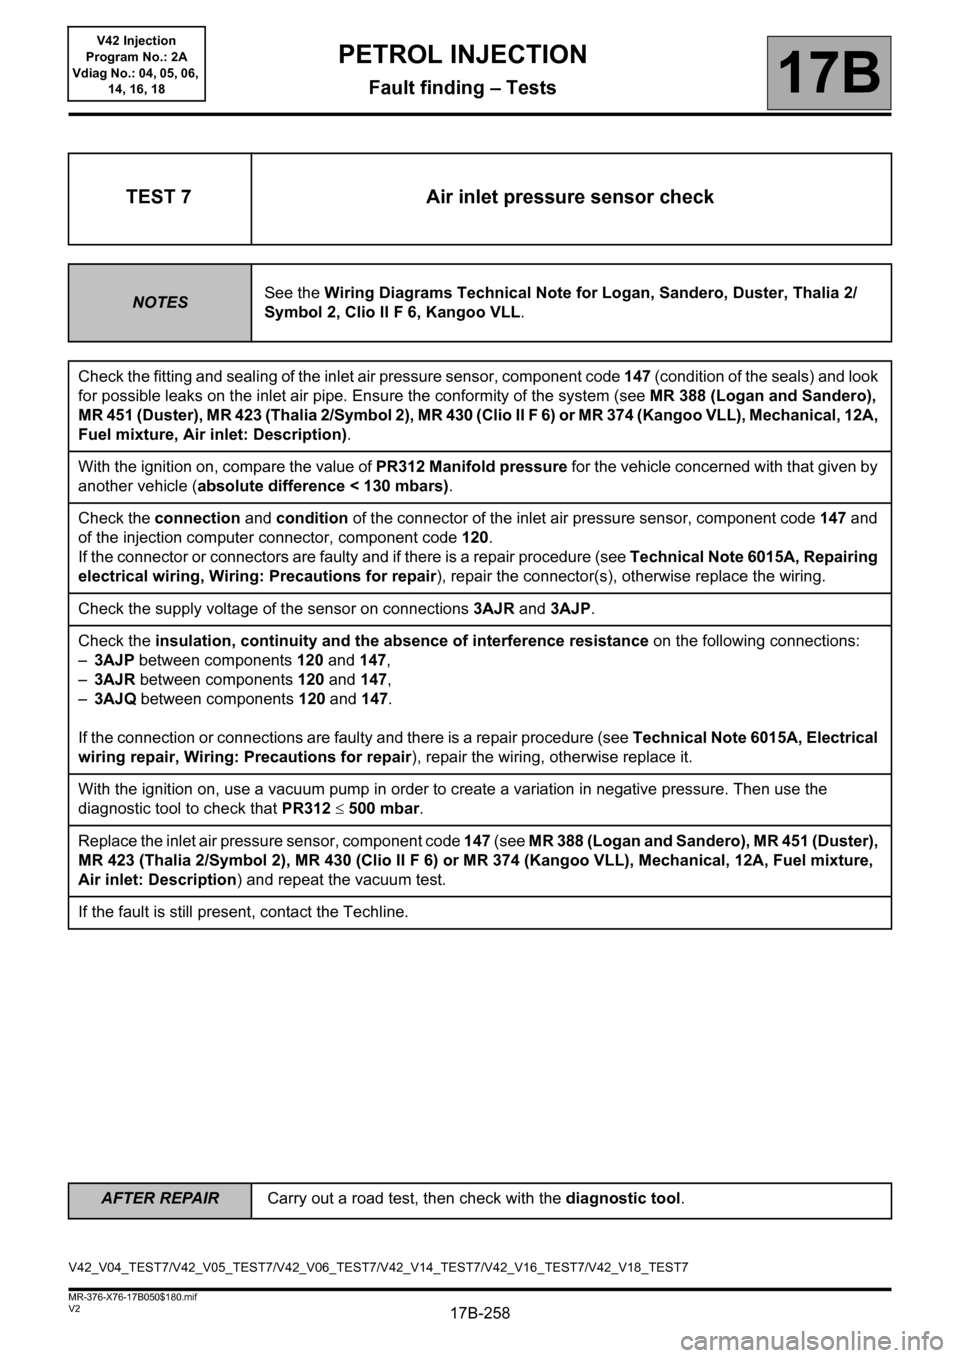
TEST 7 Air inlet pressure sensor check
NOTESSee the Wiring Diagrams Technical Note for Logan, Sandero, Duster, Thalia 2/
Symbol 2, Clio II F 6, Kangoo VLL.
Check the fitting and sealing of the inlet air pressure sensor, component code 147 (condition of the seals) and look
for possible leaks on the inlet air pipe. Ensure the conformity of the system (see MR 388 (Logan and Sandero),
MR 451 (Duster), MR 423 (Thalia 2/Symbol 2), MR 430 (Clio II F 6) or MR 374 (Kangoo VLL), Mechanical, 12A,
Fuel mixture, Air inlet: Description).
With the ignition on, compare the value of PR312 Manifold pressure for the vehicle concerned with that given by
another vehicle (absolute difference < 130 mbars).
Check the connection and condition of the connector of the inlet air pressure sensor, component code 147 and
of the injection computer connector, component code 120.
If the connector or connectors are faulty and if there is a repair procedure (see Technical Note 6015A, Repairing
electrical wiring, Wiring: Precautions for repair), repair the connector(s), otherwise replace the wiring.
Check the supply voltage of the sensor on connections 3AJR and 3AJP.
Check the insulation, continuity and the absence of interference resistance on the following connections:
–3AJP between components 120 and 147,
–3AJR between components 120 and 147,
–3AJQ between components 120 and 147.
If the connection or connections are faulty and there is a repair procedure (see Technical Note 6015A, Electrical
wiring repair, Wiring: Precautions for repair), repair the wiring, otherwise replace it.
With the ignition on, use a vacuum pump in order to create a variation in negative pressure. Then use the
diagnostic tool to check that PR312 500 mbar.
Replace the inlet air pressure sensor, component code 147 (see MR 388 (Logan and Sandero), MR 451 (Duster),
MR 423 (Thalia 2/Symbol 2), MR 430 (Clio II F 6) or MR 374 (Kangoo VLL), Mechanical, 12A, Fuel mixture,
Air inlet: Description) and repeat the vacuum test.
If the fault is still present, contact the Techline.
V42_V04_TEST7/V42_V05_TEST7/V42_V06_TEST7/V42_V14_TEST7/V42_V16_TEST7/V42_V18_TEST7
Page 270 of 279

17B-270
AFTER REPAIRCarry out a road test, then check with the diagnostic tool.
V2 MR-376-X76-17B050$180.mif
PETROL INJECTION
Fault finding – Tests17B
V42 Injection
Program No.: 2A
Vdiag No.: 04, 05, 06,
14, 16, 18
*BVM: Manual gearbox.
*BVA: Automatic gearbox.
TEST 14
CONTINUEDIgnition coil check
K7M engine
Visually inspect the condition of the connectors of the ignition coil, component code 778 (see MR 388 Mechanical,
17A, Ignition, Coils: Removal - Refitting).
If the connector or connectors are faulty and if there is a repair procedure (see Technical Note 6015A, Repairing
electrical wiring, Wiring: Precautions for repair), repair the connector(s), otherwise replace the wiring.
Insert tool Elé. 1808 (1) in the cap of the wire of the plug concerned.
Fit the assembly in the plug well.
Start the engine and let it idle.
Apply light pressure to the assembly to hold the coil in contact with the tool.
Observe the glow from the electric arc on the spark plug well wall.
If the electric arc is not produced, replace the ignition coil (see MR 388 Mechanical, 17A, Ignition, Coils:
Removal – Refitting).
If the fault is still present, contact the techline.
D4D engine
– Switch on the vehicle + after ignition feed.
– Run command VP036 FUEL SUPPLY INHIBITION.
Put the vehicle under starting conditions:
– position of gear lever in neutral for a manual gearbox* or position "P" (Parking) for an automatic gearbox*.
– brake pedal depressed.
– Run command RZ003 ENGINE ADAPTIVES.
Remove the plugs from each cylinder and check, one after another, that sparks are present by bringing the plug
close to a chassis earth, with the starter engaged. If no spark is produced, replace the ignition coil, component
code 778 (see MR 388 Mechanical, 17A, Ignition, Coils: Removal – Refitting).
If the fault is still present, contact the techline.
Page 277 of 279

17B-277
AFTER REPAIRCarry out a road test, then check with the diagnostic tool.
V2 MR-376-X76-17B050$180.mif
PETROL INJECTION
Fault finding – Tests17B
V42 Injection
Program No.: 2A
Vdiag No.: 04, 05, 06,
14, 16, 18
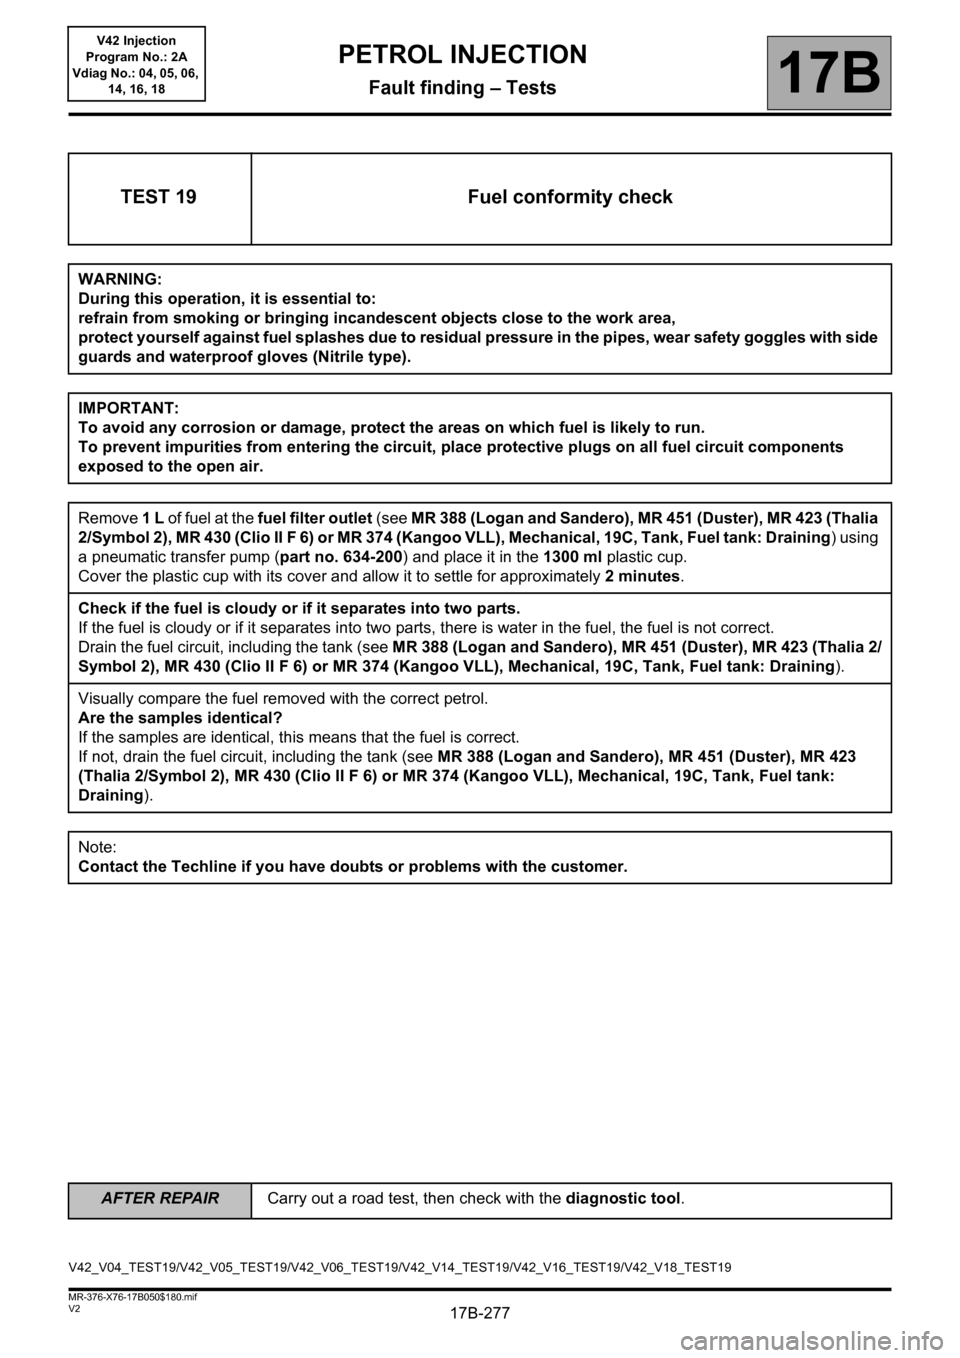
TEST 19 Fuel conformity check
WARNING:
During this operation, it is essential to:
refrain from smoking or bringing incandescent objects close to the work area,
protect yourself against fuel splashes due to residual pressure in the pipes, wear safety goggles with side
guards and waterproof gloves (Nitrile type).
IMPORTANT:
To avoid any corrosion or damage, protect the areas on which fuel is likely to run.
To prevent impurities from entering the circuit, place protective plugs on all fuel circuit components
exposed to the open air.
Remove 1 L of fuel at the fuel filter outlet (see MR 388 (Logan and Sandero), MR 451 (Duster), MR 423 (Thalia
2/Symbol 2), MR 430 (Clio II F 6) or MR 374 (Kangoo VLL), Mechanical, 19C, Tank, Fuel tank: Draining) using
a pneumatic transfer pump (part no. 634-200) and place it in the 1300 ml plastic cup.
Cover the plastic cup with its cover and allow it to settle for approximately 2 minutes.
Check if the fuel is cloudy or if it separates into two parts.
If the fuel is cloudy or if it separates into two parts, there is water in the fuel, the fuel is not correct.
Drain the fuel circuit, including the tank (see MR 388 (Logan and Sandero), MR 451 (Duster), MR 423 (Thalia 2/
Symbol 2), MR 430 (Clio II F 6) or MR 374 (Kangoo VLL), Mechanical, 19C, Tank, Fuel tank: Draining).
Visually compare the fuel removed with the correct petrol.
Are the samples identical?
If the samples are identical, this means that the fuel is correct.
If not, drain the fuel circuit, including the tank (see MR 388 (Logan and Sandero), MR 451 (Duster), MR 423
(Thalia 2/Symbol 2), MR 430 (Clio II F 6) or MR 374 (Kangoo VLL), Mechanical, 19C, Tank, Fuel tank:
Draining).
Note:
Contact the Techline if you have doubts or problems with the customer.
V42_V04_TEST19/V42_V05_TEST19/V42_V06_TEST19/V42_V14_TEST19/V42_V16_TEST19/V42_V18_TEST19