2013 NISSAN SENTRA ESP
[x] Cancel search: ESPPage 7 of 24

02TruNK liD relea Se
Use one of the following methods to unlatch
the trunk lid, then raise the lid to open the trunk:
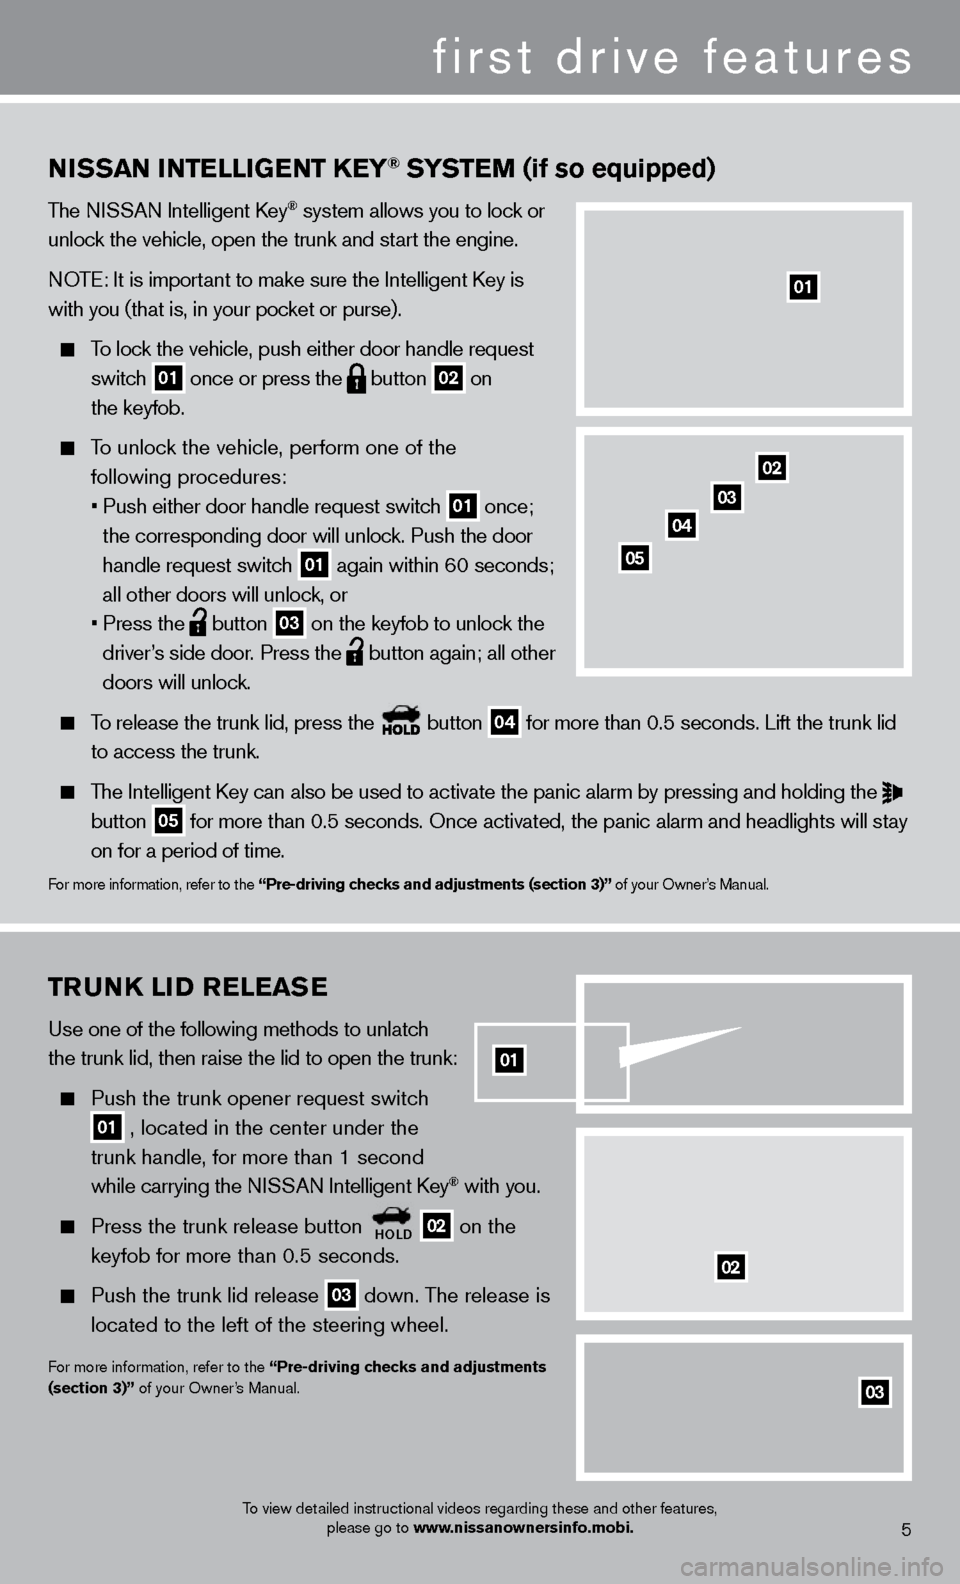
Push the trunk opener request switch
01 , located in the center under the
trunk handle, for more than 1 second
while carrying the N
ISSAN Intelligent k
ey® with you.
Press the trunk release button HolD 02 on the
keyfob for more than 0.5 seconds.
Push the trunk lid release 03 down. The release is
located to the left of the steering wheel.
For more information, refer to the “Pre-driving checks and adjustments
(section 3)” of your Owner’s Manual.
03
02
NiSS a N iNT elliGeNT Ke Y® SYSTeM (if so equipped)
The NISSAN Intelligent key® system allows you to lock or
unlock the vehicle, open the trunk and start the engine.
NOTE: It is important to make sure the Intelligent
k
ey is
with you (that is, in your pocket or purse).
To lock the vehicle, push either door handle request
switch
01 once or press the
button
02 on
the keyfob.
To unlock the vehicle, perform one of the following procedures:
•
Push either door handle request switc
h
01 once;
the corresponding door will unlock. Push the door
handle request switch
01 again within 60 seconds;
all other doors will unlock, or
•
Press the button
03 on the keyfob to unlock the
driver’s side door. Press the button again; all other
doors will unlock.
To release the trunk lid, press the button
04 for more than 0.5 seconds. Lift the trunk lid
to access the trunk.
The Intelligent key can also be used to activate the panic alarm by pressing and holding \
the
button 05 for more than 0.5 seconds. Once activated, the panic alarm and headlight\
s will stay
on for a period of time.
For more information, refer to the “Pre-driving checks and adjustments (section 3)” of your Owner’s Manual.
01
To view detailed instructional videos regarding these and other features,
please go to www.nissanownersinfo.mobi.
02
03
04
05
5
01
first drive features
Page 13 of 24

9
To retrieve a previously set station, select the radio band where the preset was stored
then press the corresponding st
ation memory key (1-6 ).
*SiriusXM™ Satellite Radio is only available on vehicles equipped with optional Siri\
usXM™ Satellite Radio subscription service.
For more information, refer to the “Monitor, climate, audio, phone and voice recognition systems (section 4)” of your
Owner’s Manual.
To view detailed instructional videos regarding these and other features, please go to www.nissanownersinfo.mobi.
CruiSe C o NT rol (if so equipped)
The cruise control system enables you to set a
constant cruising speed once the vehicle has
reached 25 MPH (40 km/h).
The system will automatically maintain the set speed
until you t
ap the brake pedal, accelerate, cancel or
turn the system off.
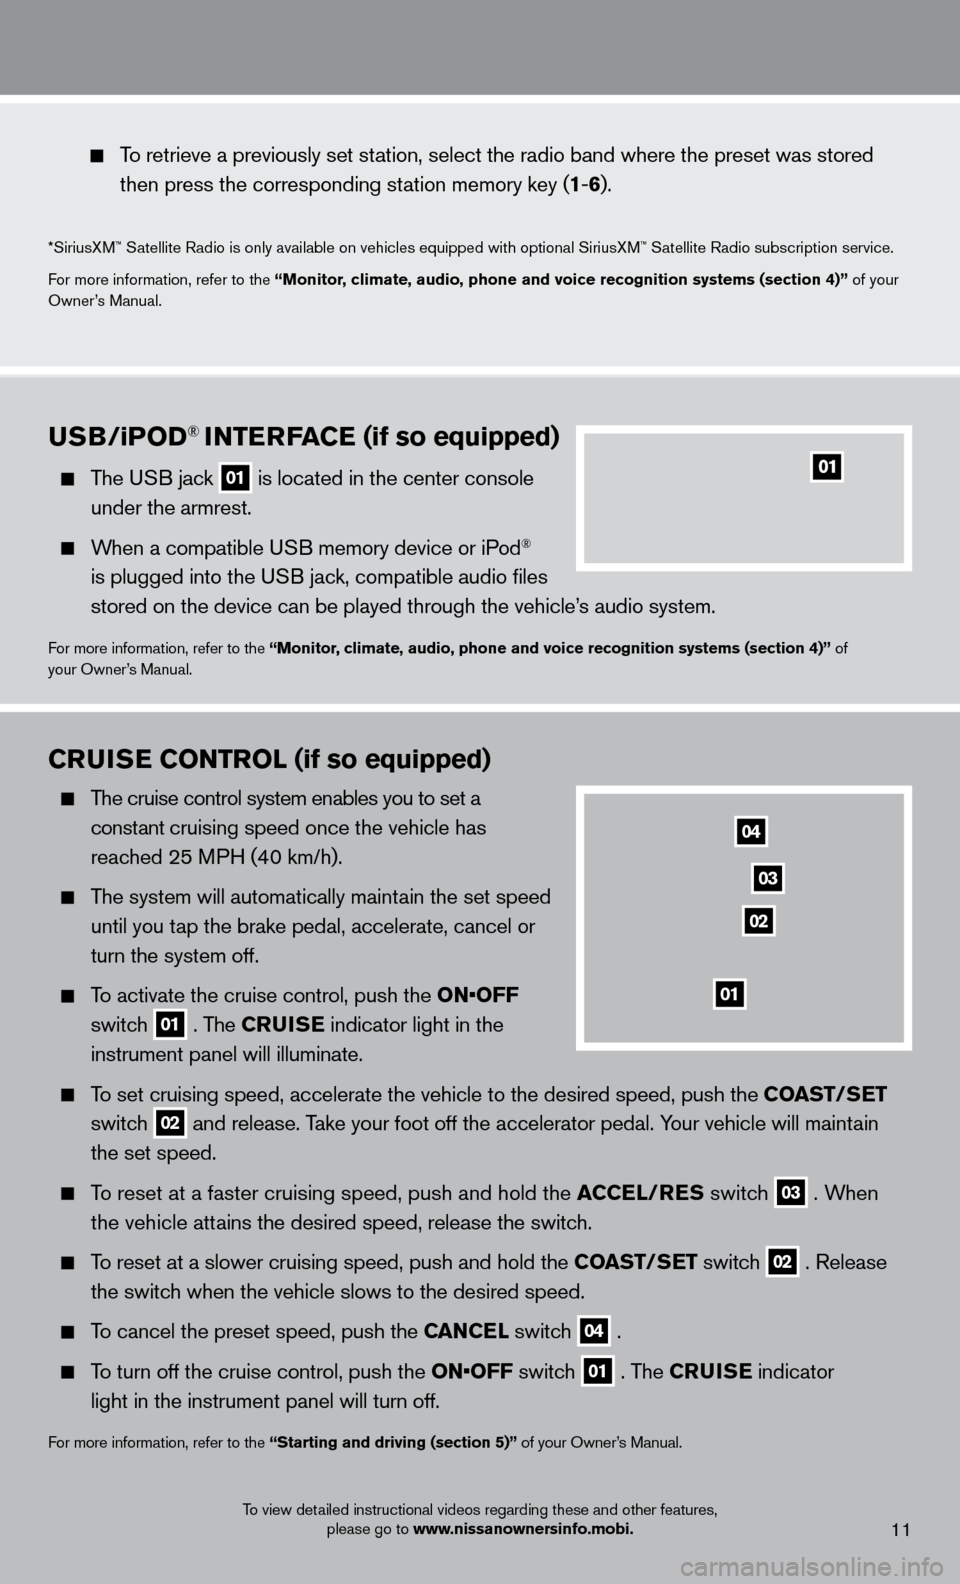
To activate the cruise control, push the o N• o FF
switc
h
01 . The Crui S e
indicator light in the
instrument panel will illuminate.
To set cruising speed, accelerate the vehicle to the desired speed, push \
the C oa ST/Se T
switc
h
02 and release. Take your foot off the accelerator pedal. Your vehicle will maintain
the set speed.
To reset at a faster cruising speed, push and hold the aC Cel/ re S switch
03 . When
t
he vehicle attains the desired speed, release the switch.
To reset at a slower cruising speed, push and hold the C oa ST/Se T switch
02 . Release
the switc
h when the vehicle slows to the desired speed.
To cancel the preset speed, push the Ca NC el switch
04 .
To turn off the cruise control, push the
o N• o FF switch
01 . The Crui S e indicator
light in the instrument panel will turn off.
For more information, refer to the “Starting and driving (section 5)” of your Owner’s Manual.
01
04
02
03
11
uSB/ iPo D® iNTerFaC e (if so equipped)
The USB jack
01 is located in the center console
under the armrest.
When a compatible USB memory device or iPod®
is plugged into the USB jack, compatible audio files
stored on the device can be played through the vehicle’s audio system.
For more information, refer to the “Monitor, climate, audio, phone and voice recognition systems (section 4)” of
your Owner’s Manual.
Page 16 of 24

To view detailed instructional videos regarding these and other features, please go to www.nissanownersinfo.mobi.
Speak in a clear and natural voice without pausing between words.
Look straight ahead and avoid speaking too loudly or too softly .
To go back to the previous command, say “Go back” or “c orrection.”
To cancel a voice recognition session, simply wait 5 seconds, say “ c ancel” or “Quit,” or press
and hold the
button for 5 seconds.
To interrupt the system voice and give a command quickly, press the button.
When speaking Phonebook names, please be aware some phones require the la\
st name to be
spoken before the first name. For example, “Michael Smith” may be spoken as “Smith Michael”.
To increase or decrease the volume of the voice prompts, push the volume \
control switches
+ or - on the steering wheel or turn the control dial on the audio system while\
the audio
system is responding.
If the Voice Recognition system does not recognize your voice commands, train th\
e system using the Voice Adaptation Mode. See your Owner’s Manual for detailed information.
Some commands are not available while the vehicle is in motion.
The “Help” command can be used to hear a list of available commands\
at any time.
Please refer to the cellular phone manufacturer ’s Owner’s Manual for detailed information
regarding your Bluetooth® phone.
For recommended phones and detailed instructions, please visit www.nissanusa.com/bluetooth.
BlueTooTH® SYST eM W i THou T Na viG aT io N (if so equipped)
cONNEcTING PRO c EDURE
NOTE: The vehicle must be stationary when connecting the phone.
1.
Press the
button on the steering wheel. The system announces the available commands.
2.
S
ay: “
c
onnect phone”. The system acknowledges
the command and announces the next set of
available commands.
3.
S
ay: “Add phone”. The system acknowledges
the command and asks you to initiate connecting
from the phone handset.
4.
Initiate connecting from the phone:
The connecting procedure varies according to each cellular phone model. For detailed connecting
instructions and compatible phones, please visit
www.nissanusa.com/bluetooth.
When prompted for a Passkey code, enter “1234” from the handset. (The Passkey code is assigned by NISSAN and cannot be changed.)
5.
S
ay a name for the phone when the system asks you to provide one. You can give the phone
a name of your choice.
14
system guide