2013 NISSAN ROGUE ECO mode
[x] Cancel search: ECO modePage 3 of 20
TABLE OF
c
O
NTENTS
New SYSTeM FeaT ureS
Around V
iew™ Monitor (if so equipped).............................2
Sport Mode
...................................................
3
USB/iPod
® Interface (if so equipped)..............................3
Navigation System (if so equipped)................................4
e
SS
eNT
ial
iNF
orM
a
T
io N
Loose Fuel
c ap
................................................5
T
ire Pressure Monitoring System (TPMS)
...........................5
T
owing Your Vehicle
.............................................6
Outside T
emperature Display
.....................................6
Fi
r
ST D
rive Fea
T
ure
S
N
ISSAN Intelligent k
ey® System (if so equipped)....................7
Liftgate Release ( NI
SSAN
Intelligent
k
ey® models only - if so equipped).....7
Front Seat Adjustments..........................................8
F
olding the Front Passenger’s Seat Down (if so equipped) ............
8
F
olding the Rear Seatbacks Down
.................................9
Outside Mirror
c
ontrol Switch
....................................9
St
arting/Stopping the Engine
(N
ISSAN Intelligent
k
ey® models only - if so equipped)...............9
Headlight
c
ontrol
.............................................
10
W
indshield Wiper/Washer Switch
................................11
Manual
c
limate
c
ontrols (if so equipped)
..........................12
FM/AM/SiriusXM
™ Satellite Radio with cD Player (if so equipped).....13
c
ruise
c
ontrol . . . . . . . . . . . . . . . . . . . . . . . . . . . . . . . . . . . .\
. . . . . . . . . . . . 14
Fuel-Filler Door
...............................................
14
S
Y
ST
e
M
Gui
D
e
T
rip
c
omputer
................................................
15
Bluetooth
® Hands-free Phone System (if so equipped) ..............15
• A cellular telephone should not be used for any purpose while
driving so full attention may be given to vehicle operation.
• Always wear your seat belt.
• Supplemental air bags do not replace proper seat belt usage.
• Children 12 and under should always ride in the rear seat
properly secured in child restraints or seat belts according to
their age and weight.
• Do not drink and drive.
For more information, refer to the “Safety –– Seats, seat belts and
supplemental restraint system (section 1)”, “Center display, heater, air
conditioner, audio, phone and voice recognition systems (section 4)”
and “Starting and driving (section 5)” of your Owner’s Manual.
Additional information about your vehicle is also available in your Owner’s Manual, Navigation System Owner’s Manual and at www.nissanusa.com.
To view detailed
instructional videos, go to
www.nissanownersinfo.mobi/2013/rogue or snap this barcode with an appropriate barcode reader.
1276461_13c_Rogue_QRG_122112.indd 512/21/12 10:30 AM
Page 5 of 20
SPorT Mo De
In the SPor T mode, the engine and transmission are
controlled to set the engine speed higher than in the
D (Dr
ive ) position. This enhances throttle response
for a “sporty” driving feeling.
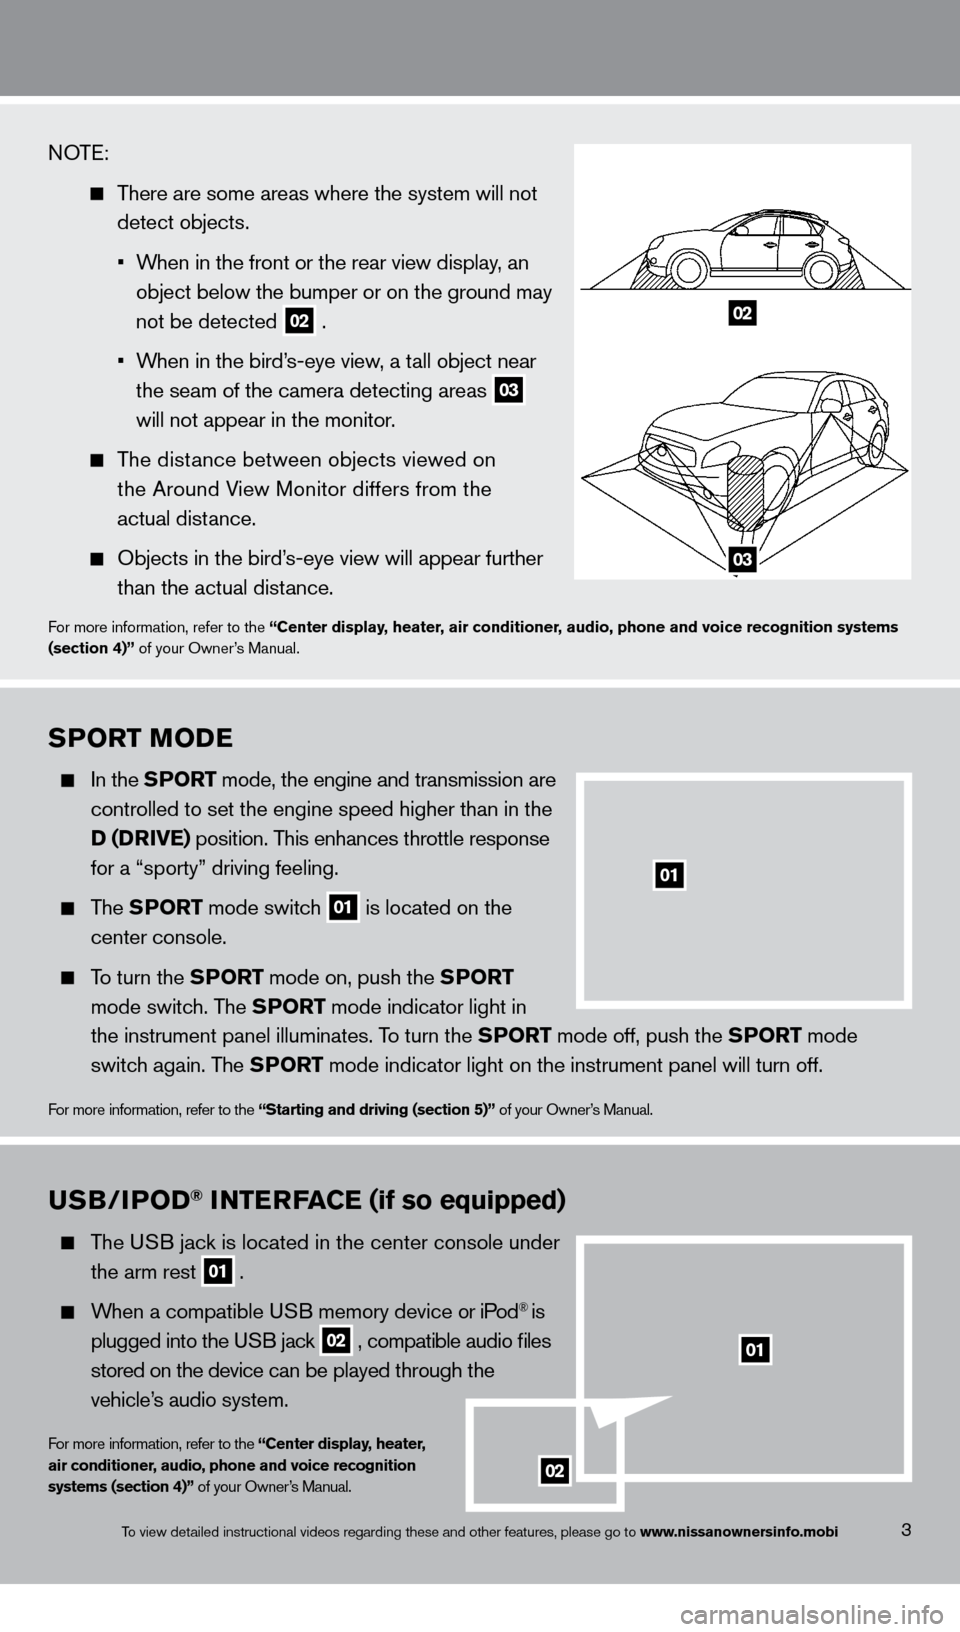
The SPor T mode switch
01 is located on the
center console.
To turn the SPor T mode on, push the SPor T
mode switc
h. The SP
or
T mode indicator light in
the instrument panel illuminates. T
o turn the SP
or
T mode off, push the SP
or
T mode
switc
h again. The SP
or
T mode indicator light on the instrument panel will turn off.
For more information, refer to the “Starting and driving (section 5)” of your Owner’s Manual.
3
01
NOTE:
There are some areas where the system will not
detect objects.
•
W
hen in the front or the rear view display, an
object below the bumper or on the ground may
not be detected 02 .
•
W
hen in the bird’s-eye view, a tall object near
the seam of the camera detecting areas 03
will not appear in the monitor
.
The distance between objects viewed on
the Around V
iew Monitor differs from the
actual dist
ance.
Objects in the bird’ s-eye view will appear further
than the actual dist
ance.
For more information, refer to the “Center display, heater, air conditioner, audio, phone and voice recognition systems
(section 4)” of your Owner’s Manual.
02
03
To view detailed instructional videos regarding these and other features, please go\
to www.nissanownersinfo.mobi
uSB/iPoD® iNTerFaC e (if so equipped)
The USB jack is located in the center console under
the arm rest 01 .
When a compatible USB memory device or iPod® is
plugged into the U
SB jack
02 , compatible audio files
s
tored on the device can be played through the
vehicle’
s audio system.
For more information, refer to the “Center display, heater,
air conditioner, audio, phone and voice recognition
systems (section 4)” of your Owner’s Manual.
02
01
1276461_13c_Rogue_QRG_122112.indd 312/21/12 10:30 AM
Page 8 of 20
TowiNG Your veHiC le
ALL-W HEEL DR IVE (AWD) V EHIcLE
•
An all-wheel drive vehicle must be towed with all wheels off the ground.
For proper towing and to avoid accidental damage to your vehicle, NISSAN recommends
that a service operator tow your vehicle after carefully reading the Own\
er
’s Manual precautions.
For more information, refer to the “in case of emergency (section 6)” of your Owner’s Manual.
ouTSiDe T eM P eraT ure DiS P laY
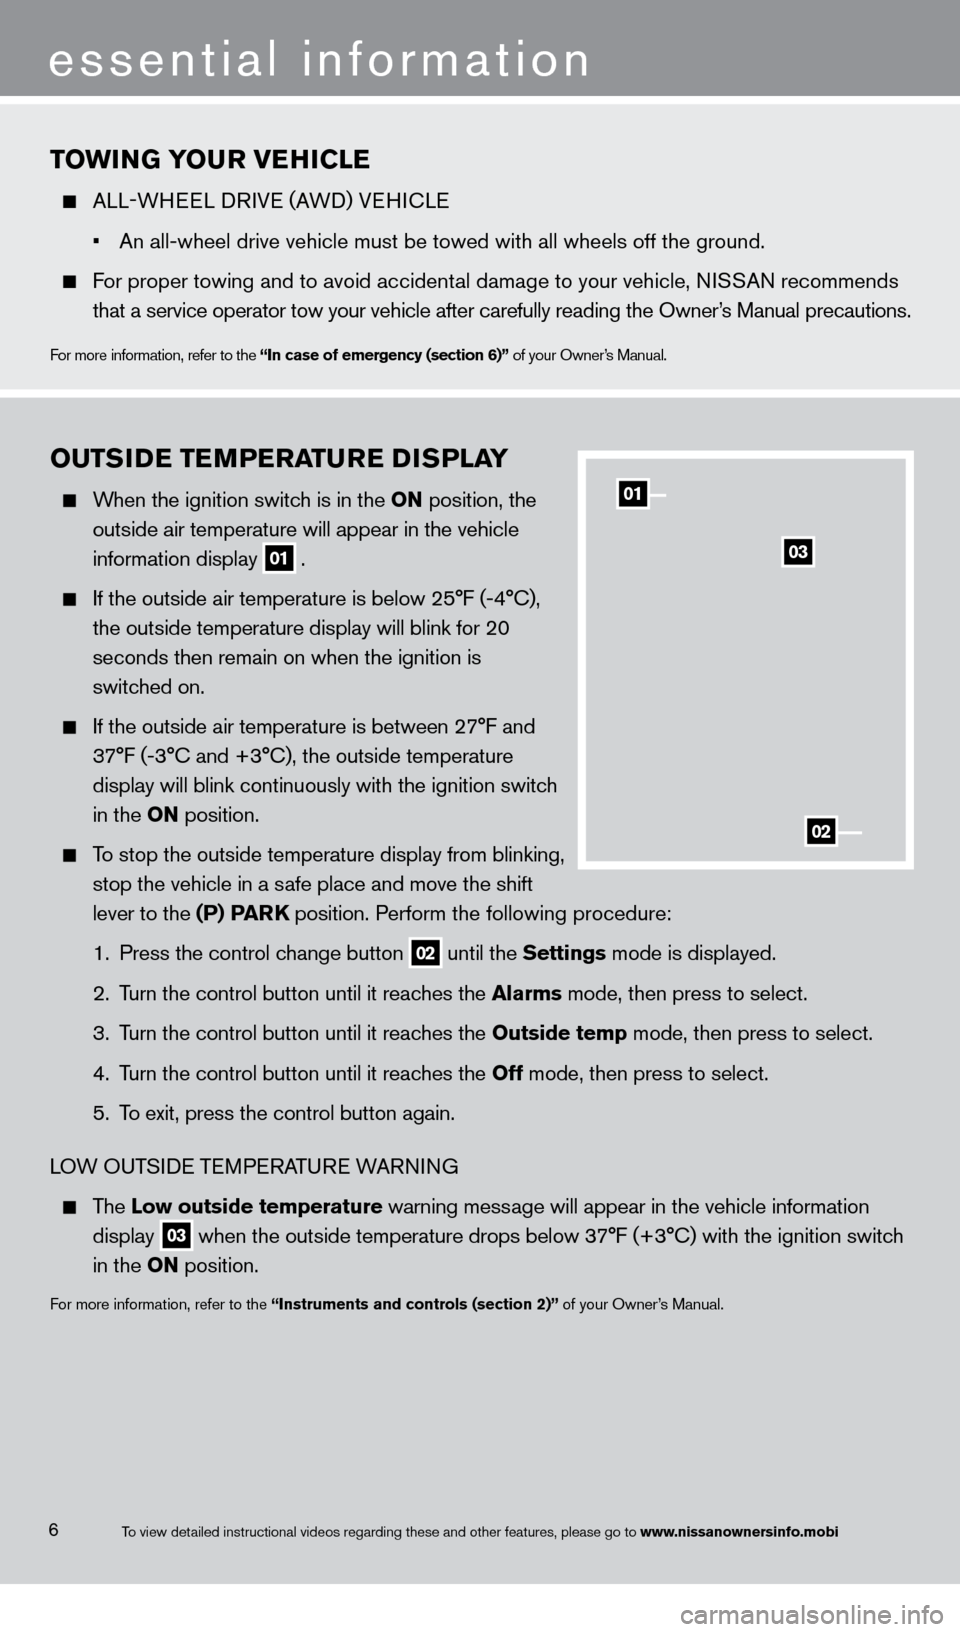
When the ignition switch is in the o N position, the
outside air temperature will appear in the vehicle
information display 01 .
If the outside air temperature is below 25°F (-4°
c ),
the outside temperature display will blink for 20
seconds then remain on when the ignition is
switc
hed on.
If the outside air temperature is between 2 7°F and
3
7°F (-3° c and +3° c ), the outside temperature
display will blink continuously with the ignition switc
h
in the
o N position.
To stop the outside temperature display from blinking,
stop the vehicle in a s
afe place and move the shift
lever to the
(P) P
arK
position. Perform the following procedure:
1.
Press the control c
hange button
02 until the Settings mode is displayed.
2.
T
urn the control button until it reaches the a
larms
mode, then press to select.
3.
T
urn the control button until it reaches the o utside temp mode, then press to select.
4.
T
urn the control button until it reaches the o ff mode, then press to select.
5.
T
o exit, press the control button again.
LOW OUTSIDE TEMPERATURE WARNING
The l ow outside temperature warning message will appear in the vehicle information
display
03 when the outside temperature drops below 37°F (+3° c ) with the ignition switch
in the
o
N position.
For more information, refer to the “instruments and controls (section 2)” of your Owner’s Manual.
01
03
02
essential information
6To view detailed instructional videos regarding these and other features, please go\
to www.nissanownersinfo.mobi
1276461_13c_Rogue_QRG_122112.indd 612/21/12 10:30 AM
Page 9 of 20
liFTGaT e relea Se (NiS S a N i ntelligent
Key® models only – if so equipped)
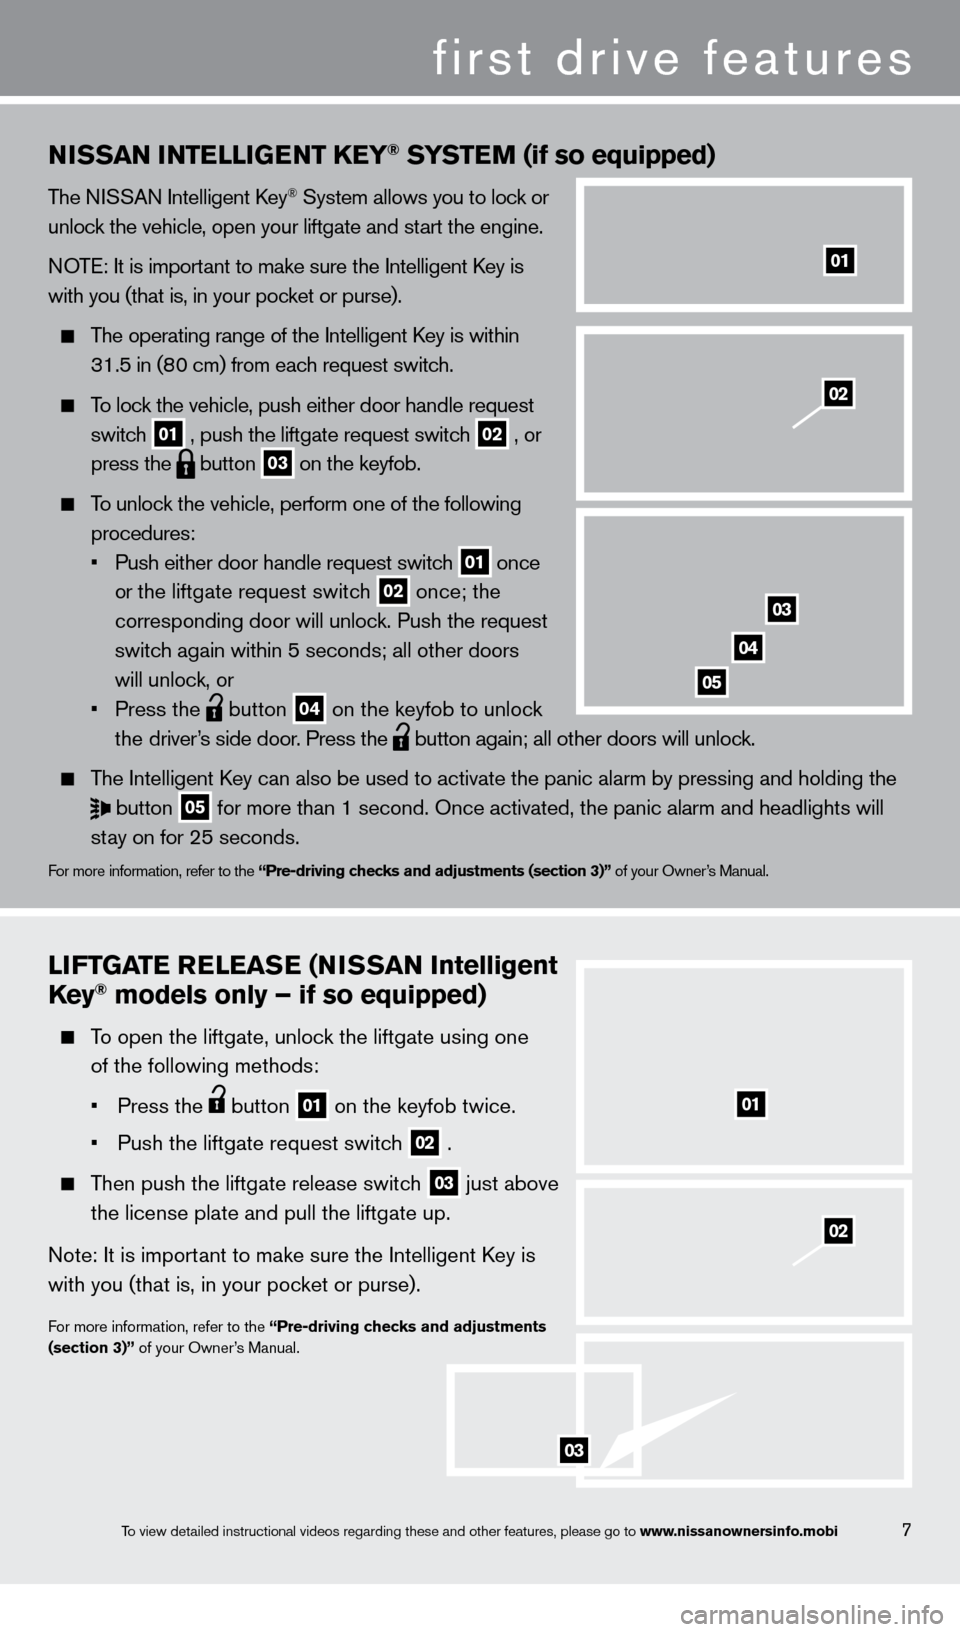
To open the liftgate, unlock the liftgate using one
of the following methods:
•
Press the button 01 on the keyfob twice.
•
Push the liftgate request switc
h
02 .
Then push the liftgate release switch 03 just above
the license plate and pull the liftgate up.
Note: It is import
ant to make sure the Intelligent k
ey is
with you (that is, in your poc
ket or purse).
For more information, refer to the “Pre-driving checks and adjustments
(section 3)” of your Owner’s Manual.
01
NiSS a N iNT elliGeNT Ke Y® SYSTeM (if so equipped)
The NISSAN Intelligent key® System allows you to lock or
unlock the vehicle, open your liftgate and start the engine.
NOTE: It is important to make sure the Intelligent
k
ey is
with you (that is, in your pocket or purse).
The operating range of the Intelligent key is within
31.5 in (8
0 cm) from each request switch.
To lock the vehicle, push either door handle request
switc
h
01 , push the liftgate request switch
02 , or
press the button
03 on the keyfob.
To unlock the vehicle, perform one of the following
procedures:
•
Push either door handle request switc
h
01 once
o
r the liftgate request switch 02 once; the
corresponding door will unloc
k. Push the request
switc
h again within 5 seconds; all other doors
will unloc
k, or
•
Press the button
04 on the keyfob to unlock
t
he driver’s side door. Press the button again; all other doors will unlock.
The Intelligent
key can also be used to activate the panic alarm by pressing and holding \
the
button
05 for more than 1 second. Once activated, the panic alarm and headlights w\
ill
st
ay on for 25 seconds.
For more information, refer to the “Pre-driving checks and adjustments (section 3)” of your Owner’s Manual.
01
03
04
05
02
02
7
first drive features
03
To view detailed instructional videos regarding these and other features, please go\
to www.nissanownersinfo.mobi
1276461_13c_Rogue_QRG_122112.indd 712/21/12 10:30 AM
Page 14 of 20
first drive features
12
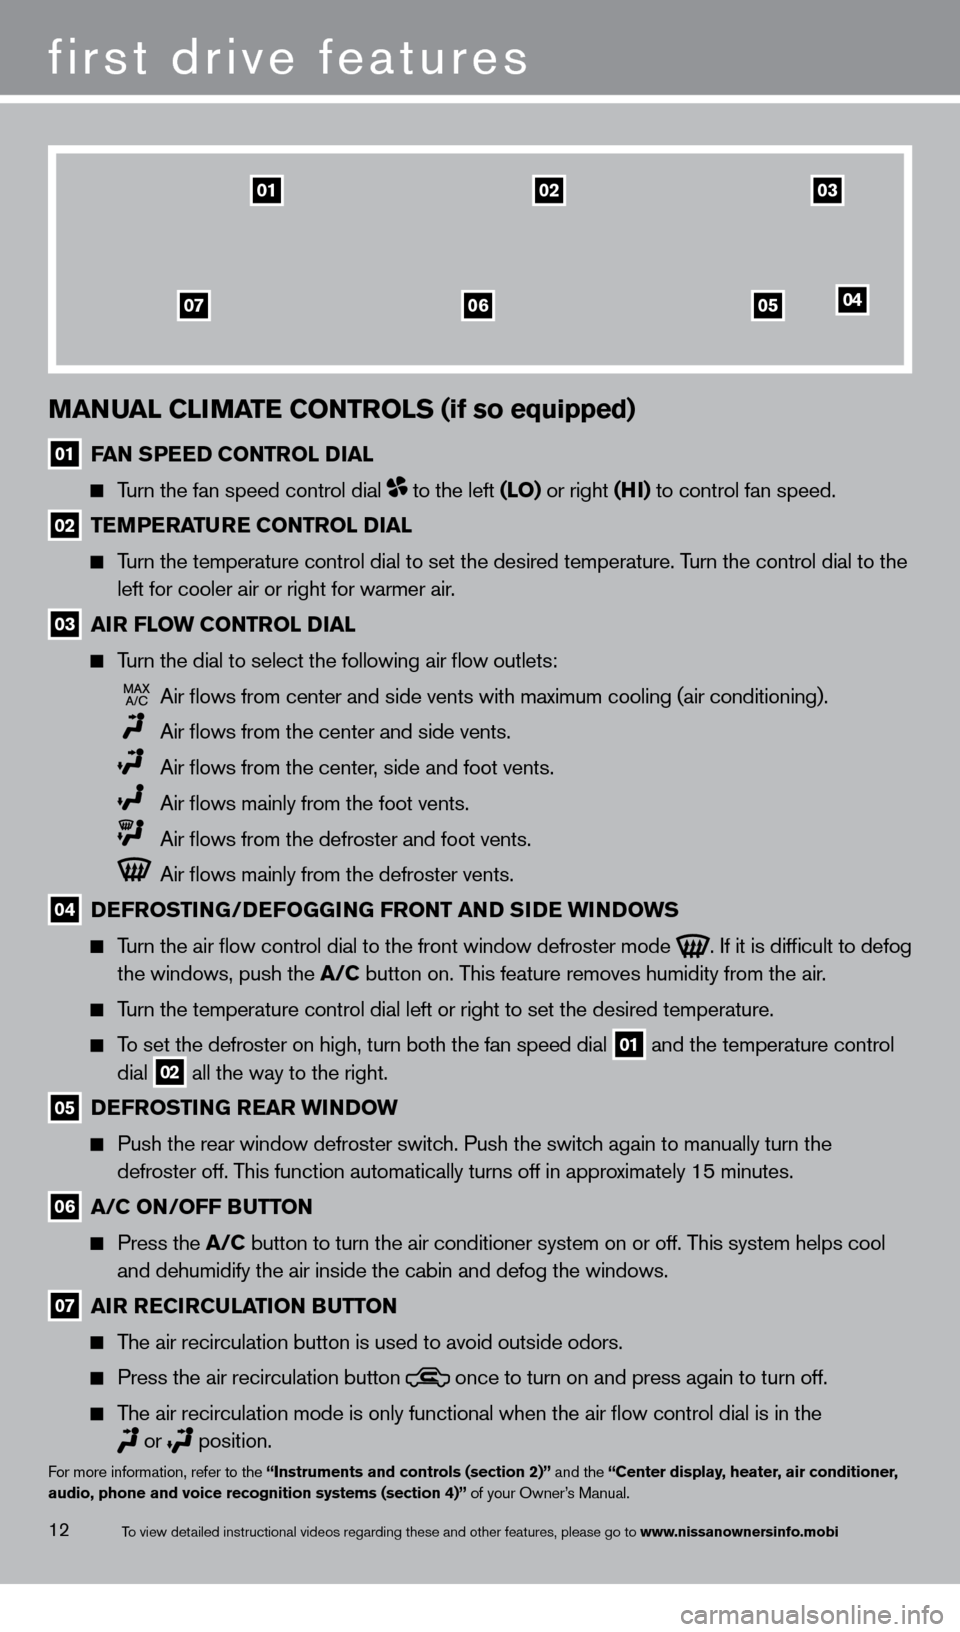
MaNual C liM aT e C o NT rol S (if so equipped)
01 FaN SP eeD C o NT rol Dial
Turn the fan speed control dial to the left (lo) or right (Hi ) to control fan speed.
02 TeM P eraT ure C o NT rol Dial
Turn the temperature control dial to set the desired temperature. Turn the control dial to the left for cooler air or right for warmer air.
03 air F low C o NT rol Dial
Turn the dial to select the following air flow outlets:
Air flows from center and side vents with maximum cooling (air condit\
ioning).
Air flows from the center and side vents.
Air flows from the center , side and foot vents.
Air flows mainly from the foot vents.
Air flows from the defroster and foot vents.
Air flows mainly from the defroster vents.
04 DeF ro ST iN G/DeFo GGiN G F ro NT a ND SiDe wiN Do w S
Turn the air flow control dial to the front window defroster mode
. If it is difficult to defog
the windows, push the
a
/C button on. This feature removes humidity from the air.
Turn the temperature control dial left or right to set the desired temper\
ature.
To set the defroster on high, turn both the fan speed dial 01 and the temperature control
dial 02 all the way to the right.
05 DeF ro ST iN G rear wiN Do w
Push the rear window defroster switc h. Push the switch again to manually turn the
defroster off. This function automatically turns off in approximately 15 minutes.
06 a /C o N/ o FF Bu TTo N
Press the a
/C button to turn the air conditioner system on or off. This system helps cool
and dehumidify the air inside the cabin and defog the windows.
07 air reC irC ulaT io N Bu TTo N
The air recirculation button is used to avoid outside odors.
Press the air recirculation button
once to turn on and press again to turn off.
The air recirculation mode is only functional when the air flow control\
dial is in the
or
position.For more information, refer to the “instruments and controls (section 2)” and the “Center display, heater, air conditioner,
audio, phone and voice recognition systems (section 4)” of your Owner’s Manual.
010302
05040607
To view detailed instructional videos regarding these and other features, please go\
to www.nissanownersinfo.mobi
1276461_13c_Rogue_QRG_122112.indd 1212/21/12 10:30 AM
Page 17 of 20
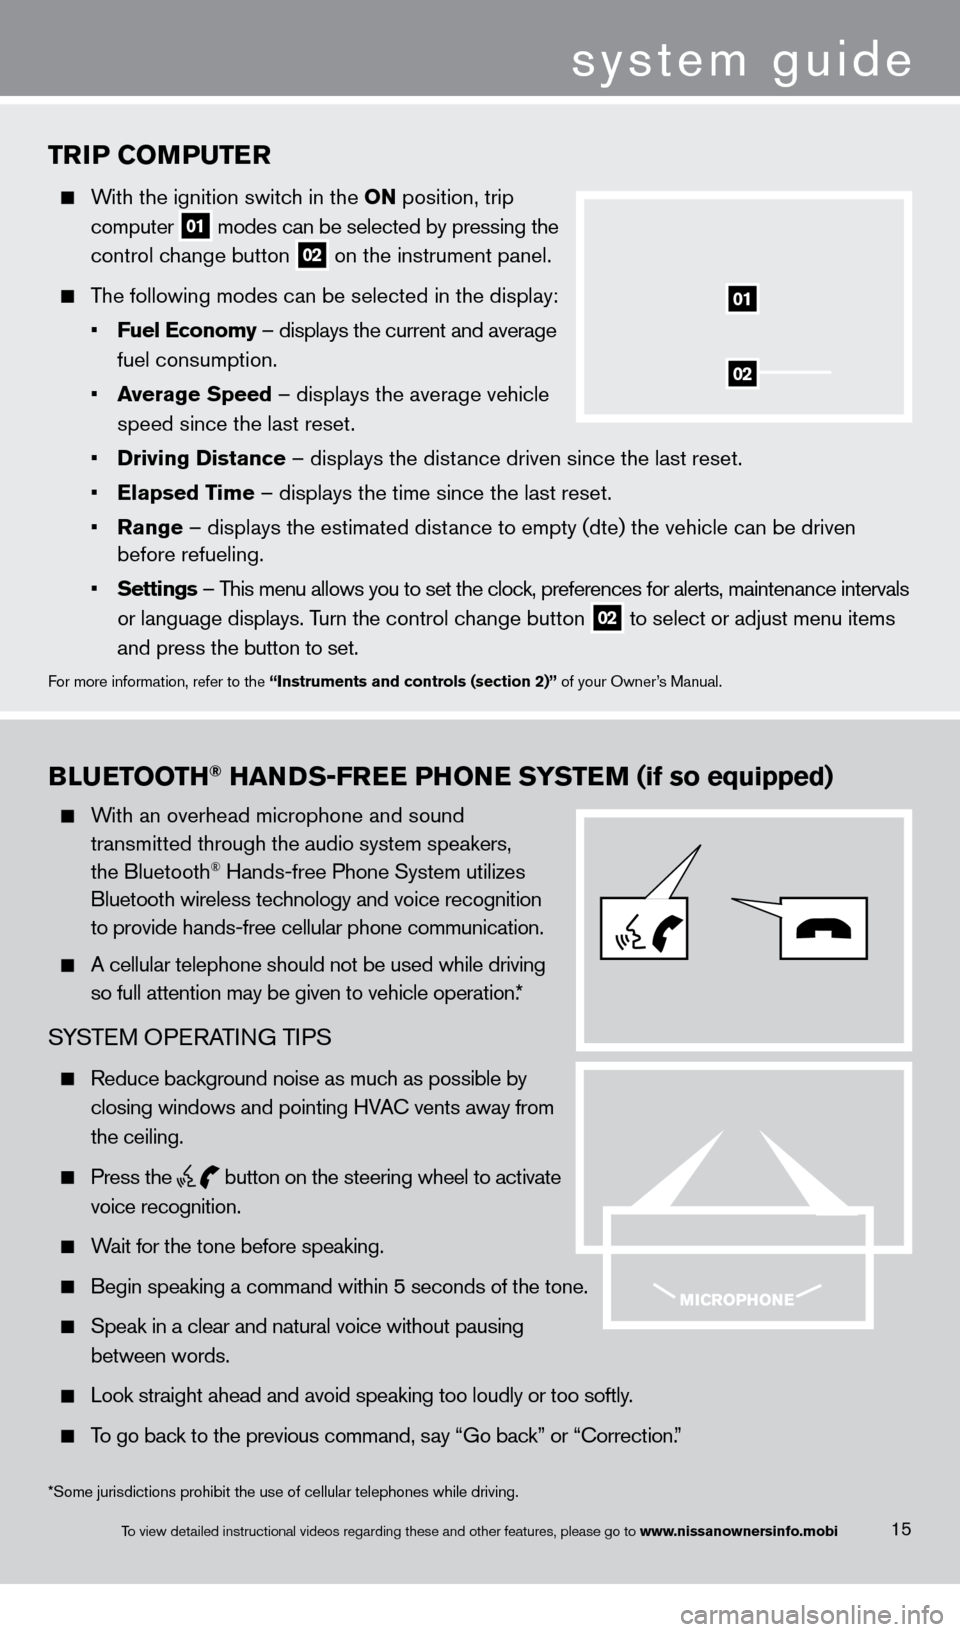
TriP Co MP u T er
With the ignition switch in the o N position, trip
computer
01 modes can be selected by pressing the
control c
hange button
02 on the instrument panel.
The following modes can be selected in the display:
•
F
uel e conomy – displays the current and average
fuel consumption.
•
a
verage Speed
– displays the average vehicle
speed since the last reset.
•
Driving Distance
– displays the distance driven since the last reset.
•
e
lapsed Time – displays the time since the last reset.
•
r
ange – displays the estimated distance to empty (dte) the vehicle can be driven
before refueling.
•
Settings
– This menu allows you to set the clock, preferences for alerts, maintenance intervals
or language displays. T
urn the control change button
02 to select or adjust menu items
a
nd press the button to set.
For more information, refer to the “instruments and controls (section 2)” of your Owner’s Manual.
02
01
Blue TooTH® HaNDS-Free PHo Ne SYST eM (if so equipped)
With an overhead microphone and sound
t
ransmitted through the audio system speakers,
the Bluetooth® Hands-free Phone System utilizes
Bluetooth wireless tec
hnology and voice recognition
to provide hands-free cellular phone communication.
A cellular telephone should not be used while driving
so full attention may be given to vehicle operation.
*
SYSTEM OPERATING TIPS
Reduce background noise as much as possible by
closing windows and pointing HV
A
c
vents away from
the ceiling.
Press the
button on the steering wheel to activate
voice recognition.
Wait for the tone before speaking.
Begin speaking a command within 5 seconds of the tone.
Speak in a clear and natural voice without pausing
between words.
Look straight ahead and avoid speaking too loudly or too softly .
To go back to the previous command, say “Go back” or “ c orrection.”
15
system guide
*Some jurisdictions prohibit the use of cellular telephones while drivin\
g.
To view detailed instructional videos regarding these and other features, please go\
to www.nissanownersinfo.mobi
1276461_13c_Rogue_QRG_122112.indd 1512/21/12 10:30 AM
Page 18 of 20
To cancel a voice recognition session, simply wait 5 seconds, say “c ancel” or “Quit,” or press
and hold the button for 5 seconds.
To interrupt the system voice and give a command quickly, press the
button.
When speaking Phonebook names, please be aware some phones require the la\
st name to be
spoken before the first name. F
or example, “Michael Smith” may be spoken as “Smith Michael”.
To increase or decrease the volume of the voice prompts, push the volume \
control switches
or
on the steering wheel or turn the VOL/ON•OFF control knob on the audio
system while the system is responding.
If the Voice Recognition system does not recognize your voice commands, train th\
e system
using the Speaker Adapt
ation Mode. See your Owner’s Manual for detailed information.
Some commands are not available while the vehicle is in motion.
The “Help” command can be used to hear a list of available commands\
at any time.
Please refer to the cellular phone manufacturer’s Owner’s Manual for detailed information
regarding your Bluetooth phone.
For recommended phones and detailed instructions, please visit
www
.nissanusa.com/bluetooth.
cONNEcTING PRO c EDURE
NOTE: The vehicle must be stationary when connecting the phone.
1.
Press the
button on the steering wheel. The system announces the available commands.
2.
S
ay: “
c
onnect phone”. The system acknowledges the command and announces the next set
of available commands.
3.
S
ay: “Add phone”. The system acknowledges the command and asks you to initiate connecting
from the phone handset.
4.
Initiate connecting from the phone:
The connecting procedure varies according to each cellular phone model. For detailed
connecting instructions and compatible phones, please visit
www
.nissanusa.com/bluetooth.
When prompted for a Passkey code, enter “1234” from the handset. (The Passkey code is
assigned by N
ISSAN and cannot be changed.)
5.
S
ay a name for the phone when the system asks you to provide one. You can give the phone
a name of your c
hoice.
PHONEBOOk SE TUP
Depending on your cell phone, the system may automatically download your\
cell phone’ s
entire phonebook to the vehicle’
s Bluetooth system.
If the phonebook does not download automatically , 40 entries can be individually downloaded.
system guide
16To view detailed instructional videos regarding these and other features, please go\
to www.nissanownersinfo.mobi
1276461_13c_Rogue_QRG_122112.indd 1612/21/12 10:30 AM