2013 NISSAN MURANO ESP
[x] Cancel search: ESPPage 8 of 28

t
(
T
t
(
NISSAN INTELLIGENT KEY® SYSTEM
The NISSAN Intelligent Key® system allows you to lock
or unlock your vehicle, open your liftgate/trunk lid and
start the engine.
NOTE: It is important to make sure the Intelligent Key is
with you (that is, in your pocket or purse).
The operating range of the Intelligent Key is within
31.5 in (80 cm) from each request switch.
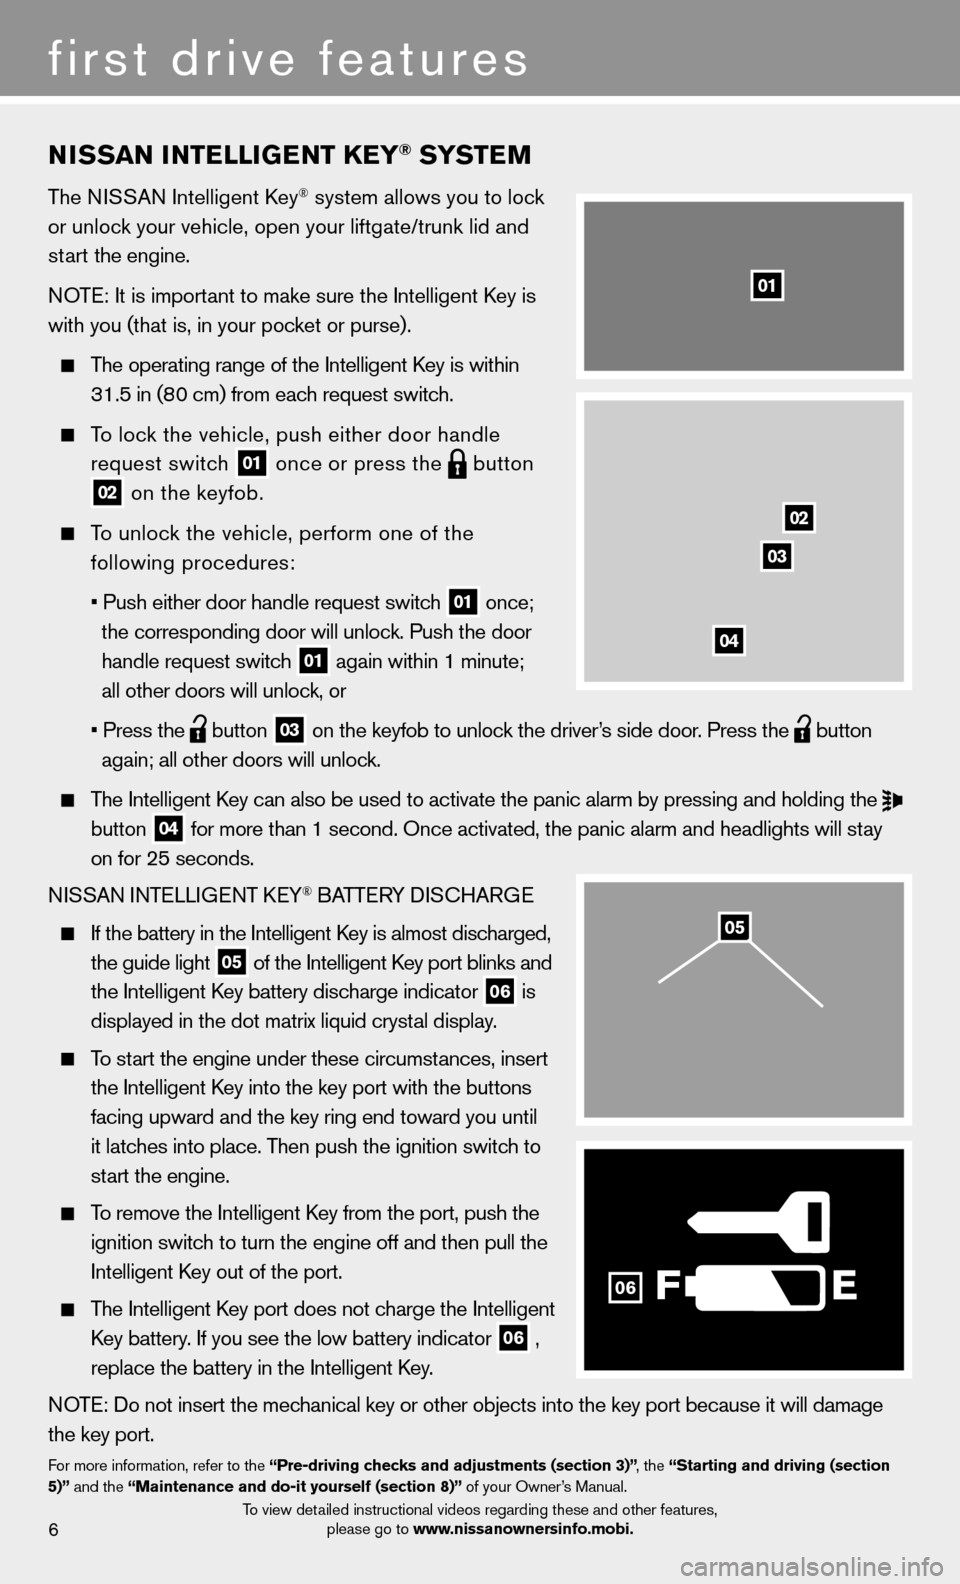
To lock the vehicle, push either door handle
request switch
01 once or press the
button02 on the keyfob.
To unlock the vehicle, perform one of the
following procedures:
• Push either door handle request switch
01 once;
the corresponding door will unlock. Push the door
handle request switch
01 again within 1 minute;
all other doors will unlock, or
• Press the
button 03 on the keyfob to unlock the driver’s side door. Press the
button
again; all other doors will unlock.
The Intelligent Key can also be used to activate the panic alarm by pressing and holding \
the
button 04 for more than 1 second. Once activated, the panic alarm and headlights w\
ill stay
on for 25 seconds.
NISSAN INTELLIGENT KEY
® BATTERY DISCHARGE
If the battery in the Intelligent Key is almost discharged,
the guide light
05 of the Intelligent Key port blinks and
the Intelligent Key battery discharge indicator 06 is
displayed in the dot matrix liquid crystal display.
To start the engine under these circumstances, insert
the Intelligent Key into the key port with the buttons
facing upward and the key ring end toward you until
it latches into place. Then push the ignition switch to
start the engine.
To remove the Intelligent Key from the port, push the
ignition switch to turn the engine off and then pull the
Intelligent Key out of the port.
The Intelligent Key port does not charge the Intelligent
Key battery. If you see the low battery indicator
06 ,
replace the battery in the Intelligent Key.
NOTE: Do not insert the mechanical key or other objects into the key port because it will damage
the key port.
For more information, refer to the “Pre-driving checks and adjustments (section 3)” , the “Starting and driving (section
5)” and the “Maintenance and do-it yourself (section 8)” of your Owner’s Manual.
6
first drive features
F
02
03
04
01
06
05
To view detailed instructional videos regarding these and other features,
please go to www.nissanownersinfo.mobi.
Page 11 of 28

9
POWER SEATS (if so equipped)
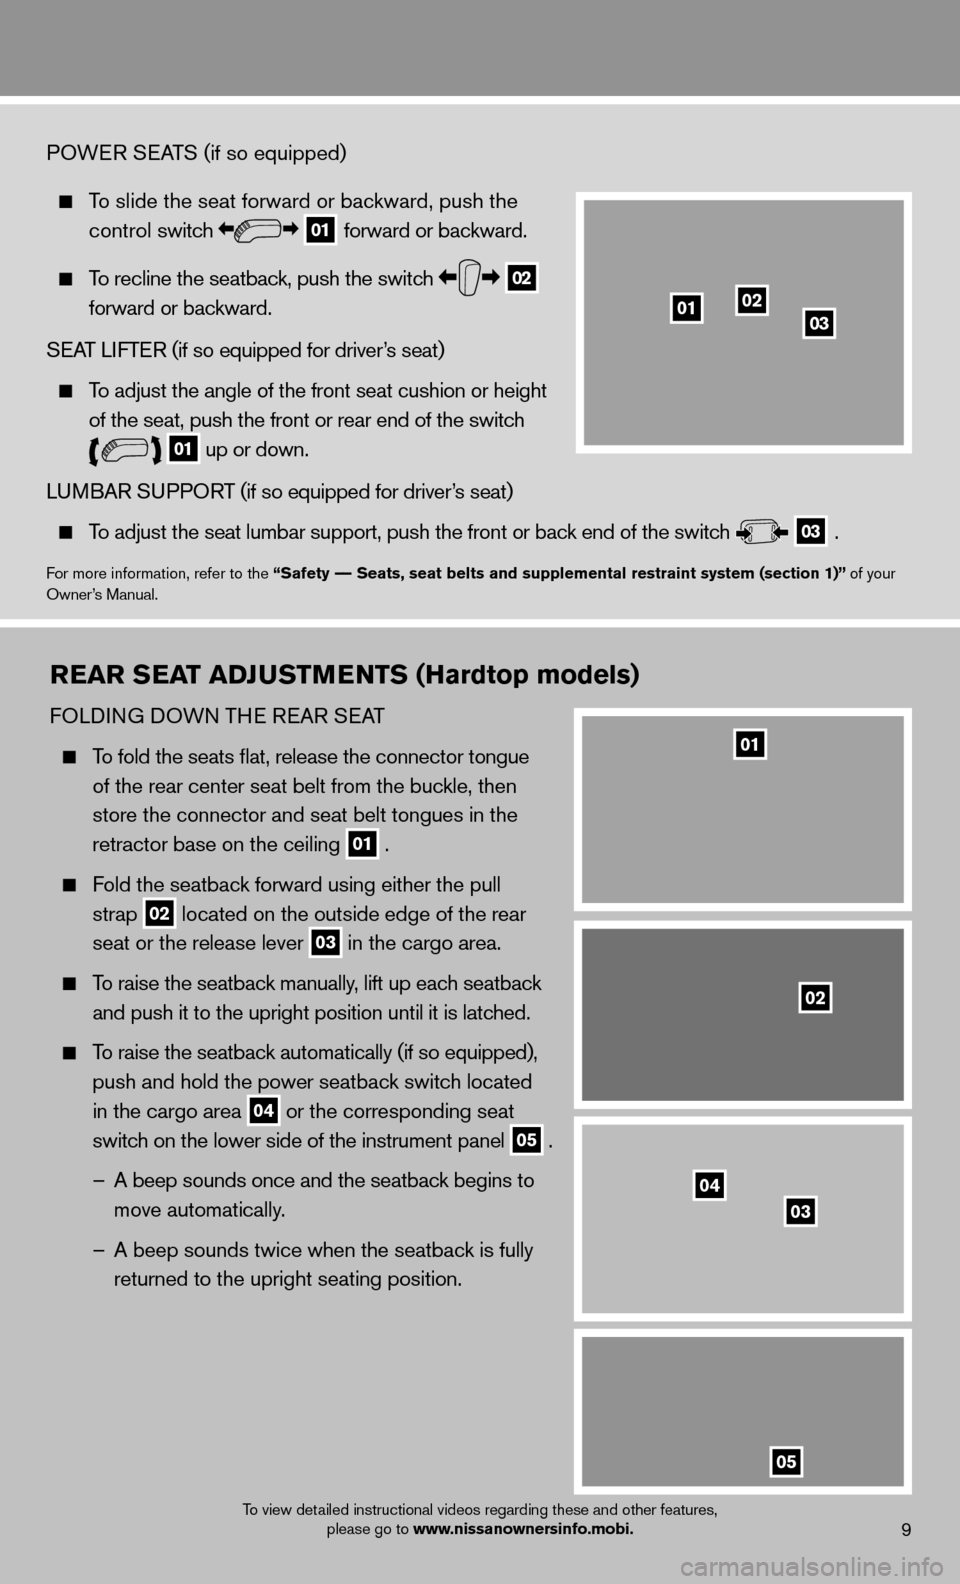
To slide the seat forward or backward, push the
control switch
01 forward or backward.
To recline the seatback, push the switch 02
forward or backward.
SEAT LIFTER (if so equipped for driver’s seat)
To adjust the angle of the front seat cushion or height
of the seat, push the front or rear end of the switch
01 up or down.
LUMBAR SUPPORT (if so equipped for driver’s seat)
To adjust the seat lumbar support, push the front or back end of the switch 03 .
For more information, refer to the “Safety –– Seats, seat belts and supplemental restraint system (section 1)” of your
Owner’s Manual.
010203
REAR SEAT ADJUSTMENTS (Hardtop models)
FOLDING DOWN THE REAR SEAT
To fold the seats fl at, release the connector tongue
of the rear center seat belt from the buckle, then
store the connector and seat belt tongues in the
retractor base on the ceiling
01 .
Fold the seatback forward using either the pull
strap
02 located on the outside edge of the rear
seat or the release lever 03 in the cargo area.
To raise the seatback manually, lift up each seatback
and push it to the upright position until it is latched.
To raise the seatback automatically (if so equipped),
push and hold the power seatback switch located
in the cargo area
04 or the corresponding seat
switch on the lower side of the instrument panel 05 .
– A beep sounds once and the seatback begins to
move automatically.
– A beep sounds twice when the seatback is fully
returned to the upright seating position.
04
02
01
03
05
To view detailed instructional videos regarding these and other features, please go to www.nissanownersinfo.mobi.
Page 18 of 28

03
0506
02
01
FM/AM/SiriusXM* SATELLITE RADIO WITH CD/DVD PLAYER
(if so equipped)
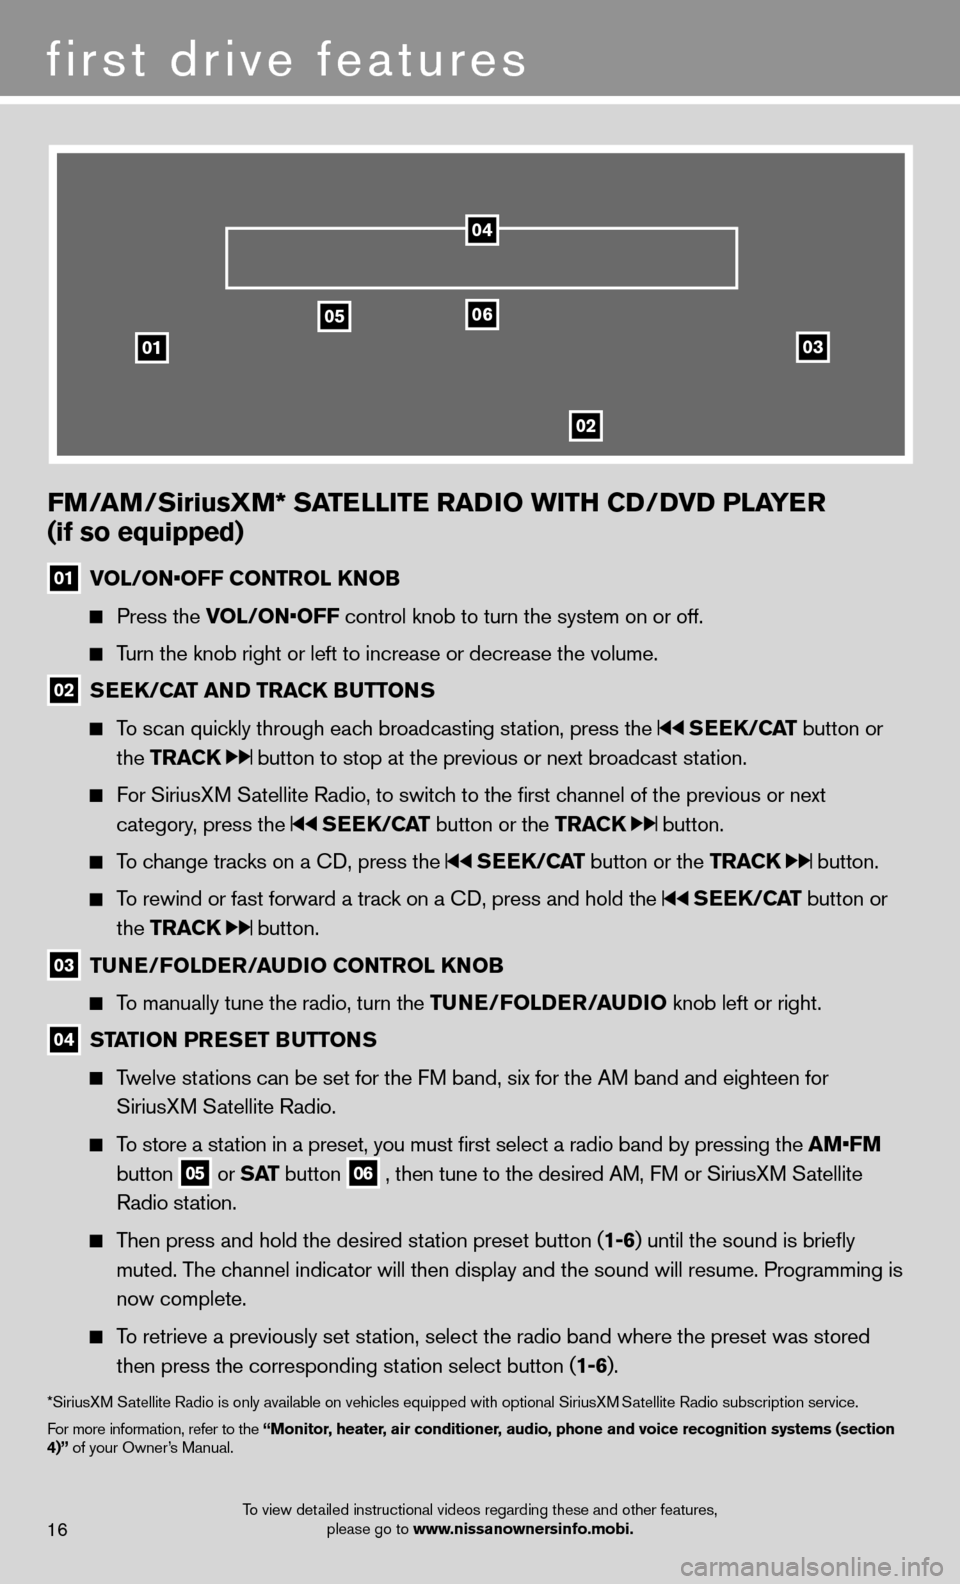
01 VOL/ON•OFF CONTROL KNOB
Press the VOL/ON•OFF control knob to turn the system on or off.
Turn the knob right or left to increase or decrease the volume.
02 SEEK/CAT AND TRACK BUTTONS
To scan quickly through each broadcasting station, press the SEEK/CAT button or
the TRACK
button to stop at the previous or next broadcast station.
For SiriusXM Satellite Radio, to switch to the fi rst channel of the previous or next
category, press the
SEEK/CAT button or the TRACK button.
To change tracks on a CD, press the SEEK/CAT button or the TRACK button.
To rewind or fast forward a track on a CD, press and hold the SEEK/CAT button or
the TRACK
button.
03 TUNE/FOLDER/AUDIO
CONTROL KNOB
To manually tune the radio, turn the TUNE/FOLDER/AUDIO knob left or right.
04 STATION PRESET BUTTONS
Twelve stations can be set for the FM band, six for the AM band and eighteen for
SiriusXM Satellite Radio.
To store a station in a preset, you must fi rst select a radio band by pressing the AM•FM
button
05 or SAT button
06 , then tune to the desired AM, FM or SiriusXM Satellite
Radio station.
Then press and hold the desired station preset button ( 1-6) until the sound is briefl y
muted. The channel indicator will then display and the sound will resume. Programmin\
g is
now complete.
To retrieve a previously set station, select the radio band where the preset was stored
then press the corresponding station select button ( 1-6).
*SiriusXM Satellite Radio is only available on vehicles equipped with optional Siri\
usXM Satellite Radio subscription service.
For more information, refer to the “Monitor, heater, air conditioner, audio, phone and voice recognition systems (section
4)” of your Owner’s Manual.
04
first drive features
16To view detailed instructional videos regarding these and other features, please go to www.nissanownersinfo.mobi.
Page 21 of 28

19
BLUETOOTH® HANDS-FREE PHONE SYSTEM (if so equipped)
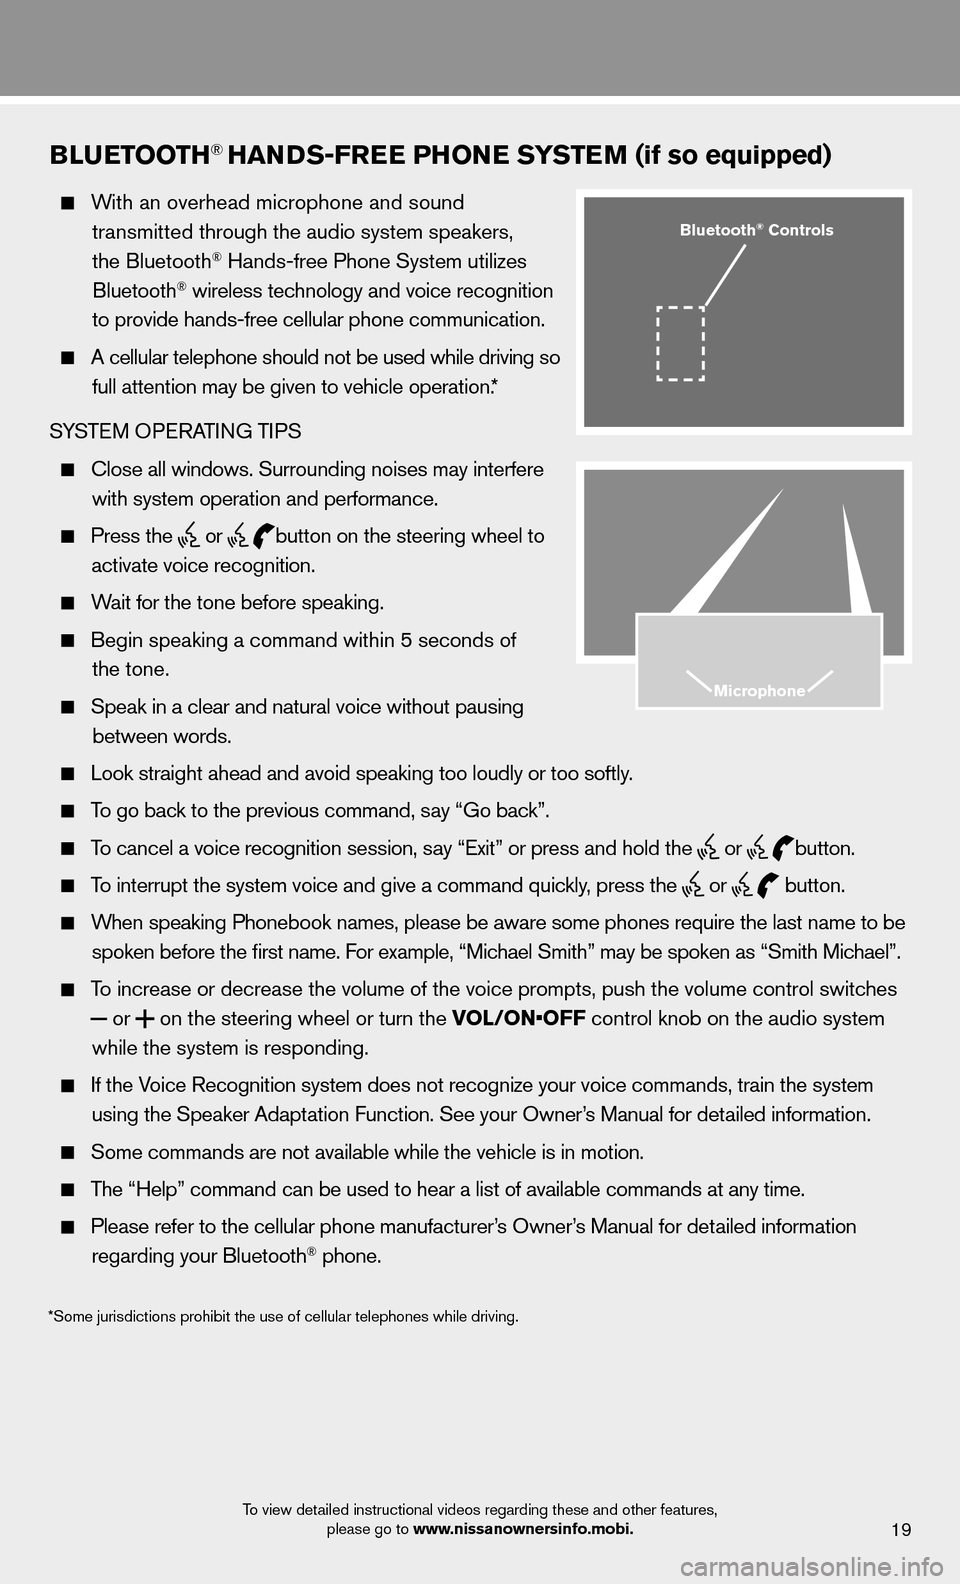
With an overhead microphone and sound
transmitted through the audio system speakers,
the Bluetooth
® Hands-free Phone System utilizes
Bluetooth® wireless technology and voice recognition
to provide hands-free cellular phone communication.
A cellular telephone should not be used while driving so
full attention may be given to vehicle operation.*
SYSTEM OPERATING TIPS
Close all windows. Surrounding noises may interfere
with system operation and performance.
Press the
or
button on the steering wheel to
activate voice recognition.
Wait for the tone before speaking.
Begin speaking a command within 5 seconds of
the tone.
Speak in a clear and natural voice without pausing
between words.
Look straight ahead and avoid speaking too loudly or too softly.
To go back to the previous command, say “Go back”.
To cancel a voice recognition session, say “Exit” or press and hold the
or
button.
To interrupt the system voice and give a command quickly, press the
or
button.
When speaking Phonebook names, please be aware some phones require the la\
st name to be
spoken before the fi rst name. For example, “Michael Smith” may be spoken as “Smith Michael”.
To increase or decrease the volume of the voice prompts, push the volume \
control switches
or
on the steering wheel or turn the VOL/ON•OFF control knob on the audio system
while the system is responding.
If the Voice Recognition system does not recognize your voice commands, train th\
e system
using the Speaker Adaptation Function. See your Owner’s Manual for detailed information.
Some commands are not available while the vehicle is in motion.
The “Help” command can be used to hear a list of available commands\
at any time.
Please refer to the cellular phone manufacturer’s Owner’s Manual for detailed information
regarding your Bluetooth® phone.
Bluetooth® Controls
Microphone
*Some jurisdictions prohibit the use of cellular telephones while drivin\
g.
To view detailed instructional videos regarding these and other features, please go to www.nissanownersinfo.mobi.