Page 4 of 602
Overview
Drive mode-selector (if so equipped)
P. 3 - 8 4Center vents P.5-2
Gearshift or selector lever P.3-71, 3-75 12V power outlet P.3-238 Glove compartment P.3-247
Fuel tank filler door
release lever P.1-4 Rear window defogger switch P.3-203Side vents P.5-2
Engine hood release lever
P.7-4 Hazard warning flasher switch P.3-193
Mitsubishi Multi-Communication System
(if so equipped)
Audio (if so equipped) P.5-46
Clock (if so equipped) P.5-103
Air conditioning P.5-6, 5-16, 5-25, 5-35 Key slot (if so equipped) P.3-28
Cup holder P.3-251
Fuses P.7-39
Multi-information meter switch
P.3-131
Parking brake lever P.7-33
BK0150700US.book 2 ページ 2012年3月22日 木曜日 午後6時46分
Page 22 of 602
General information1-5
1
3. Open the fuel tank filler pipe by slowly turning the fueltank filler cap counterclockwise. 4. While filling with fuel, hang the fuel cap cord on the hook
located on the inside of the fuel tank filler door.1- Remove
2- Close
WARNING
!� Since the fuel system may be under pressure,
remove the fuel tank filler cap slowly. This relieves
any pressure or vacuum that might have built up in
the fuel tank. If the cap is venting vapor or if you
hear a hissing sound, wait until the sound stops
before removing the cap. Otherwise, fuel may spray
out, injuring you or others.
BK0150700US.book 5 ページ 2012年3月22日 木曜日 午後6時46分
Page 23 of 602

1-6 General information
1
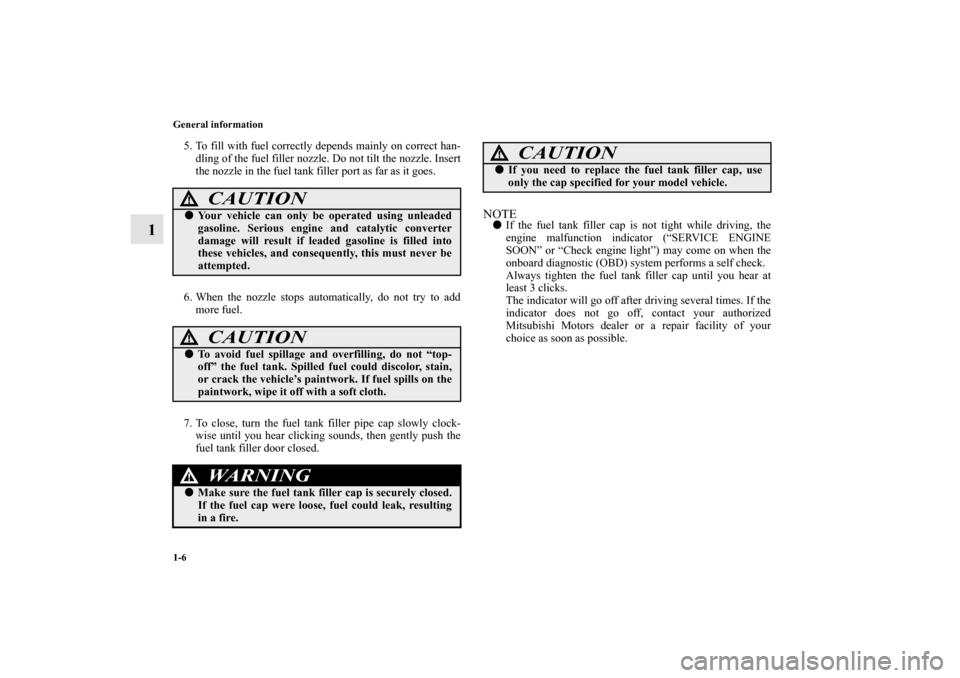
5. To fill with fuel correctly depends mainly on correct han-dling of the fuel filler nozzle. Do not tilt the nozzle. Insert
the nozzle in the fuel tank filler port as far as it goes.
6. When the nozzle stops automatically, do not try to add more fuel.
7. To close, turn the fuel tank filler pipe cap slowly clock- wise until you hear clicking sounds, then gently push the
fuel tank filler door closed.
NOTE� If the fuel tank filler cap is not tight while driving, the
engine malfunction indicator (“SERVICE ENGINE
SOON” or “Check engine light”) may come on when the
onboard diagnostic (OBD) system performs a self check.
Always tighten the fuel tank filler cap until you hear at
least 3 clicks.
The indicator will go off after driving several times. If the
indicator does not go off, contact your authorized
Mitsubishi Motors dealer or a repair facility of your
choice as soon as possible.
CAUTION
!�Your vehicle can only be operated using unleaded
gasoline. Serious engine and catalytic converter
damage will result if leaded gasoline is filled into
these vehicles, and consequently, this must never be
attempted.
CAUTION
!�To avoid fuel spillage and overfilling, do not “top-
off” the fuel tank. Spilled fuel could discolor, stain,
or crack the vehicle’s paintwork. If fuel spills on the
paintwork, wipe it off with a soft cloth.
WARNING
!�Make sure the fuel tank filler cap is securely closed.
If the fuel cap were loose, fuel could leak, resulting
in a fire.
CAUTION
!� If you need to replace the fuel tank filler cap, use
only the cap specified for your model vehicle.
BK0150700US.book 6 ページ 2012年3月22日 木曜日 午後6時46分
Page 275 of 602

3-178 Features and controls
3
Engine malfunction indicator (“SERVICE
ENGINE SOON” or “Check engine light”)
N00520500804
This indicator is a part of the onboard diagnostic (OBD) sys-
tem which monitors the emissions, engine control system or
continuously variable transmission (CVT) control system. If a
problem is detected in one of these systems, this indicator illu-
minates or flashes. When the ignition switch is turned to the
“ON” position or the operation mode is put in ON, this indica-
tor normally comes on and goes off after the engine has started.
This indicator will come on if the fuel tank filler cap is not
properly tightened. If this indicator comes on and stays on after
refueling, stop the engine and check that the cap is properly
tightened. (Turn the cap clockwise until you hear clicking
sounds.)
If this indicator does not go off after several seconds or lights
up while driving, have the system checked as soon as possible
at an authorized Mitsubishi Motors dealer or a repair facility of
your choice.
CAUTION
!�If the brake warning light and the Anti-lock braking
system warning light are illuminated at the same
time, the braking force distribution function will not
operate, so the vehicle may be destabilized during
sudden braking under the following conditions.
• When the brake warning light does not go out even
when the parking brake is released.
• When the brake warning light stays on while driv-
ing.
• If the above occurs, avoid sudden braking and high-speed driving. Park the vehicle in a safe
place, and contact an authorized Mitsubishi
Motors dealer or a repair facility of your choice as
soon as possible.
� The vehicle should be brought to a halt in the follow-
ing manner when brake performance is deterio-
rated.
• Confirm that the vehicle slows down when you
press down on the brake pedal harder than usual.
In some cases, the brake pedal may go all the way
to the floor.
• Should the brakes fail, use engine braking to reduce your speed and slowly apply the parking
brake.
Depress the brake pedal to illuminate the stop
lights to alert the vehicles behind you.
CAUTION
!� Driving for a long time with the engine malfunction
indicator on may cause more damage to the emission
control system. This could also affect fuel economy
and drivability.�If this indicator does not come on when the ignition
switch is turned to the “ON” position or the opera-
tion mode is put in ON, have the system checked at
an authorized Mitsubishi Motors dealer or a repair
facility of your choice.
BK0150700US.book 178 ページ 2012年3月22日 木曜日 午後6時46分
Page 370 of 602

5
Comfort controls
Vents. . . . . . . . . . . . . . . . . . . . . . . . . . . . . . . . . . . .5- 2
Manual air conditioning-Type 1 (if so equipped) . . . . . . . . . . . . . . . . . . . . . . . . . .5- 6
Manual air conditioning-Type 2 (if so equipped) . . . . . . . . . . . . . . . . . . . . . . . . . .5- 16
Automatic air conditioning-Type1 (if so equipped) . . . . . . . . . . . . . . . . . . . . . . . . . .5- 25
Automatic air conditioning-Type2 (if so equipped) . . . . . . . . . . . . . . . . . . . . . . . . . .5- 35
Important air conditioning operating tips . . . . . . .5- 45
Air purifier . . . . . . . . . . . . . . . . . . . . . . . . . . . . . . .5- 46
Audio system (if so equipped) . . . . . . . . . . . . . . . .5- 46
To play tracks from USB device (if so equipped) . . . . . . . . . . . . . . . . . . . . . . . . . .5- 73
To play tracks from a Bluetooth® device (vehicles with Bluetooth® 2.0 interface) . . . . . .5- 88
To use the external audio input function (if so equipped) . . . . . . . . . . . . . . . . . . . . . . . . . .5- 91
Steering wheel audio remote control switch (if so equipped) . . . . . . . . . . . . . . . . . . . . . . . . . .5- 92
Error codes . . . . . . . . . . . . . . . . . . . . . . . . . . . . . . .5- 95 Error codes (SIRIUS Satellite Radio)
(if so equipped) . . . . . . . . . . . . . . . . . . . . . . . . . 5- 96
Error codes (iPod) . . . . . . . . . . . . . . . . . . . . . . . . . 5- 98
Error codes (USB memory device) . . . . . . . . . . . . 5- 99
Handling of compact discs . . . . . . . . . . . . . . . . . . 5- 100
Antenna . . . . . . . . . . . . . . . . . . . . . . . . . . . . . . . . . 5- 102
Clock (if so equipped) . . . . . . . . . . . . . . . . . . . . . . 5- 103
General information about your radio . . . . . . . . . . 5- 104
BK0150700US.book 1 ページ 2012年3月22日 木曜日 午後6時46分
Page 375 of 602
5-6 Comfort controls
5Manual air conditioning-Type 1
(if so equipped)
N00730300331
Control panel
N00730500258
Blower speed selection dial
N00736500175
When the ignition switch or the operation mode is in ON,
select the blower speed by turning the blower speed selection
dial.
Turning the dial clockwise will increase the blower speed;
turning the dial counterclockwise will decrease it. When the
dial is set to the “OFF” position, all fan-driven airflow will
stop.
A- Temperature control dial
B- Air selection switch
C- Blower speed selection dial
D- Air conditioning switch
E- Mode selection dialF- Electric rear window defogger switch → P.3-203
BK0150700US.book 6 ページ 2012年3月22日 木曜日 午後6時46分
Page 376 of 602
Comfort controls5-7
5
Temperature control dial
N00736600222
Turn the temperature control dial clockwise to make the air
warmer. Turn it counterclockwise to make the air cooler.NOTE�While the engine coolant temperature is low, the tempera-
ture of the air from the heater will be cool/cold until the
engine warms up, even if you have selected warm air with
the dial.
� For instructions on how to use the “MAX A/C” position
(A), refer to “For quick cooling” on page5-12.
Mode selection dial
N00736700151
To change the amount of air flowing from the vents, turn the
mode selection dial. Refer to “Changing the mode selection”
on page 5-3.
BK0150700US.book 7 ページ 2012年3月22日 木曜日 午後6時46分
Page 380 of 602
Comfort controls5-11
5
Operating the air conditioning system
N00731100222
HeatingSet the mode selection dial to the “ ” position and set the air
selection switch (A) to the outside air position.
Turn the temperature control dial clockwise or counterclock-
wise to the desired temperature. Select the best speed to fit
your needs.
NOTE�For quick heating, set the blower speed selection dial to
the position shown in the illustration.
BK0150700US.book 11 ページ 2012年3月22日 木曜日 午後6時46分