2013 MITSUBISHI iMiEV lock
[x] Cancel search: lockPage 126 of 258

1. Place the lever (A) to the same side as the mir-
ror you wish to adjust. L- Left outside mirror adjustment
R- Right outside mirror adjustment
2. Press
the switch (B) to the left, right, up or
down to adjust the mirror position. 1- Up
2- Down
3- Right
4- Left
3. Return the lever (A) back to the middle posi- tion (•).
Retracting and extending the outside
mirrors E00601100669
The outside mirror can be folded in towards the
side
window to prevent damage when parking in
narrow areas. CAUTION
l
Do
not drive the vehicle with the mirror
folded in.
The lack of rearward visibility normally
provided by the mirror could lead to an
accident.
With the electric motor switch in the “ON” or
“ACC”
position, push the mirror retractor switch to
retract the mirrors.
Push it again to extend the mirrors to their original
positions.
After turning the electric motor switch to the
“LOCK” position, it is possible to retract and ex-
tend the mirrors using the mirror retractor switch
for about 30 seconds. CAUTION
l
It
is possible to retract and extend the mir-
rors by hand. After retracting a mirror us-
ing the mirror retractor switch, however,
you should extend it by using the switch
again, not by hand. If you extended the
mirror by hand after retracting it using
the switch, it would not properly lock in
position. As a result, it could move be-
cause of the wind or vibration while you
are driving, taking away your rearward
visibility.
NOTE l Be
careful not to get your hands trapped
while a mirror is moving.
l The mirrors can be retracted or extended
with the keyless entry system remote control
switch. Refer to “Keyless entry system” on
page 2-03.
l If you move a mirror by hand or it moves af-
ter hitting a person or object, you may not be
able to return it to its original position using
the mirror retractor switch. If this happens,
push the mirror retractor switch to place the
mirror in its retracted position and then push
the switch again to return the mirror to its orig-
inal position.
l When freezing has occurred and mirrors fail
to operate as intended, please refrain from re-
peated pushing of the retractor switch as this
action can result in burn-out of the mirror mo-
tor circuits. Starting and driving
5-06
5
OHAE13E1
Page 127 of 258

Heated mirror*
E00601200514
To
demist or defrost the outside rear-view mirrors,
press the rear window demister switch.
The indication lamp (A) will illuminate while the
demister is on.
The heater will be turned off automatically in about
20 minutes. NOTE
l Since
the demister requires a significant
amount of power, stop the demister as soon
as the window is demisted. Electric motor switch
E00629400013 LOCK
The
steering wheel is locked. The key can only be
inserted and removed in this position.
ACC
The ready indicator is not illuminated, but the au-
dio system and other electric devices can be operat-
ed.
ON
The electric motor unit is running, and all the vehi-
cle’s electrical devices can be operated.
START
The electric motor unit operates. After the electric
motor unit has started, release the key and it will au-
tomatically return to the “ON” position. NOTE
l Your
vehicle is equipped with an electronic
immobilizer.
To start the electric motor unit, the ID code
which the transponder inside the key sends
must match the one registered in the immobil-
izer computer. Refer to “Electronic immobil-
izer (Anti-theft starting system)” on page
2-02.
To remove the key E00629500014
1. Set
the selector lever to the “P” (PARK) po-
sition.
2. Turn the key to the “LOCK” position and re- move it. Starting and driving
5-07 5
OHAE13E1
Page 128 of 258

CAUTION
l
If the ready indicator goes out while driv-
ing, the brake servomechanism will cease
to function and braking efficiency will de-
teriorate. Also, the power steering system
may not operate, the steering wheel feels
heavy when turning it.
l When the ready indicator has turned off,
turn the electric motor switch to the
“LOCK” position.
Leaving the electric motor switch in the
“ON” or “ACC” position and using elec-
trical devices such as the audio system for
a long time could cause the auxiliary bat-
tery to go flat and prevent the electric mo-
tor unit from being started. Steering wheel lock
E00601500692
To lock
Remove the key at the “LOCK” position.
Turn the steering wheel until it is locked.
To unlock
Turn
the key to the “ACC” position while moving
the steering wheel slightly right and left. CAUTION
l
Remove the key when leaving the vehicle.
In some countries, it is prohibited to leave
the key in the vehicle when parked. Starting the electric motor unit
E00629300012 CAUTION
l
Never
attempt to start the electric motor
unit by pushing or pulling the vehicle.
The starting procedure is as follows: 1. Insert
the key in the electric motor switch
and fasten the seat belt.
2. Make sure the parking brake is applied.
3. Depress and hold the brake pedal.
4. Make sure the selector lever is in the “P” (PARK) position. NOTE
l The
electric motor unit will not start unless
the selector lever is in the “P” (PARK) posi-
tion. Starting and driving
5-08
5
OHAE13E1
Page 129 of 258

5. Press the brake pedal with your right foot.
Turn the electric motor switch fully, keep it
in the “START” position for one to two sec-
onds, and slowly return it to its original posi-
tion. When you hear the startup sound and
the ready indicator comes on, startup of the
electric motor unit is complete.
NOTE l If the ready indicator does not illuminate, re-
turn the electric motor switch to the “LOCK”
position once. After a while, turn it to the
“START” position to start the electric motor
unit.
l To prevent a careless start, your vehicle is
equipped with electric motor reminder. Refer
to “Electric motor reminder” on page 5-09.
Electric motor reminder E00630700029
If the driver’s door is opened while the key is in
the
“ON” position, the electric motor reminder buz-
zer sounds intermittently to remind the key is in the
electric motor switch.
Selector lever reminder E00630800017
If the driver’s door is opened while the selector lev-
er
is placed into the other positions from the “P”
(PARK) position while the electric motor switch is
on, the selector lever reminder buzzer sounds in the
interval shorter than electric motor reminder buzzer. Transmission
E00603200677
Selector lever operation E00603301037 While depressing the brake pedal,
move
the selector lever through the gate. Move the selector lever through the gate. WARNING
l Always
depress the brake pedal when
shifting the selector lever into the other
position from the “P” (PARK) or “N”
(NEUTRAL) position.
Never put your foot on the accelerator ped-
al while shifting the selector lever from
the “P” (PARK) or “N” (NEUTRAL) po-
sition.
NOTE l To
avoid erroneous operation, move the se-
lector lever firmly into each position and brief-
ly hold it there. Always check the position
shown by the selector lever position display
after moving the selector lever.
l If the brake pedal is not depressed and held,
the shift-lock device activates to prevent the
selector lever from being moved from the
“P” (PARK) position. Starting and driving
5-09 5
OHAE13E1
Page 130 of 258

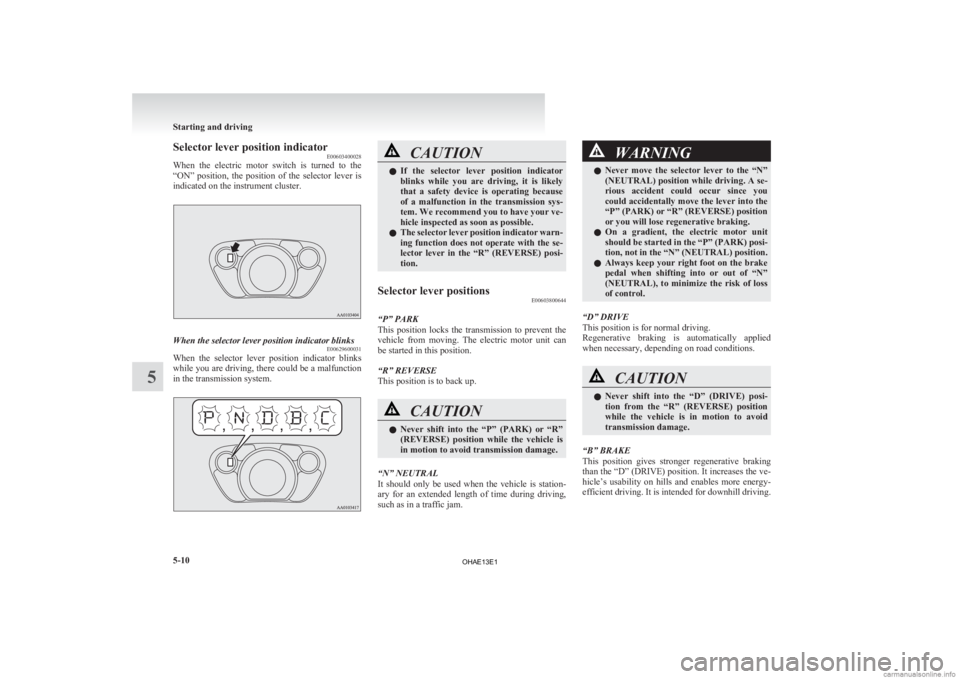
Selector lever position indicator
E00603400028
When
the electric motor switch is turned to the
“ON” position, the position of the selector lever is
indicated on the instrument cluster. When the selector lever position indicator blinks
E00629600031
When the selector lever position indicator blinks
while
you are driving, there could be a malfunction
in the transmission system. CAUTION
l
If
the selector lever position indicator
blinks while you are driving, it is likely
that a safety device is operating because
of a malfunction in the transmission sys-
tem. We recommend you to have your ve-
hicle inspected as soon as possible.
l The selector lever position indicator warn-
ing function does not operate with the se-
lector lever in the “R” (REVERSE) posi-
tion.
Selector lever positions E00603800644
“P” PARK
This
position locks the transmission to prevent the
vehicle from moving. The electric motor unit can
be started in this position.
“R” REVERSE
This position is to back up. CAUTION
l
Never
shift into the “P” (PARK) or “R”
(REVERSE) position while the vehicle is
in motion to avoid transmission damage.
“N” NEUTRAL
It
should only be used when the vehicle is station-
ary for an extended length of time during driving,
such as in a traffic jam. WARNING
l Never
move the selector lever to the “N”
(NEUTRAL) position while driving. A se-
rious accident could occur since you
could accidentally move the lever into the
“P” (PARK) or “R” (REVERSE) position
or you will lose regenerative braking.
l On a gradient, the electric motor unit
should be started in the “P” (PARK) posi-
tion, not in the “N” (NEUTRAL) position.
l Always keep your right foot on the brake
pedal when shifting into or out of “N”
(NEUTRAL), to minimize the risk of loss
of control.
“D” DRIVE
This position is for normal driving.
Regenerative
braking is automatically applied
when necessary, depending on road conditions. CAUTION
l
Never
shift into the “D” (DRIVE) posi-
tion from the “R” (REVERSE) position
while the vehicle is in motion to avoid
transmission damage.
“B” BRAKE
This
position gives stronger regenerative braking
than the “D” (DRIVE) position. It increases the ve-
hicle’s usability on hills and enables more energy-
efficient driving. It is intended for downhill driving. Starting and driving
5-10
5
OHAE13E1
Page 133 of 258

CAUTION
l
Always confirm the indication lamp (A)
goes off before driving.
If the indication lamp (A) blinks, turn the
electric motor switch back to the
“LOCK” position and again turn the
switch to the “ON” position. It is not ab-
normal if the indication lamp (A) goes
off. If the indication lamp (A) blinks
again, have the vehicle inspected by a
MITSUBISHI MOTORS Authorized
Service Point as soon as possible.
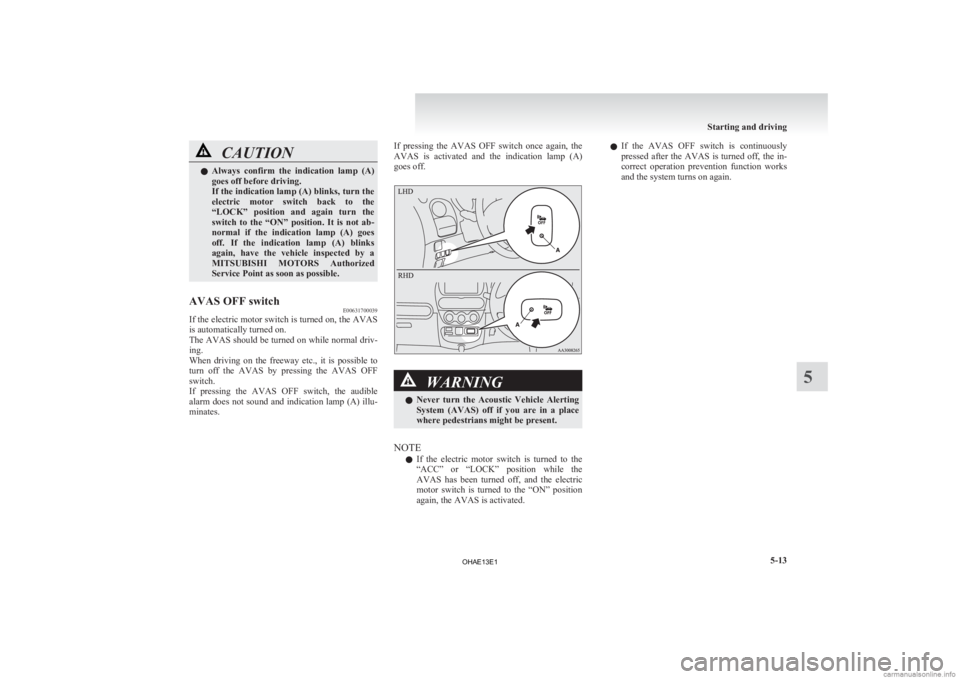
AVAS OFF switch E00631700039
If the electric motor switch is turned on, the AVAS
is automatically turned on.
The
AVAS should be turned on while normal driv-
ing.
When driving on the freeway etc., it is possible to
turn off the AVAS by pressing the AVAS OFF
switch.
If pressing the AVAS OFF switch, the audible
alarm does not sound and indication lamp (A) illu-
minates. If pressing the AVAS OFF switch once again, the
AVAS
is activated and the indication lamp (A)
goes off. WARNING
l Never
turn the Acoustic Vehicle Alerting
System (AVAS) off if you are in a place
where pedestrians might be present.
NOTE l If
the electric motor switch is turned to the
“ACC” or “LOCK” position while the
AVAS has been turned off, and the electric
motor switch is turned to the “ON” position
again, the AVAS is activated. l
If
the AVAS OFF switch is continuously
pressed after the AVAS is turned off, the in-
correct operation prevention function works
and the system turns on again. Starting and driving
5-13 5
OHAE13E1
Page 135 of 258

Brake assist system
E00627000174
The brake assist system is a device assisting drivers
who
cannot depress the brake pedal firmly when it
is necessary to do so (such as in emergency stop sit-
uations) and provides greater braking force.
If the brake pedal is depressed suddenly, the brakes
will be applied with more force than usual. CAUTION
l
The
brake assist system is not a device de-
signed to exercise braking force greater
than its capacity. Make sure to always
keep a sufficient distance between vehi-
cles in front of you without relying too
much on the brake assist system.
NOTE l Once
the brake assist system is operational,
it maintains great braking force even if the
brake pedal is lightly released.
To stop its operation, completely remove
your foot from the brake pedal.
l The brake assist system may become opera-
tional when the brake pedal is fully de-
pressed even if it has not been depressed sud-
denly. l
When
the brake assist system is in use, you
may feel as if the depressed brake pedal is
soft, the pedal moves in small motions in con-
junction with the sound of the ABS opera-
tion, or the vehicle body and the steering
wheel vibrate. This occurs when the brake as-
sist system is operating normally and does
not indicate faulty operation. Continue to
firmly depress the brake pedal.
l You may hear an operation noise when the
brake pedal is depressed suddenly while sta-
tionary. This does not indicate a malfunction
and the brake assist system is operating nor-
mally. Anti-lock brake system (ABS)
E00607101394
The
anti-lock brake system (ABS) helps prevent
the wheels from locking during braking. This helps
maintain vehicle drivability and steering wheel han-
dling.
Driving hints
l Always keep a safe distance from the vehicle
in front of you. Even if your vehicle is equip-
ped with ABS, leave a greater braking dis-
tance when:
• Driving on gravel or snow-covered roads.
• Driving with tyre chains installed.
• Driving on uneven road surfaces.
l Operation of ABS is not restricted to situa-
tions where brakes are applied suddenly.
This system may also prevent the wheels
from locking when you drive over manholes,
steel roadwork plates, road markings, or any
uneven road surface.
l When the ABS is activated, you may feel the
brake pedal pulsation and the vibrations of
the vehicle body and steering wheel. It may
also feel as if the pedal resists being pressed.
In this situation, simply hold the brake ped-
al down firmly. Do not pump the brake,
which will result in reduced braking per-
formance.
l An operation noise may be emitted from the
bonnet room in the following situations. The
sound is associated with checking the opera-
tions of the anti-lock brake system.
At this time, you may feel a shock from the
brake pedal if you depress it. These do not in-
dicate a malfunction.
• When the electric motor switch is turnedto the “ON” position. Starting and driving
5-15 5
OHAE13E1
Page 137 of 258

After driving on icy roads
E00618800176
After
driving on snowy or icy roads, remove any
snow and ice which may have be left around the
wheels. Be careful not to damage the wheel speed
sensors (A) or the cables located at each wheel.
Front
Rear Electric power steering system
(EPS) E00629200183
The
power steering system operates while the elec-
tric motor unit is running. It helps reduce the effort
needed to turn the steering wheel.
The power steering system has mechanical steering
capability in case the power assist is lost. If the pow-
er assist is lost for some reason, you will still be
able to steer your vehicle, but you will notice it
takes much more effort to steer. If this happens,
have your vehicle inspected at a MITSUBISHI
MOTORS Authorized Service Point. WARNING
l Do
not stop the electric motor unit while
the vehicle is moving. Stopping the elec-
tric motor unit would make the steering
wheel extremely hard to turn, possibly re-
sulting in an accident.
NOTE l During
repeated full-lock turning of the steer-
ing wheel (for example, while you are ma-
noeuvring the vehicle into a parking space),
a protection function may be activated to pre-
vent overheating of the power steering sys-
tem. This function will make the steering
wheel gradually harder to turn. In this event,
limit your turning of the steering wheel for a
while. When the system has cooled down,
the steering action will return to normal. l
If
you turn the steering wheel while the vehi-
cle is stationary with the headlamps on, the
headlamps may become dim. This behaviour
is not abnormal. The headlamps will return
to their original brightness after a short while.
Electric power steering system warn-
ing lamp
Type 1
Type 2 If there is a malfunction in the system, the warning
lamp will come on. Starting and driving
5-17 5
OHAE13E1