Page 17 of 275

AT A GLANCEOnboard computer
16
Onboard computer
Vehicle equipment
In this chapter, all production, country, and
optional equipment that is offered in the model
range is described. Equipment is also described
that is not available because of, for example,
selected options or coun try version. This also
applies to safety relate d functions and systems.
The concept
The onboard computer integrates the functions
of a large number of switches. This allows these
functions to be operated from a single central
position. The following section provides an
introduction to basic me nu navigation. The con-
trol of the individual fu nctions is described in
connection with the relevant equipment.
Make entries only when traffic and road
conditions permit; otherwise, you may
endanger vehicle occupants and other road
users by being distracted. <
Overview of operating
elements
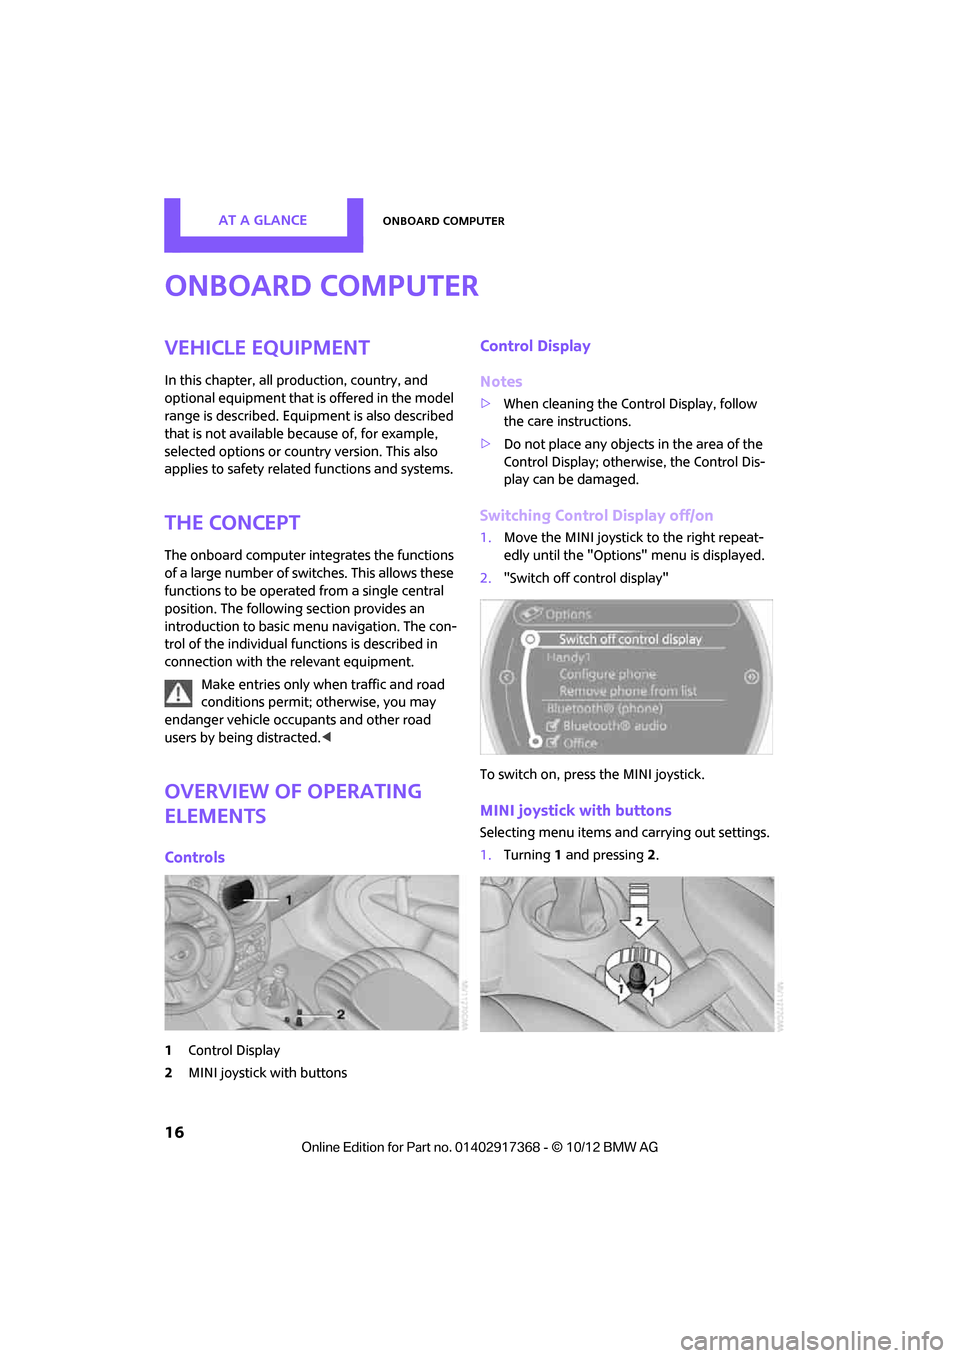
Controls
1Control Display
2 MINI joystick with buttons
Control Display
Notes
>When cleaning the Control Display, follow
the care instructions.
> Do not place any objects in the area of the
Control Display; otherwise, the Control Dis-
play can be damaged.
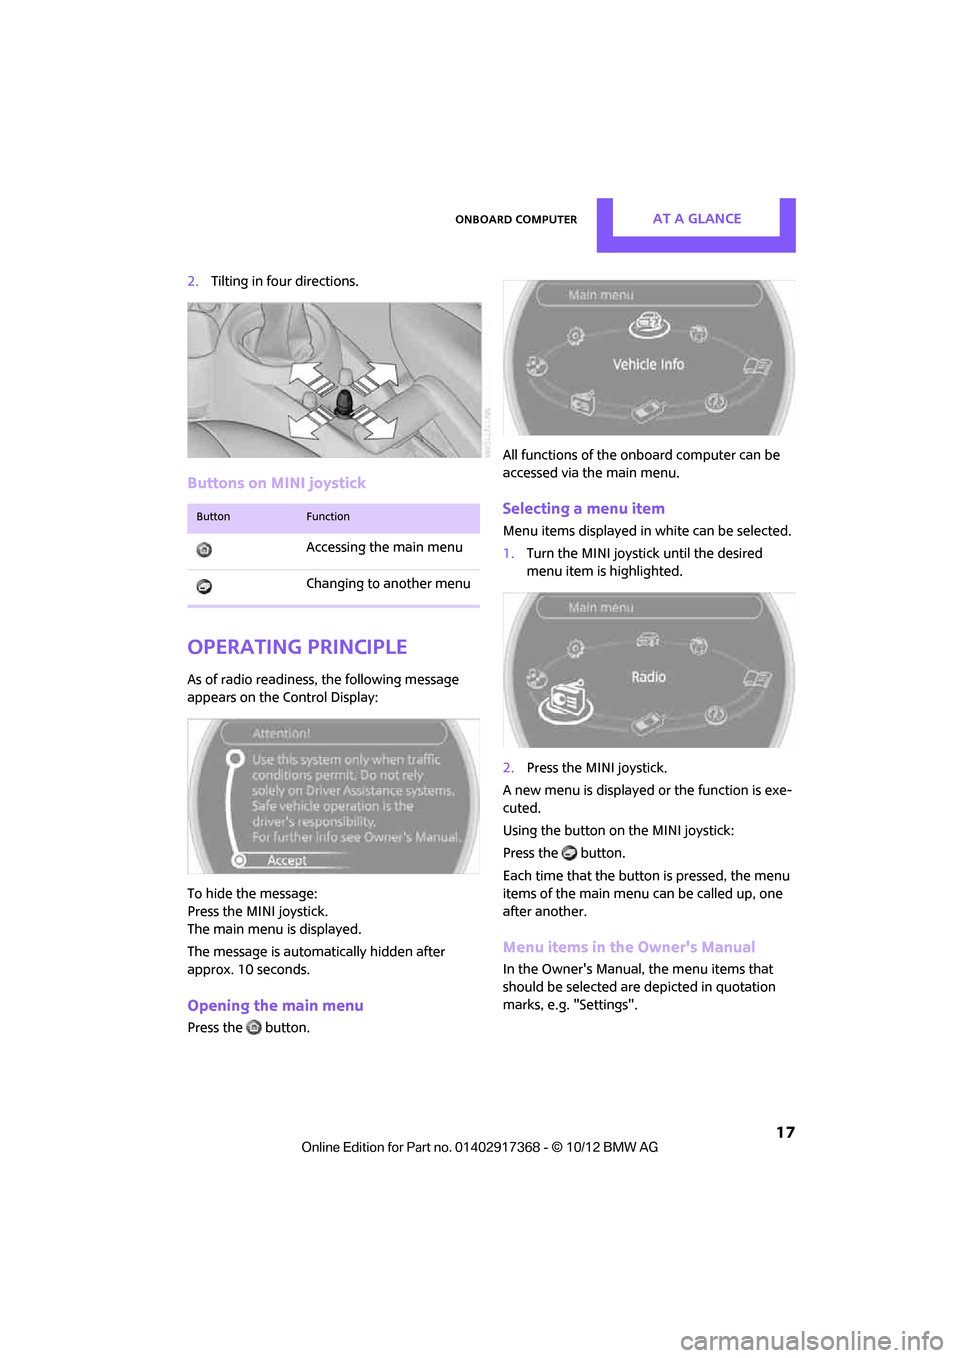
Switching Control Display off/on
1.Move the MINI joystick to the right repeat-
edly until the "Options" menu is displayed.
2. "Switch off control display"
To switch on, press the MINI joystick.
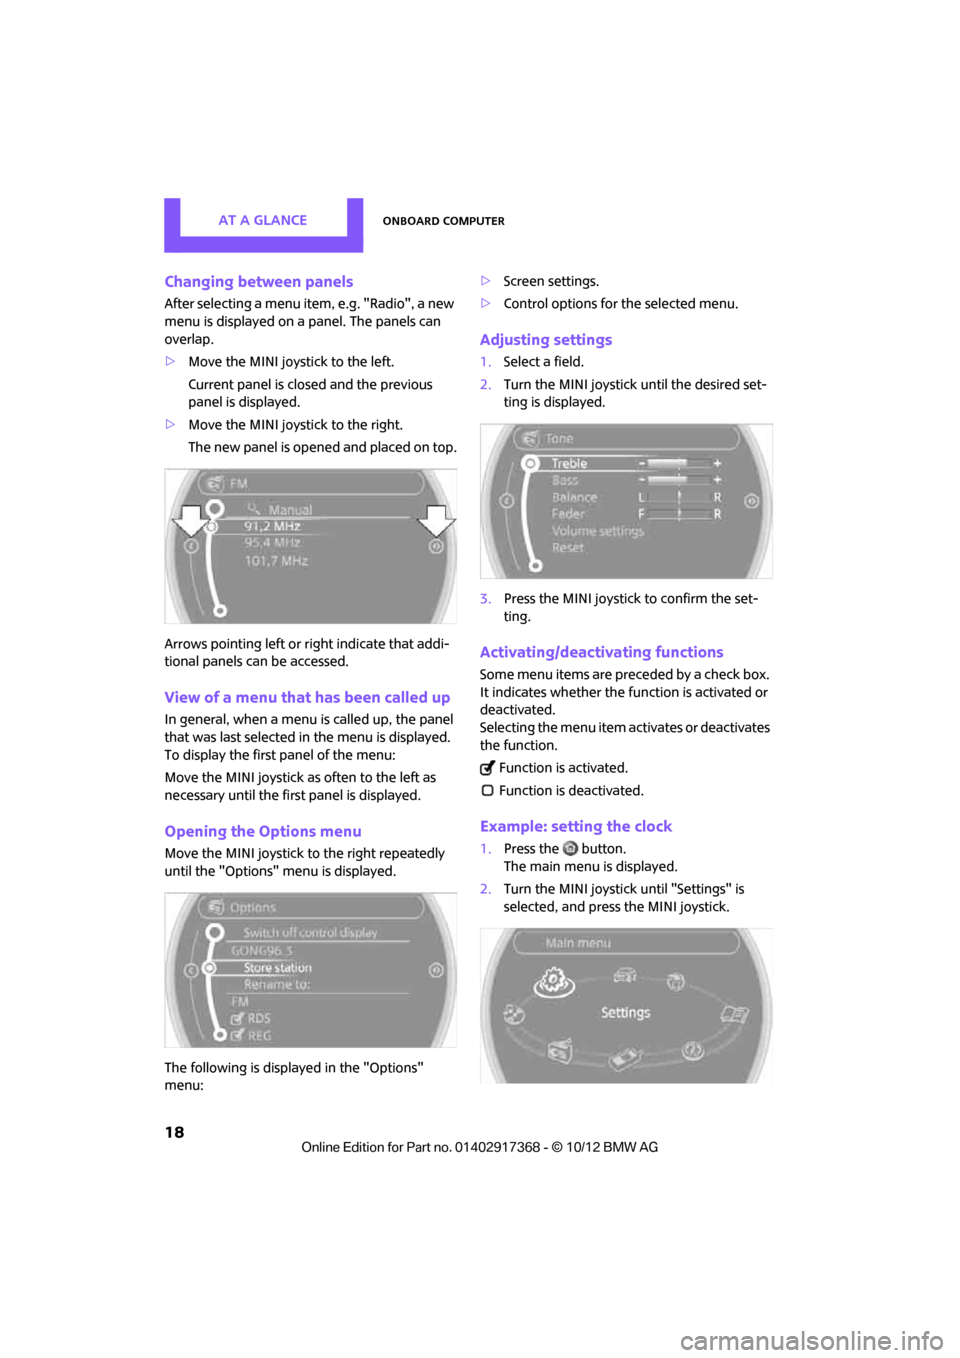
MINI joystick with buttons
Selecting menu items and carrying out settings.
1. Turning 1 and pressing 2.
00320051004F004C00510048000300280047004C0057004C005200510003
Page 18 of 275

Onboard computerAT A GLANCE
17
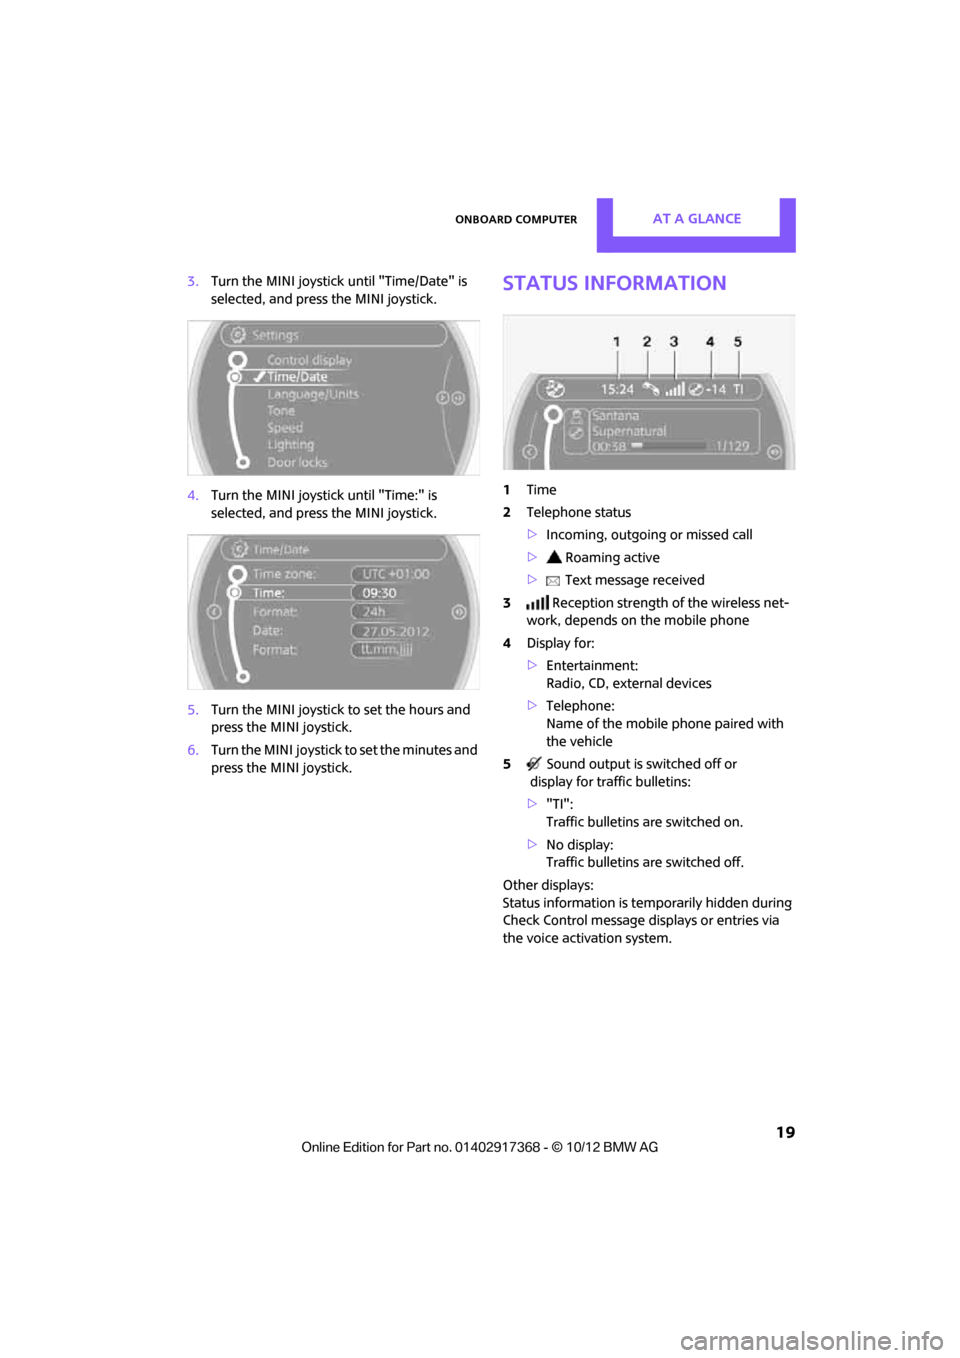
2.Tilting in four directions.
Buttons on MINI joystick
Operating principle
As of radio readiness, the following message
appears on the Control Display:
To hide the message:
Press the MINI joystick.
The main menu is displayed.
The message is automatically hidden after
approx. 10 seconds.
Opening the main menu
Press the button. All functions of the onboard computer can be
accessed via the main menu.
Selecting a menu item
Menu items displayed in
white can be selected.
1. Turn the MINI joystick until the desired
menu item is highlighted.
2. Press the MINI joystick.
A new menu is displayed or the function is exe-
cuted.
Using the button on the MINI joystick:
Press the button.
Each time that the button is pressed, the menu
items of the main menu can be called up, one
after another.
Menu items in the Owner's Manual
In the Owner's Manual, the menu items that
should be selected are depicted in quotation
marks, e.g. "Settings".
ButtonFunction
Accessing the main menu
Changing to another menu
00320051004F004C00510048000300280047004C0057004C005200510003
Page 19 of 275

AT A GLANCEOnboard computer
18
Changing between panels
After selecting a menu item, e.g. "Radio", a new
menu is displayed on a panel. The panels can
overlap.
>Move the MINI joystick to the left.
Current panel is closed and the previous
panel is displayed.
> Move the MINI joystick to the right.
The new panel is opened and placed on top.
Arrows pointing left or right indicate that addi-
tional panels can be accessed.
View of a menu that has been called up
In general, when a menu is called up, the panel
that was last selected in the menu is displayed.
To display the first panel of the menu:
Move the MINI joystick as often to the left as
necessary until the firs t panel is displayed.
Opening the Options menu
Move the MINI joystick to the right repeatedly
until the "Options" menu is displayed.
The following is displayed in the "Options"
menu: >
Screen settings.
> Control options for the selected menu.
Adjusting settings
1.Select a field.
2. Turn the MINI joystick until the desired set-
ting is displayed.
3. Press the MINI joystick to confirm the set-
ting.
Activating/deactivating functions
Some menu items are preceded by a check box.
It indicates whether the function is activated or
deactivated.
Selecting the menu item activates or deactivates
the function.
Function is activated.
Function is deactivated.
Example: setting the clock
1. Press the button.
The main menu is displayed.
2. Turn the MINI joystick until "Settings" is
selected, and press the MINI joystick.
00320051004F004C00510048000300280047004C0057004C005200510003
Page 20 of 275

Onboard computerAT A GLANCE
19
3.Turn the MINI joystick until "Time/Date" is
selected, and press the MINI joystick.
4. Turn the MINI joystick until "Time:" is
selected, and press the MINI joystick.
5. Turn the MINI joystick to set the hours and
press the MINI joystick.
6. Turn the MINI joystick to set the minutes and
press the MINI joystick.Status information
1Time
2 Telephone status
>Incoming, outgoing or missed call
> Roaming active
> Text message received
3 Reception strength of the wireless net-
work, depends on the mobile phone
4 Display for:
>Entertainment:
Radio, CD, external devices
> Telephone:
Name of the mobile phone paired with
the vehicle
5 Sound output is switched off or
display for traffic bulletins:
> "TI":
Traffic bulletins are switched on.
> No display:
Traffic bulletins are switched off.
Other displays:
Status information is te mporarily hidden during
Check Control message displays or entries via
the voice activation system.
00320051004F004C00510048000300280047004C0057004C005200510003
Page 21 of 275

AT A GLANCELetters and numbers
20
Letters and numbers
Vehicle equipment
In this chapter, all production, country, and
optional equipment that is offered in the model
range is described. Equipment is also described
that is not available because of, for example,
selected options or coun try version. This also
applies to safety relate d functions and systems.
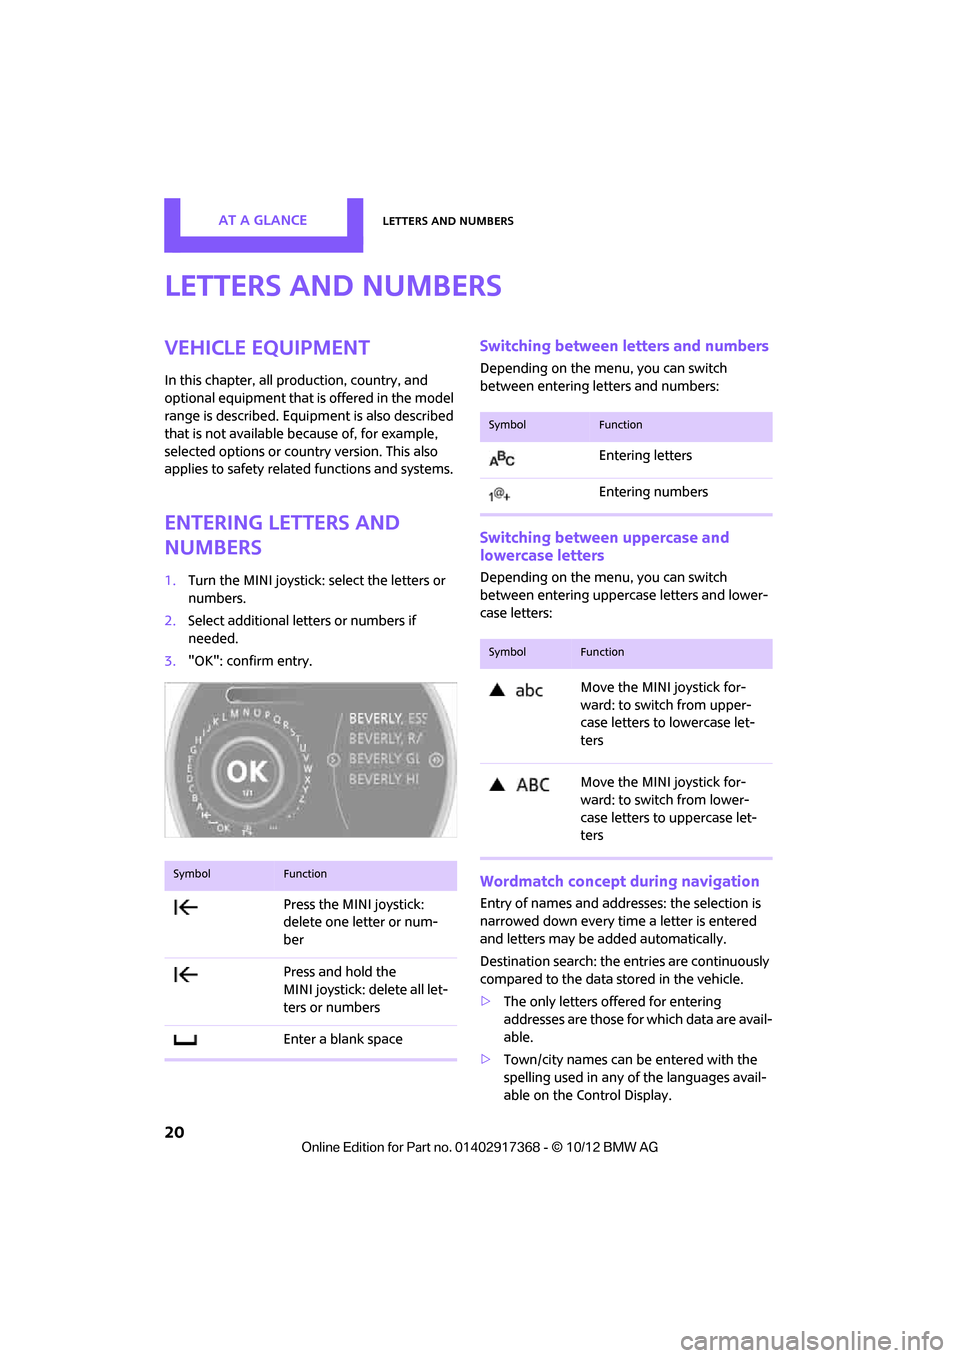
Entering letters and
numbers
1.Turn the MINI joystick: select the letters or
numbers.
2. Select additional letters or numbers if
needed.
3. "OK": confirm entry.
Switching between letters and numbers
Depending on the menu, you can switch
between entering letters and numbers:
Switching between uppercase and
lowercase letters
Depending on the menu, you can switch
between entering uppercase letters and lower-
case letters:
Wordmatch concept during navigation
Entry of names and addre sses: the selection is
narrowed down every time a letter is entered
and letters may be added automatically.
Destination search: the en tries are continuously
compared to the data stored in the vehicle.
> The only letters of fered for entering
addresses are those for which data are avail-
able.
> Town/city names can be entered with the
spelling used in any of the languages avail-
able on the Control Display.
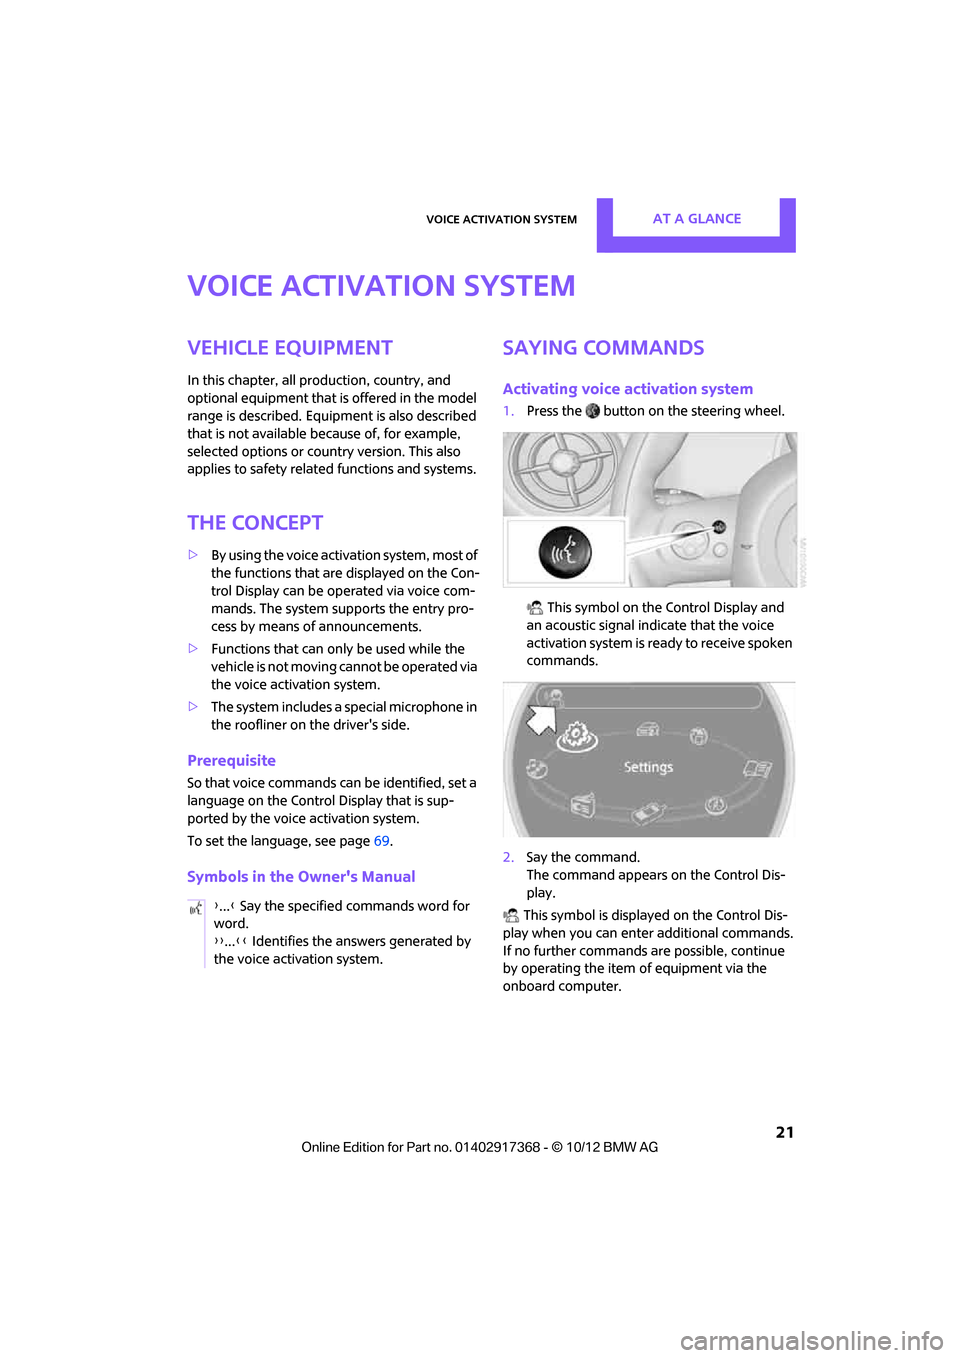
SymbolFunction
Press the MINI joystick:
delete one letter or num-
ber
Press and hold the
MINI joystick: delete all let-
ters or numbers
Enter a blank space
SymbolFunction
Entering letters
Entering numbers
SymbolFunction
Move the MINI joystick for-
ward: to switch from upper-
case letters to lowercase let-
ters
Move the MINI joystick for-
ward: to switch from lower-
case letters to uppercase let-
ters
00320051004F004C00510048000300280047004C0057004C005200510003
Page 22 of 275

Voice activation systemAT A GLANCE
21
Voice activation system
Vehicle equipment
In this chapter, all production, country, and
optional equipment that is offered in the model
range is described. Equipment is also described
that is not available because of, for example,
selected options or count ry version. This also
applies to safety related functions and systems.
The concept
> By using the voice activation system, most of
the functions that are displayed on the Con-
trol Display can be operated via voice com-
mands. The system supports the entry pro-
cess by means of announcements.
> Functions that can only be used while the
vehicle is not moving cannot be operated via
the voice activation system.
> The system includes a special microphone in
the roofliner on the driver's side.
Prerequisite
So that voice commands can be identified, set a
language on the Control Display that is sup-
ported by the voice activation system.
To set the language, see page 69.
Symbols in the Owner's Manual
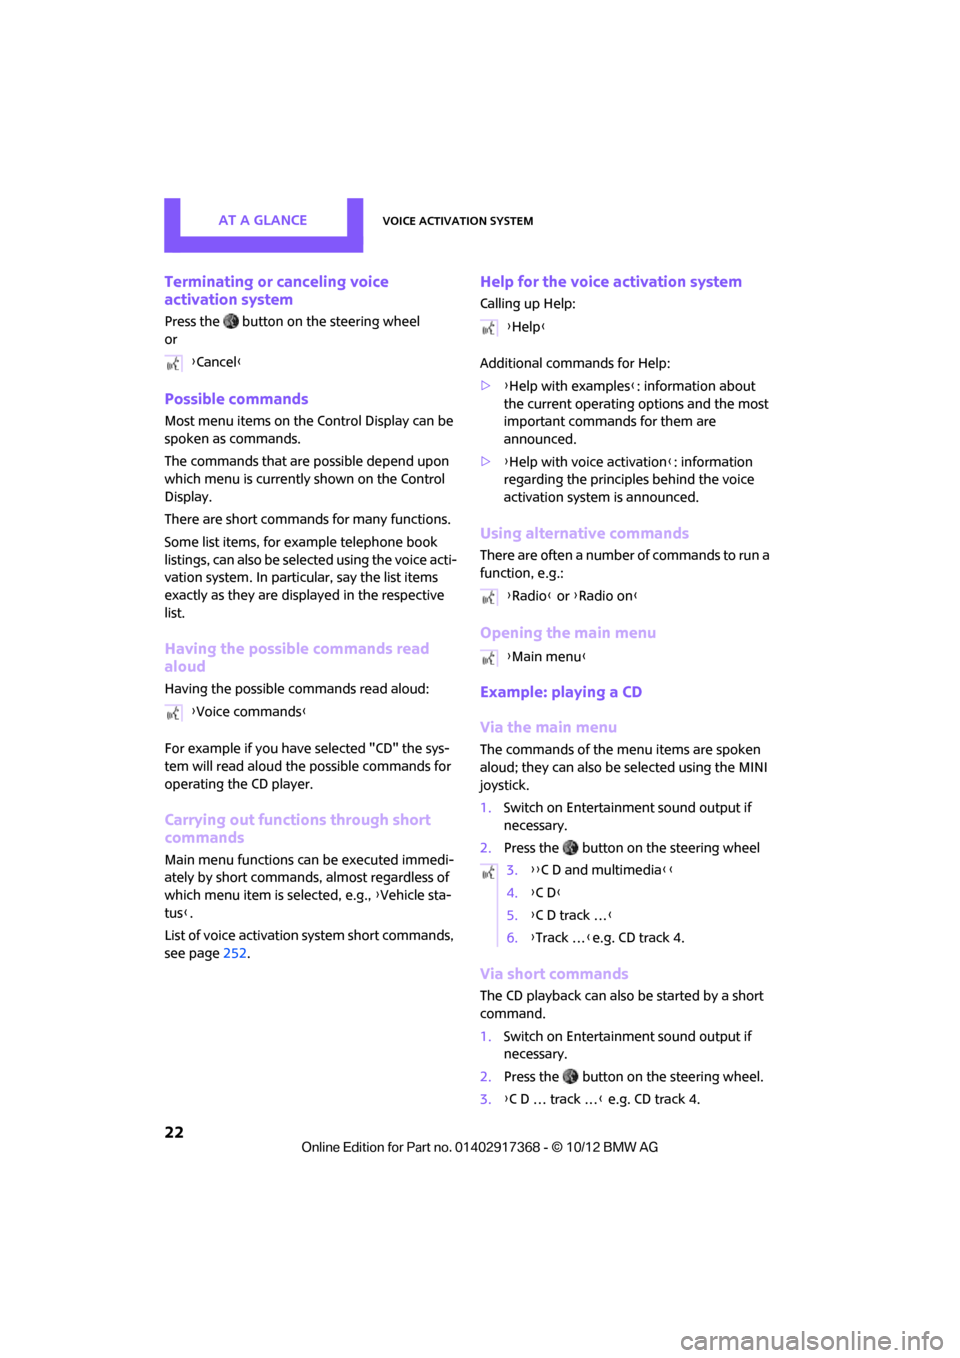
Saying commands
Activating voice activation system
1.Press the button on the steering wheel.
This symbol on the Control Display and
an acoustic signal indicate that the voice
activation system is ready to receive spoken
commands.
2. Say the command.
The command appears on the Control Dis-
play.
This symbol is displayed on the Control Dis-
play when you can ente r additional commands.
If no further commands are possible, continue
by operating the item of equipment via the
onboard computer.
{
...} Say the specified commands word for
word.
{{ ...}} Identifies the answers generated by
the voice activation system.
00320051004F004C00510048000300280047004C0057004C005200510003
Page 23 of 275

AT A GLANCEVoice activation system
22
Terminating or canceling voice
activation system
Press the button on the steering wheel
or
Possible commands
Most menu items on the Control Display can be
spoken as commands.
The commands that are possible depend upon
which menu is currently shown on the Control
Display.
There are short commands for many functions.
Some list items, for example telephone book
listings, can also be selected using the voice acti-
vation system. In particular, say the list items
exactly as they are displayed in the respective
list.
Having the possible commands read
aloud
Having the possible co mmands read aloud:
For example if you have selected "CD" the sys-
tem will read aloud the possible commands for
operating the CD player.
Carrying out functions through short
commands
Main menu functions can be executed immedi-
ately by short commands , almost regardless of
which menu item is selected, e.g., {Vehicle sta-
tus }.
List of voice activation system short commands,
see page 252.
Help for the voice activation system
Calling up Help:
Additional commands for Help:
>{Help with examples }: information about
the current operating options and the most
important commands for them are
announced.
> {Help with voice activation }: information
regarding the principles behind the voice
activation system is announced.
Using alternative commands
There are often a number of commands to run a
function, e.g.:
Opening the main menu
Example: playing a CD
Via the main menu
The commands of the menu items are spoken
aloud; they can also be selected using the MINI
joystick.
1. Switch on Entertainment sound output if
necessary.
2. Press the button on the steering wheel
Via short commands
The CD playback can also be started by a short
command.
1.Switch on Entertainment sound output if
necessary.
2. Press the button on the steering wheel.
3. {C D … track … } e.g. CD track 4.
{
Cancel}
{ Voice commands }
{Help }
{ Radio } or {Radio on }
{ Main menu }
3. {{C D and multimedia }}
4. {C D }
5. {C D track … }
6. {Track … }e.g. CD track 4.
00320051004F004C00510048000300280047004C0057004C005200510003
Page 24 of 275

Voice activation systemAT A GLANCE
23
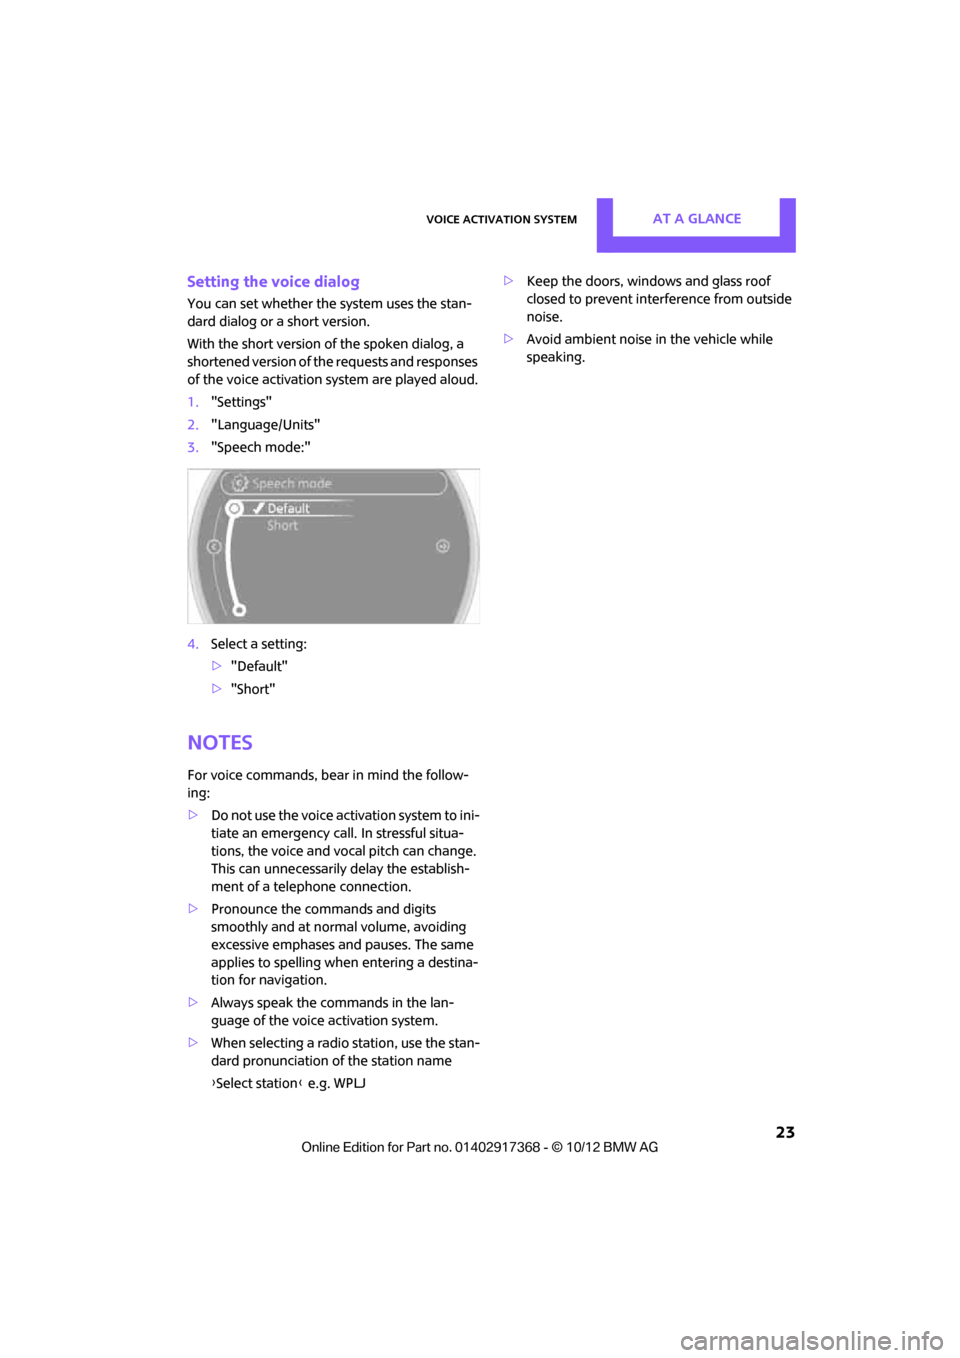
Setting the voice dialog
You can set whether the system uses the stan-
dard dialog or a short version.
With the short version of the spoken dialog, a
shortened version of the requests and responses
of the voice activation system are played aloud.
1. "Settings"
2. "Language/Units"
3. "Speech mode:"
4. Select a setting:
>"Default"
> "Short"
Notes
For voice commands, bear in mind the follow-
ing:
> Do not use the voice activation system to ini-
tiate an emergency call. In stressful situa-
tions, the voice and vocal pitch can change.
This can unnecessarily delay the establish-
ment of a telephone connection.
> Pronounce the commands and digits
smoothly and at norm al volume, avoiding
excessive emphases and pauses. The same
applies to spelling wh en entering a destina-
tion for navigation.
> Always speak the commands in the lan-
guage of the voice activation system.
> When selecting a radio station, use the stan-
dard pronunciation of the station name
{ Select station } e.g. WPLJ >
Keep the doors, windows and glass roof
closed to prevent interference from outside
noise.
> Avoid ambient noise in the vehicle while
speaking.
00320051004F004C00510048000300280047004C0057004C005200510003