2013 MERCEDES-BENZ CLA COUPE service
[x] Cancel search: servicePage 190 of 373
R
you depress the brake pedal again with a
certain amount of pressure until :disap-
pears from the multifunction display.
R you secure the vehicle using the electric
parking brake.
R you activate DISTRONIC PLUS.
i After a short period, the vehicle is secured
by the electric parking brake, thus relieving
the service brake.
The electric parking brake secures the vehicle
automatically if the HOLD function is activa-
ted and:
R the driver's door is open and the driver's
seat belt is unfastened
R the engine is switched off, unless it is auto-
matically switched off by the ECO start/
stop function
R a system fault occurs
R the power supply is not sufficient
Vehicles with automatic transmission
If a malfunction occurs, then the transmission may also be shifted into position Pautomat-
ically.
Vehicles with manual transmission
The Brake immediately Brake immediately message can also
appear in the multifunction display.
X Immediately depress the brake pedal firmly
until the warning message in the multifunc-
tion display goes out.
The HOLD function is deactivated.
A horn will sound at regular intervals if you
turn off the engine, take off your seat belt or
open the driver's door when the HOLD func-
tion is activated. The horn alerts you to the
fact that the HOLD function is still activated.
If you attempt to lock the vehicle, the tone
becomes louder. The vehicle cannot be
locked until you have deactivated the HOLD
function.
i Once you have switched off the engine,
you cannot restart it until you have deacti-
vated the HOLD function. RACE START
Important safety notes RACE START enables optimum acceleration
from a standing start. The precondition for
this is a suitable high-grip road surface.
Only activate RACE START on dedicated race
circuits.
i RACE START is only available in AMG vehi-
cles.
Activation conditions You can activate RACE START if:
R the doors, the bonnet and the boot lid are
closed
R the engine is running and the transmission,
traction control and engine are at operating temperature
R SPORT handling mode is activated
(Y page 70)
R the steering wheel is in the straight-ahead
position.
R the vehicle is stationary and the brake
pedal is depressed (left foot)
R the transmission is in position D
R drive program Mis selected (Y page 159).
Activating RACE START X
Depress the brake pedal with your left foot
and keep it depressed.
X Pull and hold both steering wheel gearshift
paddles.
X The RACE START Confirm: Paddle UP RACE START Confirm: Paddle UP
Cancel: Paddle DOWN
Cancel: Paddle DOWN message appears
in the multifunction display.
X Release both steering wheel gearshift pad-
dles.
i If the activation conditions are no longer
fulfilled, RACE START is cancelled. The
RACE START not possible See Own‐ RACE START not possible See Own‐
er's er's Manual
Manual message appears in the mul-
tifunction display. Driving syste
ms
187Driving an d parking Z
Page 225 of 373
You will see one of the following display mes-
sages in the multifunction display:
R Please
Please enter enterPIN
PIN: the mobile phone has
been placed in the mobile phone bracket
but the PIN has not been entered.
When you enter your PIN via the mobile
phone, LINGUATRONIC, the audio system
or COMAND Online, the mobile phone
searches for a network.
R Telephone ready Telephone ready or the name of the net-
work provider: the mobile phone has found a network and is ready to receive.
R Telephone No service
Telephone No service: there is no net-
work available or the mobile phone is
searching for a network.
i You can obtain further information about
suitable mobile phones and connecting
mobile phones via Bluetooth ®
:
R from any Mercedes-Benz Service Centre
R on the Internet at http://
www.mercedes-benz.com/connect
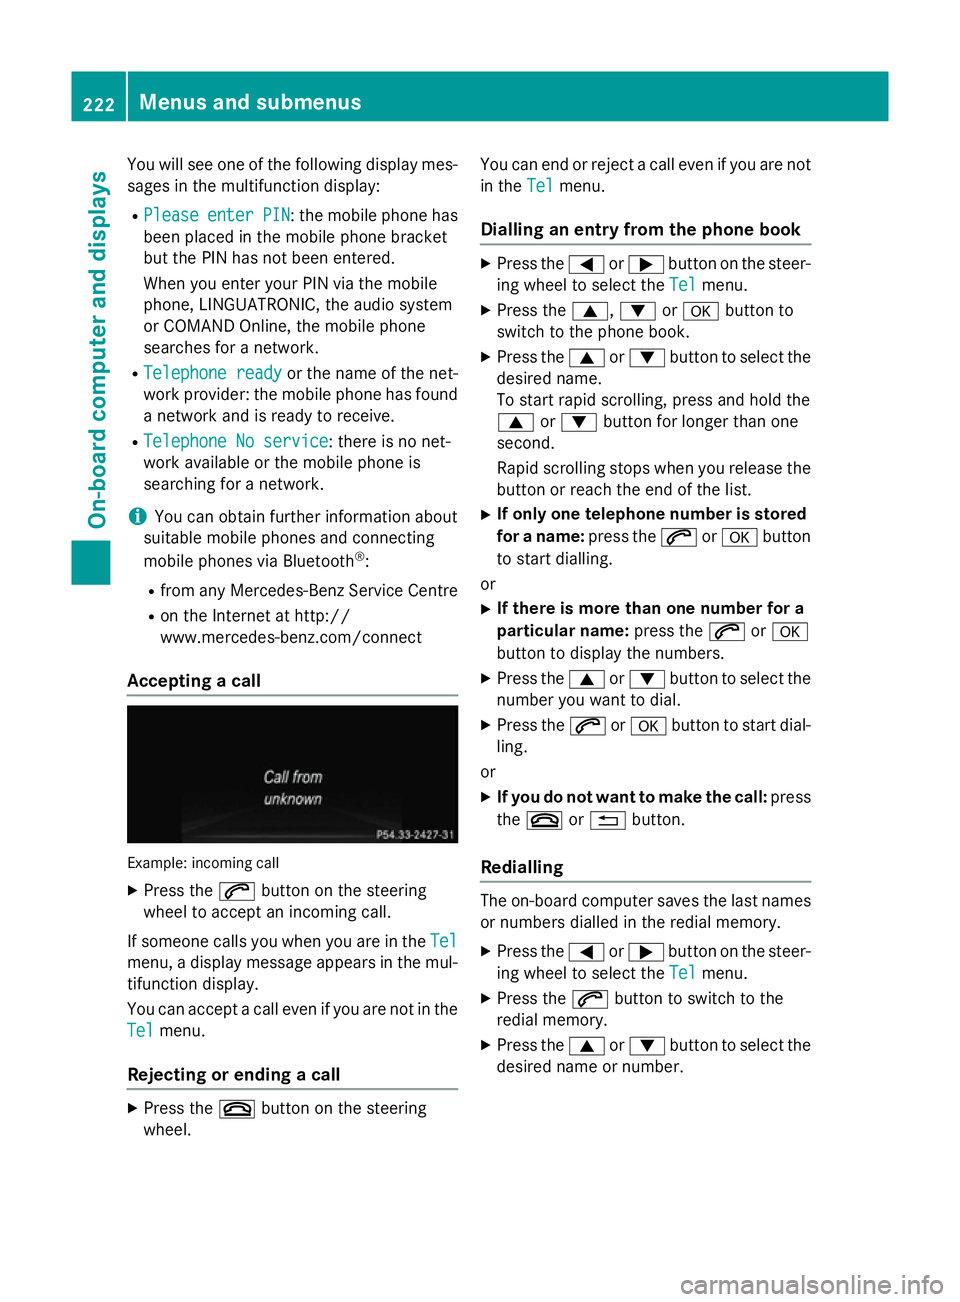
Accepting a call Example: incoming call
X Press the 6button on the steering
wheel to accept an incoming call.
If someone calls you when you are in the Tel Tel
menu, a display message appears in the mul- tifunction display.
You can accept a call even if you are not in the
Tel Tel menu.
Rejecting or ending a call X
Press the ~button on the steering
wheel. You can end or reject a call even if you are not
in the Tel Telmenu.
Dialling an entry from the phone book X
Press the =or; button on the steer-
ing wheel to select the Tel Telmenu.
X Press the 9,:ora button to
switch to the phone book.
X Press the 9or: button to select the
desired name.
To start rapid scrolling, press and hold the
9 or: button for longer than one
second.
Rapid scrolling stops when you release the button or reach the end of the list.
X If only one telephone number is stored
for a name: press the6ora button
to start dialling.
or
X If there is more than one number for a
particular name: press the6ora
button to display the numbers.
X Press the 9or: button to select the
number you want to dial.
X Press the 6ora button to start dial-
ling.
or
X If you do not want to make the call: press
the ~ or% button.
Redialling The on-board computer saves the last names
or numbers dialled in the redial memory.
X Press the =or; button on the steer-
ing wheel to select the Tel Telmenu.
X Press the 6button to switch to the
redial memory.
X Press the 9or: button to select the
desired name or number. 222
Menus and submenusOn-board computer and displays
Page 228 of 373
Activating/deactivating ATTENTION
ASSIST X
Press the =or; button on the steer-
ing wheel to select the Assist.
Assist. menu.
X Press the 9or: button to select
ATTENTION ASSIST
ATTENTION ASSIST .
X Press the abutton.
The current selection is displayed.
X To activate/deactivate: press thea
button again.
When ATTENTION ASSIST is activated, the
À symbol appears in the assistance
graphic in the multifunction display.
For further information about ATTENTION
ASSIST, see (Y page 201).
Activating/deactivating Blind Spot
Assist X
Press the =or; button on the steer-
ing wheel to select the Assist. Assist.menu.
X Press the 9or: button to select
Blind Spot Assist
Blind Spot Assist .
X Press the abutton.
The current selection is displayed.
X To activate/deactivate: press thea
button again.
For further information about Blind Spot
Assist, see (Y page 203).
When the Blind Spot Assist Sensors Blind Spot Assist Sensors
deactivated
deactivated message is shown, the radar
sensors are deactivated.
X Switch on the radar sensor system
(Y page 229).
Activating/deactivating Lane Keeping
Assist X
Press the =or; button on the steer-
ing wheel to select the Assist. Assist.menu.
X Press the 9or: button to select
Lane Keeping Assist
Lane Keeping Assist .
X Press the abutton.
The current selection is displayed.
X Press ato confirm. X
Press the :or9 button to set Off
Off ,
Standard
Standard orAdaptive
Adaptive.
X Press the abutton to save the setting.
When Lane Keeping Assist is activated, the
multifunction display shows the lane mark-
ings as bright lines in the assistance
graphic.
For further information about Lane Keeping
Assist; see (Y page 205). Service menu
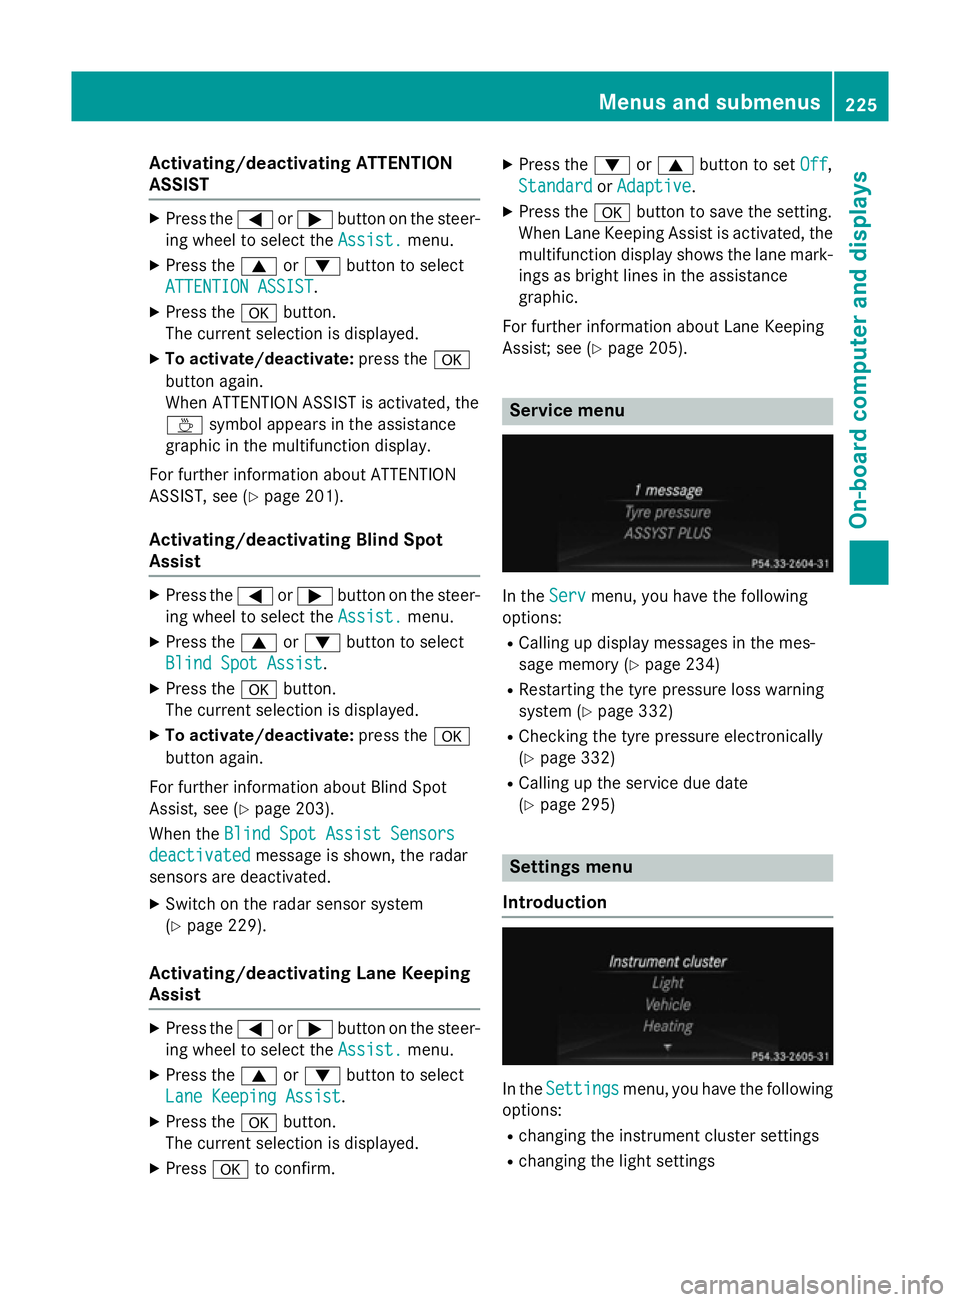
In the
Serv Servmenu, you have the following
options:
R Calling up display messages in the mes-
sage memory (Y page 234)
R Restarting the tyre pressure loss warning
system (Y page 332)
R Checking the tyre pressure electronically
(Y page 332)
R Calling up the service due date
(Y page 295) Settings menu
Introduction In the
Settings Settings menu, you have the following
options:
R changing the instrument cluster settings
R changing the light settings Menus and sub
menus
225On-board computer and displays Z
Page 229 of 373
R
changing the vehicle settings
R changing the auxiliary heating settings
(Y page 229)
R changing the convenience settings
R restoring the factory settings
Instrument cluster Selecting the unit of measurement for dis-
tance
You can determine whether the multifunction
display shows some messages in miles or kil- ometres.
X Press the =or; button on the steer-
ing wheel to select the Settings Settingsmenu.
X Press the :or9 button to select the
Instrument cluster
Instrument cluster submenu.
X Press ato confirm.
X Press the :or9 button to select the
Display unit Speed-/odometer
Display unit Speed-/odometer func-
tion.
You will see the selected setting: km kmor
miles
miles.
X Press the abutton to save the setting.
The selected unit of measurement for dis-
tance applies to:
R the digital speedometer in the Trip Tripmenu
R the total distance recorder and the trip
meter
R the trip computer
R the current consumption and the range
R navigation instructions in the Navi
Navi menu
R cruise control
R SPEEDTRONIC
R DISTRONIC PLUS
R ASSYST PLUS service interval display
Switching the additional speedometer
on/off
The Dig. speedometer [mph]
Dig. speedometer [mph] orDig. Dig.
speedometer [km/h]
speedometer [km/h] function (vehicles for
the United Kingdom) allows you to choose
whether the multifunction display in the sta- tus area always shows the speed in
mph
mph or in
km/h
km/h instead of the outside temperature.
X Press the =or; button on the steer-
ing wheel to select the Settings
Settingsmenu.
X Press the :or9 button to select the
Instrument cluster
Instrument cluster submenu.
X Press ato confirm.
X Press the :or9 button to select the
Dig. speedometer [mph]
Dig. speedometer [mph] orDig.
Dig.
speedometer [km/h]
speedometer [km/h] (United Kingdom)
function.
You will see the selected setting: on onoroff
off.
X Press the abutton to save the setting.
Selecting the permanent display function You can determine whether the multifunction
display permanently shows your speed or the
outside temperature.
X Press the =or; button on the steer-
ing wheel to select the Settings
Settingsmenu.
X Press the :or9 button to select the
Instrument cluster
Instrument cluster submenu.
X Press ato confirm.
X Press the :or9 button to select the
Permanent display
Permanent display function.
You will see the selected setting outside
outside
temperature
temperature orDig. speedometer
Dig. speedometer
[mph]
[mph]/Dig. speedometer [km/h] Dig. speedometer [km/h] (vehi-
cles for the United Kingdom).
X Press the abutton to save the setting.
i The speed is displayed in mph or in km/h
(United Kingdom).
Lights Switching the daytime driving lights
on/off
The
Daytime driving lights Daytime driving lights function can
only be switched on with the engine turned
off.
X Press the =or; button on the steer-
ing wheel to select the Settings Settingsmenu.
X Press the :or9 button to select the
Lights
Lights submenu. 226
Menus and submenusOn-board computer and displays
Page 230 of 373
X
Press ato confirm.
X Press the :or9 button to select the
Daytime driving lights
Daytime driving lights function.
If the Daytime driving lights
Daytime driving lights function
has been switched on, the cone of light and
the W symbol in the multifunction dis-
play are shown in orange.
X Press the abutton to save the setting.
Further information on daytime driving lights
(Y page 111).
Switching the Intelligent Light System
on/off
X Press the =or; button on the steer-
ing wheel to select the Settings
Settings menu.
X Press the :or9 button to select the
Lights Lights submenu.
X Press ato confirm.
X Press the :or9 button to select the
Intell. Light System
Intell. Light System function.
If the Intell.
Intell. Light
LightSystem
System function has
been switched on, the cone of light and the
L symbol in the multifunction display
are shown in orange.
X Press the abutton to save the setting.
When you activate the Intell.
Intell. Light
LightSys‐
Sys‐
tem
tem, you activate the following functions:
R Motorway mode
R Active light function
R Cornering light function
R Extended range foglamps
If you set the dipped-beam headlamps for
driving on the right/left, the multifunction
display shows the Intell. Intell.Light
LightSystem:
System:
system inoperative Inactive for
system inoperative Inactive for
left-side traffic
left-side traffic orIntell. Light
Intell. Light
System:
System: System
Systeminoperative
inoperative Inactive
Inactive
for right-side traffic
for right-side traffic display message
instead of the Intell.
Intell.Light
LightSys.
Sys.function
in the Lights
Lights submenu (Y page 227).
Further information on the Intelligent Light
System (Y page 114). Setting the dipped-beam headlamps for
driving on the left/right
X Press the =or; button on the steer-
ing wheel to select the Settings
Settings menu.
X Press the :or9 button to select the
Lights Lights submenu.
X Press ato confirm.
X Press the :or9 button to select the
Dipped beams Setting for:
Dipped beams Setting for: function.
You will see the selected setting: Right-
Right-
side traffic
side traffic orLeft-side traffic
Left-side traffic.
X Press the abutton to save the setting.
If you change the setting, conversion does
not take place until the next time the vehi-
cle is stationary.
This function is only available on vehicles with
the Intelligent Light System.
You can use this function to switch between
symmetrical and asymmetrical dipped beam
(Y page 110).
If you set the dipped-beam headlamps for
driving on the right/left, then motorway
mode and the extended range foglamps are
unavailable.
You can also have the dipped-beam head-
lamps set for driving on the right/left at a
qualified specialist workshop, e.g. a
Mercedes-Benz Service Centre.
Setting the brightness of the ambient
lighting
X Press the =or; button on the steer-
ing wheel to select the Settings
Settings menu.
X Press the :or9 button to select the
Lights Lights submenu.
X Press ato confirm.
X Press the :or9 button to select the
Amb. light +/-
Amb. light +/- function.
You will see the selected setting.
X Change the setting with a.
X Press the :or9 button to adjust the
brightness to a level from Off
Off toLevel 5
Level 5
(bright).
X Press the aor% button to save the
setting. Menus and submenus
227On-board computer and displays Z
Page 289 of 373
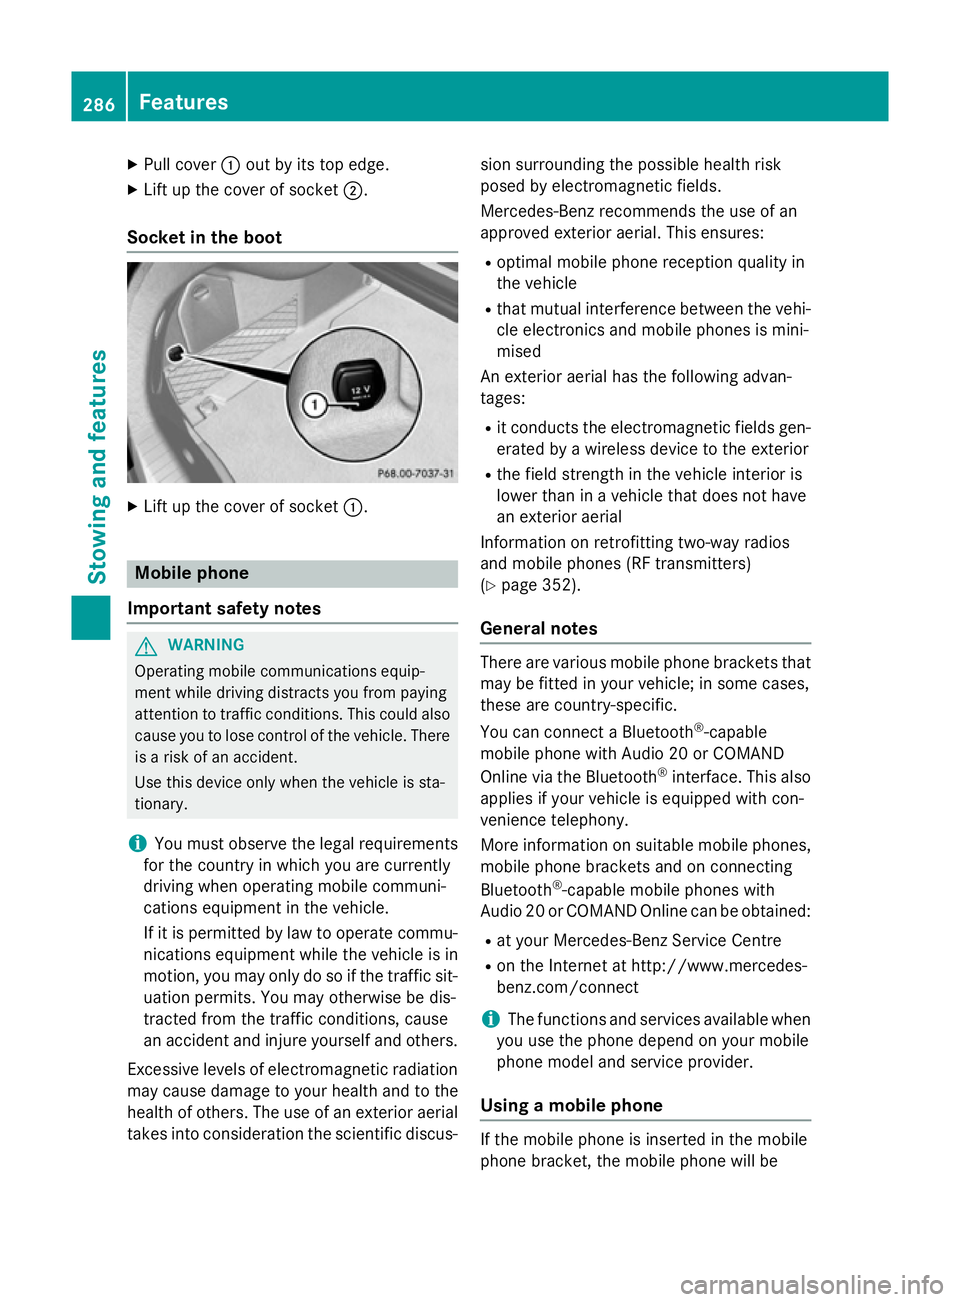
X
Pull cover :out by its top edge.
X Lift up the cover of socket ;.
Socket in the boot X
Lift up the cover of socket :.Mobile phone
Important safety notes G
WARNING
Operating mobile communications equip-
ment while driving distracts you from paying
attention to traffic conditions. This could also cause you to lose control of the vehicle. There
is a risk of an accident.
Use this device only when the vehicle is sta-
tionary.
i You must observe the legal requirements
for the country in which you are currently
driving when operating mobile communi-
cations equipment in the vehicle.
If it is permitted by law to operate commu-
nications equipment while the vehicle is in
motion, you may only do so if the traffic sit-
uation permits. You may otherwise be dis-
tracted from the traffic conditions, cause
an accident and injure yourself and others.
Excessive levels of electromagnetic radiation
may cause damage to your health and to the
health of others. The use of an exterior aerial takes into consideration the scientific discus- sion surrounding the possible health risk
posed by electromagnetic fields.
Mercedes-Benz recommends the use of an
approved exterior aerial. This ensures:
R optimal mobile phone reception quality in
the vehicle
R that mutual interference between the vehi-
cle electronics and mobile phones is mini-
mised
An exterior aerial has the following advan-
tages:
R it conducts the electromagnetic fields gen-
erated by a wireless device to the exterior
R the field strength in the vehicle interior is
lower than in a vehicle that does not have
an exterior aerial
Information on retrofitting two-way radios
and mobile phones (RF transmitters)
(Y page 352).
General notes There are various mobile phone brackets that
may be fitted in your vehicle; in some cases,
these are country-specific.
You can connect a Bluetooth ®
-capable
mobile phone with Audio 20 or COMAND
Online via the Bluetooth ®
interface. This also
applies if your vehicle is equipped with con-
venience telephony.
More information on suitable mobile phones,
mobile phone brackets and on connecting
Bluetooth ®
-capable mobile phones with
Audio 20 or COMAND Online can be obtained:
R at your Mercedes-Benz Service Centre
R on the Internet at http://www.mercedes-
benz.com/connect
i The functions and services available when
you use the phone depend on your mobile
phone model and service provider.
Using a mobile phone If the mobile phone is inserted in the mobile
phone bracket, the mobile phone will be286
FeaturesStowing and features
Page 292 of 373
Useful information
............................290
Engine compartment ........................290
Service ............................................... 295
Care .................................................... 297 289Maintenance and care
Page 296 of 373
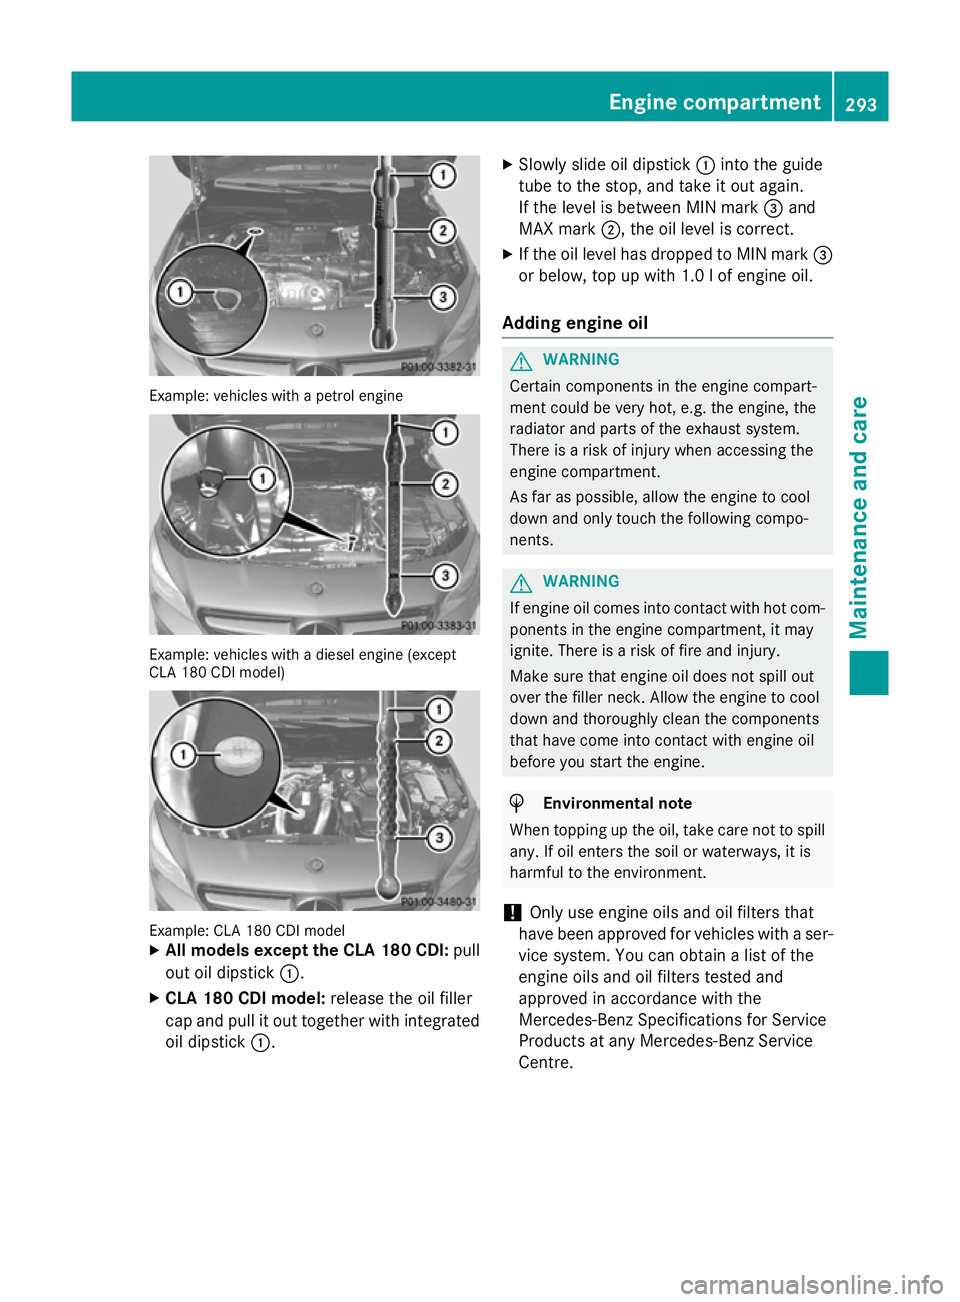
Example: vehicles with a petrol engine
Example: vehicles with a diesel engine (except
CLA 180 CDI model) Example: CLA 180 CDI model
X All models except the CLA 180 CDI: pull
out oil dipstick :.
X CLA 180 CDI model: release the oil filler
cap and pull it out together with integrated
oil dipstick :. X
Slowly slide oil dipstick :into the guide
tube to the stop, and take it out again.
If the level is between MIN mark =and
MAX mark ;, the oil level is correct.
X If the oil level has dropped to MIN mark =
or below, top up with 1.0 l of engine oil.
Adding engine oil G
WARNING
Certain components in the engine compart-
ment could be very hot, e.g. the engine, the
radiator and parts of the exhaust system.
There is a risk of injury when accessing the
engine compartment.
As far as possible, allow the engine to cool
down and only touch the following compo-
nents. G
WARNING
If engine oil comes into contact with hot com- ponents in the engine compartment, it may
ignite. There is a risk of fire and injury.
Make sure that engine oil does not spill out
over the filler neck. Allow the engine to cool
down and thoroughly clean the components
that have come into contact with engine oil
before you start the engine. H
Environmental note
When topping up the oil, take care not to spill
any. If oil enters the soil or waterways, it is
harmful to the environment.
! Only use engine oils and oil filters that
have been approved for vehicles with a ser-
vice system. You can obtain a list of the
engine oils and oil filters tested and
approved in accordance with the
Mercedes-Benz Specifications for Service
Products at any Mercedes-Benz Service
Centre. Engine compartment
293Maintenance and care Z