Page 60 of 410

60
2. NETWORK SETTINGS
CT200h_Navi_OM76113E_(EE)
13.12.06 15:16
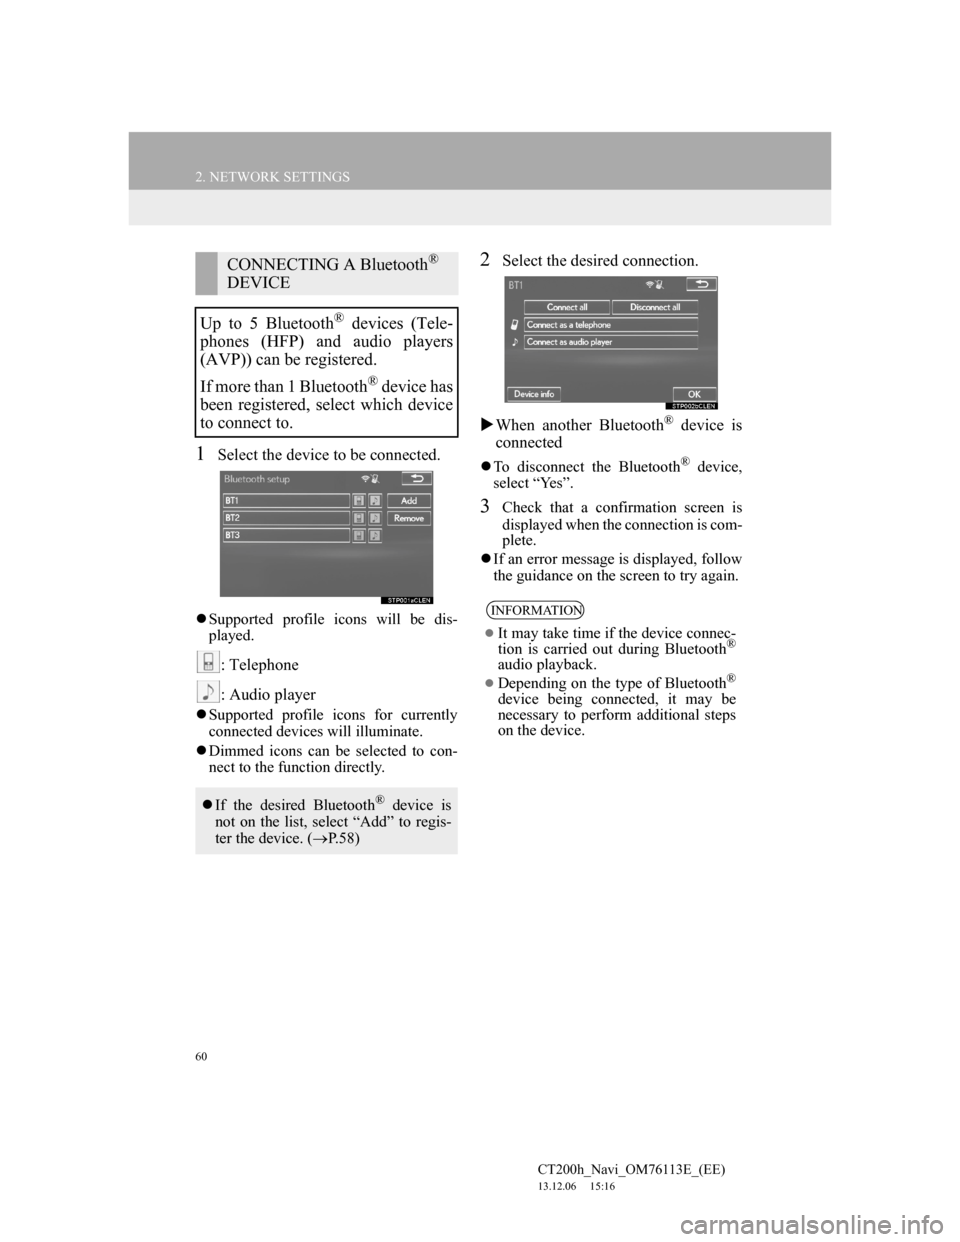
1Select the device to be connected.
Supported profile icons will be dis-
played.
: Telephone
: Audio player
Supported profile icons for currently
connected devices will illuminate.
Dimmed icons can be selected to con-
nect to the function directly.
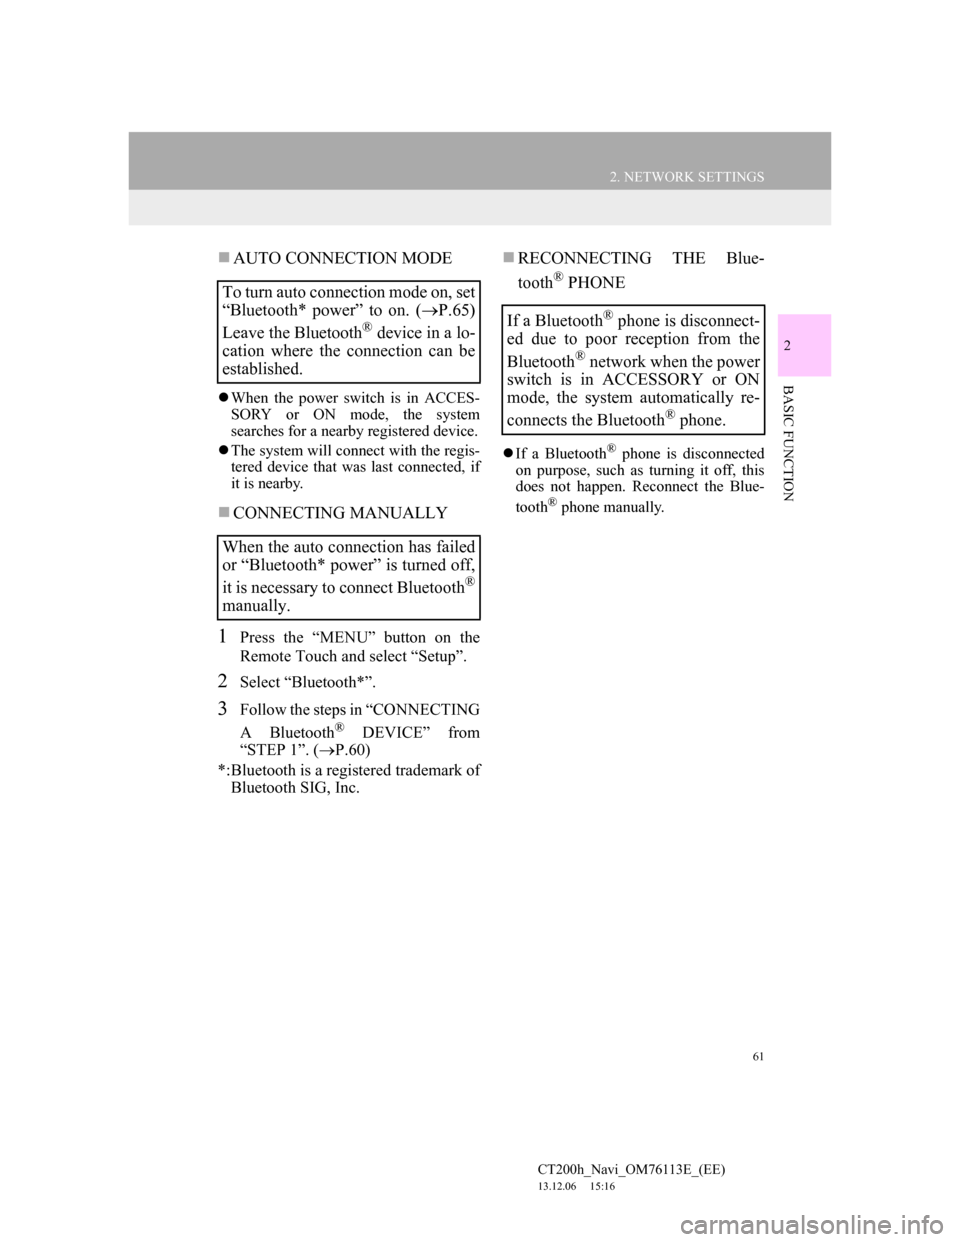
2Select the desired connection.
When another Bluetooth
® device is
connected
To disconnect the Bluetooth® device,
select “Yes”.
3Check that a confirmation screen is
displayed when the connection is com-
plete.
If an error message is displayed, follow
the guidance on the screen to try again.
CONNECTING A Bluetooth®
DEVICE
Up to 5 Bluetooth
® devices (Tele-
phones (HFP) and audio players
(AVP)) can be registered.
If more than 1 Bluetooth
® device has
been registered, select which device
to connect to.
If the desired Bluetooth® device is
not on the list, select “Add” to regis-
ter the device. (P.58)
INFORMATION
It may take time if the device connec-
tion is carried out during Bluetooth®
audio playback.
Depending on the type of Bluetooth®
device being connected, it may be
necessary to perform additional steps
on the device.
Page 61 of 410

61
2. NETWORK SETTINGS
CT200h_Navi_OM76113E_(EE)
13.12.06 15:16
2
BASIC FUNCTION
AUTO CONNECTION MODE
When the power switch is in ACCES-
SORY or ON mode, the system
searches for a nearby registered device.
The system will connect with the regis-
tered device that was last connected, if
it is nearby.
CONNECTING MANUALLY
1Press the “MENU” button on the
Remote Touch and select “Setup”.
2Select “Bluetooth*”.
3Follow the steps in “CONNECTING
A Bluetooth
® DEVICE” from
“STEP 1”. (P.60)
*:Bluetooth is a registered trademark of
Bluetooth SIG, Inc.
RECONNECTING THE Blue-
tooth
® PHONE
If a Bluetooth® phone is disconnected
on purpose, such as turning it off, this
does not happen. Reconnect the Blue-
tooth
® phone manually.
To turn auto connection mode on, set
“Bluetooth* power” to on. (P.65)
Leave the Bluetooth
® device in a lo-
cation where the connection can be
established.
When the auto connection has failed
or “Bluetooth* power” is turned off,
it is necessary to connect Bluetooth
®
manually.
If a Bluetooth® phone is disconnect-
ed due to poor reception from the
Bluetooth
® network when the power
switch is in ACCESSORY or ON
mode, the system automatically re-
connects the Bluetooth
® phone.
Page 62 of 410
62
2. NETWORK SETTINGS
CT200h_Navi_OM76113E_(EE)
13.12.06 15:16
1Select the desired device to be edit-
ed.
2Select “Device info”.
3Confirm and change the Bluetooth®
device information.
EDITING THE Bluetooth®
DEVICE INFORMATION
The Bluetooth
® device’s informa-
tion can be displayed on the screen.
The displayed information can be ed-
ited.
No
.Information
The name of the Bluetooth® de-
vice. Can be changed to a desired
name. (P.63)
Device address is unique to the de-
vice and cannot be changed.
The telephone number of the
Bluetooth® phone.
Compatibility profile of the
Bluetooth® device.
Select to set the Bluetooth® audio
player connection method.
(P.63)
Select to reset all setup items.
Page 63 of 410
63
2. NETWORK SETTINGS
CT200h_Navi_OM76113E_(EE)
13.12.06 15:16
2
BASIC FUNCTION
CHANGING A DEVICE NAME
1Select “Device name”.
2Enter the name and select “OK”.
SETTING AUDIO PLAYER CON-
NECTION METHOD
1Select “Connect audio player from”.
2Select the desired connection meth-
od.
“Vehicle”: Select to connect the audio
system to the audio player.
“Device”: Select to connect the audio
player to the audio system.
Depending on the audio player, the
“Vehicle” or “Device” connection
method may be best. As such, refer to
the manual that comes with the audio
player.
To reset the connection method, select
“Defaults”.
INFORMATION
If 2 Bluetooth® devices have been
registered with the same device name,
the devices can be distinguished
referring to the device’s address.
Depending on the type of telephone,
some information may not be dis-
played.
INFORMATION
Even if the device name is changed,
the name registered in your Blue-
tooth
® device does not change.
Page 64 of 410
64
2. NETWORK SETTINGS
CT200h_Navi_OM76113E_(EE)
13.12.06 15:16
1Display the “Bluetooth*” screen.
(P.56)
2Select “Detailed Bluetooth* set-
tings”.
3Select the desired item to be set.
*:Bluetooth is a registered trademark of
Bluetooth SIG, Inc.
“Detailed Bluetooth* settings”
SCREEN
The Bluetooth® settings can be con-
firmed and changed.
No
.InformationPage
Select to set Bluetooth®
connection on/off. 65
Displays system name.
Can be changed to a de-
sired name.65
PIN code used when the
Bluetooth® device was
registered. Can be
changed to a desired code.65
Device address is unique
to the device and cannot
be changed.
Select to set the telephone
connection status display
on/off.
Select to set the connec-
tion status display of the
audio player on/off.
Compatibility profile of
the system.
Select to reset all setup
items.
Page 67 of 410

67
2. NETWORK SETTINGS
CT200h_Navi_OM76113E_(EE)
13.12.06 15:16
2
BASIC FUNCTION
7Select a country.
The previous screen will be displayed.
8Select “Provider” on the “Communi-
cation settings” screen.
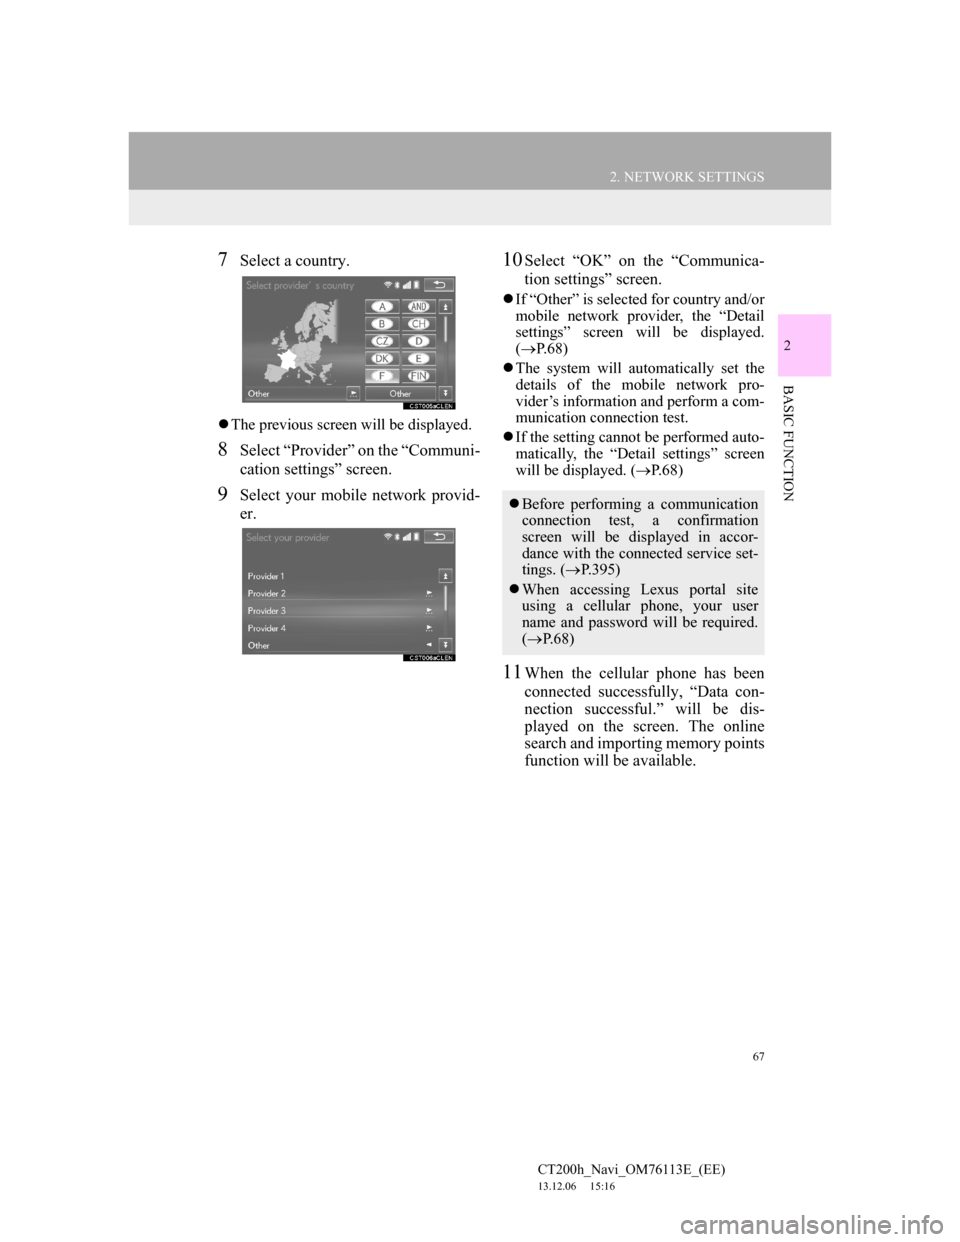
9Select your mobile network provid-
er.
10Select “OK” on the “Communica-
tion settings” screen.
If “Other” is selected for country and/or
mobile network provider, the “Detail
settings” screen will be displayed.
(P.68)
The system will automatically set the
details of the mobile network pro-
vider’s information and perform a com-
munication connection test.
If the setting cannot be performed auto-
matically, the “Detail settings” screen
will be displayed. (P.68)
11When the cellular phone has been
connected successfully, “Data con-
nection successful.” will be dis-
played on the screen. The online
search and importing memory points
function will be available.
Before performing a communication
connection test, a confirmation
screen will be displayed in accor-
dance with the connected service set-
tings. (P.395)
When accessing Lexus portal site
using a cellular phone, your user
name and password will be required.
(P. 6 8 )
Page 82 of 410
82
3. OTHER SETTINGS
CT200h_Navi_OM76113E_(EE)
13.12.06 15:16
DELETING TRANSFERRED IM-
AGES
1Select “Delete images”.
2Select the images to be deleted and
select “Delete”.
3Select “Yes” when the confirmation
screen appears.
1Display the “General settings”
screen. (P.75)
2Select “Delete personal data”.
3Select “Delete”.
4Select “Yes” when the confirmation
screen appears.
Registered or changed personal settings
will be deleted or returned to their
default conditions.
For example:
• General settings
• Navigation settings
• Audio settings
• Telephone settings
• Connected service settings
DELETING PERSONAL
DATA
Page 88 of 410
88
3. OTHER SETTINGS
CT200h_Navi_OM76113E_(EE)
13.12.06 15:16
3Select the desired item to be edited.EDITING DEALER OR CON-
TACT NAME
1Select “Dealer” or “Contact”.
2Enter the name and select “OK”.
EDITING THE LOCATION
1Select “Location”.
2Scroll the map to the desired point
(P.103) and select “OK”.
EDITING TELEPHONE NUM-
BER
1Select “Tel. no.”.
2Enter the telephone number and se-
lect “OK”.
No.FunctionPage
Select to enter the name
of a dealer.88
Select to enter the name
of a dealer member.88
Select to set the location.88
Select to set the tele-
phone number.88
Select to set the dis-
played dealer as a desti-
nation.131
Select to delete the dealer
information displayed on
the screen.