2013 Lancia Flavia glove box
[x] Cancel search: glove boxPage 60 of 244

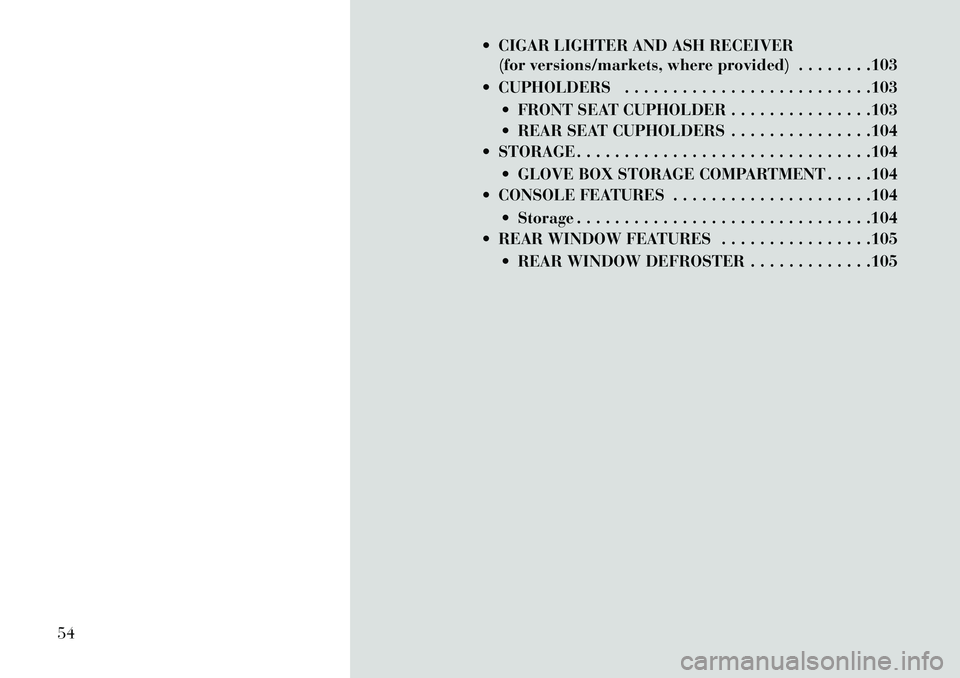
CIGAR LIGHTER AND ASH RECEIVER(for versions/markets, where provided) . . . . . . . .103
CUPHOLDERS . . . . . . . . . . . . . . . . . . . . . . . . . .103 FRONT SEAT CUPHOLDER . . . . . . . . . . . . . . .103
REAR SEAT CUPHOLDERS . . . . . . . . . . . . . . .104
STORAGE . . . . . . . . . . . . . . . . . . . . . . . . . . . . . . .104
GLOVE BOX STORAGE COMPARTMENT . . . . .104
CONSOLE FEATURES . . . . . . . . . . . . . . . . . . . . .104
Storage . . . . . . . . . . . . . . . . . . . . . . . . . . . . . . .104
REAR WINDOW FEATURES . . . . . . . . . . . . . . . .105
REAR WINDOW DEFROSTER . . . . . . . . . . . . .105
54
Page 110 of 244

REAR SEAT CUPHOLDERS
Cupholders for the rear seat occu-
pants are located in the armrests.
Each cupholder is capable of holding
up to a 0.5 L bottle or can.WARNING!
If containers of hot liquid are place
in the cupholder, they can spill
when the door is closed, burning
the occupants. Be careful when
closing the doors to avoid injury.STORAGE
GLOVE BOX STORAGE
COMPARTMENT
The glove box storage compartment is
located on the right side of the instru-
ment panel. To open the glove box,
pull outward on the latch handle lo-
cated on the front of the glove box.
CONSOLE FEATURES
Storage
The center console is located between
the front driver and passenger seats.
The center console armrest slides for-
ward from design position to provide
added user comfort. The center con-
sole can be used for storage and is also
equipped with an electrical power outlet. Refer to “Electrical Power
Outlets” in “Understanding The Fea-
ture of Your Vehicle” for further infor-
mation.
Two separate storage compartments are
also located underneath the armrest.To open the upper storage compart-
ment, pull upward on the smaller
latch located on the front of the lid.
Rear Seat Cupholder
Glove Box Storage Compartment
Center Console
Center Console Storage
104
Page 200 of 244

AIR CONDITIONER
MAINTENANCE
For best possible performance, your
air conditioner should be checked and
serviced by an authorized dealer at
the start of each warm season. This
service should include cleaning of the
condenser fins and a performance
test. Drive belt tension should also be
checked at this time.CAUTION!Do not use chemical flushes in your
air conditioning system as the chemi-
cals can damage your air condition-
ing components. Such damage is not
covered by the New Vehicle Limited
Warranty.WARNING!
Use only refrigerants and compres-
sor lubricants approved by the
manufacturer for your air condi-
tioning system. Some unapproved
refrigerants are flammable and can
explode, injuring you. Other unap-
proved refrigerants or lubricants
(Continued)
WARNING!(Continued)can cause the system to fail, requir-
ing costly repairs. The air conditioning system con-
tains refrigerant under high pres-
sure. To avoid risk of personal
injury or damage to the system,
adding refrigerant or any repair
requiring lines to be disconnected
should be done by an experienced
technician.
Refrigerant Recovery And
Recycling
R-134a Air Conditioning Refrigerant
is a hydrofluorocarbon (HFC) that is
endorsed by the Environmental Pro-
tection Agency and is an ozone-saving
product. However, the manufacturer
recommends that air conditioning
service be performed by authorized
dealer or other service facilities using
recovery and recycling equipment.
NOTE: Use only manufacturer
approved A/C system sealers, stop
leak products, seal conditioners,
compressor oil, and refrigerants. A/C AIR FILTER
Refer to the “Maintenance Schedule”
for the proper maintenance intervals.
CAUTION!
Car maintenance should be done at
a LANCIA Dealership. For routine
and minor maintenance operations
you wish to carry out yourself, we
do recommend you have the proper
equipment, genuine LANCIA spare
parts and the necessary fluids; do
not however carry out these opera-
tions if you have no experience.WARNING!
Do not remove the A/C air filter
while the blower is operating or
personal injury may result.
The A/C Air Filter is located in the
fresh air inlet behind the glove box.
Perform the following procedure to
replace the filter:
1. Open the glove box and remove all
contents.
2. Push in on the sides of the glove
box and lower the door.
194
Page 201 of 244

3. Disconnect the glove box door
dampener from the slot on the side of
the box. This is done by grasping the
dampener connector (on the outside
of the box) and the end of the connec-
tor pin (on the inside of the box) with
your thumb and forefinger and pull-
ing outward while lightly lifting up-
ward on the door with your other
hand. Once disconnected, the damp-
ener will retract underneath the in-
strument panel if you release it.
4. Pivot the glove box downward.
5. Disengage the two retaining tabs
that secure the filter cover to the
HVAC housing and remove the cover.6. Remove the A/C Air Filter by pull-
ing it straight out of the housing.
7. Install the A/C Air Filter with the
arrow on the filter pointing toward
the floor. When installing the filter
cover, make sure the retaining tabs
fully engage the cover.
CAUTION!
The A/C air filter is identified with
an arrow to indicate airflow direc-
tion through the filter. Failure to
install the filter properly will result
in the need to replace it more often.
8. Reinstall the glove box door
dampener and glove box.
BODY LUBRICATION
Locks and all body pivot points, in-
cluding such items as seat tracks, door
hinge pivot points and rollers, and
hood hinges, should be lubricated pe-
riodically with a lithium based grease
to assure quiet, easy operation and to
protect against rust and wear. Prior to
the application of any lubricant, the parts concerned should be wiped
clean to remove dust and grit; after
lubricating excess oil and grease
should be removed. Particular atten-
tion should also be given to hood
latching components to ensure proper
function. When performing other un-
derhood services, the hood latch, re-
lease mechanism and safety catch
should be cleaned and lubricated.
The external lock cylinders should be
lubricated twice a year, preferably in
the Fall and Spring. Apply a small
amount of a high quality lubricant
directly into the lock cylinder.
CAUTION!
Car maintenance should be done at
a LANCIA Dealership. For routine
and minor maintenance operations
you wish to carry out yourself, we
do recommend you have the proper
equipment, genuine LANCIA spare
parts and the necessary fluids; do
not however carry out these opera-
tions if you have no experience.
A/C Air Filter Replacement
195
Page 218 of 244

CAUTION!
When installing the IntegratedPower Module cover, it is impor-
tant to ensure the cover is prop-
erly positioned and fully latched.
Failure to do so may allow water
to get into the Integrated Power
Module, and possibly result in an
electrical system failure.
When replacing a blown fuse, it is important to use only a fuse hav-
ing the correct amperage rating.
The use of a fuse with a rating
other than indicated may result in
a dangerous electrical system
overload. If a properly rated fuse
continues to blow, it indicates a
problem in the circuit that must
be corrected. VEHICLE STORAGE
If you will not be using your vehicle
for more than 21 days, you may want
to take steps to preserve your battery.
Disengage the mini-fuse in the
Power Distribution Center labeled
IOD (Ignition Off-Draw).
Or disconnect the negative cable from the battery. Refer to “Prepa-
ration for Jump Start” in “Jump-
Starting” to identify the location of
the negative post.
Anytime you store your vehicle, or keep it out of service (i.e., vacation)
for two weeks or more, run the air
conditioning system at idle for
about five minutes in the fresh air
and high blower setting. This will
ensure adequate system lubrication
to minimize the possibility of com-
pressor damage when the system is
started again. REPLACEMENT BULBS
All the inside bulbs are brass or glass
wedge base. Aluminum base bulbs are
not approved and should not be used
for replacement.
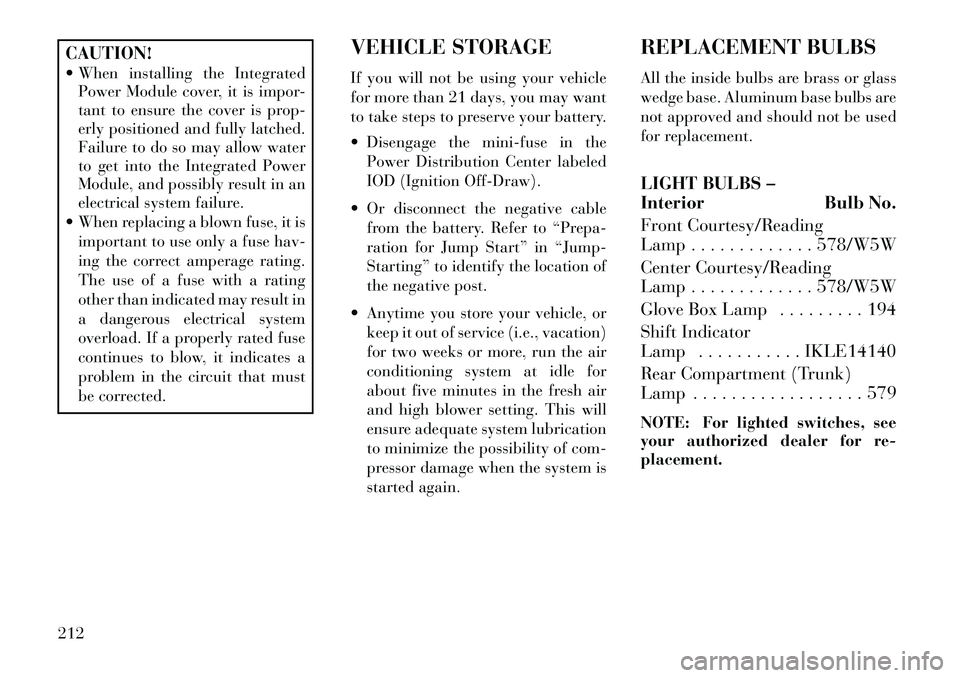
LIGHT BULBS –
Interior Bulb No.
Front Courtesy/Reading
Lamp . . . . . . . . . . . . . 578/W5W
Center Courtesy/Reading
Lamp . . . . . . . . . . . . . 578/W5W
Glove Box Lamp . . . . . . . . . 194
Shift Indicator
Lamp . . . . . . . . . . . IKLE14140
Rear Compartment (Trunk)
Lamp . . . . . . . . . . . . . . . . . . 579
NOTE: For lighted switches, see
your authorized dealer for re-
placement.
212