2013 KIA Sportage ECU
[x] Cancel search: ECUPage 194 of 387
Features of your vehicle
104
4
❈ The actual feature may differ from the illus-
tration.
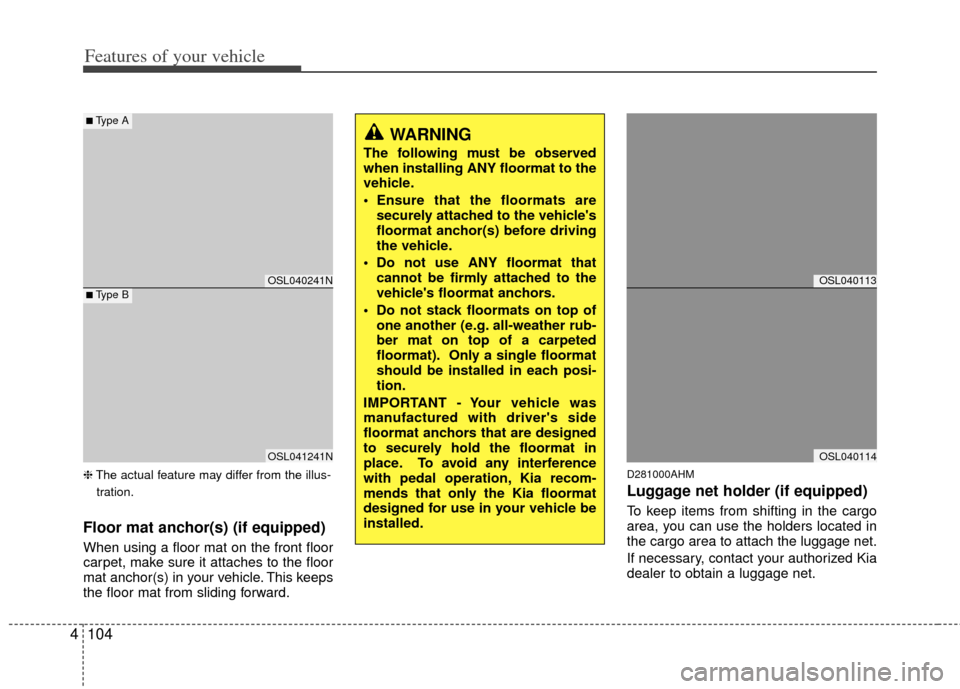
Floor mat anchor(s) (if equipped)
When using a floor mat on the front floor
carpet, make sure it attaches to the floor
mat anchor(s) in your vehicle. This keeps
the floor mat from sliding forward.
D281000AHM
Luggage net holder (if equipped)
To keep items from shifting in the cargo
area, you can use the holders located in
the cargo area to attach the luggage net.
If necessary, contact your authorized Kia
dealer to obtain a luggage net.
OSL040113
OSL040114
OSL040241N
OSL041241N
WARNING
The following must be observed
when installing ANY floormat to the
vehicle.
Ensure that the floormats are securely attached to the vehicle's
floormat anchor(s) before driving
the vehicle.
Do not use ANY floormat that cannot be firmly attached to the
vehicle's floormat anchors.
Do not stack floormats on top of one another (e.g. all-weather rub-
ber mat on top of a carpeted
floormat). Only a single floormat
should be installed in each posi-
tion.
IMPORTANT - Your vehicle was
manufactured with driver's side
floormat anchors that are designed
to securely hold the floormat in
place. To avoid any interference
with pedal operation, Kia recom-
mends that only the Kia floormat
designed for use in your vehicle be
installed.
■Type A
■Type B
Page 195 of 387
4105
Features of your vehicle
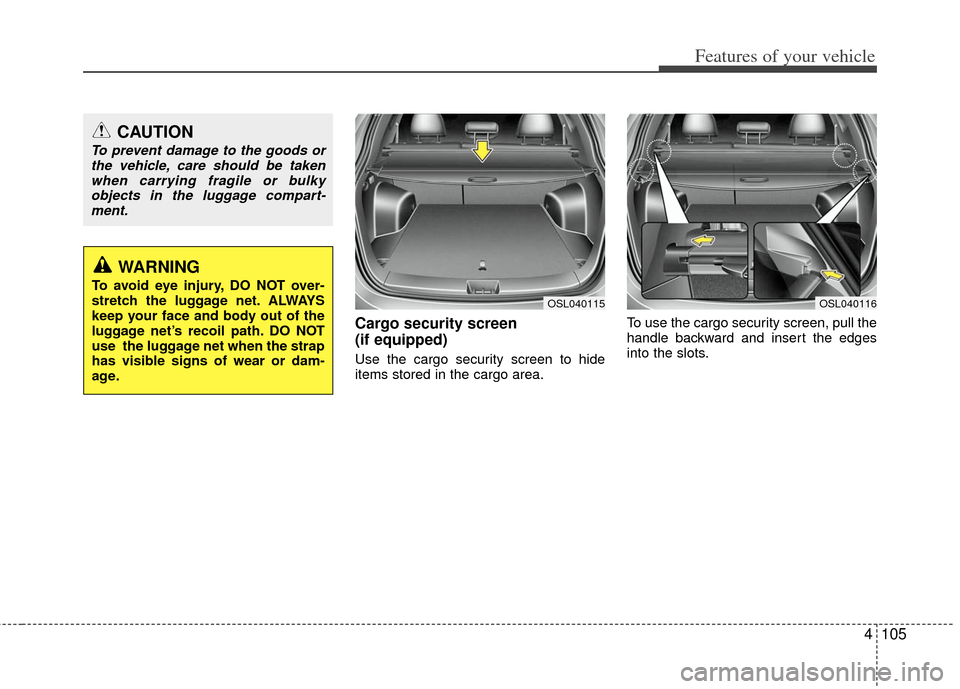
Cargo security screen
(if equipped)
Use the cargo security screen to hide
items stored in the cargo area.To use the cargo security screen, pull the
handle backward and insert the edges
into the slots.
CAUTION
To prevent damage to the goods or
the vehicle, care should be takenwhen carrying fragile or bulkyobjects in the luggage compart-ment.
WARNING
To avoid eye injury, DO NOT over-
stretch the luggage net. ALWAYS
keep your face and body out of the
luggage net’s recoil path. DO NOT
use the luggage net when the strap
has visible signs of wear or dam-
age.
OSL040116OSL040115
Page 196 of 387
Features of your vehicle
106
4
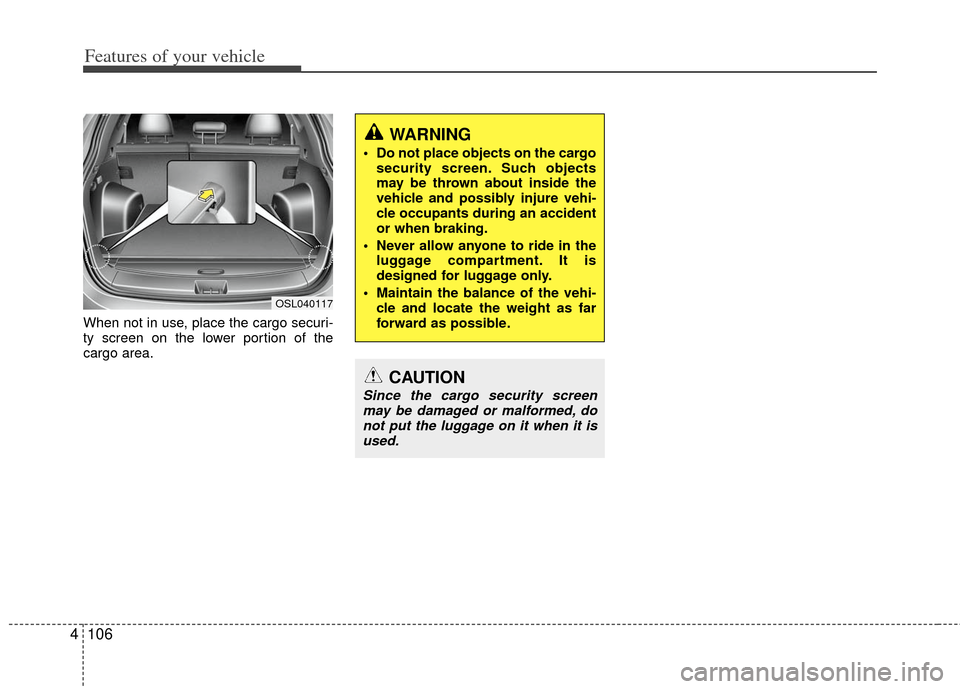
When not in use, place the cargo securi-
ty screen on the lower portion of the
cargo area.
WARNING
Do not place objects on the cargo
security screen. Such objects
may be thrown about inside the
vehicle and possibly injure vehi-
cle occupants during an accident
or when braking.
Never allow anyone to ride in the luggage compartment. It is
designed for luggage only.
Maintain the balance of the vehi- cle and locate the weight as far
forward as possible.
CAUTION
Since the cargo security screenmay be damaged or malformed, donot put the luggage on it when it isused.
OSL040117
Page 197 of 387
4107
Features of your vehicle
D290100AAM
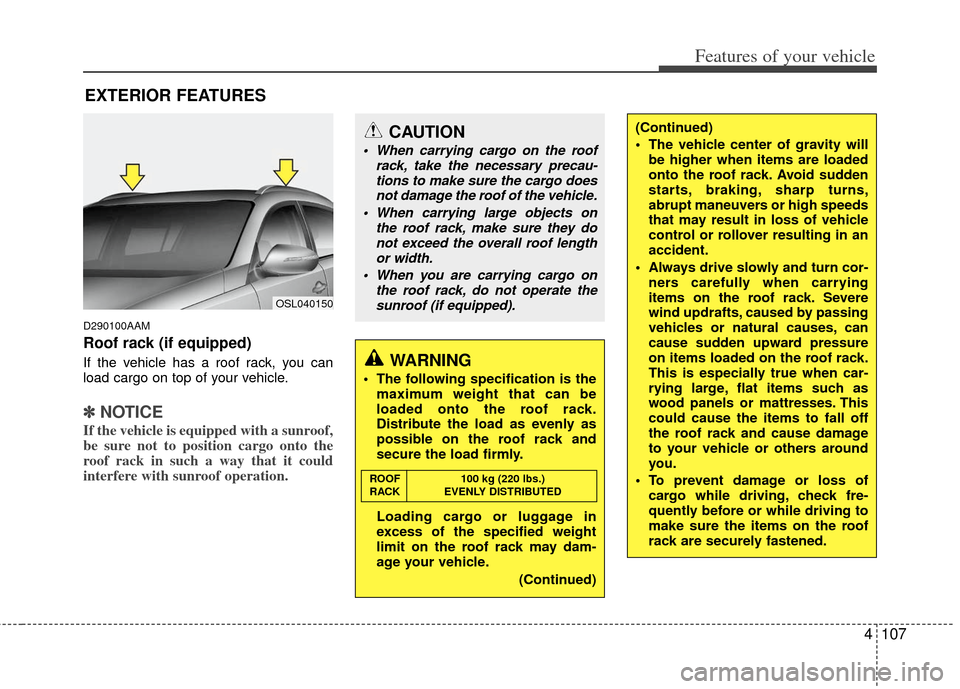
Roof rack (if equipped)
If the vehicle has a roof rack, you can
load cargo on top of your vehicle.
✽ ✽NOTICE
If the vehicle is equipped with a sunroof,
be sure not to position cargo onto the
roof rack in such a way that it could
interfere with sunroof operation.
EXTERIOR FEATURES
CAUTION
When carrying cargo on the roof
rack, take the necessary precau-tions to make sure the cargo doesnot damage the roof of the vehicle.
When carrying large objects on the roof rack, make sure they donot exceed the overall roof length or width.
When you are carrying cargo on the roof rack, do not operate thesunroof (if equipped).
WARNING
The following specification is the maximum weight that can be
loaded onto the roof rack.
Distribute the load as evenly as
possible on the roof rack and
secure the load firmly.
Loading cargo or luggage in
excess of the specified weight
limit on the roof rack may dam-
age your vehicle.
(Continued)
ROOF100 kg (220 lbs.)
RACK EVENLY DISTRIBUTED
(Continued)
The vehicle center of gravity will be higher when items are loaded
onto the roof rack. Avoid sudden
starts, braking, sharp turns,
abrupt maneuvers or high speeds
that may result in loss of vehicle
control or rollover resulting in an
accident.
Always drive slowly and turn cor- ners carefully when carrying
items on the roof rack. Severe
wind updrafts, caused by passing
vehicles or natural causes, can
cause sudden upward pressure
on items loaded on the roof rack.
This is especially true when car-
rying large, flat items such as
wood panels or mattresses. This
could cause the items to fall off
the roof rack and cause damage
to your vehicle or others around
you.
To prevent damage or loss of cargo while driving, check fre-
quently before or while driving to
make sure the items on the roof
rack are securely fastened.
OSL040150
Page 226 of 387
Features of your vehicle
136
4
Language of Bluetooth®voice recognition
While in ADVANCED menu, select
“Language”. To change the language,
select the desired language and press
the button.
Bluetooth
®system off
While in ADVANCED menu, select
“BT Off ” to turn off the Bluetooth
®System.
■Voice Recognition Activation
in the Bluetooth®System can be acti-
vated in the following conditions:
- Button Activation
The voice recognition system will be
active when the button is pressed
and after the sound of a Beep.
- Active Listening The voice recognition system will be
active for a period of time when the
Voice Recognition system has asked
for a customer response.
from zero to nine while number greater
than ten will not be recognized.
tion mode in following cases : When
pressing the button and saying
“cancel” following the beep. When not
making a call and pressing the
button. When voice recognition has
failed 3 consecutive times.
will announce what commands are
available.
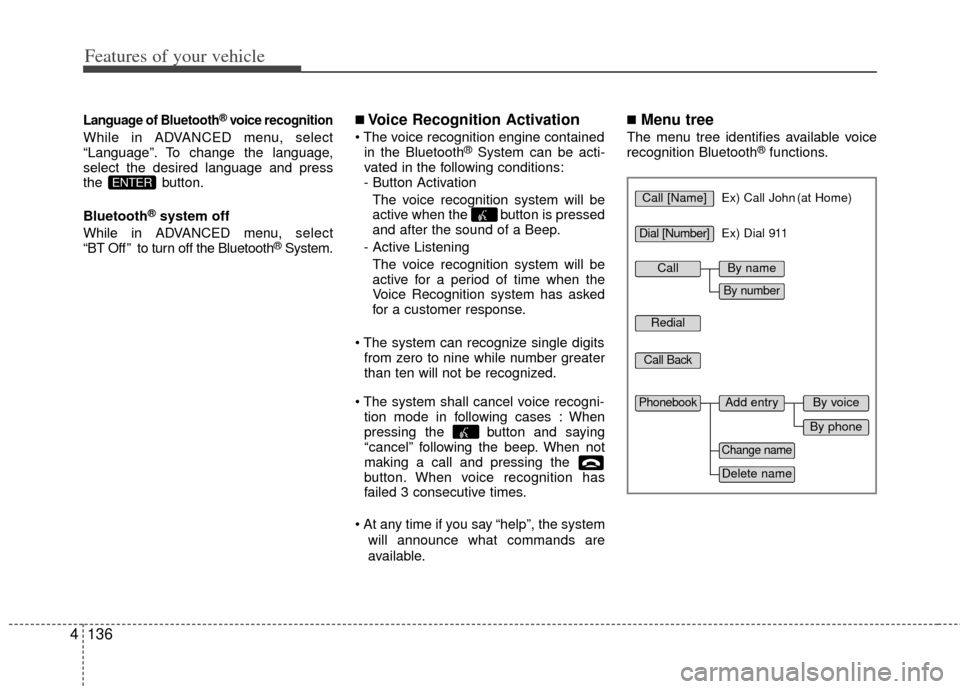
■Menu tree
The menu tree identifies available voice
recognition Bluetooth®functions.
ENTERCall [Name]Ex) Call John (at Home)
Ex) Dial 911
Dial [Number]
Redial
Call Back
Add entryPhonebook
Change name
Delete name
By phone
By voice
CallBy name
By number
Page 249 of 387
Driving your vehicle
18
5
✽
✽
NOTICE
• In sports mode, the driver must exe-
cute upshifts in accordance with road
conditions, taking care to keep the
engine speed below the red zone.
• In sports mode, only the 6 forward gears can be selected. To reverse or
park the vehicle, move the shift lever
to the R (Reverse) or P (Park) position
as required.
• In sports mode, downshifts are made automatically when the vehicle slows
down. When the vehicle stops, 1st gear
is automatically selected.
• In sports mode, when the engine rpm approaches the red zone shift points
are varied to upshift automatically.
• To maintain the required levels of vehicle performance and safety, the
system may not execute certain
gearshifts when the shift lever is oper-
ated.
• When driving on a slippery road, push the shift lever forward into the
+(up) position. This causes the
transaxle to shift into the 2nd gear
which is better for smooth driving on
a slippery road. Push the shift lever to
the -(down) side to shift back to the 1st
gear.
Shift lock system
For your safety, the automatic transaxle
has a shift lock system which prevents
shifting the transaxle from P (Park) or N
(Neutral) into R (Reverse) unless the
brake pedal is depressed.
To shift the transaxle from P (Park) or N
(Neutral) into R (Reverse):
1. Depress and hold the brake pedal.
2. Start the engine or turn the ignition
switch to the ON position.
3. Depress the lock release button and move the shift lever.
If the brake pedal is repeatedly
depressed and released with the shift
lever in the P (Park) position, a chattering
noise near the shift lever may be heard. It
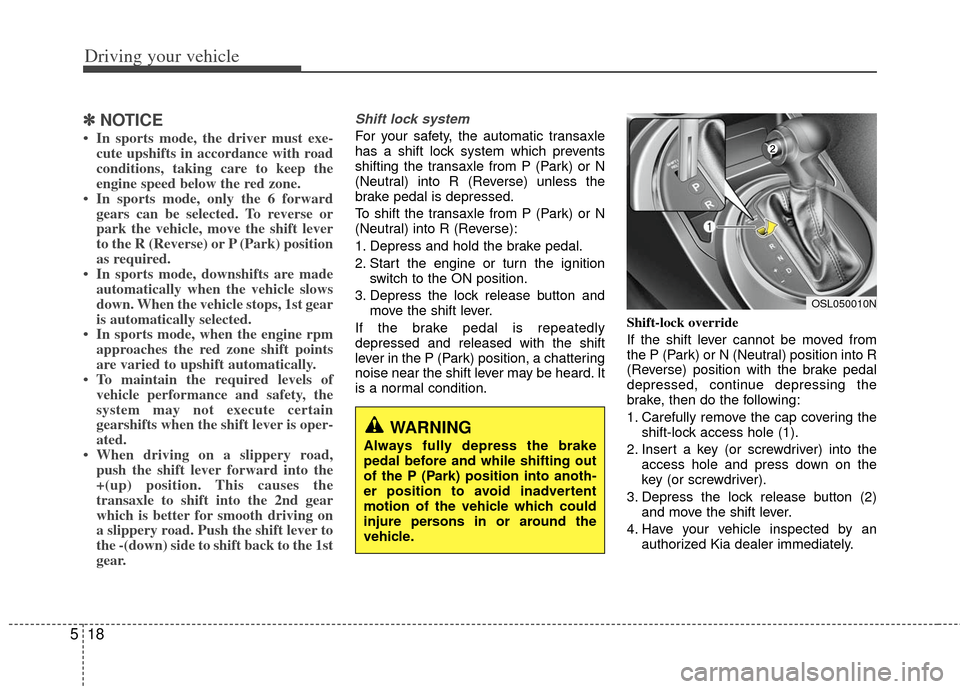
is a normal condition. Shift-lock override
If the shift lever cannot be moved from
the P (Park) or N (Neutral) position into R
(Reverse) position with the brake pedal
depressed, continue depressing the
brake, then do the following:
1. Carefully remove the cap covering the
shift-lock access hole (1).
2. Insert a key (or screwdriver) into the access hole and press down on the
key (or screwdriver).
3. Depress the lock release button (2) and move the shift lever.
4. Have your vehicle inspected by an authorized Kia dealer immediately.
WARNING
Always fully depress the brake
pedal before and while shifting out
of the P (Park) position into anoth-
er position to avoid inadvertent
motion of the vehicle which could
injure persons in or around the
vehicle.
OSL050010N
Page 260 of 387
529
Driving your vehicle
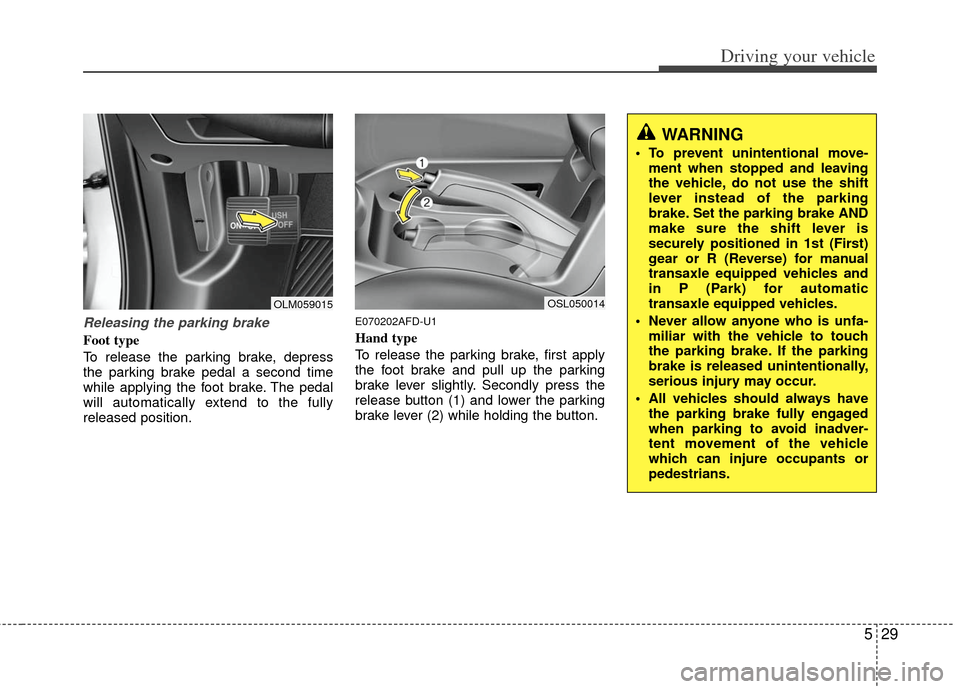
Releasing the parking brake
Foot type
To release the parking brake, depress
the parking brake pedal a second time
while applying the foot brake. The pedal
will automatically extend to the fully
released position.
E070202AFD-U1
Hand type
To release the parking brake, first apply
the foot brake and pull up the parking
brake lever slightly. Secondly press the
release button (1) and lower the parking
brake lever (2) while holding the button.
WARNING
To prevent unintentional move-ment when stopped and leaving
the vehicle, do not use the shift
lever instead of the parking
brake. Set the parking brake AND
make sure the shift lever is
securely positioned in 1st (First)
gear or R (Reverse) for manual
transaxle equipped vehicles and
in P (Park) for automatic
transaxle equipped vehicles.
Never allow anyone who is unfa- miliar with the vehicle to touch
the parking brake. If the parking
brake is released unintentionally,
serious injury may occur.
All vehicles should always have the parking brake fully engaged
when parking to avoid inadver-
tent movement of the vehicle
which can injure occupants or
pedestrians.
OLM059015OSL050014
Page 287 of 387
Driving your vehicle
56
5
E140400AUN
Driving with a trailer
Towing a trailer requires a certain
amount of experience. Before setting out
for the open road, you must get to know
your trailer. Acquaint yourself with the
feel of handling and braking with the
added weight of the trailer. And always
keep in mind that the vehicle you are
driving is now a good deal longer and not
nearly so responsive as your vehicle is
by itself.
Before you start, check the trailer hitch
and platform, safety chains, electrical
connector(s), lights, tires and mirror
adjustment. If the trailer has electric
brakes, start your vehicle and trailer mov-
ing and then apply the trailer brake con-
troller by hand to be sure the brakes are
working. This lets you check your electri-
cal connection at the same time.
During your trip, check occasionally to be
sure that the load is secure, and that the
lights and any trailer brakes are still work-
ing.
E140401AUN
Following distance
Stay at least twice as far behind the vehi-
cle ahead as you would when driving
your vehicle without a trailer. This can
help you avoid situations that require
heavy braking and sudden turns.
E140402AUN
Passing
You’ll need more passing distance up
ahead when you’re towing a trailer. And,
because of the increased vehicle length,
you’ll need to go much farther beyond the
passed vehicle before you can return to
your lane. Due to the added load to the
engine when going uphill the vehicle may
also take longer to pass than it would on
flat ground.
E140403AUN
Backing up
Hold the bottom of the steering wheel
with one hand. Then, to move the trailer
to the left, just move your hand to the left.
To move the trailer to the right, move your
hand to the right. Always back up slowly
and, if possible, have someone guide
you.
E140404AUN
Making turns
When you’re turning with a trailer, make
wider turns than normal. Do this so your
trailer won’t strike soft shoulders, curbs,
road signs, trees, or other objects near
the edge of the road. Avoid jerky or sud-
den maneuvers. Signal well in advance
before turning or lane changes.