Page 44 of 655

Four-Door Models
The lower left switch controls the left rear passenger
window, and the lower right switch controls the right
rear passenger window.
Auto-Down
Both the driver and front passenger window switches
have an “Auto-Down” feature. Press the window switch
past the first detent, release, and the window will go
down automatically. To cancel the Auto-Down move-
ment, operate the switch in either the up or down
direction and release the switch.
To stop the window from going all the way down during
the Auto-Down operation, pull up on the switch briefly.
To partially open the window, press halfway to the first
detent and release it when you want the window to stop. Window Lockout Switch — Four-Door Models
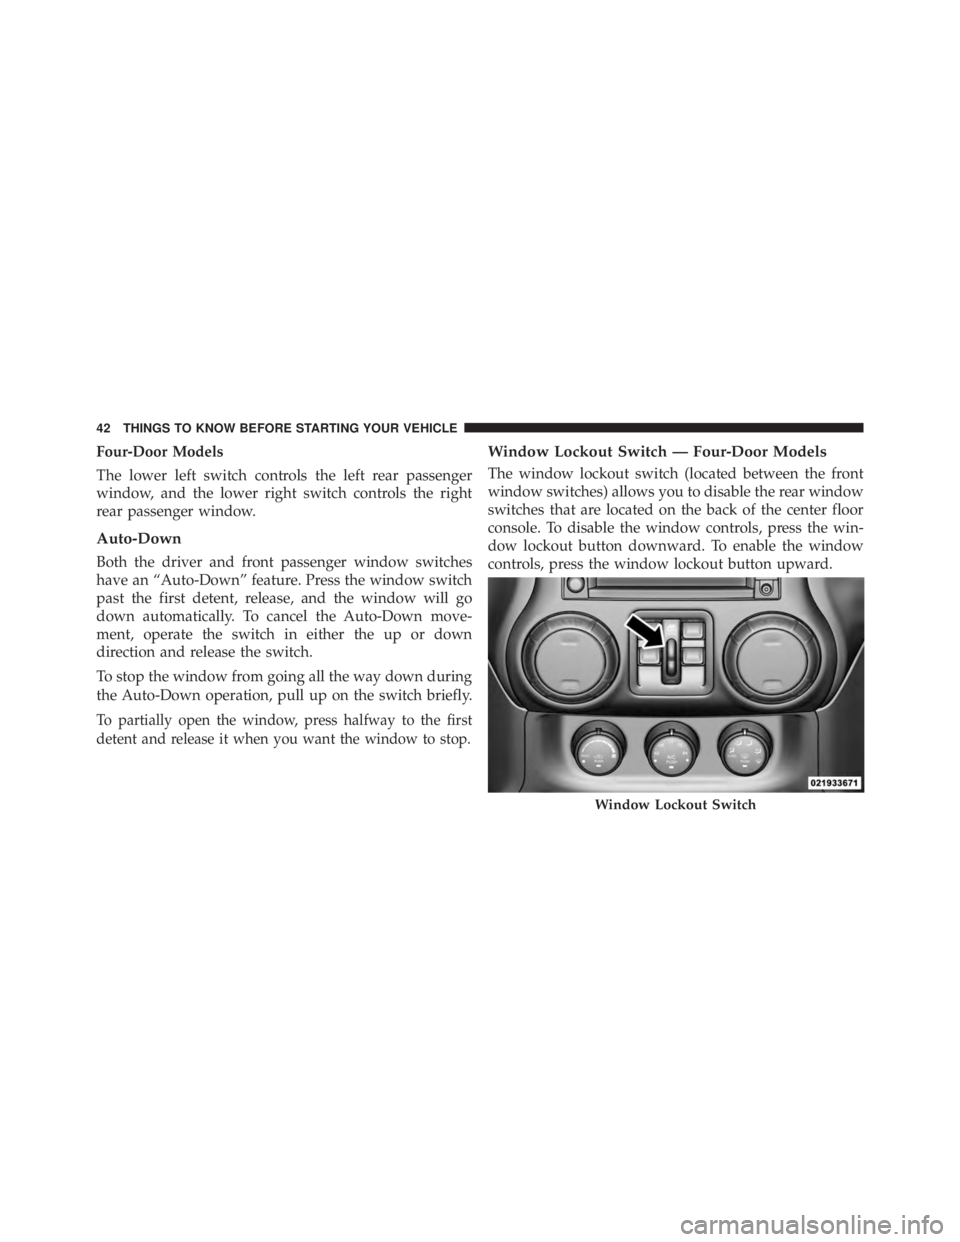
The window lockout switch (located between the front
window switches) allows you to disable the rear window
switches that are located on the back of the center floor
console. To disable the window controls, press the win-
dow lockout button downward. To enable the window
controls, press the window lockout button upward.
Window Lockout Switch42 THINGS TO KNOW BEFORE STARTING YOUR VEHICLE
Page 142 of 655
16. Can this wait?
17. Bye for now
18. When can we meet
19. Send number to call
20. Start without me
Turn SMS Incoming Announcement ON/OFF
Turning the SMS Incoming Announcement OFF will stop
the system from announcing the new incoming messages.
• Press the button.
• After the “Ready” prompt and the following beep, say
“Setup, Incoming Message Announcement,” you will
then be given a choice to change it. Bluetooth � Communication Link
Mobile phones have been found to lose connection to the
Uconnect™ Phone. When this happens, the connection
can generally be reestablished by switching the phone
off/on. Your mobile phone is recommended to remain in
Bluetooth � ON mode.
Power-Up
After switching the ignition key from OFF to either the
ON or ACC position, or after a language change, you
must wait at least five seconds prior to using the system.140 UNDERSTANDING THE FEATURES OF YOUR VEHICLE
Page 312 of 655

(e.g., snow plowing, off-road operation). If this “HOT-
OIL” message turns on, stop the vehicle and run the
engine at idle or faster with the transmission in NEU-
TRAL until the message turns off.
CAUTION!Continuous driving with the Transmission Tempera-
ture “HOTOIL” Warning message illuminated will
eventually cause severe transmission damage or
transmission failure.
WARNING!If the Transmission Temperature “HOTOIL” Warn-
ing message is illuminated and you continue operat-
ing the vehicle, in some circumstances you could
cause the fluid to boil over, come in contact with hot
engine or exhaust components and cause a fire. gASCAP
If the vehicle diagnostic system determines that the fuel
filler cap is loose, improperly installed, or damaged, a
“gASCAP” message will display in the odometer display
area. Tighten the fuel filler cap properly and press the
TRIP ODOMETER button to turn off the message. If the
problem continues, the message will appear the next time
the vehicle is started.
noFUSE
If the vehicle diagnostic system determines that the
Ignition Off Draw (IOD) fuse is improperly installed, or
damaged, a “noFUSE” message will display in the odom-
eter display area. For further information on fuses and
fuse locations refer to “Fuses” in “Maintaining Your
Vehicle”.310 UNDERSTANDING YOUR INSTRUMENT PANEL
Page 387 of 655

• Use the << SEEK and SEEK >> buttons to jump to the
previous or next track. Pressing the SEEK >> button
during play mode will jump to the next track in the
list, or press the VR button and say � Next or Previous
Track � .
• While a track is playing, press the INFO button to see
the associated metadata (artist, track title, album, etc.)
for that track. Pressing the INFO button again jumps
to the next screen of data for that track. Once all
screens have been viewed, the last INFO button press
will go back to the play mode screen on the radio.
• Pressing the REPEAT button will change the audio
device mode to repeat the current playing track or
press the VR button and say � Repeat ON � or � Repeat
Off � . • Press the SCAN button to use iPod � /USB/MP3 de-
vice scan mode, which will play the first 10 seconds of
each track in the current list and then forward to the
next song. To stop SCAN mode and start playing the
desired track, when it is playing the track, press the
SCAN button again. During Scan mode, pressing the
<< SEEK and SEEK >> buttons will select the previous
and next tracks.
• RND button (available on sales code RES radio only):
Pressing this button toggles between Shuffle ON and
Shuffle OFF modes for the iPod � or external USB
device, or press the VR button and say � Shuffle ON � or
� Shuffle Off � .Ifthe RND icon is showing on the radio
display, then the shuffle mode is ON.
4 UNDERSTANDING YOUR INSTRUMENT PANEL 385