Page 202 of 479
4113
Features of your vehicle
This function assists you when
reverse parking (back-in parking) or
parallel parking.
The parking guide system is only
available when the vehicle speed is
less than 10km/h.
Reverse parking
(Back-in parking)
1. Drive the vehicle to a proper place
to park.
2. Stop the vehicle and shift the
transmission lever to the R posi-
tion.
3. Select the reverse parking mode
by touching the icon on the
screen.
4. The parking guide line show on
the screen.
PARKING GUIDE SYSTEM (IF EQUIPPED)
WARNING
This is a supplementary sys-
tem. It is the responsibility of
the driver to always check the
area around the vehicle when
parking the vehicle.
OVI043078
Page 203 of 479
Features of your vehicle
114 4
5. Turn the steering wheel so that the
parking guide line is aligned with
the parking area.
6. Hold the steering wheel and care-
fully back up the vehicle until the
screen changes.7. Carefully back up the vehicle while
fitting the steering wheel guide line
to the parking area by turning the
steering wheel.
8. After parking, you can check the
bottom of the rear bumper by
selecting the icon "Top View" on
the screen.
Parallel parking
1. Stop the vehicle at a distance of
approximately 1 meter (3 feet) par-
allel to the parked vehicle (1) that
is in front of the desired parking
space. Make sure that the front of
the parked vehicle (1) is parallel to
your rear wheel.
2. Stop the vehicle and shift the trans-
mission lever to the R position.
3. Select the parallel parking mode
by touching the icon on
the screen.
OVI049173OVI049172
OVI049177
Page 204 of 479
4115
Features of your vehicle
4. Back up carefully parallel to the
parked vehicle (1) until the vertical
red guide line (2) is at the end of
the parked vehicle (1).
5. Stop the vehicle.
6. With the vehicle at standstill, turn
the steering wheel to the direction
of the parking space. The guide
lines will blink.
7. Continue turning the steering
wheel until the guide lines stop
blinking.8. Hold the steering wheel and care-
fully back up the vehicle until the
green guide line (1) is aligned with
the target parking line.
9. Stop the vehicle
10. With the vehicle at standstill, turn
the steering wheel to the oppo-
site direction until the screen
changes.11. Carefully back up the vehicle by
referring to the steering wheel
guide line (2).
12. After parking, you can check the
bottom of the rear bumper by
selecting the icon "Top View" on
the screen.
OVI049175OVI049179OVI049180L
Page 222 of 479
4133
Features of your vehicle
AUTOMATIC CLIMATE CONTROL SYSTEM (IF EQUIPPED)
1. Driver’s temperature control knob
2. Front windshield defrost button
3. Rear window defrost button
4. AUTO (automatic control) button
5. Fan speed control button
6. OFF button
7. Air intake control button /
AQS (Air quality system) button
8. Air conditioning button
9. 3 zone (Driver, passenger and rear side)
control button
10. Passenger’s temperature control knob
11. Mode selection button
12. Climate information screen selection
button
13. Fan speed control button
14. Off button (Rear)
15. Mode selection button (Rear)
16. AUTO (automatic control) button
17. Rear side temperature control button
18. AUTO (automatic control) or off button
19. LCD display
OVI043107/OVI043423/OVI043424/OVI043421
■ Front
■ Rear
• Type A • Type B
CAUTION
Operating the blower when the
engine start/stop button is in
the ON position could cause the
battery to discharge. Operate
the blower when the engine is
running.
Page 233 of 479

Features of your vehicle
144 4
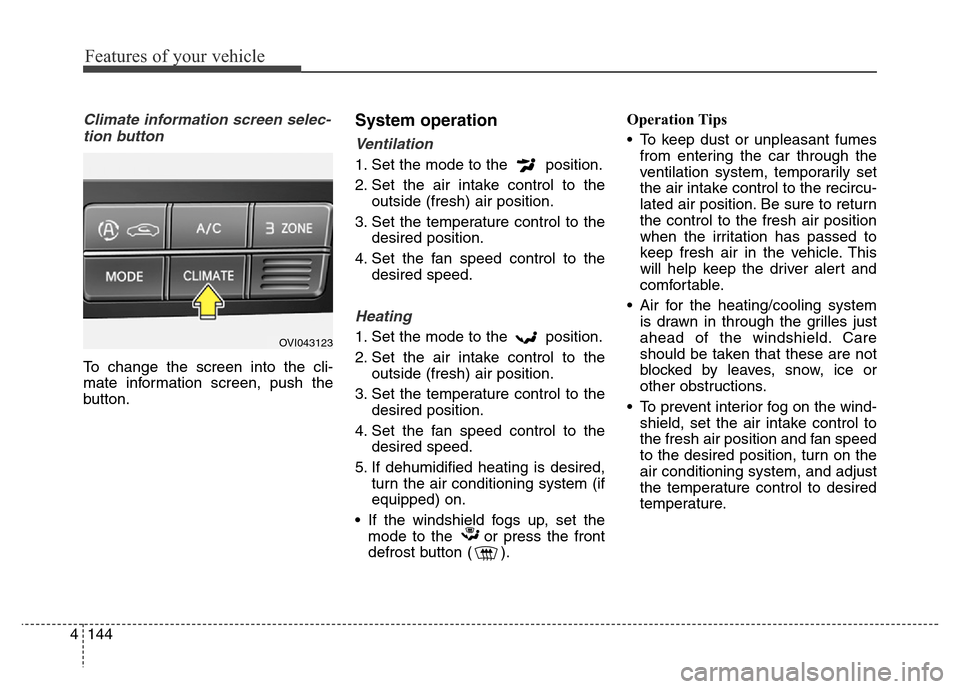
Climate information screen selec-
tion button
To change the screen into the cli-
mate information screen, push the
button.
System operation
Ventilation
1. Set the mode to the position.
2. Set the air intake control to the
outside (fresh) air position.
3. Set the temperature control to the
desired position.
4. Set the fan speed control to the
desired speed.
Heating
1. Set the mode to the position.
2. Set the air intake control to the
outside (fresh) air position.
3. Set the temperature control to the
desired position.
4. Set the fan speed control to the
desired speed.
5. If dehumidified heating is desired,
turn the air conditioning system (if
equipped) on.
• If the windshield fogs up, set the
mode to the or press the front
defrost button ( ).Operation Tips
• To keep dust or unpleasant fumes
from entering the car through the
ventilation system, temporarily set
the air intake control to the recircu-
lated air position. Be sure to return
the control to the fresh air position
when the irritation has passed to
keep fresh air in the vehicle. This
will help keep the driver alert and
comfortable.
• Air for the heating/cooling system
is drawn in through the grilles just
ahead of the windshield. Care
should be taken that these are not
blocked by leaves, snow, ice or
other obstructions.
• To prevent interior fog on the wind-
shield, set the air intake control to
the fresh air position and fan speed
to the desired position, turn on the
air conditioning system, and adjust
the temperature control to desired
temperature.OVI043123
Page 251 of 479

Features of your vehicle
162 4
Clock settings
with Navigation model
- GPS Time check
The clock is automatically updated
through the GPS time.
- GPS Time non-check
The clock can be manually adjusted.
1. Select the "System Settings" in the
"INFO" screen.
2. Select the "Clock Settings".
3. Select the "Time Settings" by
rotating the controller on the cen-
ter console panel.Without Navigation model
The clock can be manually adjusted.
1. Select the "System Settings" in the
"INFO" screen.
2. Select the "Clock Settings".
3. Select the "Time Settings" by
rotating the controller on the cen-
ter console panel.
For more details, please refer to the
Audio or Navigation Manual that was
supplied with your vehicle.
Clothes hanger (if equipped)
WARNING
Do not adjust the clock while
driving. You may lose your
steering control and cause an
accident that results in severe
personal injury or death.
CAUTION
Do not hang heavy clothes, since
those may damage the hook.
OVI049140
WARNING
Do not hang other objects
except clothes. In an accident it
may cause vehicle damage or
personal injury.
Page 313 of 479

Driving your vehicle
56 5
Smart cruise control speed
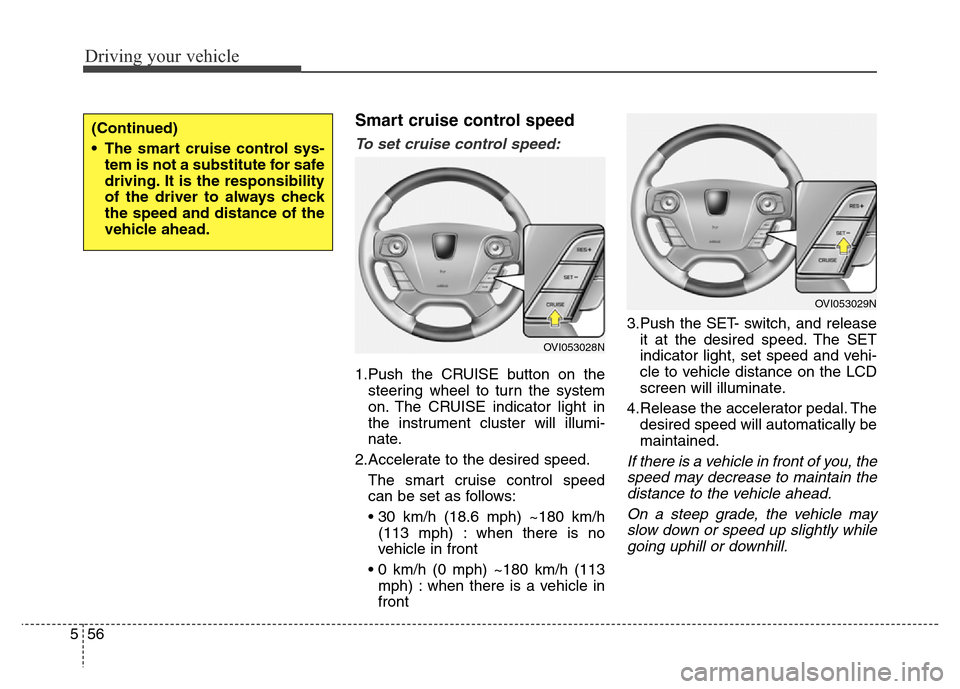
To set cruise control speed:
1.Push the CRUISE button on the
steering wheel to turn the system
on. The CRUISE indicator light in
the instrument cluster will illumi-
nate.
2.Accelerate to the desired speed.
The smart cruise control speed
can be set as follows:
• 30 km/h (18.6 mph) ~180 km/h
(113 mph) : when there is no
vehicle in front
• 0 km/h (0 mph) ~180 km/h (113
mph) : when there is a vehicle in
front3.Push the SET- switch, and release
it at the desired speed. The SET
indicator light, set speed and vehi-
cle to vehicle distance on the LCD
screen will illuminate.
4.Release the accelerator pedal. The
desired speed will automatically be
maintained.
If there is a vehicle in front of you, the
speed may decrease to maintain the
distance to the vehicle ahead.
On a steep grade, the vehicle may
slow down or speed up slightly while
going uphill or downhill.
(Continued)
• The smart cruise control sys-
tem is not a substitute for safe
driving. It is the responsibility
of the driver to always check
the speed and distance of the
vehicle ahead.
OVI053028N
OVI053029N