Page 238 of 433

Continued
237
uuRear Entertainment System
*uOperating the System
Features
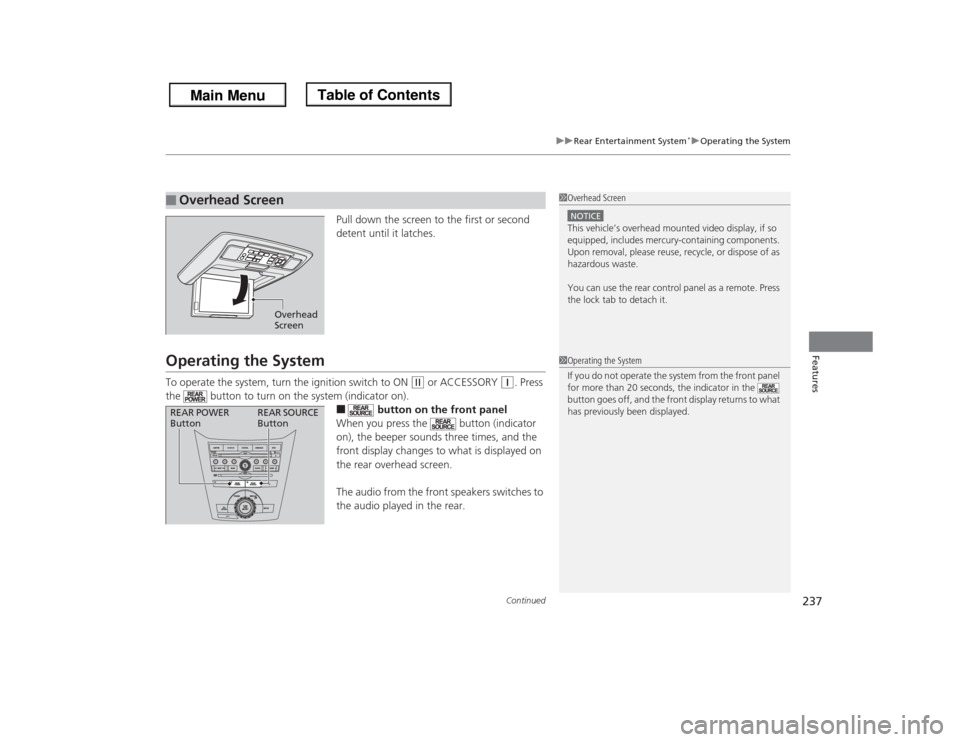
Pull down the screen to the first or second
detent until it latches.
Operating the SystemTo operate the system, turn the ignition switch to ON
(w
or ACCESSORY
(q
. Press
the button to turn on the system (indicator on).
■
button on the front panel
When you press the button (indicator
on), the beeper sounds three times, and the
front display changes to what is displayed on
the rear overhead screen.
The audio from the front speakers switches to
the audio played in the rear.
■
Overhead Screen
1Overhead ScreenNOTICEThis vehicle’s overhead mounted video display, if so
equipped, includes mercury-containing components.
Upon removal, please reuse, recycle, or dispose of as
hazardous waste.
You can use the rear control panel as a remote. Press
the lock tab to detach it.
Overhead
Screen
1Operating the System
If you do not operate the system from the front panel
for more than 20 seconds, the indicator in the
button goes off, and the front display returns to what
has previously been displayed.
REAR POWER
ButtonREAR SOURCE
Button
Page 253 of 433

252Features
HomeLink® Universal Transceiver
*
The HomeLink® Universal Transceiver can be programmed to operate up to three
remote controlled devices around your home, such as garage doors, lighting, or
home security systems.
Refer to the safety information that comes with your garage door opener to test that
the safety features are functioning properly. If you do not have the safety
information, contact the manufacturer.
Before programming HomeLink, make sure that people and objects are out of the
way of the garage or gate to prevent potential injury or damage.
When programming a garage door opener, park just outside the garage door’s
path.Training HomeLink
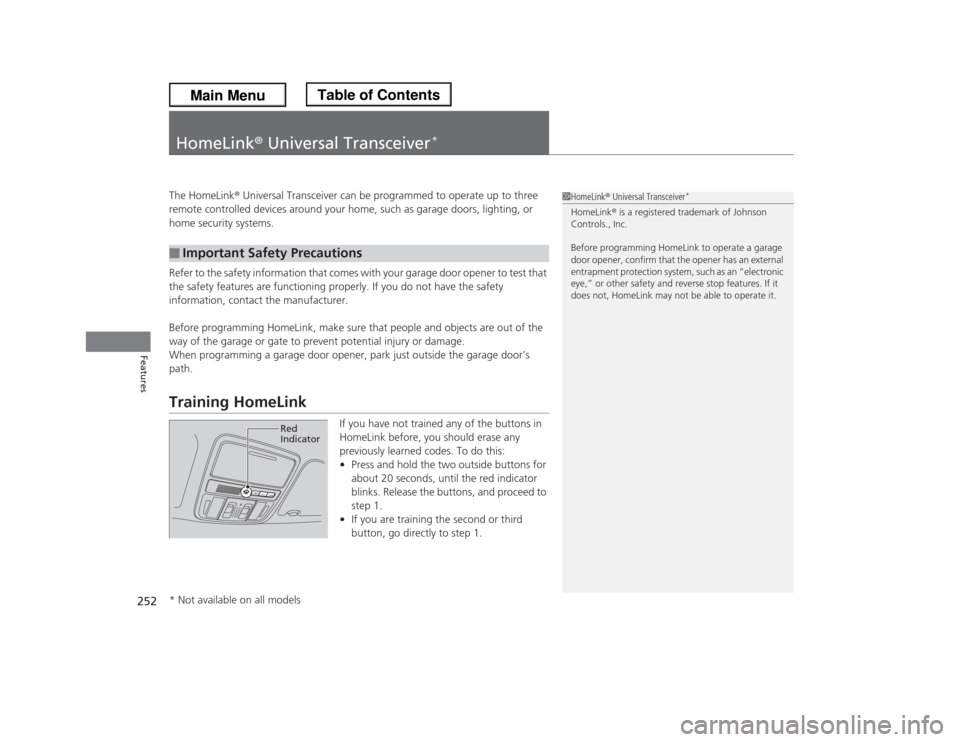
If you have not trained any of the buttons in
HomeLink before, you should erase any
previously learned codes. To do this:
•Press and hold the two outside buttons for
about 20 seconds, until the red indicator
blinks. Release the buttons, and proceed to
step 1.
•If you are training the second or third
button, go directly to step 1.
■
Important Safety Precautions
1HomeLink® Universal Transceiver
*
HomeLink® is a registered trademark of Johnson
Controls., Inc.
Before programming HomeLink to operate a garage
door opener, confirm that the opener has an external
entrapment protection system, such as an “electronic
eye,” or other safety and reverse stop features. If it
does not, HomeLink may not be able to operate it.
Red
Indicator
* Not available on all models
Page 254 of 433
253
uuHomeLink® Universal Transceiver
*uTraining HomeLink
Features
■
Training a Button
1Training a Button
Retraining a Button
If you want to retrain a programmed button for a
new device, you do not have to erase all button
memory. You can replace the existing memory code
using this procedure.
Erasing Codes
To erase all the codes, press and hold the two outside
buttons until the HomeLink indicator begins to blink
(about 10 to 20 secs). You should erase all codes
before selling the vehicle.
If you have any problems, see the device’s
instructions, visit www.homelink.com, or call
HomeLink at (800) 355-3515.
1.2.Standard transmitterIndicator remains on
for about 25 secs.
Rolling code transmitterIndicator blinks rapidly for
two secs, then remains on
for about 23 secs. Press and hold the desired HomeLink button
until the HomeLink indicator begins to blink.
Continue to hold the HomeLink button and
follow steps 1 - 3 under
Page 256 of 433
255
uuBluetooth® HandsFreeLink®uUsing HFL
Features
The audio/information screen shows call
status and phone information.
■
HFL Status Display
1Bluetooth® HandsFreeLink®
Bluetooth® Wireless Technology
The Bluetooth® word mark and logos are registered
trademarks owned by Bluetooth SIG, Inc., and any
use of such marks by Honda Motors Co., Ltd., is
under license. Other trademarks and trade names are
those of their respective owners.
HFL Limitations
An incoming call on HFL will interrupt the audio
system when it is playing. It will resume when the call
is ended.
Signal Strength
HFL Mode
Battery Level
Status Roam Status
Call NameBluetooth IndicatorComes on when your
phone is connected to
HFL.
1HFL Status Display
The information that appears on the audio/
information screen varies between phone models.
You can change the system language to English,
French, or Spanish.
2Customized Features P. 101
Page 278 of 433

277Features
Compass
*
When you turn the ignition switch to ON
(w
, the compass self-calibrates, and the
compass display appears.
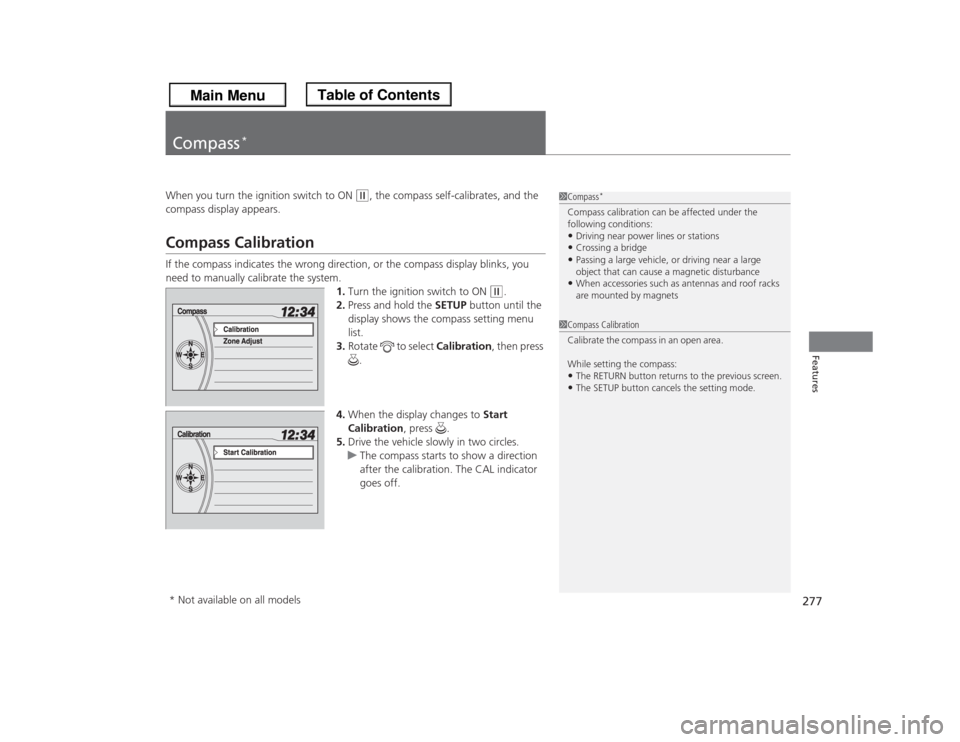
Compass CalibrationIf the compass indicates the wrong direction, or the compass display blinks, you
need to manually calibrate the system.
1.Turn the ignition switch to ON
(w
.
2.Press and hold the SETUP button until the
display shows the compass setting menu
list.
3.Rotate to select Calibration, then press
.
4.When the display changes to Start
Calibration, press .
5.Drive the vehicle slowly in two circles.
uThe compass starts to show a direction
after the calibration. The CAL indicator
goes off.
1Compass
*
Compass calibration can be affected under the
following conditions:•Driving near power lines or stations•Crossing a bridge•Passing a large vehicle, or driving near a large
object that can cause a magnetic disturbance•When accessories such as antennas and roof racks
are mounted by magnets
1Compass Calibration
Ca libra te the comp as s in a n ope n are a .
While setting the compass:•The RETURN button returns to the previous screen.•The SETUP button cancels the setting mode.
* Not available on all models
Page 283 of 433
282
uuBefore DrivinguDriving Preparation
Driving
•Be sure items placed on the floor behind the front seats cannot roll under the
seats.
uThey can interfere with the driver's ability to operate the pedals, the operation
of the seats, or the operation of the sensors under the seats.
•Everyone in the vehicle must fasten their seat belt.
2Fastening a Seat Belt P. 33
•Make sure that the indicators in the instrument panel come on when you start the
vehicle, and go off soon after.
uAlways have a dealer check the vehicle if a problem is indicated.
2Indicators P. 72
Page 293 of 433

uuWhen DrivinguStarting the Engine
292Driving
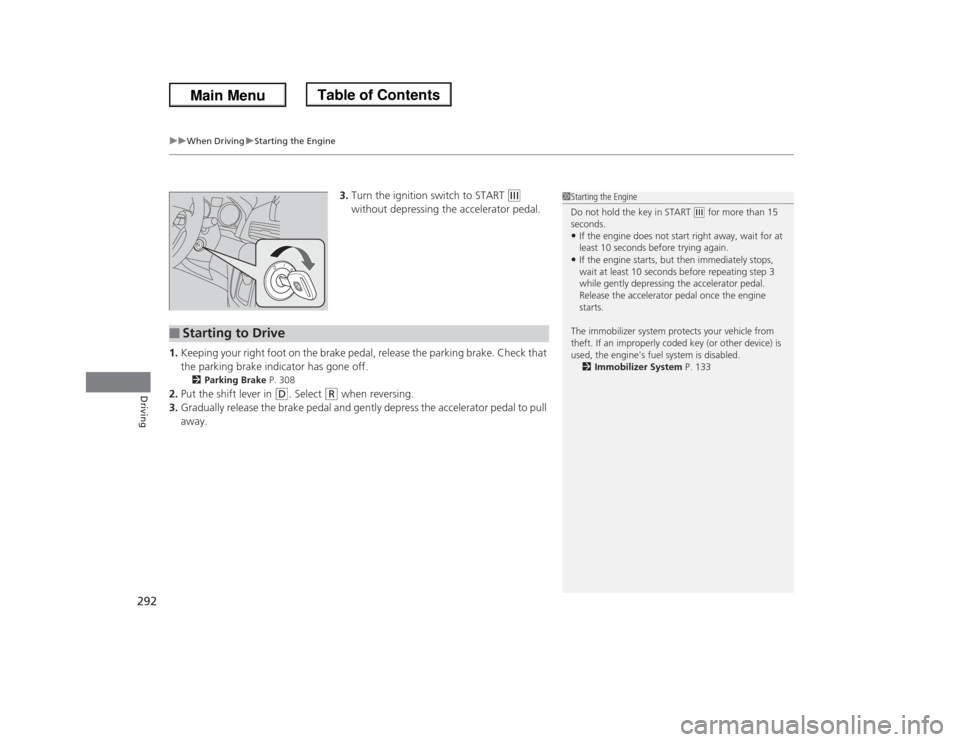
3.Turn the ignition switch to START
(e
without depressing the accelerator pedal.
1.Keeping your right foot on the brake pedal, release the parking brake. Check that
the parking brake indicator has gone off.
2Parking Brake P. 308
2.Put the shift lever in
(D
. Select
(R
when reversing.
3.Gradually release the brake pedal and gently depress the accelerator pedal to pull
away.
1Starting the Engine
Do not hold the key in START
(e for more than 15
seconds.
•If the engine does not start right away, wait for at
least 10 seconds before trying again.•If the engine starts, but then immediately stops,
wait at least 10 seconds before repeating step 3
while gently depressing the accelerator pedal.
Release the accelerator pedal once the engine
starts.
The immobilizer system protects your vehicle from
theft. If an improperly coded key (or other device) is
used, the engine's fuel system is disabled.
2Immobilizer System P. 133
■
Starting to Drive
Page 297 of 433

uuWhen DrivinguShifting
296Driving
■
Shift Lever Operation
1Shift Lever OperationNOTICEWhen you change the shift lever from
(D to
(R and
vice versa, come to a complete stop and keep the
brake pedal depressed.
Operating the shift lever before the vehicle has come
to a complete standstill can damage the transmission.
Use the shift lever position indicator to check the
lever position before pulling away.
Whichever position the shift lever is in when driving,
a blinking
(D indicator indicates a transmission
problem.
Avoid sudden acceleration and have the transmission
checked by a dealer as soon as possible.
The fuel supply may be cut off if you drive at engine
speeds in or over the tachometer’s red zone (engine
speed limit). If this happens, you may experience a
slight jolt.
It may not be possible to operate the shift lever if the
brake pedal is applied while the shift lever release
button is held down.
Depress the brake pedal first.
Tachometer's red zone Shift Lever Position Indicator
Depress the brake pedal and
press the shift lever release button to shift.
Shift without pressing the shift lever
release button.
Press the shift lever release button and
shift.D3/D4 Indicator