Page 93 of 433
uuGauges and DisplaysuAudio/Information Screen
92Instrument Panel
Shows the current audio information.2Audio System Basic Operation P. 197Shows the instant fuel economy, average fuel economy, distance (trip meter),
average speed, elapsed time, and range.2Instant Fuel Economy P. 88
2Trip Meter P. 88
2Range P. 88■Average speed
Shows the average speed in mph (U.S.) or km/h (Canada).■Elapsed time
Shows the time during one drive cycle.
Shows a clock screen or an image you import.2Wallpaper Setup P. 94Minimizes the display by only showing the compass, audio status, and clock on the
upper part of the display.■
Audio Display
■
Trip Computer
■
Wallpaper
■
Minimum Display
1Trip Computer
You can reset the trip computer.
2Trip Computer Reset P. 96
Page 94 of 433
93
uuGauges and DisplaysuAudio/Information Screen
Continued
Instrument Panel
1.Press the SETUP button.
2.Rotate and select the setup option you
want to change. Press .
2DVD setup from the front panel P. 239
2Phone Setup P. 259
2To Create a Security Code P. 264
2Automatic Answering P. 265
2Automatic Transferring P. 265
2To Clear the System P. 266
2Speed Dial P. 268■
Setting Options
■
DVD Setup
*
■
Phone Setup
*
* Not available on all models
Page 95 of 433

uuGauges and DisplaysuAudio/Information Screen
94Instrument Panel
You can change, store, delete the wallpaper on the audio/information screen.
See the navigation system manual for how to change the wallpaper.■Importing pictures from USB
You can import up to five images, one at a time, for wallpaper from USB flash drive.
Select Import picture from USB from setup menu and properly connect a USB
flash drive to store an image.
1.Connect the USB flash drive to the adapter
cable.
2USB Adapter Cable P. 195
2.Press the SETUP button.
3.Rotate to select Wallpaper Setup,
then press .
4.Rotate to select Import picture from
USB, then press .
5.Rotate to select a desired picture, then
press .
uLoading Picture will appear on the
display.
■
Wallpaper Setup
1Wallpaper Setup•When importing wallpaper files, the image must be
in the USB flash drive’s root directory.
Images in a folder cannot be imported.•The file format of the image that can be imported
is BMP (bmp) or JPEG (jpg).•The maximum image size is 1,024 x 768 pixels.
Smaller images are displayed in the middle of the
screen with the extra area appearing in black.
If the USB flash drive does not have any pictures, No
Files will appear.
Models with navigation system
Page 96 of 433
95
uuGauges and DisplaysuAudio/Information Screen
Continued
Instrument Panel
6.The preview of the imported data is
displayed.
7.Rotate to select OK, then press .
uThe imported list number and the
confirmation message will appear. Then
the display will return to the import
wallpaper list.
■Choose wallpaper
1.Rotate to select Choose Wallpaper on the wallpaper setup menu, then press
.
uThe screen will change to the wallpaper list.
2.Rotate to select desired wallpaper and press .
3.Your selection will be indicated by the filled in circle.
uYou can also select Default Wallpaper (Honda logo) or Clock on the list.■Delete wallpaper
1.Rotate to select Delete Picture from mem on the wallpaper setup menu,
then press .
uThe screen will change to the delete wallpaper list.
2.Rotate to select wallpaper that you want to delete and press .
uThe confirmation message will appear.
3.Rotate to select Yes, then press to delete completely.
Page 97 of 433
96
uuGauges and DisplaysuAudio/Information Screen
Instrument Panel
You can reset all data on the trip computer.
1.Press the SETUP button.
2.Rotate to select Trip Computer Reset,
then press .
3.Rotate to Trip A or Trip B, then press
.
uThe confirmation message will appear.
4.Rotate to select Yes, then press to
reset completely.
■
Trip Computer Reset
Page 98 of 433
97
uuGauges and DisplaysuAudio/Information Screen
Instrument Panel
■Brightness/Contrast
If you select Brightness or Contrast, adjust
the setting by rotating and pressing .■Menu Color
If you select Menu Color, rotate to setting
you want, then press .■
Display Setup
Page 141 of 433
140Controls
Operating the Switches Around the Steering WheelIgnition Switch
1Ignition Switch
You cannot take the key out unless the shift lever is
in
(P.
If you open the driver's door when the key is in LOCK
(0 or ACCESSORY
(q, a warning buzzer will sound
to remind you to take the key out.
When this happens, the following messages appear
on the multi-information display
*:
•In LOCK
(0: REMOVE KEY.
•In ACCESSORY
(q: REMOVE KEY The buzzer will
stop when you take the key out.
If the key won't turn from LOCK
(0 to ACCESSORY
(q, turn the key while moving the steering wheel left
and right. The steering wheel will unlock, allowing
the key to turn.
(0 LOCK: Insert and remove the key in this
position.(q ACCESSORY: Operate the audio system and
other accessories in this position.(w ON: This is the position when driving.(e START: This position is for starting the engine.
The switch returns to ON
(w when you let go of
the key.
* Not available on all models
Page 194 of 433

193
Features
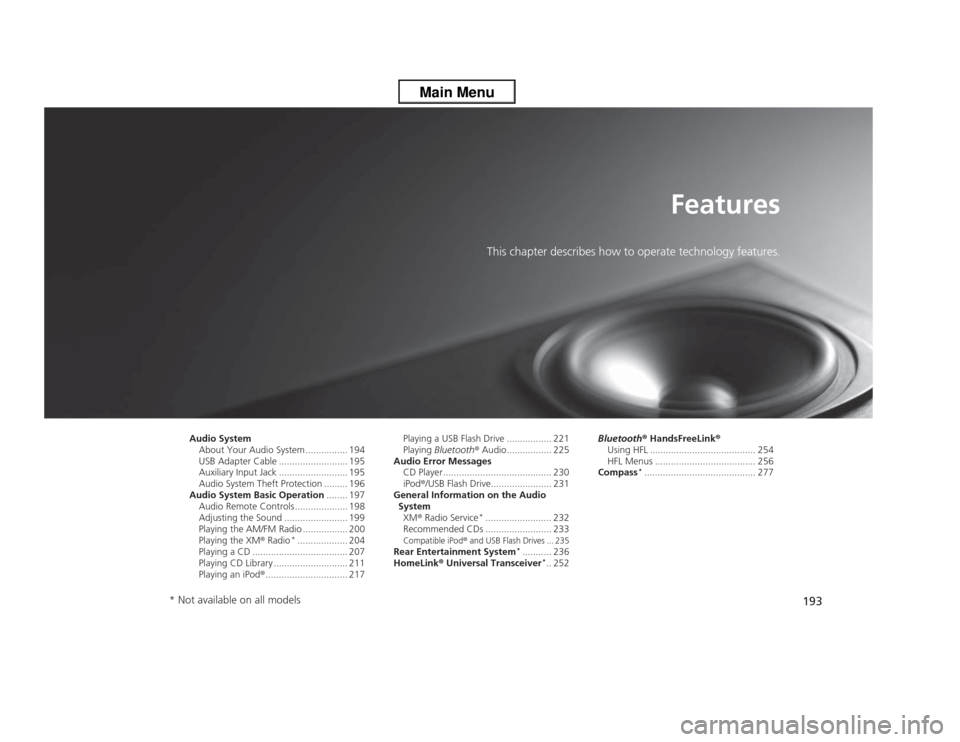
This chapter describes how to operate technology features.
Audio System
About Your Audio System ................ 194
USB Adapter Cable .......................... 195
Auxiliary Input Jack .......................... 195
Audio System Theft Protection ......... 196
Audio System Basic Operation........ 197
Audio Remote Controls .................... 198
Adjusting the Sound ........................ 199
Playing the AM/FM Radio ................. 200
Playing the XM® Radio
*................... 204
Playing a CD .................................... 207
Playing CD Library ............................ 211
Playing an iPod®............................... 217Playing a USB Flash Drive ................. 221
Playing Bluetooth® Audio................. 225
Audio Error Messages
CD Player ......................................... 230
iPod®/USB Flash Drive....................... 231
General Information on the Audio
System
XM® Radio Service
*......................... 232
Recommended CDs ......................... 233
Compatible iPod
® and USB Flash Drives ... 235
Rear Entertainment System
*........... 236
HomeLink® Universal Transceiver
*.. 252Bluetooth® HandsFreeLink®
Using HFL ........................................ 254
HFL Menus ...................................... 256
Compass
*.......................................... 277
* Not available on all models