2013 HONDA CROSSTOUR ECO mode
[x] Cancel search: ECO modePage 530 of 573

Continued529
uuJump Startingu
Handling the Unexpected
4.Connect the other end of the second
jumper cable to the engine mounting bolt
(4-cylinder models)/engine hanger
(6-cylinder models) as shown.
Do not connect this jumper cable to any other part.
5. If your vehicle is connected to another
vehicle, start the assisting vehicle’s engine
and increase its rpm slightly.
6. Attempt to start your vehicle’s engine. If it
turns over slowly, check that the jumper
cables have good metal-to-metal contact.1Jump Starting
Battery performance degrades in cold conditions and
may prevent the engine from starting.4-cylinder models
6-cylinder models
Main MenuTable of contents
Page 535 of 573

534
Handling the Unexpected
Indicator, Coming On/Blinking
If the Low Oil Pressure Indicator Comes On■Reasons for the indicator to come on
Comes on when the engine oil pressure is low. ■ What to do as soon as the indicator comes on
1. Immediately park the vehicle in a safe place.
2. If necessary, turn the hazard warning lights on.
■ What to do after parking the vehicle
1. Stop the engine and let it sit for about one minute.
2. Open the hood and check the oil level.
uAdd oil as necessary.
3. Start the engine and check the low oil pressure indicator.
uThe light goes out: Start driving again.uThe light does not go out within 10 seconds: Stop the engine and
contact a dealer for repairs immediately.
If the Charging System Indicator Comes On
■Reasons for the indicator to come on
Comes on when the battery is not being charged. ■ What to do when the indicator comes on
Turn off the heating and cooling system *
/climate control system *
, rear
defogger, and other electrical systems, and immediately contact a dealer for repairs.
1If the Low Oil Pressure Indicator Comes On
NOTICERunning the engine with low oil pressure can cause
serious mechanical damage almost immediately.
1If the Charging System Indicator Comes On
If you need to stop temporarily, do not turn off the
engine. Restarting the engine may rapidly discharge the battery.
* Not available on all models
Main MenuTable of contents
Page 537 of 573

536
uuIndicator, Coming On/BlinkinguIf the Brake System Indicator (Red) Comes On
Handling the Unexpected
If the Brake System Indicator (Red) Comes On■Reasons for the indicator to come on
• The brake fluid is low.
• There is a malfunction in the brake system.
■ What to do when the indicator comes on while driving
Press the brake pedal lightly to check pedal pressure. • If normal, check the brake fluid level the next time you stop.
• If abnormal, take immediate action. If necessary, downshift the
transmission to slow the ve hicle using engine braking.
If the EPS System Indicator Comes On
■Reasons for the indicator to come on
• Comes on when there is a problem with EPS system.
• If you depress the accelerator pedal repeatedly to increase the engine
speed while the engine is idling, the indicator comes on, and
sometimes the steering wheel becomes harder to operate.
■ What to do when the indicator comes on
Stop the vehicle in a safe place and restart the engine.
If the indicator comes on and stays on, immediately have your vehicle inspected by a dealer.
1If the Brake System Indicator (Red) Comes On
Have your vehicle repaired immediately.
It is dangerous to drive with low brake fluid. If there
is no resistance from the brake pedal, stop
immediately in a safe place. If necessary downshift
the gears.
If the brake system indicator and ABS indicator come
on simultaneously, the electronic brake distribution
system is not working. This can result in vehicle
instability under sudden braking.
Have your vehicle inspected by a dealer immediately.U.S.
Canada
1If the EPS System Indicator Comes On
NOTICEIf you repeatedly turn the steering wheel at an
extremely low speed, or hold the steering wheel on
the full left or right position for a while, the system
heats up. The system goes into a protective mode,
and limits its performance. The steering wheel
becomes harder and harder to operate. Once the
system cools down, EPS is restored. Repeated
operation under these conditions can eventually
damage the system.6-cylinder models
Main MenuTable of contents
Page 554 of 573

553
Continued
Information
Emissions Testing
Testing of Readiness Codes
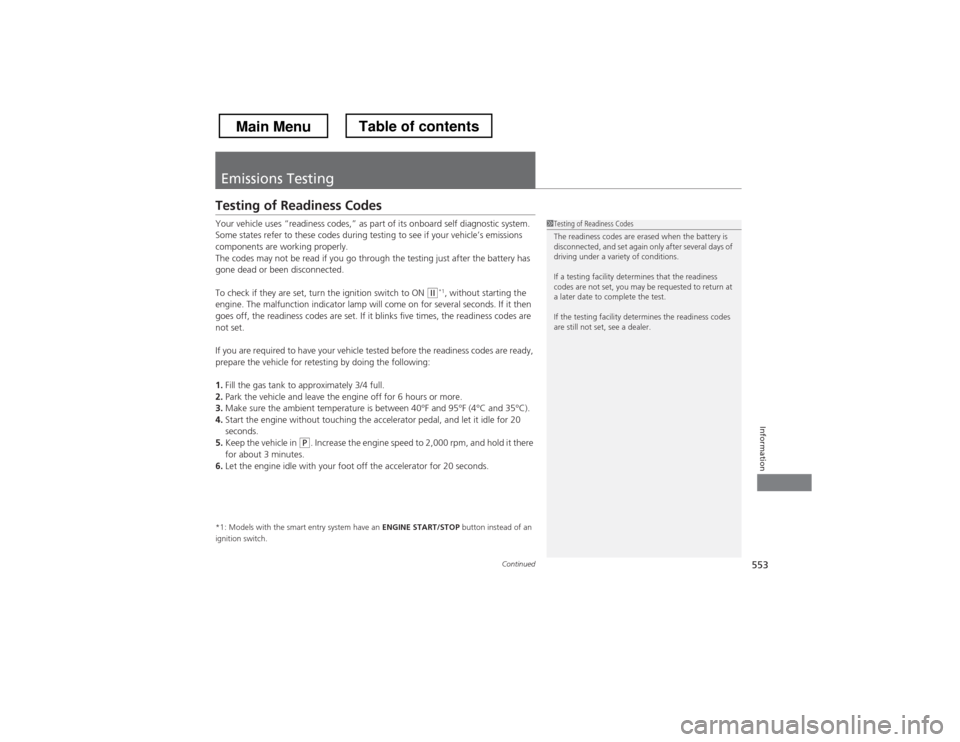
Your vehicle uses “readiness codes,” as part of its onboard self diagnostic system.
Some states refer to these codes during testing to see if your vehicle’s emissions
components are working properly.
The codes may not be read if you go through the testing just after the battery has
gone dead or been disconnected.
To check if they are set, turn the ignition switch to ON
(w *1
, without starting the
engine. The malfunction indicator lamp will come on for several seconds. If it then
goes off, the readiness codes are set. If it blinks five times, the readiness codes are not set.
If you are required to have your vehicle tested before the readiness codes are ready,
prepare the vehicle for retesting by doing the following: 1. Fill the gas tank to approximately 3/4 full.
2. Park the vehicle and leave the engine off for 6 hours or more.
3. Make sure the ambient temperature is between 40°F and 95°F (4°C and 35°C).
4. Start the engine without touching the accelerator pedal, and let it idle for 20
seconds.
5. Keep the vehicle in
(P . Increase the engine speed to 2,000 rpm, and hold it there
for about 3 minutes.
6. Let the engine idle with your foot off the accelerator for 20 seconds.
*1: Models with the smart entry system have an ENGINE START/STOP button instead of an
ignition switch.
1Testing of Readiness Codes
The readiness codes are erased when the battery is
disconnected, and set again only after several days of
driving under a variety of conditions.
If a testing facility determines that the readiness
codes are not set, you may be requested to return at
a later date to complete the test.
If the testing facility determines the readiness codes
are still not set, see a dealer.
Main MenuTable of contents
Page 558 of 573

557
Information
Authorized Manuals
■Service Express
For electronic copies of service publications, you can purchase a subscription to
Service Express. Visit www.techinfo.honda.com for pricing and options.
■ For U.S. Owners:
The publications listed below can be purchased from Helm Incorporated. You can
order a manual by phone at (800) 782-4356 (credit card orders only), or online at
www.helminc.com .
Make an inquiry to Helm Inc. at (800) 782-4356 if you are interested in ordering
other models’ or other years’ manuals.
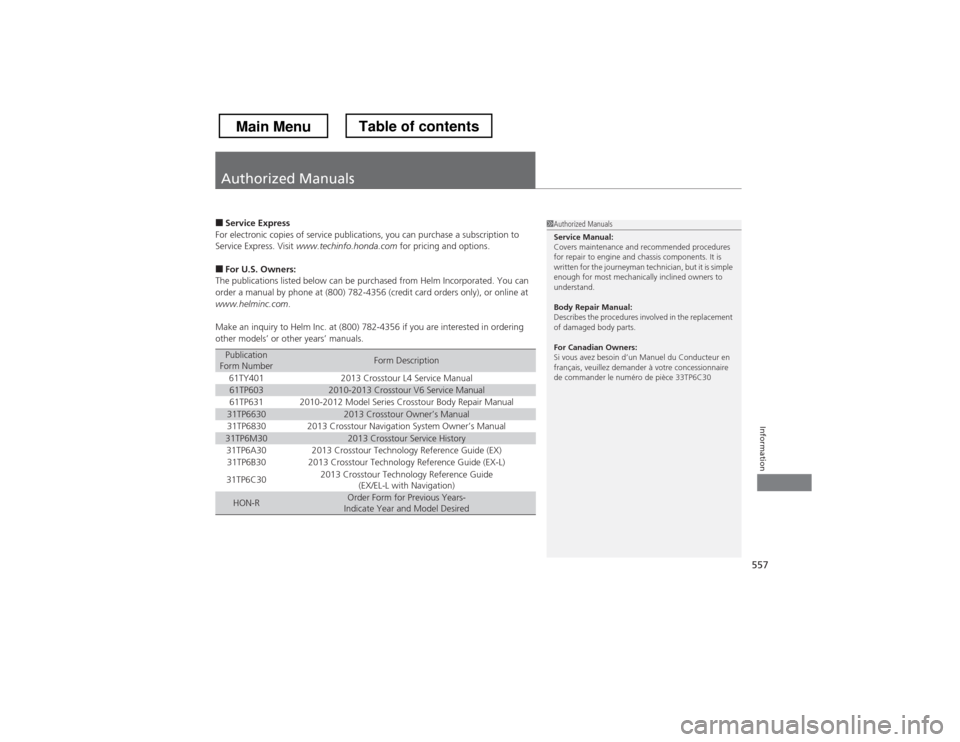
Publication
Form NumberForm Description
61TY4012013 Crosstour L4 Service Manual61TP6032010-2013 Crosstour V6 Service Manual61TP6312010-2012 Model Series Crosstour Body Repair Manual31TP66302013 Crosstour Owner’s Manual31TP68302013 Crosstour Navigation System Owner’s Manual31TP6M302013 Crosstour Service History31TP6A302013 Crosstour Technology Reference Guide (EX)31TP6B302013 Crosstour Technology Reference Guide (EX-L)
31TP6C302013 Crosstour Technology Reference Guide (EX/EL-L with Navigation)
HON-ROrder Form for Previous Years-
Indicate Year and Model Desired
1Authorized Manuals Service Manual:
Covers maintenance and recommended procedures
for repair to engine and chassis components. It is
written for the journeyman technician, but it is simple
enough for most mechanically inclined owners to
understand.
Body Repair Manual:
Describes the procedures involved in the replacement
of damaged body parts.
For Canadian Owners:
Si vous avez besoin d’un Manuel du Conducteur en
français, veuillez demander à votre concessionnaire
de commander le numéro de pièce 33TP6C30
Main MenuTable of contents
Page 568 of 573

567
Index
N
Numbers (Identification)......................... 550
O
Odometer ................................................... 84
Oil (Engine) .............................................. 472
Adding ................................................... 475
Checking ................................................ 473
Displaying Oil Life ................................... 465
Low Oil Pressure Indicator ................. 70, 534
Recommended Engine Oil ....................... 472
Viscosity.................................................. 472
Opening/Closing
Hood ...................................................... 471
Moonroof ............................................... 113
Power Windows...................................... 110
Tailgate................................................... 105
Outside Temperature ................................ 86
Adjusting .................................................. 86
Overheating ............................................. 532
P
Paddle Shifters (Sequential Shift Mode) ..................................................... 430
Pandora ®.......................................... 208, 261
Panic Mode ............................................... 109
Parking ..................................................... 453
Parking Brake ........................................... 449 Parking Brake and Brake System
Indicator ............................................ 70, 536
Passenger Airbag Off Indicator ................. 51
Passing Indicators ..................................... 119
Power Windows ........................................ 110
Precautions While Driving ....................... 424
Rain......................................................... 424
Pregnant Women ....................................... 37
Puncture (Tire) .......................................... 517
R
Radiator .................................................... 479
Radio (AM/FM) .......................... 171, 193, 232
Radio (XM ®) ...................................... 197, 236
Radio Data System (RDS) .......... 172, 195, 234
RDS (Radio Data System) .......... 172, 195, 234
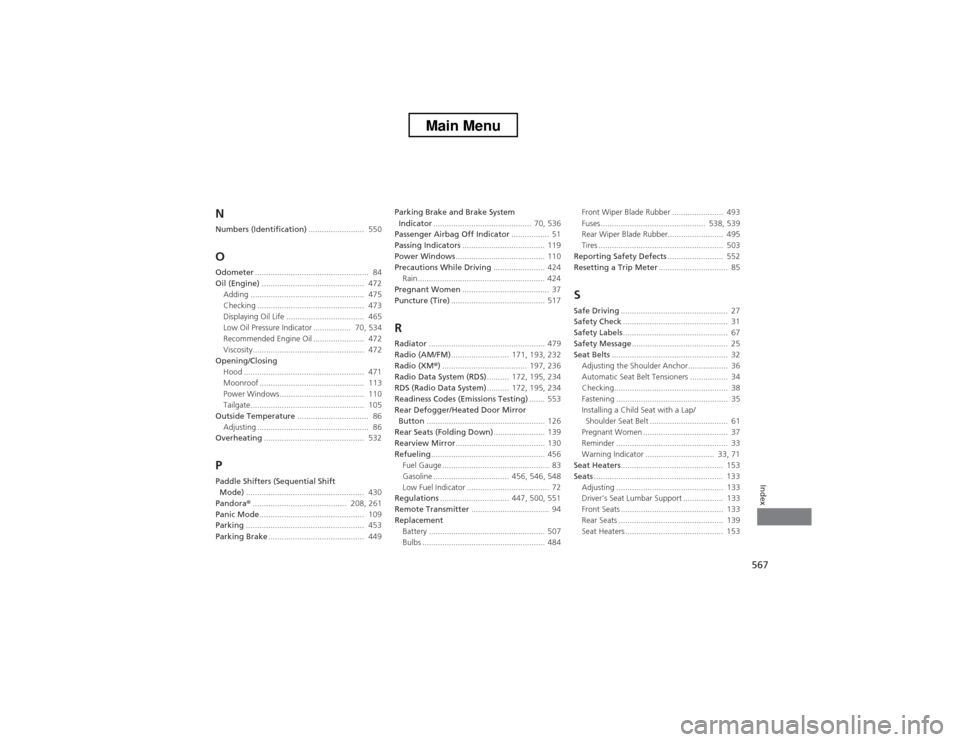
Readiness Codes (Emissions Testing) ....... 553
Rear Defogger/Heated Door Mirror Button ..................................................... 126
Rear Seats (Folding Down) ....................... 139
Rearview Mirror ........................................ 130
Refueling ................................................... 456
Fuel Gauge ................................................ 83
Gasoline .................................. 456, 546, 548
Low Fuel Indicator ..................................... 72
Regulations ............................... 447, 500, 551
Remote Transmitter ................................... 94
Replacement Battery .................................................... 507
Bulbs ....................................................... 484 Front Wiper Blade Rubber ....................... 493
Fuses ............................................... 538, 539
Rear Wiper Blade Rubber......................... 495
Tires ........................................................ 503
Reporting Safety Defects ......................... 552
Resetting a Trip Meter ............................... 85
S
Safe Driving ................................................ 27
Safety Check ............................................... 31
Safety Labels ............................................... 67
Safety Message ........................................... 25
Seat Belts .................................................... 32
Adjusting the Shoulder Anchor.................. 36
Automatic Seat Belt Tensioners ................. 34
Checking................................................... 38
Fastening .................................................. 35
Installing a Child Seat with a Lap/ Shoulder Seat Belt ................................... 61
Pregnant Women ...................................... 37
Reminder .................................................. 33
Warning Indicator ............................... 33, 71
Seat Heaters .............................................. 153
Seats .......................................................... 133
Adjusting ................................................ 133
Driver’s Seat Lumbar Support .................. 133
Front Seats .............................................. 133
Rear Seats ............................................... 139
Seat Heaters ............................................ 153
Main Menu