2013 FORD SUPER DUTY lights
[x] Cancel search: lightsPage 73 of 563

Autolock:Once in programming mode, press the power door unlock
button then the lock button. The horn will chirp once if autolock was
deactivated or twice (one short and one long chirp) if autolock was
activated.
Autounlock:Once in programming mode, press the power door lock
button then the unlock button. The horn will chirp once if autounlock
was deactivated or twice (one short and one long chirp) if autounlock
was activated.
6. Turn the ignition off. The horn will chirp once to confirm the
procedure is complete.
Note:The autounlock feature can be enabled or disabled independently
of the autolock feature.
Illuminated Entry
The interior lamps and parking lamps illuminate when the remote entry
system is used to unlock the door(s).
The system will turn off the lights if:
•the ignition is turned on
•the lock button on the remote control is pressed
•the vehicle is locked using the keyless entry keypad
•after 25 seconds of illumination.
The dome lamp control (if equipped) must not be set to the off position
for the illuminated entry system to operate.
The lights will not turn off if:
•they have been turned on with the dimmer control
•any door is open.
Battery Saver
The battery saver will shut off the interior lamps 30 minutes after the
ignition has been turned off if a door is left open and the dome lamp
switch is left on. It will turn off the interior lamps after 10 minutes if the
dome lamp switch is left off.
72Locks
2013 F-250/350/450/550(f23)
Owners Guide gf, 1st Printing
USA(fus)
Page 85 of 563
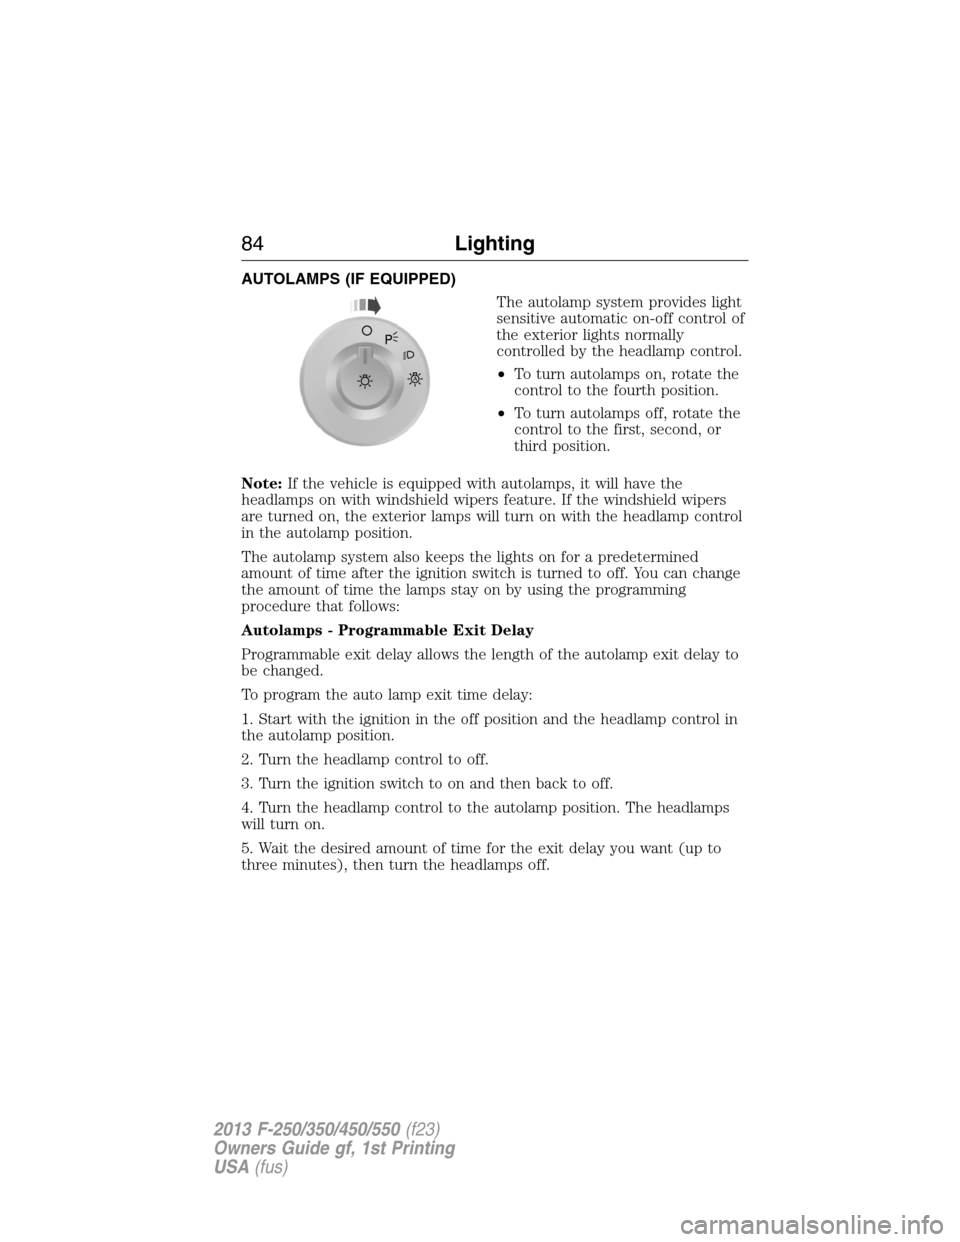
AUTOLAMPS (IF EQUIPPED)
The autolamp system provides light
sensitive automatic on-off control of
the exterior lights normally
controlled by the headlamp control.
•To turn autolamps on, rotate the
control to the fourth position.
•To turn autolamps off, rotate the
control to the first, second, or
third position.
Note:If the vehicle is equipped with autolamps, it will have the
headlamps on with windshield wipers feature. If the windshield wipers
are turned on, the exterior lamps will turn on with the headlamp control
in the autolamp position.
The autolamp system also keeps the lights on for a predetermined
amount of time after the ignition switch is turned to off. You can change
the amount of time the lamps stay on by using the programming
procedure that follows:
Autolamps - Programmable Exit Delay
Programmable exit delay allows the length of the autolamp exit delay to
be changed.
To program the auto lamp exit time delay:
1. Start with the ignition in the off position and the headlamp control in
the autolamp position.
2. Turn the headlamp control to off.
3. Turn the ignition switch to on and then back to off.
4. Turn the headlamp control to the autolamp position. The headlamps
will turn on.
5. Wait the desired amount of time for the exit delay you want (up to
three minutes), then turn the headlamps off.
A
84Lighting
2013 F-250/350/450/550(f23)
Owners Guide gf, 1st Printing
USA(fus)
Page 86 of 563
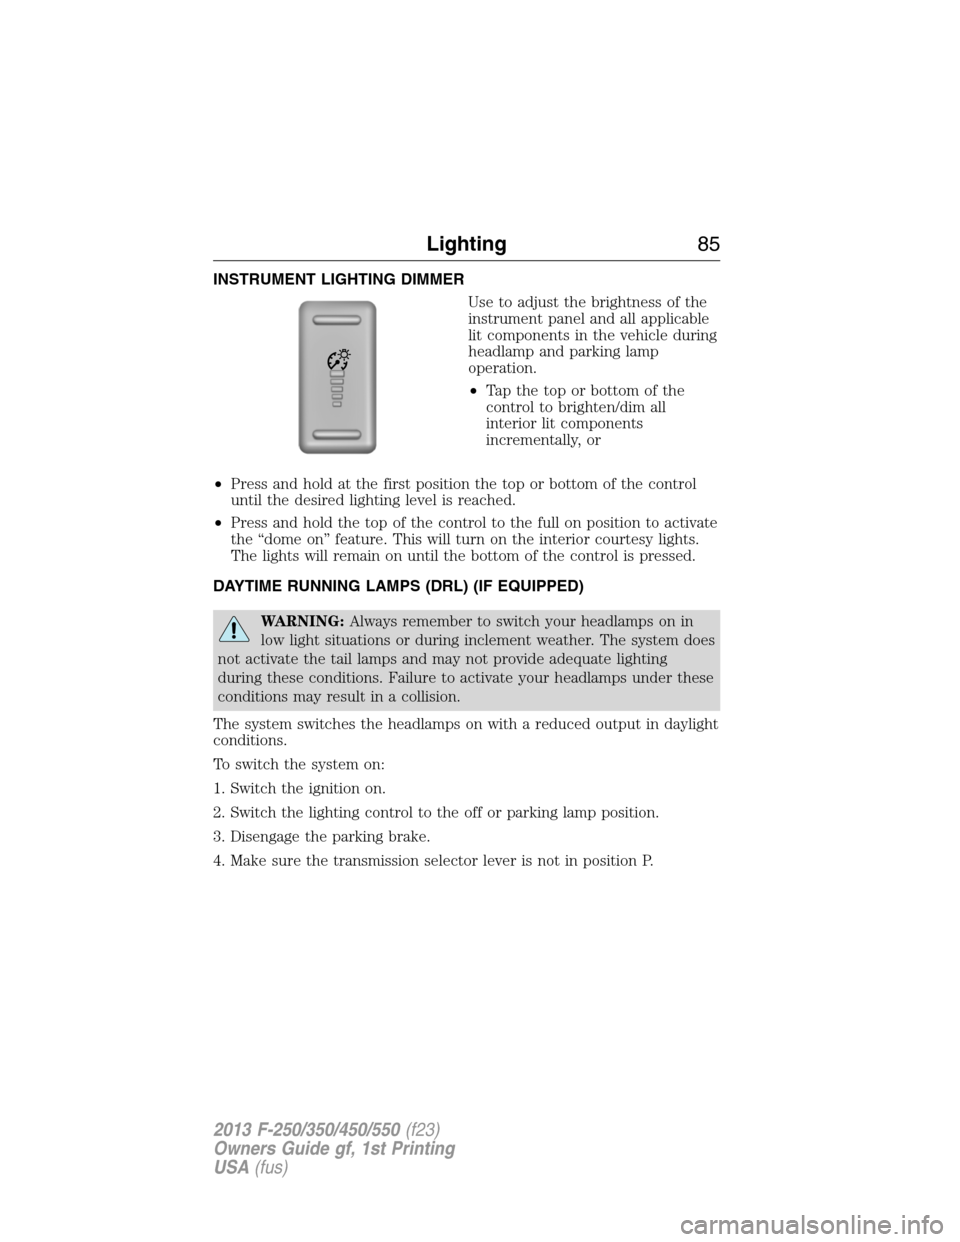
INSTRUMENT LIGHTING DIMMER
Use to adjust the brightness of the
instrument panel and all applicable
lit components in the vehicle during
headlamp and parking lamp
operation.
•Tapthetoporbottomofthe
control to brighten/dim all
interior lit components
incrementally, or
•Press and hold at the first position the top or bottom of the control
until the desired lighting level is reached.
•Press and hold the top of the control to the full on position to activate
the “dome on” feature. This will turn on the interior courtesy lights.
The lights will remain on until the bottom of the control is pressed.
DAYTIME RUNNING LAMPS (DRL) (IF EQUIPPED)
WARNING:Always remember to switch your headlamps on in
low light situations or during inclement weather. The system does
not activate the tail lamps and may not provide adequate lighting
during these conditions. Failure to activate your headlamps under these
conditions may result in a collision.
The system switches the headlamps on with a reduced output in daylight
conditions.
To switch the system on:
1. Switch the ignition on.
2. Switch the lighting control to the off or parking lamp position.
3. Disengage the parking brake.
4. Make sure the transmission selector lever is not in position P.
Lighting85
2013 F-250/350/450/550(f23)
Owners Guide gf, 1st Printing
USA(fus)
Page 94 of 563

Auto-Dimming Mirror (If Equipped)
Note:Do not block the sensors on the front and back of the mirror.
Mirror performance may be affected. A rear center passenger or raised
rear center head restraint may also block light from reaching the sensor.
The mirror will dim automatically to reduce glare when bright lights are
detected from behind your vehicle. It will automatically return to normal
reflection when you select reverse gear to make sure you have a clear
view when backing up.
SUN VISORS
Slide-On-Rod (If Equipped)
Rotate the visor toward the side
window and extend it rearward for
extra sunlight coverage.
Retract the visor before moving it
back toward the windshield and
storing it.
Illuminated Visor Vanity Mirror (If Equipped)
Lift the cover to switch on the
lamp.
Windows and Mirrors93
2013 F-250/350/450/550(f23)
Owners Guide gf, 1st Printing
USA(fus)
Page 102 of 563
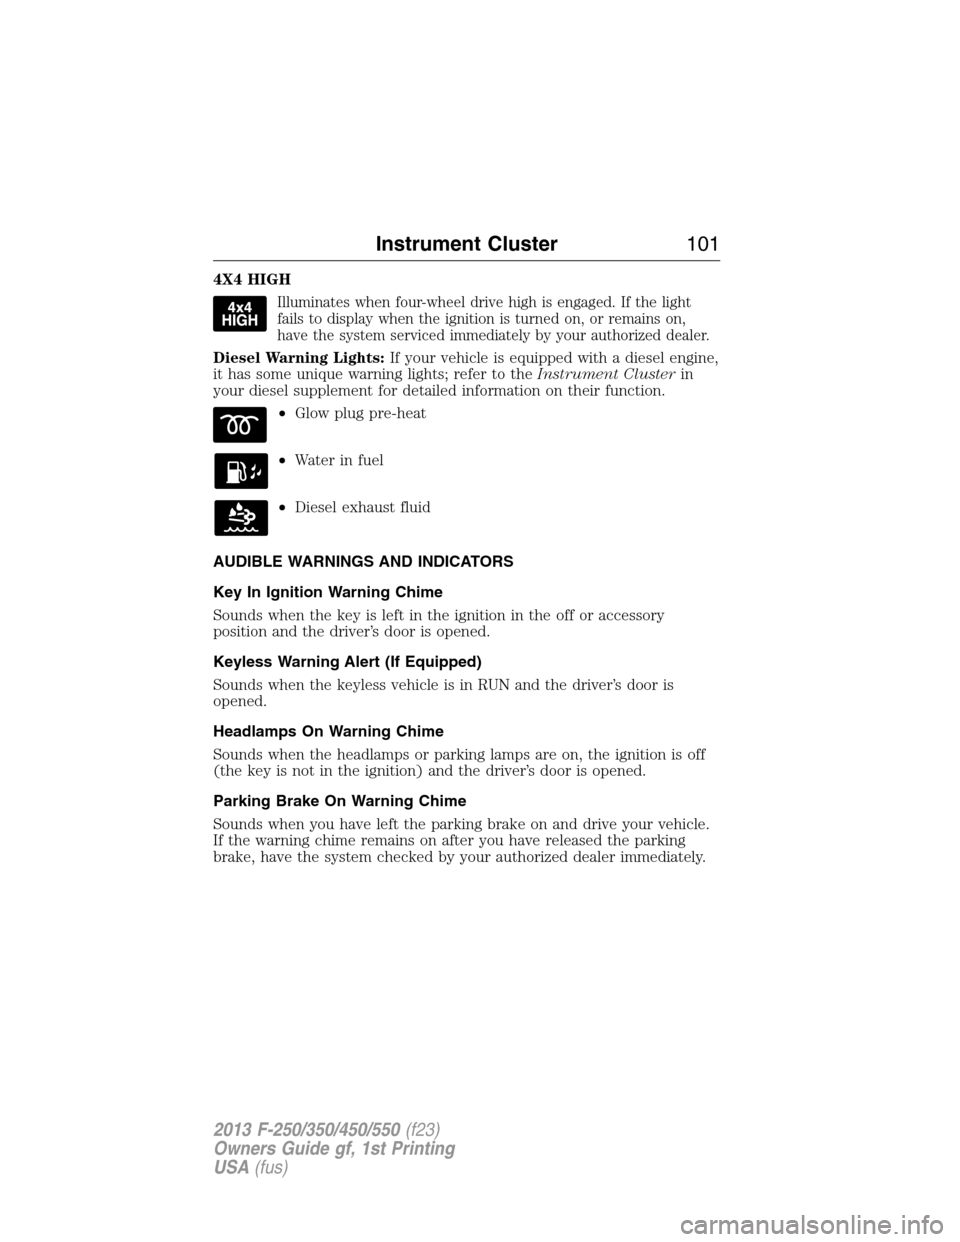
4X4 HIGH
Illuminates when four-wheel drive high is engaged. If the light
fails to display when the ignition is turned on, or remains on,
have the system serviced immediately by your authorized dealer.
Diesel Warning Lights:If your vehicle is equipped with a diesel engine,
it has some unique warning lights; refer to theInstrument Clusterin
your diesel supplement for detailed information on their function.
•Glow plug pre-heat
•Waterinfuel
•Diesel exhaust fluid
AUDIBLE WARNINGS AND INDICATORS
Key In Ignition Warning Chime
Sounds when the key is left in the ignition in the off or accessory
position and the driver’s door is opened.
Keyless Warning Alert (If Equipped)
Sounds when the keyless vehicle is in RUN and the driver’s door is
opened.
Headlamps On Warning Chime
Sounds when the headlamps or parking lamps are on, the ignition is off
(the key is not in the ignition) and the driver’s door is opened.
Parking Brake On Warning Chime
Sounds when you have left the parking brake on and drive your vehicle.
If the warning chime remains on after you have released the parking
brake, have the system checked by your authorized dealer immediately.
Instrument Cluster101
2013 F-250/350/450/550(f23)
Owners Guide gf, 1st Printing
USA(fus)
Page 107 of 563
To reset the oil monitoring system to 100% after each oil change,
perform the following:
1. Press and release the SETUP button to display OIL LIFE XXX% HOLD
RESET = NEW.
2. Press and hold the RESET button for two seconds and release to reset
the oil life to 100%.
Note:To change oil life 100% value (if equipped with this feature) to
another value, proceed to Step 3.
3. Once OIL LIFE SET TO XXX% is displayed, release and press the
RESET button to change the Oil Life Start Value. Each release and press
will reduce the value by 10%.
•UNITS: Displays the current units in English or Metric.
•AUTOLAMP (SEC): This feature keeps your headlights on for up to
three minutes after the ignition is switched off.
•AUTOLOCK: This feature automatically locks all vehicle doors when
the vehicle is shifted into any gear, putting the vehicle in motion.
•AUTOUNLOCK: This feature automatically unlocks all vehicle doors
when the driver’s door is opened within 10 minutes of the ignition
being turned off.
•COURTESY WIPE: This feature allows for an extra swipe of the wipers
after a wipe/wash cycle.
•CREATE MYKEY / MYKEY SETUP / CLEAR MYKEY: For more
information refer toMyKey®in theLocks and Securitychapter.
•RESET FOR ZONE SETTING (if equipped): This feature changes the
compass zone setting.
Most geographic areas (zones) have a magnetic north compass point
that varies slightly from the northerly direction on maps. This variation
is four degrees between adjacent zones and will become noticeable as
the vehicle crosses multiple zones. A correct zone setting will
eliminate this error.
Refer toCompass zone/calibration adjustment.
•ZONE XX RESET = CHANGE (if equipped): The compass heading is
displayed as one of N, NE, E, SE, S, SW, W and NW in the message
center display.
Refer toCompass zone/calibration adjustment.
106Information Displays
2013 F-250/350/450/550(f23)
Owners Guide gf, 1st Printing
USA(fus)
Page 165 of 563
HEATED AND COOLED SEATS (IF EQUIPPED)
Heated Seats
WARNING:Persons who are unable to feel pain to the skin
because of advanced age, chronic illness, diabetes, spinal cord
injury, medication, alcohol use, exhaustion, or other physical conditions,
must exercise care when using the seat heater. The seat heater may
cause burns even at low temperatures, especially if used for long
periods of time. Do not place anything on the seat that insulates against
heat, such as a blanket or cushion, because this may cause the seat
heater to overheat. Do not puncture the seat with pins, needles, or
other pointed objects because this may damage the heating element
which may cause the seat heater to overheat. An overheated seat may
cause serious personal injury.
•Do not place heavy objects on the seat.
•Do not operate the seat heater if water or any other liquid is spilled
on the seat. Allow the seat to dry thoroughly.
The heated seats will only function when the engine is running.
To operate the heated seats:
Press the heated seat button/symbol to cycle through the
various heat settings and off. Warmer settings are indicated
by more indicator lights.
Cooled Seats
The cooled seats will only function when the engine is running.
To operate the cooled seats:
Press the cooled seat button/symbol to cycle through the
various cooling settings and off. Cooler settings are
indicated by more indicator lights.
If the engine falls below 350 rpm while the cooled seats are on, the
feature will turn itself off and will need to be reactivated.
A/C
164Seats
2013 F-250/350/450/550(f23)
Owners Guide gf, 1st Printing
USA(fus)
Page 175 of 563
Erasing the Function Button Codes
Note:You cannot erase individual
buttons.
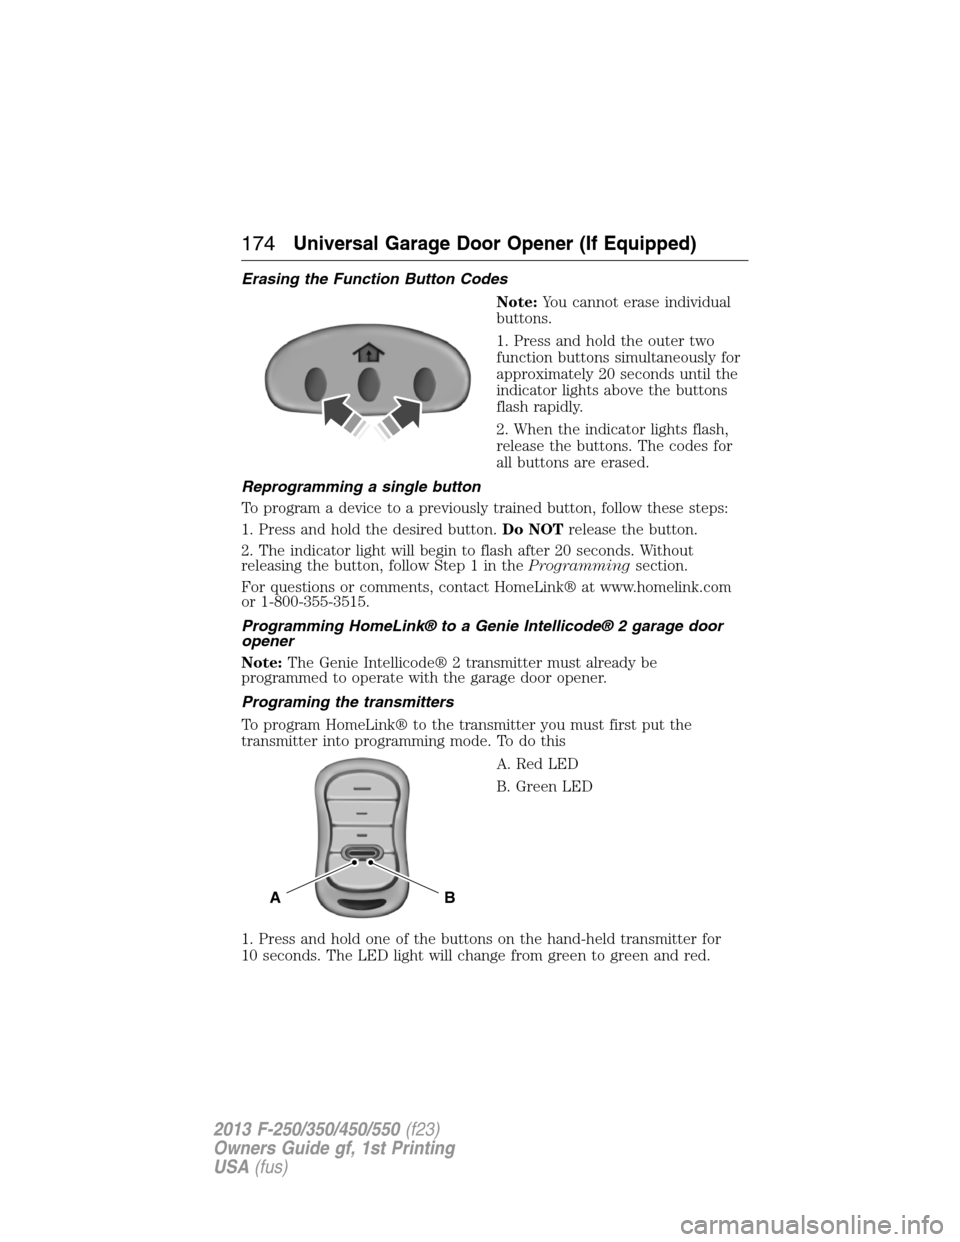
1. Press and hold the outer two
function buttons simultaneously for
approximately 20 seconds until the
indicator lights above the buttons
flash rapidly.
2. When the indicator lights flash,
release the buttons. The codes for
all buttons are erased.
Reprogramming a single button
To program a device to a previously trained button, follow these steps:
1. Press and hold the desired button.Do NOTrelease the button.
2. The indicator light will begin to flash after 20 seconds. Without
releasing the button, follow Step 1 in theProgrammingsection.
For questions or comments, contact HomeLink® at www.homelink.com
or 1-800-355-3515.
Programming HomeLink® to a Genie Intellicode® 2 garage door
opener
Note:The Genie Intellicode® 2 transmitter must already be
programmed to operate with the garage door opener.
Programing the transmitters
To program HomeLink® to the transmitter you must first put the
transmitter into programming mode. To do this
A. Red LED
B. Green LED
1. Press and hold one of the buttons on the hand-held transmitter for
10 seconds. The LED light will change from green to green and red.
BA
174Universal Garage Door Opener (If Equipped)
2013 F-250/350/450/550(f23)
Owners Guide gf, 1st Printing
USA(fus)