2013 FORD SUPER DUTY brakes
[x] Cancel search: brakesPage 5 of 563

Auxiliary Power Points 177
Storage Compartments 180
Overhead console.....................................181
Starting and Stopping the Engine 182
Ignition switch.......................................183
Engine block heater...................................185
Fuel and Refueling 187
Fuel quality.........................................189
Refueling...........................................191
Fuel consumption.....................................193
Transmission 197
Transmission operation.................................197
Hill start assist.......................................206
Four-Wheel Drive (If Equipped) 207
Four wheel drive.....................................207
Brakes 220
Brakes.............................................220
Hints on driving with anti-lock brakes......................221
Parking brake........................................221
Traction Control 222
TractionControl™ ....................................222
Stability Control 224
AdvanceTrac®.......................................225
Terrain Response 227
Hill descent control...................................227
Parking Aids 229
Sensing system.......................................229
Rear-view camera system...............................231
4Table of Contents
2013 F-250/350/450/550(f23)
Owners Guide gf, 1st Printing
USA(fus)
Page 42 of 563
All safety restraints in the vehicle are combination lap and shoulder
belts. The driver safety belt has the first type of locking mode, and the
front outboard passenger and rear seat safety belts have both types of
locking modes described as follows:
Vehicle Sensitive Mode
This is the normal retractor mode, which allows free shoulder belt length
adjustment to your movements and locking in response to vehicle
movement. For example, if the driver brakes suddenly or turns a corner
sharply, or the vehicle receives an impact of approximately 5 mph
(8 km/h) or more, the combination safety belts will lock to help reduce
forward movement of the driver and passengers.
In addition, the retractor is designed to lock if the webbing is pulled out
too quickly. If this occurs, let the belt retract slightly and pull webbing
out again in a slow and controlled manner.
Automatic Locking Mode
In this mode, the shoulder belt is automatically pre-locked. The belt will
still retract to remove any slack in the shoulder belt. The automatic
locking mode is not available on the driver safety belt.
When to Use the Automatic Locking Mode
This mode should be used any time a child safety seat, except a booster,
is installed in passenger front or rear seating positions. Children 12 years
old and under should be properly restrained in a rear seating position
whenever possible. See theChild Safetychapter.
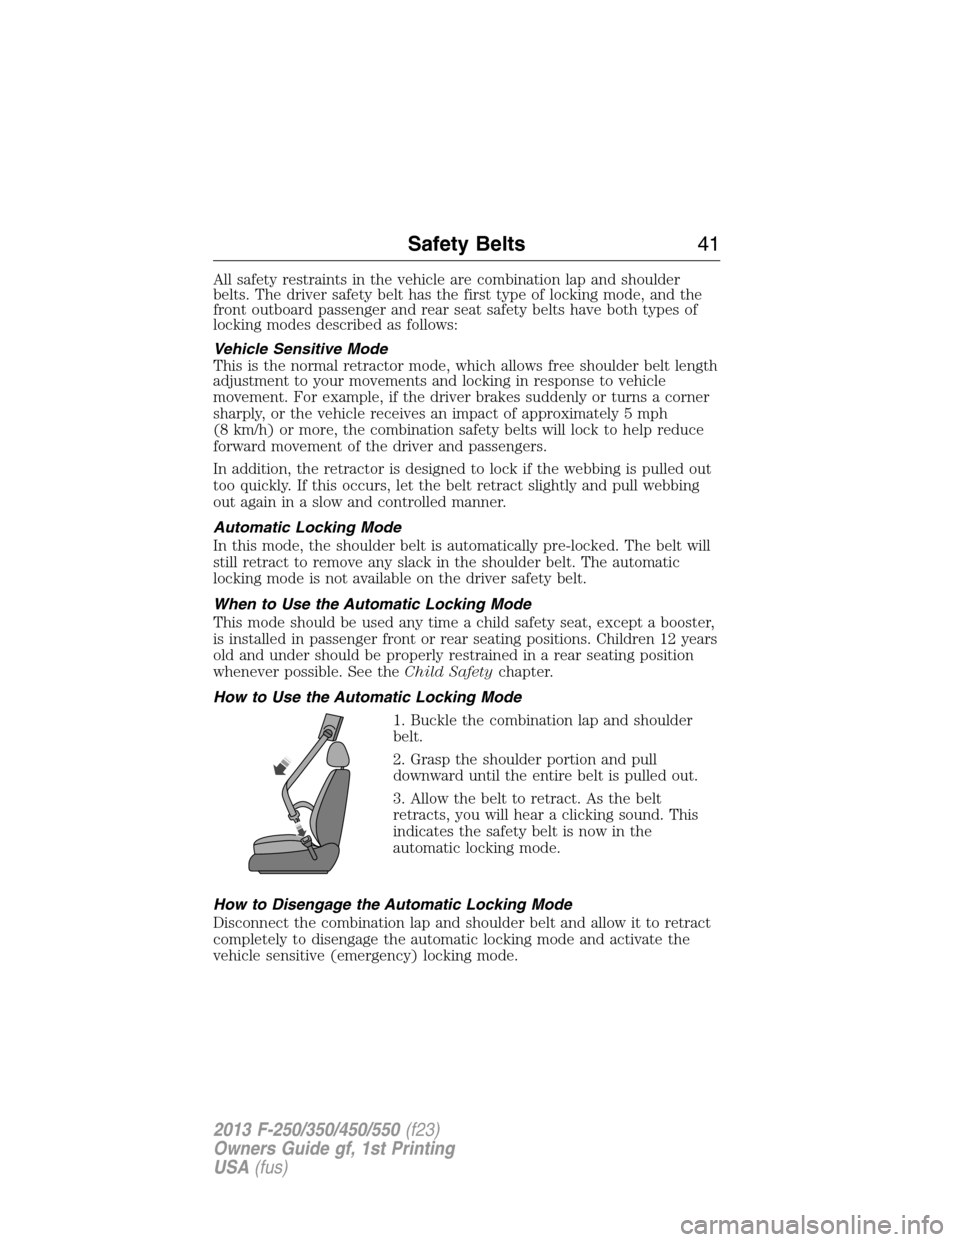
How to Use the Automatic Locking Mode
1. Buckle the combination lap and shoulder
belt.
2. Grasp the shoulder portion and pull
downward until the entire belt is pulled out.
3. Allow the belt to retract. As the belt
retracts, you will hear a clicking sound. This
indicates the safety belt is now in the
automatic locking mode.
How to Disengage the Automatic Locking Mode
Disconnect the combination lap and shoulder belt and allow it to retract
completely to disengage the automatic locking mode and activate the
vehicle sensitive (emergency) locking mode.
Safety Belts41
2013 F-250/350/450/550(f23)
Owners Guide gf, 1st Printing
USA(fus)
Page 132 of 563
Trailer Messages Action / Description
TRAILER BRAKE
MODULE FAULTDisplayed and accompanied by a single chime,
in response to faults sensed by the TBC. Refer
to theTowingchapter for more information.
TRAILER
CONNECTEDDisplayed when a correct trailer connection (a
trailer with electric trailer brakes) is sensed
during a given ignition cycle.
TRAILER
DISCONNECTEDDisplayed when a trailer connection becomes
disconnected, either intentionally or
unintentionally, and has been sensed during a
given ignition cycle. Disregard this status if
your vehicle is not equipped with a factory
installed trailer brake controller. This message
may appear when an aftermarket TBC is used
even when the trailer is connected.
TRAILER SWAY
REDUCE SPEEDDisplayed when the trailer sway control has
detected trailer sway.
WIRING FAULT ON
TRAILERDisplayed if there are certain faults in the
vehicle wiring and trailer wiring/brake system.
Refer to theTowingchapter for more
information.
4WD Messages Action / Description
CHECK 4X4Displayed when a 4X4 system fault is present.
For more information, refer toFour-wheel
drivechapter.
4X4 SHIFT IN
PROGRESSDisplayed when the 4X4 system is making a
shift.
FOR 4X4 LOW
APPLY BRAKEDisplayed when trying to select 4X4 LOW.
FOR 4X4 LOW
SHIFT TO NDisplayed when 4X4 LOW is selected and the
vehicle is stopped.
FOR 4X4 LOW
SLOW TO 3 MPHDisplayed when 4X4 LOW is selected while the
vehicle is moving.
Information Displays131
2013 F-250/350/450/550(f23)
Owners Guide gf, 1st Printing
USA(fus)
Page 184 of 563
IGNITION SWITCH
Note:To switch the engine off when your vehicle is moving, move the
transmission selector lever to positionN.Use the brakes to bring your
vehicle to a safe stop. After your vehicle has stopped, switch the engine
off and move the transmission selector lever to positionP.Turn the key
to the accessory or off position.
Note:Do not store the key in the ignition after the vehicle is turned off
and you have left the vehicle. This could cause a drain on the battery.
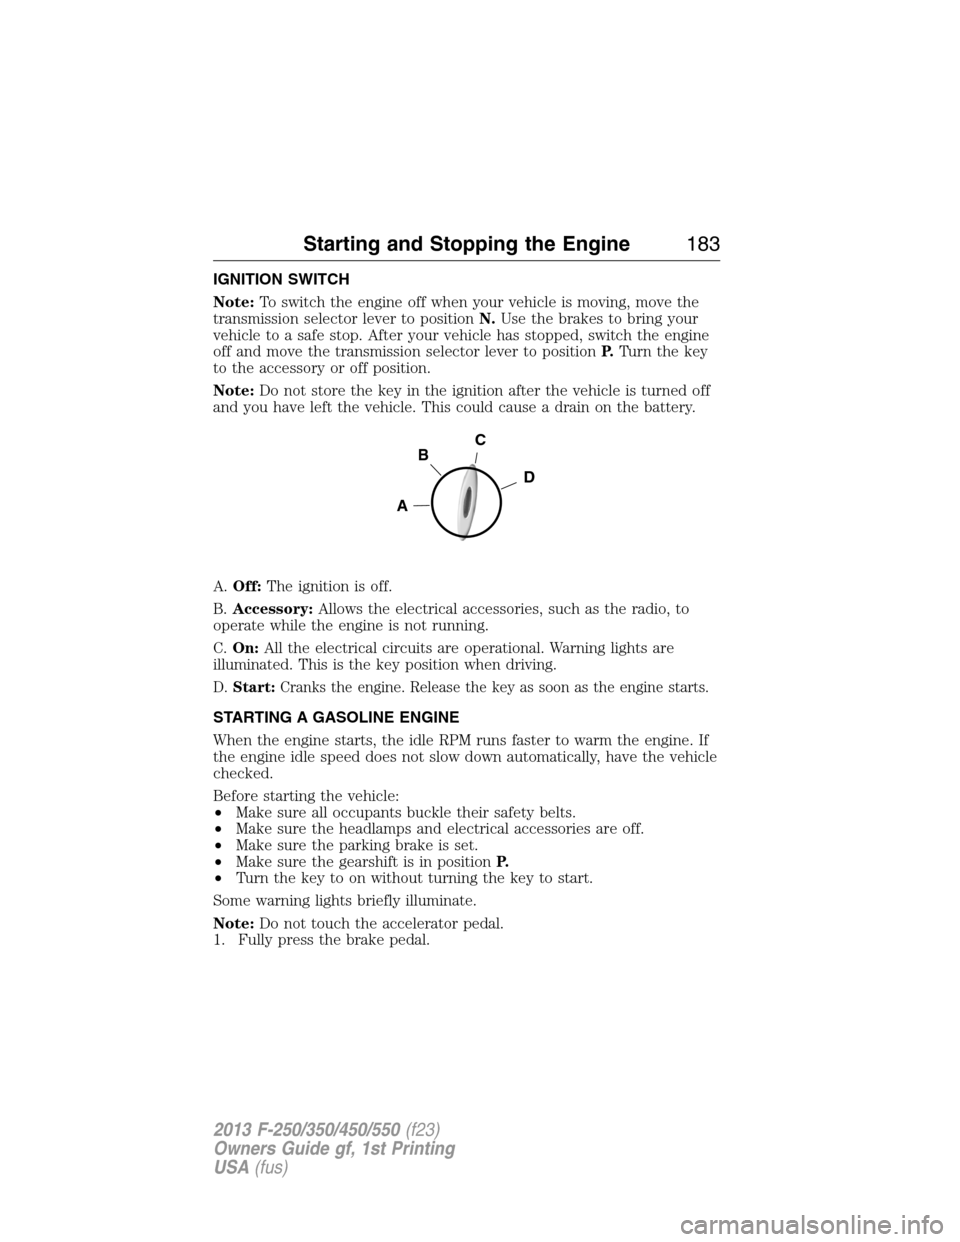
A.Off:The ignition is off.
B.Accessory:Allows the electrical accessories, such as the radio, to
operate while the engine is not running.
C.On:All the electrical circuits are operational. Warning lights are
illuminated. This is the key position when driving.
D.Start:Cranks the engine. Release the key as soon as the engine starts.
STARTING A GASOLINE ENGINE
When the engine starts, the idle RPM runs faster to warm the engine. If
the engine idle speed does not slow down automatically, have the vehicle
checked.
Before starting the vehicle:
•Make sure all occupants buckle their safety belts.
•Make sure the headlamps and electrical accessories are off.
•Make sure the parking brake is set.
•Make sure the gearshift is in positionP.
•Turn the key to on without turning the key to start.
Some warning lights briefly illuminate.
Note:Do not touch the accelerator pedal.
1. Fully press the brake pedal.
C
D
B
A
Starting and Stopping the Engine183
2013 F-250/350/450/550(f23)
Owners Guide gf, 1st Printing
USA(fus)
Page 205 of 563
Brake-shift interlock
WARNING:Do not drive your vehicle until you verify that the
brake lamps are working.
WARNING:When doing this procedure, you will be taking the
vehicle out of park which means the vehicle can roll freely. To
avoid unwanted vehicle movement, always fully set the parking brake
prior to doing this procedure. Use wheel chocks if appropriate.
WARNING:If the parking brake is fully released, but the brake
warning lamp remains illuminated, the brakes may not be
working properly. See your authorized dealer as soon as possible.
This vehicle is equipped with a brake-shift interlock feature that prevents
the gearshift lever from being moved from P (Park) when the ignition is
in the 3 (on) position and the brake pedal is not pressed.
If you cannot move the gearshift lever out of P (Park) with ignition in
the on position and the brake pedal pressed, it is possible that a fuse has
blown or the vehicle’s brake lamps are not operating properly. Refer to
theFuseschapter.
If the fuse is not blown and the brake lamps are working properly, the
following procedure will allow you to move the gearshift lever from P
(Park):
1. Apply the parking brake. Turn the ignition key to 1 (off), then remove
the key.
2. Move the steering column to the full down and full rearward position
(toward the driver’s seat).
3. Remove the gearshift lever boot.
4. Place fingers into hole where the gearshift lever boot was removed
from and pull top half of shroud up and forward to separate it from the
lower half of the shroud. There is a hinge at the forward edge of the top
shroud. Roll the top half of the shroud upward on the hinge point to
clear the hazard flasher button, then pull straight rearward toward the
driver’s seat to remove.
5. Remove the top half of the shroud.
204Transmission
2013 F-250/350/450/550(f23)
Owners Guide gf, 1st Printing
USA(fus)
Page 207 of 563

HILL START ASSIST
WARNING:The hill start assist feature does not replace the
parking brake. When you leave the vehicle, always apply the
parking brake and shift the transmission into P (Park).
WARNING:You must remain in the vehicle once you have
activated the hill start assist feature.
WARNING:During all times, you are responsible for controlling
the vehicle, supervising the hill start assist system and
intervening, if required.
WARNING:If the engine is revved excessively, or if a
malfunction is detected when the hill start assist feature is active,
the hill start assist feature will be deactivated.
Note:This feature will not operate if the parking brake is activated.
Hill start assist keeps your vehicle stationary long enough to move your
foot from the brake pedal to the accelerator pedal when your vehicle is
on a slope.
The brakes are released automatically once the engine has developed
sufficient drive to prevent the vehicle from rolling down the slope. This
is an advantage when pulling away on a slope, (for example from a car
park ramp, traffic lights or when reversing uphill into a parking space).
Using Hill Start Assist
1. Press the brake pedal to bring the vehicle to a complete standstill.
Keep the brake pedal pressed.
2. If the sensors detect that the vehicle is on a slope, the hill start assist
feature will be activated automatically.
3. When you remove your foot from the brake pedal, the vehicle will
remain on the slope without rolling away for approximately two or three
seconds. This hold time will automatically be extended if you are in the
process of driving off.
4. Drive off in the normal manner. The brakes will be released
automatically.
206Transmission
2013 F-250/350/450/550(f23)
Owners Guide gf, 1st Printing
USA(fus)
Page 218 of 563
Once through water, always try the brakes. Wet brakes do not stop the
vehicle as effectively as dry brakes. Drying can be improved by moving
your vehicle slowly while applying light pressure on the brake pedal.
Be cautious of sudden changes in vehicle speed or direction when you
are driving in mud. Even 4WD vehicles can lose traction in slick mud. As
when you are driving over sand, apply the accelerator slowly and avoid
spinning your wheels. If the vehicle does slide, steer in the direction of
the slide until you regain control of the vehicle.
If the transmission, transfer case or front axle are submerged in water,
their fluids should be checked and changed, if necessary.
If the front or rear axle is submerged in water, the axle lubricant should
be replaced.
After driving through mud, clean off residue stuck to rotating driveshafts
and tires. Excess mud stuck on tires and rotating driveshafts causes an
imbalance that could damage drive components.
Tread Lightly is an educational
program designed to increase public
awareness of land-use regulations
and responsibilities in our nations
wilderness areas. Ford Motor
Company joins the U.S. Forest
Service and the Bureau of Land Management in encouraging you to help
preserve our national forest and other public and private lands by
treading lightly.
Driving on hilly or sloping terrain
Note:Avoid driving crosswise or turning on steep slopes or hills.
Although natural obstacles may make it necessary to travel diagonally up
or down a hill or steep incline, you should always try to drive straight up
or straight down. . A danger lies in losing traction, slipping sideways and
possibly rolling over. Whenever driving on a hill, determine beforehand
the route you will use. Do not drive over the crest of a hill without
seeing what conditions are on the other side. Do not drive in reverse
over a hill without the aid of an observer.
When climbing a steep slope or hill, start in a lower gear rather than
downshifting to a lower gear from a higher gear once the ascent has
started. This reduces strain on the engine and the possibility of stalling.
If you do stall out, do not try to turn around because you might roll over.
It is better to back down to a safe location.
Four-Wheel Drive (If Equipped)217
2013 F-250/350/450/550(f23)
Owners Guide gf, 1st Printing
USA(fus)
Page 219 of 563
Apply just enough power to the wheels to climb the hill. Too much
power will cause the tires to slip, spin or lose traction, resulting in loss of
vehicle control.
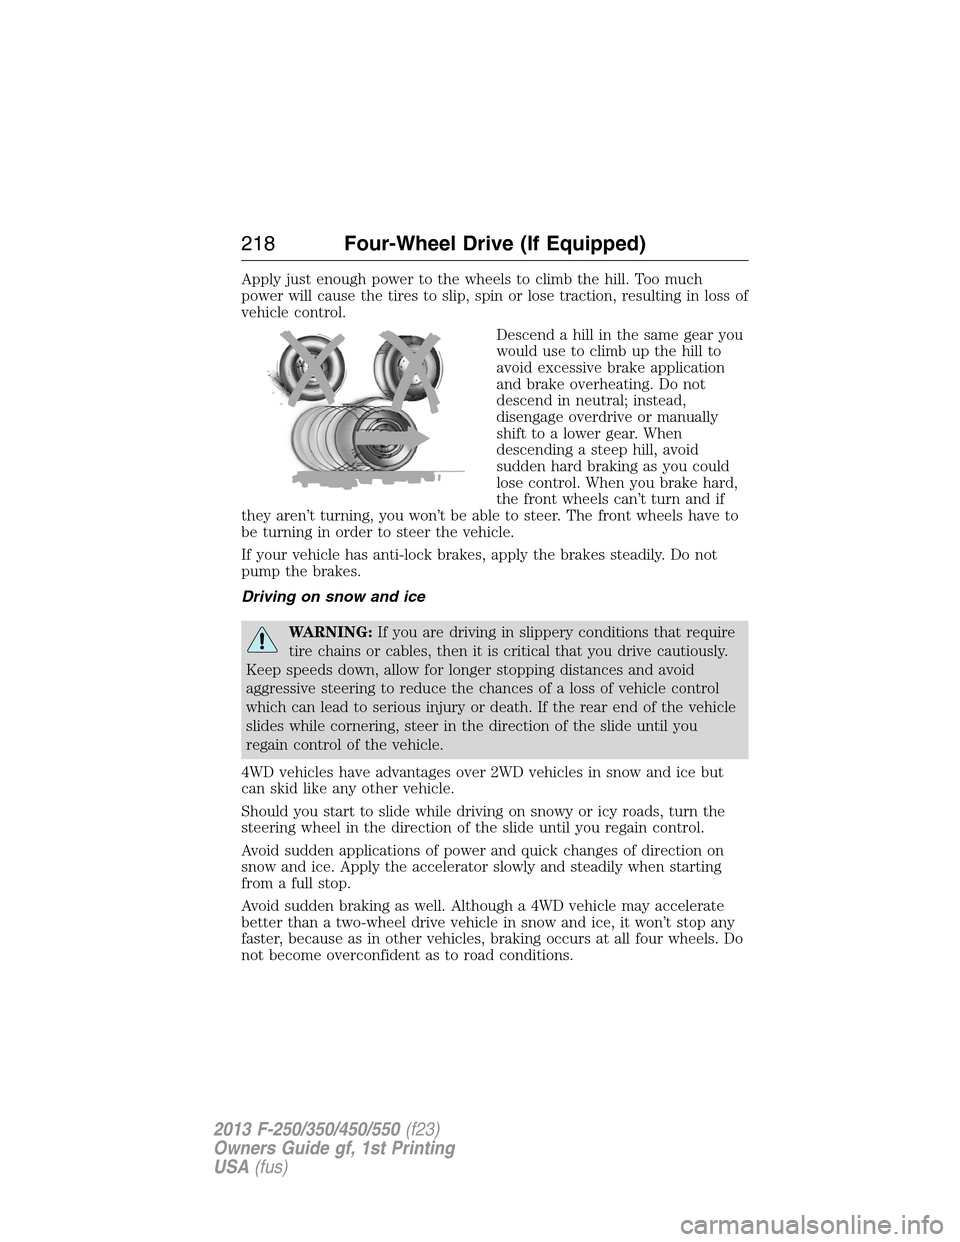
Descend a hill in the same gear you
would use to climb up the hill to
avoid excessive brake application
and brake overheating. Do not
descend in neutral; instead,
disengage overdrive or manually
shift to a lower gear. When
descending a steep hill, avoid
sudden hard braking as you could
lose control. When you brake hard,
the front wheels can’t turn and if
they aren’t turning, you won’t be able to steer. The front wheels have to
be turning in order to steer the vehicle.
If your vehicle has anti-lock brakes, apply the brakes steadily. Do not
pump the brakes.
Driving on snow and ice
WARNING:If you are driving in slippery conditions that require
tire chains or cables, then it is critical that you drive cautiously.
Keep speeds down, allow for longer stopping distances and avoid
aggressive steering to reduce the chances of a loss of vehicle control
which can lead to serious injury or death. If the rear end of the vehicle
slides while cornering, steer in the direction of the slide until you
regain control of the vehicle.
4WD vehicles have advantages over 2WD vehicles in snow and ice but
can skid like any other vehicle.
Should you start to slide while driving on snowy or icy roads, turn the
steering wheel in the direction of the slide until you regain control.
Avoid sudden applications of power and quick changes of direction on
snow and ice. Apply the accelerator slowly and steadily when starting
from a full stop.
Avoid sudden braking as well. Although a 4WD vehicle may accelerate
better than a two-wheel drive vehicle in snow and ice, it won’t stop any
faster, because as in other vehicles, braking occurs at all four wheels. Do
not become overconfident as to road conditions.
218Four-Wheel Drive (If Equipped)
2013 F-250/350/450/550(f23)
Owners Guide gf, 1st Printing
USA(fus)