Page 126 of 558

Fuel Economy
Use the left/right arrow buttons to choose the desired fuel
economy display.
Fuel EconomyInst Fuel
EconomyXX. Min Fuel
History
Instantaneous fuel usage X
†Fuel usage over a 5, 10, or
30 minute time spanX
Total odometer (lower left corner)
Press and hold OK to reset the currently displayed fuel usage
information.
†To configure the fuel usage time span, press the right arrow button
when in this screen.
•Inst. Fuel Economy: This display shows a visual graph of your
instantaneous fuel economy.
•XX. Min Fuel History: This display shows a bar chart of your fuel
history.
Settings
In this mode, you can configure different driver setting choices.
Note:Some items are optional and may not appear.
Driver Assist
Traction Control On (default setting) / Off
Blindspot On (default on key cycle) / Off
Collision Warning Sensitivity High / Normal / Low
Chimes On (default on key cycle) / Off
Warn-ON On (default on key cycle) / Off
Cross Traffic On (default on key cycle) / Off
Cruise Control Adaptive or Normal
Driver Alert On (default on key cycle) / Off
Rear Park Aid On (default on key cycle) / Off
Trailer Sway On (default on key cycle) / Off
126Information Displays
2013 Flex(471)
Owners Guide gf, 1st Printing
USA(fus)
Page 128 of 558

*MyKey
Volume Limiter On / Off
Do Not Disturb Always On / User Selectable
Clear MyKeys Hold OK to Clear All MyKeys
*Some MyKey items will only appear if a MyKey is set.
Display
Gauge Display Fuel Gauge / Fuel + Tach
Language
Select your applicable language
Units
Distance Miles & Gal / l/100km / km/l
Temperature Fahrenheit (°F) / Celsius (°C)
Information
In this mode, you can view different vehicle system information
and perform a system check.
Warnings
XX Warnings
Displays the number of warnings that need immediate
attention in red. You can only view the warnings from
the System Check menu. View them immediately by
pressing OK and then OK again to enter system check.
Use the up/down arrows to scroll through the warnings.
MyKey
Admin Keys (Number of admin keys)
MyKeys (Number of MyKeys programmed)
MyKey Miles (km) (Distance traveled using a programmed MyKey)
Driver Alert
Displays the associated driver alert graphic.
System Check
All active warnings will display first if applicable. The system check
menu may appear different based upon equipment options and current
vehicle status. Use the up/down arrow buttons to scroll through the list.
128Information Displays
2013 Flex(471)
Owners Guide gf, 1st Printing
USA(fus)
Page 141 of 558

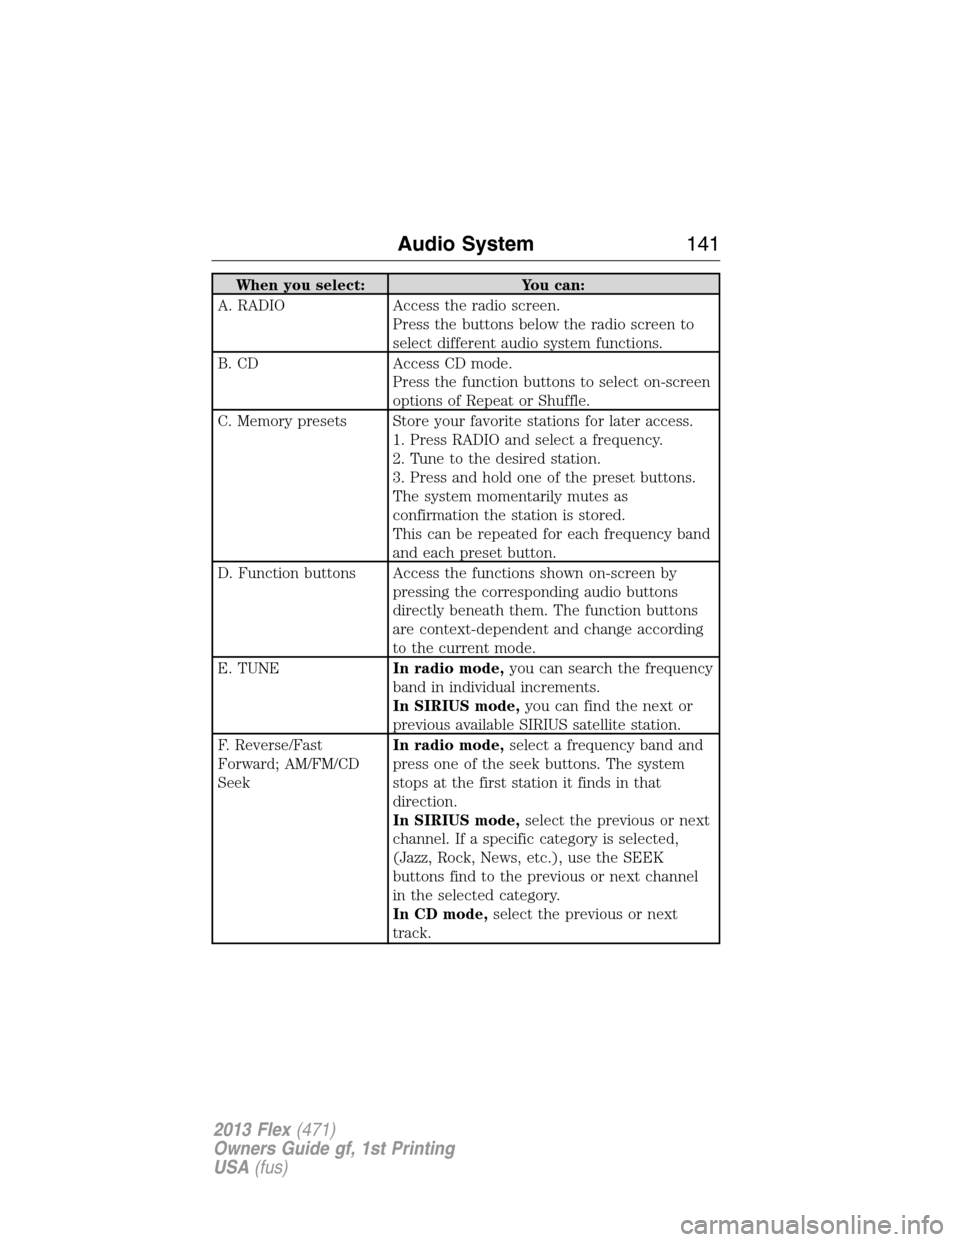
When you select: You can:
A. RADIO Access the radio screen.
Press the buttons below the radio screen to
select different audio system functions.
B. CD Access CD mode.
Press the function buttons to select on-screen
options of Repeat or Shuffle.
C. Memory presets Store your favorite stations for later access.
1. Press RADIO and select a frequency.
2. Tune to the desired station.
3. Press and hold one of the preset buttons.
The system momentarily mutes as
confirmation the station is stored.
This can be repeated for each frequency band
and each preset button.
D. Function buttons Access the functions shown on-screen by
pressing the corresponding audio buttons
directly beneath them. The function buttons
are context-dependent and change according
to the current mode.
E. TUNEIn radio mode,you can search the frequency
band in individual increments.
In SIRIUS mode,you can find the next or
previous available SIRIUS satellite station.
F. Reverse/Fast
Forward; AM/FM/CD
SeekIn radio mode,select a frequency band and
press one of the seek buttons. The system
stops at the first station it finds in that
direction.
In SIRIUS mode,select the previous or next
channel. If a specific category is selected,
(Jazz, Rock, News, etc.), use the SEEK
buttons find to the previous or next channel
in the selected category.
In CD mode,select the previous or next
track.
Audio System141
2013 Flex(471)
Owners Guide gf, 1st Printing
USA(fus)
Page 142 of 558

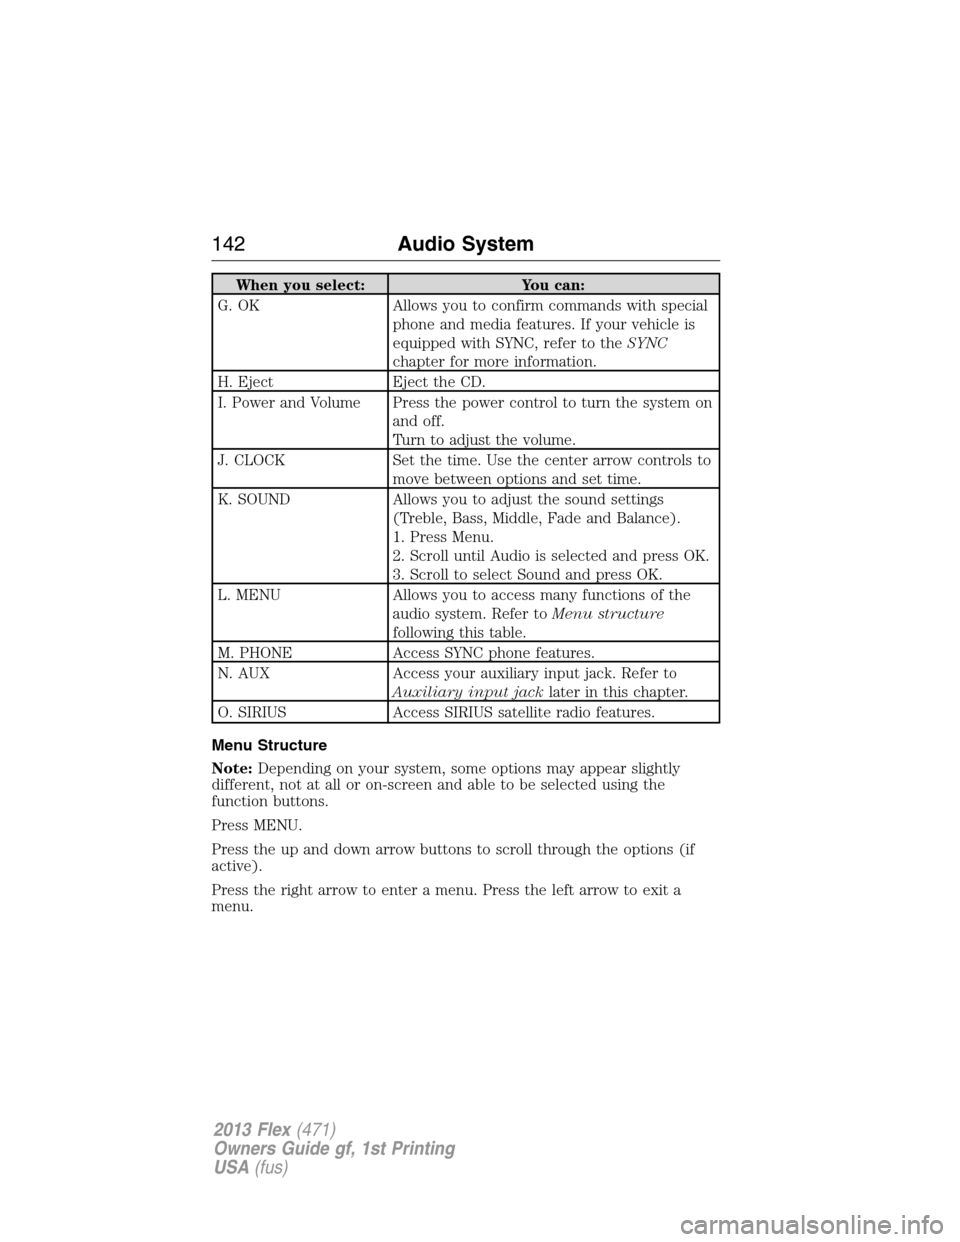
When you select: You can:
G. OK Allows you to confirm commands with special
phone and media features. If your vehicle is
equipped with SYNC, refer to theSYNC
chapter for more information.
H. Eject Eject the CD.
I. Power and Volume Press the power control to turn the system on
and off.
Turn to adjust the volume.
J. CLOCK Set the time. Use the center arrow controls to
move between options and set time.
K. SOUND Allows you to adjust the sound settings
(Treble, Bass, Middle, Fade and Balance).
1. Press Menu.
2. Scroll until Audio is selected and press OK.
3. Scroll to select Sound and press OK.
L. MENU Allows you to access many functions of the
audio system. Refer toMenu structure
following this table.
M. PHONE Access SYNC phone features.
N. AUX Access your auxiliary input jack. Refer to
Auxiliary input jacklater in this chapter.
O. SIRIUS Access SIRIUS satellite radio features.
Menu Structure
Note:Depending on your system, some options may appear slightly
different, not at all or on-screen and able to be selected using the
function buttons.
Press MENU.
Press the up and down arrow buttons to scroll through the options (if
active).
Press the right arrow to enter a menu. Press the left arrow to exit a
menu.
142Audio System
2013 Flex(471)
Owners Guide gf, 1st Printing
USA(fus)
Page 145 of 558
When you select: You can:
A. SOURCE Access different audio modes such as AM, FM
and A/V Input.
B. Seek/Reverse/Fast
ForwardIn radio mode,select a frequency band and
press one of the seek buttons. The system
stops at the first station it finds in that
direction.
In SIRIUS mode,select the previous or next
channel. If a specific category is selected,
(Jazz, Rock, News, etc.), use the SEEK
buttons find to the previous or next channel
in the selected category.
In CD mode,select the previous or next
track.
C. SOUND Allows you to adjust the sound settings
(Treble, Bass, Midrange, Fade and Balance).
D. TUNE +/TUNE -In radio mode,you can search the frequency
band in individual increments.
In SIRIUS mode,you can find the next or
previous available SIRIUS satellite station.
E. Power and Volume Press the power control to turn the system on
and off.
Turn to adjust the volume.
Audio System145
2013 Flex(471)
Owners Guide gf, 1st Printing
USA(fus)
Page 147 of 558

When you select: You can:
A. Eject Eject a CD.
B. CD Slot Insert a CD.
C. TUNE +/TUNE -In radio mode,you can search the frequency
band in individual increments.
In SIRIUS mode,you can find the next or
previous available SIRIUS satellite station.
D. Power and Volume Press the power control to turn the system on
and off.
Turn to adjust the volume.
E. Seek/Reverse/Fast
ForwardIn radio mode,select a frequency band and
press one of the seek buttons. The system
stops at the first station it finds in that
direction.
In SIRIUS mode,select the previous or next
channel. If a specific category is selected,
(Jazz, Rock, News, etc.), use the SEEK
buttons find to the previous or next channel
in the selected category.
In CD mode,select the previous or next
track.
AUXILIARY INPUT JACK
WARNING:Driving while distracted can result in loss of vehicle
control, accident and injury. Ford strongly recommends that you
use extreme caution when using any device or feature that may take
your focus off the road. Your primary responsibility is the safe operation
of the vehicle. We recommend against the use of any handheld device
while driving, encourage the use of voice-operated systems when
possible and that you become aware of applicable state and local laws
that may affect use of electronic devices while driving.
WARNING:For safety reasons, do not connect or adjust the
settings on your portable music player while the vehicle is
moving.
Audio System147
2013 Flex(471)
Owners Guide gf, 1st Printing
USA(fus)
Page 165 of 558

Second row center seat head
restraint (if equipped)
The head restraints consist of:
A. Energy absorbing head restraint
B. Steel stems
C. Guide sleeve adjust/release button
D. Guide sleeve unlock/remove button
•Raise:pull up on the head restraint (A).
•Lower:press and hold the guide sleeve adjust/release button (C) and
push down on the head restraint (A).
•Remove:Pull up the head restraint until it reaches the highest
adjustment position and then press and hold both the adjust/release
button (C) and the unlock/remove button (D), then pull up on the
head restraint.
•Reinstall:Align the steel stems into the guide sleeves and push the
head restraint down until it locks.
Second row outboard seat head
restraints
The outboard head restraints are
non-adjustable, but they can be
removed.
The non-adjustable head restraints
consists of:
A. Energy absorbing head restraint
B. Steel stems
C. Guide sleeve unlock/remove buttons
D
B
A
B
C
AB
C
Seats165
2013 Flex(471)
Owners Guide gf, 1st Printing
USA(fus)
Page 166 of 558

To reinstall the non-adjustable head restraint, do the following:
•Remove:Pull up the head restraint until it reaches the highest
adjustment position and then press and hold the guide sleeve
unlock/remove buttons, then pull up on the head restraint.
•Reinstall:Align the steel stems into the guide sleeves and push the
head restraint down until it locks.
Third row head restraints (if
equipped)
The head restraints consist of:
A. Energy absorbing head restraint
B. Steel stems
C. Fold strap
•Fold:pull the fold strap (c). Pull it back up to reset.
Note:Pressing the stow or fold button on power folding seats will
automatically fold the head restraint.
Titling head restraints
The front head restraints may have a tilting feature for extra comfort. To
tilt the head restraint, do the following:
1. Adjust the seatback to an upright driving/riding
position.
2. Pivot the head restraint forward toward your head
to the desired position.
After the head restraint reaches the forward-most tilt position, pivoting it
forward again will then release it to the rearward, un-tilted position.
166Seats
2013 Flex(471)
Owners Guide gf, 1st Printing
USA(fus)