2013 FORD F SERIES MOTORHOME AND COMMERCIAL CHASSIS ignition
[x] Cancel search: ignitionPage 2 of 157
Introduction 4
Steering Wheel 11
Adjusting the steering wheel..............................11
Wipers and Washers 12
Windshield wipers.....................................12
Windshield washers....................................12
Lighting 13
Lighting control.......................................13
Instrument lighting dimmer...............................14
Daytime running lamps..................................14
Directionindicators ....................................15
Instrument Cluster 16
Gauges.............................................16
Warning lamps and indicators.............................18
Audible warnings and indicators...........................21
Information Displays 22
Controls.............................................22
Starting and Stopping the Engine 27
Ignition switch........................................28
Starting the engine.....................................28
Fuel and Refueling 30
Fuel quality..........................................32
Refueling............................................33
Fuel consumption......................................34
Transmission 39
Transmission operation..................................39
Brakes 44
Brakes..............................................44
Hints on driving with anti-lock brakes.......................45
Table of Contents1
2013 Motorhome(mot)
Owners Guide gf, 1st Printing
USA(fus)
Page 15 of 157
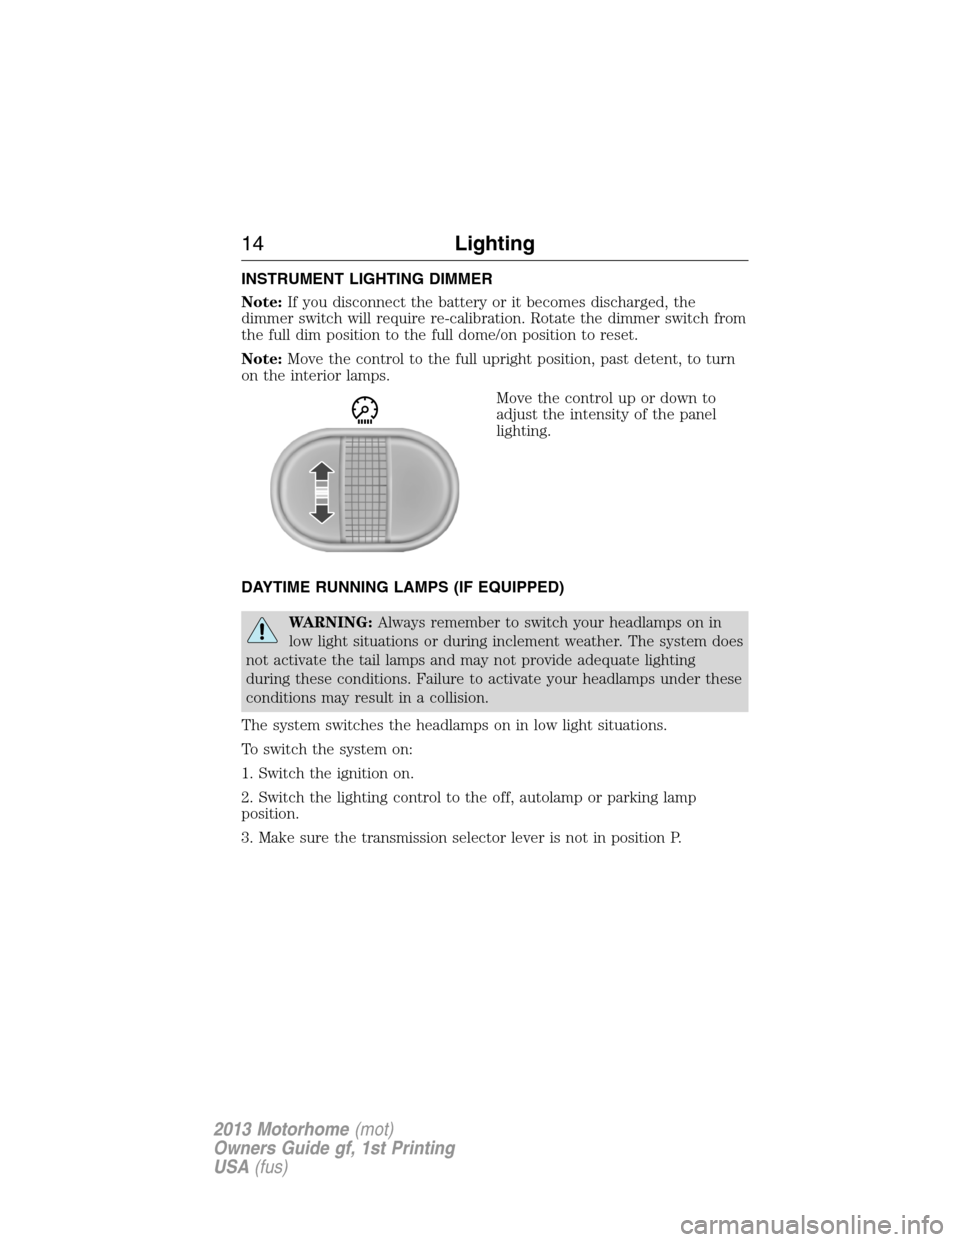
INSTRUMENT LIGHTING DIMMER
Note:If you disconnect the battery or it becomes discharged, the
dimmer switch will require re-calibration. Rotate the dimmer switch from
the full dim position to the full dome/on position to reset.
Note:Move the control to the full upright position, past detent, to turn
on the interior lamps.
Move the control up or down to
adjust the intensity of the panel
lighting.
DAYTIME RUNNING LAMPS (IF EQUIPPED)
WARNING:Always remember to switch your headlamps on in
low light situations or during inclement weather. The system does
not activate the tail lamps and may not provide adequate lighting
during these conditions. Failure to activate your headlamps under these
conditions may result in a collision.
The system switches the headlamps on in low light situations.
To switch the system on:
1. Switch the ignition on.
2. Switch the lighting control to the off, autolamp or parking lamp
position.
3. Make sure the transmission selector lever is not in position P.
14Lighting
2013 Motorhome(mot)
Owners Guide gf, 1st Printing
USA(fus)
Page 18 of 157
Transmission Fluid Temperature Gauge
Normal area:The transmission fluid is within the normal operating
temperature (between H and C).
Yellow area:The transmission fluid is higher than normal operating
temperature. This can be caused by special operation conditions (i.e.
snowplowing, towing or off-road use). Operating the transmission for
extended periods of time with the gauge in the yellow area may cause
internal transmission damage. Altering the severity of the driving
conditions is recommended to lower the transmission temperature into
the normal range.
Red area:The transmission fluid is overheating. Stop the vehicle to
allow the temperature to return to normal range.
If the gauge is operating in the yellow or red area, stop the vehicle and
verify the airflow is not restricted such as snow or debris blocking airflow
through the grill. If the gauge continues to show high temperatures, see
your authorized dealer.
Engine Coolant Temperature Gauge
At normal operating temperature, the needle will remain in the center
section. If the needle enters the red section, the engine is overheating.
Stop the engine, switch the ignition off and determine the cause once
the engine has cooled down. SeeEngine Coolant Check.
Note:Do not restart the engine until the cause of overheating has been
resolved.
WARNING:Never remove the coolant reservoir cap while the
engine is running or hot.
Fuel Gauge
Switch the ignition on. The fuel gauge will indicate approximately how
much fuel is left in the fuel tank. The fuel gauge may vary slightly when
the vehicle is moving or on a gradient. The arrow adjacent to the fuel
pump symbol indicates on which side of your vehicle the fuel filler door
is located.
Instrument Cluster17
2013 Motorhome(mot)
Owners Guide gf, 1st Printing
USA(fus)
Page 19 of 157
WARNING LAMPS AND INDICATORS
The following warning lamps and indicators will alert you to a vehicle
condition that may become serious. Some lamps will illuminate when you
start your vehicle to make sure they work. If any lamps remain on after
starting your vehicle, refer to the respective system warning lamp for
further information.
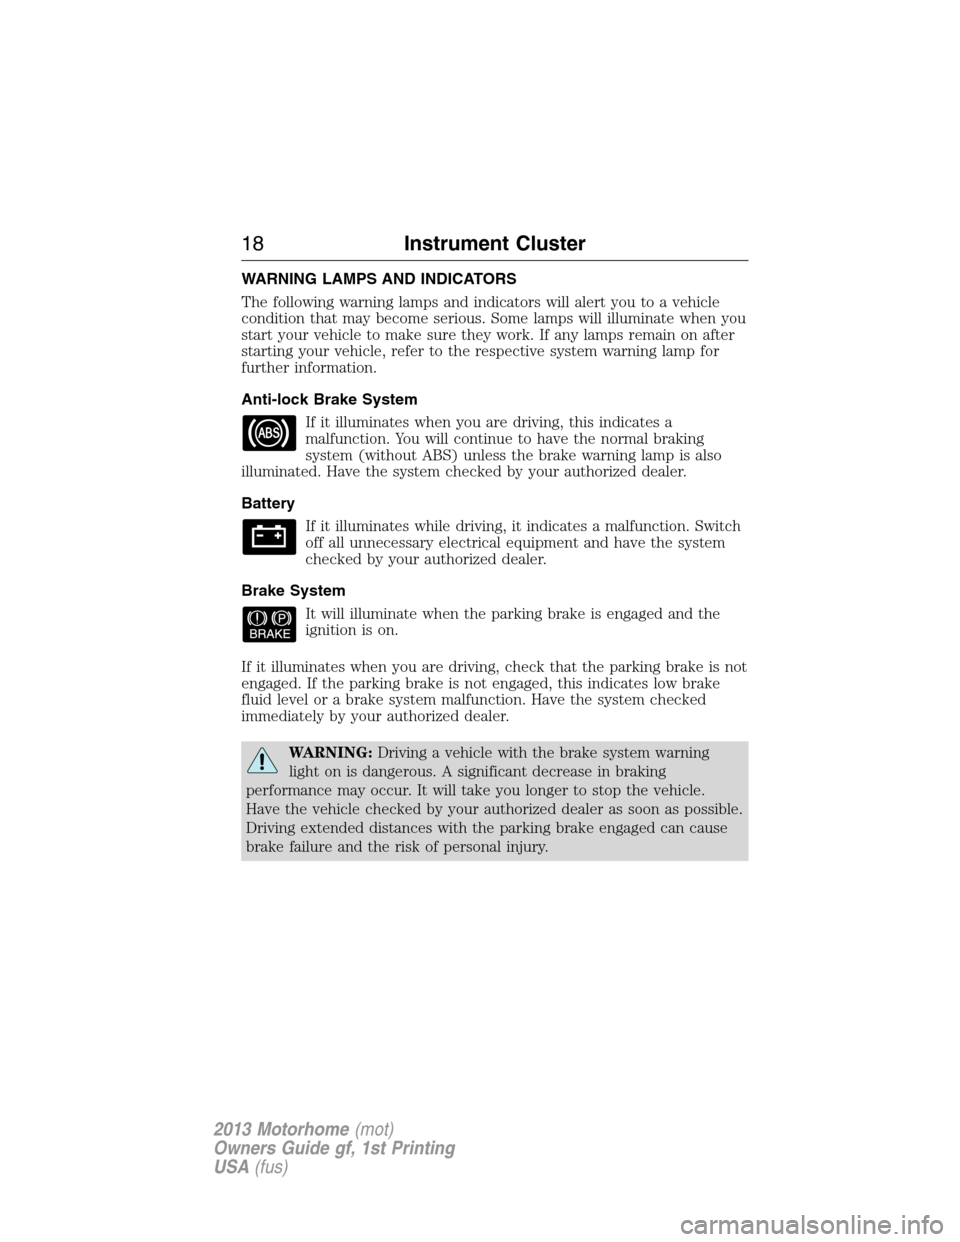
Anti-lock Brake System
If it illuminates when you are driving, this indicates a
malfunction. You will continue to have the normal braking
system (without ABS) unless the brake warning lamp is also
illuminated. Have the system checked by your authorized dealer.
Battery
If it illuminates while driving, it indicates a malfunction. Switch
off all unnecessary electrical equipment and have the system
checked by your authorized dealer.
Brake System
It will illuminate when the parking brake is engaged and the
ignition is on.
If it illuminates when you are driving, check that the parking brake is not
engaged. If the parking brake is not engaged, this indicates low brake
fluid level or a brake system malfunction. Have the system checked
immediately by your authorized dealer.
WARNING:Driving a vehicle with the brake system warning
light on is dangerous. A significant decrease in braking
performance may occur. It will take you longer to stop the vehicle.
Have the vehicle checked by your authorized dealer as soon as possible.
Driving extended distances with the parking brake engaged can cause
brake failure and the risk of personal injury.
18Instrument Cluster
2013 Motorhome(mot)
Owners Guide gf, 1st Printing
USA(fus)
Page 21 of 157
Service Engine Soon
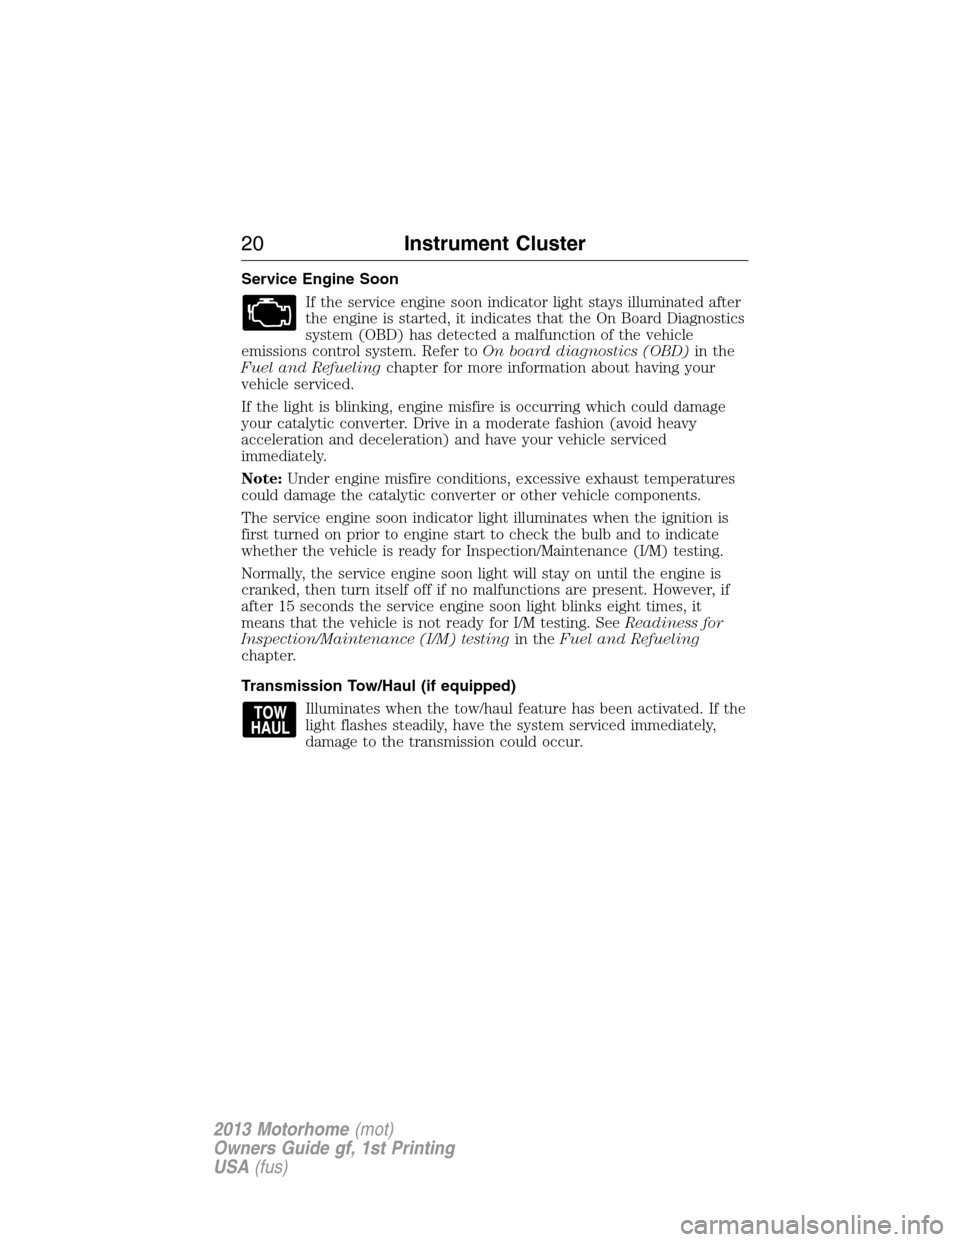
If the service engine soon indicator light stays illuminated after
the engine is started, it indicates that the On Board Diagnostics
system (OBD) has detected a malfunction of the vehicle
emissions control system. Refer toOn board diagnostics (OBD)in the
Fuel and Refuelingchapter for more information about having your
vehicle serviced.
If the light is blinking, engine misfire is occurring which could damage
your catalytic converter. Drive in a moderate fashion (avoid heavy
acceleration and deceleration) and have your vehicle serviced
immediately.
Note:Under engine misfire conditions, excessive exhaust temperatures
could damage the catalytic converter or other vehicle components.
The service engine soon indicator light illuminates when the ignition is
first turned on prior to engine start to check the bulb and to indicate
whether the vehicle is ready for Inspection/Maintenance (I/M) testing.
Normally, the service engine soon light will stay on until the engine is
cranked, then turn itself off if no malfunctions are present. However, if
after 15 seconds the service engine soon light blinks eight times, it
means that the vehicle is not ready for I/M testing. SeeReadiness for
Inspection/Maintenance (I/M) testingin theFuel and Refueling
chapter.
Transmission Tow/Haul (if equipped)
Illuminates when the tow/haul feature has been activated. If the
light flashes steadily, have the system serviced immediately,
damage to the transmission could occur.
20Instrument Cluster
2013 Motorhome(mot)
Owners Guide gf, 1st Printing
USA(fus)
Page 22 of 157
AUDIBLE WARNINGS AND INDICATORS
Headlamps On Warning Chime
Sounds when the headlamps or parking lamps are on, the ignition is off
(the key is not in the ignition) and the driver’s door is opened.
Fail-Safe Cooling Warning Chime
Sounds when the coolant gauge pointer has moved to hot. There are
three stages of chimes:
•Stage 1 is a single chime when the engine temperature begins to
overheat.
•Stage 2 is multiple chimes and engine power becomes limited in order
to help cool the engine.
•Stage 3 is multiple chimes and the engine will shut down.
Key In Ignition Warning Chime
Sounds when the key is left in the ignition in the off or accessory
position and the driver’s door is opened.
Information Display Chime
Sounds when some warning messages appear in the display for the first
time.
Parking Brake On Warning Chime
Sounds when you have left the parking brake on and you drive your
vehicle. If the warning chime remains on after you have released the
parking brake, have the system checked by your authorized dealer
immediately.
Instrument Cluster21
2013 Motorhome(mot)
Owners Guide gf, 1st Printing
USA(fus)
Page 24 of 157
TRIP
Registers the distance of individual journeys. Press and release the INFO
button until the TRIP appears in the display. Press and hold the RESET
button to reset.
Refer toUNITSlater in this section to switch the display from Metric to
English.
XXX° (outside air temperature)
This displays the outside temperature.
Refer toUNITSlater in this section to switch the display from Metric to
English.
MILES (km) TO E
This displays an estimate of approximately how far you can drive with
the fuel remaining in your tank under normal driving conditions.
Remember to turn the ignition off when refueling to allow this feature to
correctly detect the added fuel.
The DTE function will display FUEL LEVEL LOW when you have
approximately 50 miles (80 km), to empty. Press RESET to clear this
warning message. It will return at approximately 25 miles (40 km),
10 miles (16 km) and 0 miles (0 km) miles to empty.
DTE is calculated using a running average fuel economy, which is based
on your recent driving history of 500 miles (800 km).
ENG HRS
Registers the accumulated time the engine has been running.
System check and vehicle feature customization
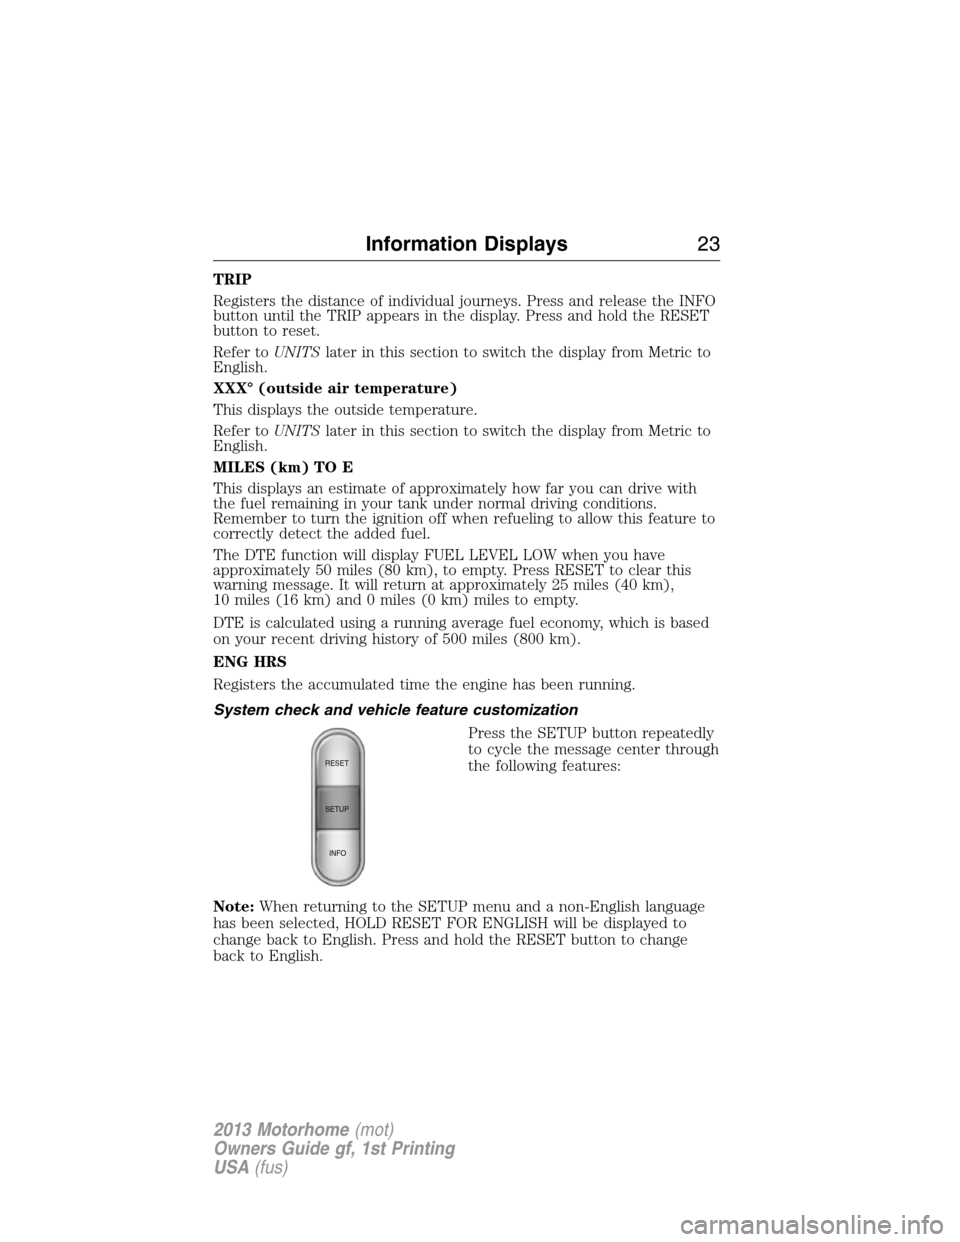
Press the SETUP button repeatedly
to cycle the message center through
the following features:
Note:When returning to the SETUP menu and a non-English language
has been selected, HOLD RESET FOR ENGLISH will be displayed to
change back to English. Press and hold the RESET button to change
back to English.
RESET
SETUP
INFO
Information Displays23
2013 Motorhome(mot)
Owners Guide gf, 1st Printing
USA(fus)
Page 29 of 157
IGNITION SWITCH
Note:When you switch the ignition off and leave your vehicle, do not
leave your key in the ignition. This could discharge your vehicle battery.
Note:To switch the engine off when your vehicle is moving, move the
transmission selector lever to positionN.Use the brakes to bring your
vehicle to a safe stop. After your vehicle has stopped, switch the engine
off and move the transmission selector lever to positionP.Turn the key
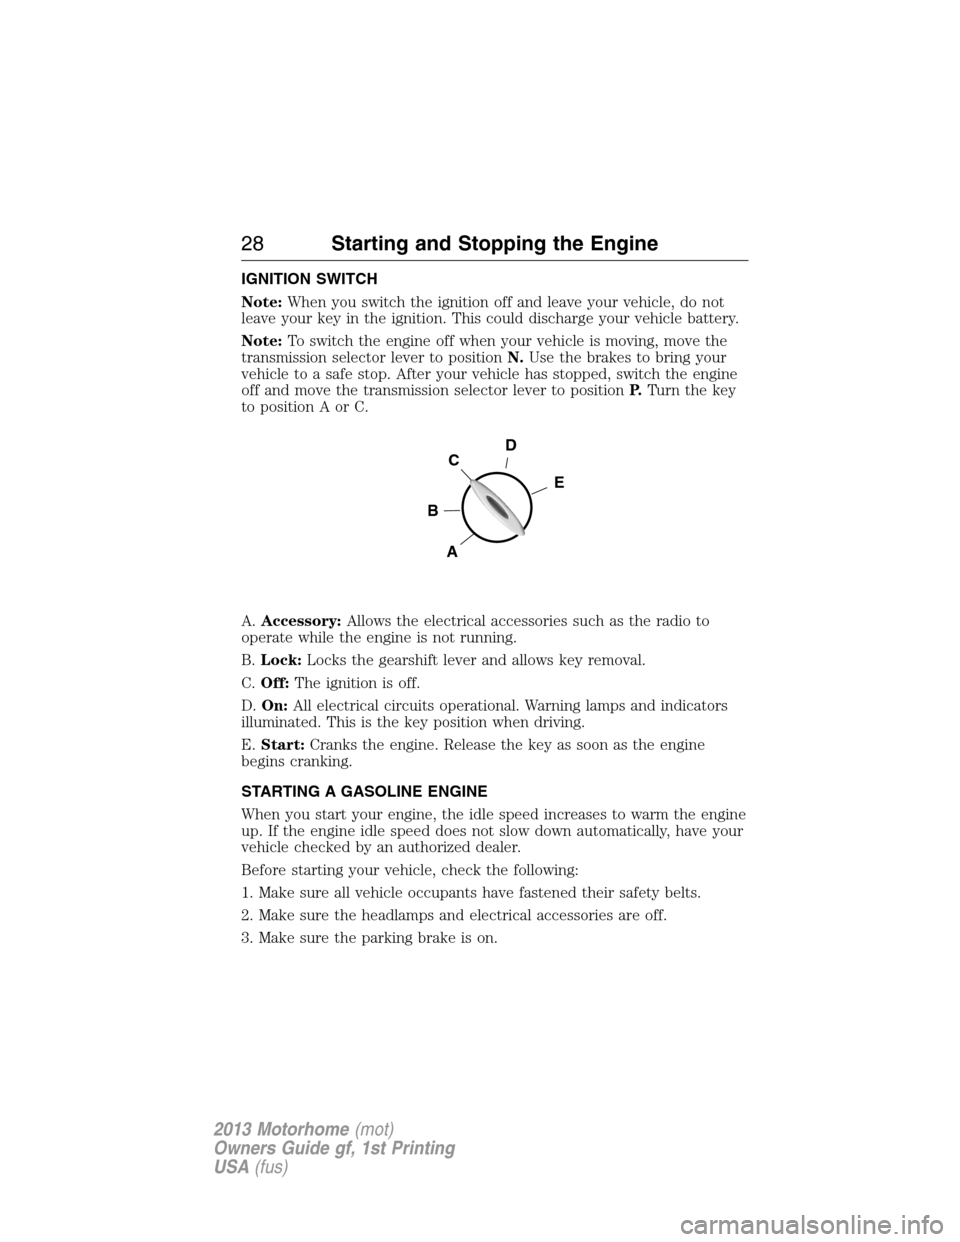
to position A or C.
A.Accessory:Allows the electrical accessories such as the radio to
operate while the engine is not running.
B.Lock:Locks the gearshift lever and allows key removal.
C.Off:The ignition is off.
D.On:All electrical circuits operational. Warning lamps and indicators
illuminated. This is the key position when driving.
E.Start:Cranks the engine. Release the key as soon as the engine
begins cranking.
STARTING A GASOLINE ENGINE
When you start your engine, the idle speed increases to warm the engine
up. If the engine idle speed does not slow down automatically, have your
vehicle checked by an authorized dealer.
Before starting your vehicle, check the following:
1. Make sure all vehicle occupants have fastened their safety belts.
2. Make sure the headlamps and electrical accessories are off.
3. Make sure the parking brake is on.
D
E
C
B
A
28Starting and Stopping the Engine
2013 Motorhome(mot)
Owners Guide gf, 1st Printing
USA(fus)