2013 FORD EXPEDITION start stop button
[x] Cancel search: start stop buttonPage 57 of 497

•Audio system maximum volume of 45%. A message in the audio
system is displayed when attempting to exceed the limited volume.
•AdvanceTrac. The system cannot be turned off when Always-on has
been set.
CREATING A MYKEY
Use the information display controls to create a MyKey.
1. Insert the key you want to program into the ignition or, if the vehicle
is equipped with push button start, put the Intelligent Access key in
the backup slot; see theStarting and Stopping the Enginechapter
for the backup slot location.
2. Turn the ignition on.
3. Press SETUP using the information display buttons until PRESS
RESET TO CREATE MYKEY is displayed.
4. Press and release the RESET button. HOLD RESET TO CONFIRM
MYKEY will be displayed.
5. Press and hold the RESET button for two seconds until MARK THIS
AS RESTRICTED is displayed Wait until KEY RESTRICTED AT
NEXT START is displayed.
The key is successfully programmed. Make sure you label it so you can
distinguish it from the admin keys.
To program optional settings for the key(s), see the
Programming/Changing Optional Settingschapter.
Programming/Changing Optional Settings
Note:All programmed keys can be cleared within the same key cycle in
which a key was programmed, otherwise an admin key is required to
clear the keys. To clear all keys, seeClearing all MyKeys.
You can access the optional settings through the information display
controls.
1. Press SETUP until RESET FOR MYKEY SETTINGS is displayed.
2. Press and release the RESET button to display MyKey setup menus.
3. Press the SETUP button to display the next menu to scroll through
your choices.
4. On any of the menus, press RESET to highlight your choice with the
<…>.
5. Press SETUP to enter your choice. The next optional setting will be
displayed.
6. Repeat Steps 4 and 5 until you are done changing the optional
settings.
MyKey57
2013 Expedition(exd)
Owners Guide gf, 1st Printing
USA(fus)
Page 67 of 497

Power Liftgate (If Equipped)
WARNING:Make sure that the liftgate is closed to prevent
exhaust fumes from being drawn into the vehicle. This will also
prevent passengers and cargo from falling out. If you must drive with
the liftgate door open, keep the vehicle well ventilated so outside air
comes into the vehicle.
WARNING:Make sure all persons are clear of the power liftgate
area before using the power liftgate control.
WARNING:Keep keys out of the reach of children. Do not allow
children to operate the power liftgate, or to play near to an open
or moving power liftgate.
Note:Cycling the ignition prior to completely latching the liftgate could
result in damage to the liftgate or its power components. Make sure the
liftgate is fully latched before operating the vehicle.
If the ignition is cycled during a liftgate power close cycle and the
liftgate is 6-10 inches (15-24 centimeters) from being latched, the liftgate
may reverse to the full open position. Verify that the liftgate is closed
before operating or moving the vehicle, especially in an enclosure, like a
garage or a parking structure. The liftgate or it components could be
damaged in an enclosure, if the liftgate is open.
When power operating the liftgate at temperatures below 32°F (0°C), the
liftgate may stop about 5 inches (13 centimeters) from the full open
position. The liftgate can be fully opened by pushing it upward to the
maximum open position.
Opening and Closing the Power Liftgate
Note:The liftgate can be reversed with a second press on a control
button or transmitter and can be manually closed at any time.
The liftgate will only operate with your vehicle inP. The chime will beep
once if conditions are not correct to start an operation. These conditions
include:
•The ignition is in on and the transmission is not inP.
•The battery voltage is below the minimum operating voltage.
•The vehicle speed is at or above 3 mph (5 km/h).
Locks67
2013 Expedition(exd)
Owners Guide gf, 1st Printing
USA(fus)
Page 68 of 497

If the liftgate reverses and starts to close after a open request, a fast
continuous chime indicates excessive load on the liftgate or a possible
strut failure. If any excessive load is removed and you still have a faster
chime, have the system serviced immediately by your authorized dealer.
Do not attempt to manually force the liftgate to travel faster than the
power system will permit. This will activate the obstacle detection
feature.
To open or close from the instrument panel:
Press the instrument panel button.
To open or close with the remote control:
Press the remote control button within three seconds.
To open with the outside liftgate
button (manual actuation):
1. Unlock the liftgate with the
remote entry transmitter or power
door unlock control.
2. Press the control button located
on the inside of the liftgate handle.
Note:Let the power system to
open the liftgate after releasing the
control button. Continued upward
force after unlatching may activate the obstacle detection feature and
stop the power operation.
Note:If weight is added to the liftgate (bike rack, snow, etc.) it may
start a power close event immediately after a power open. If this
happens, a unique continuous chime will sound.
68Locks
2013 Expedition(exd)
Owners Guide gf, 1st Printing
USA(fus)
Page 69 of 497

To close with the rear cargo area button:
WARNING:Keep clear of the liftgate when activating the rear
switch.
Note:The rear cargo area control button is disabled when the liftgate is
latched.
Press and release the control on the
left rear quarter panel. A chime will
beep once if conditions are not
correct to start an operation (i.e.,
the vehicle is out of park). In a
normal close, the chime will begin
just before the gate starts to move
and continue for a total of three
seconds.
To manually operate the liftgate:
Note:Manual operation is suggested on extreme inclines or in extreme
cold -40°F (-40°C).
Note:In the event of a power failure, the latch can be accessed and
released from the inside using the access panel on the liftgate trim.
1. Disable the liftgate power function in the information display. See the
Information Displayschapter.
2. Open and close the liftgate as you would a standard liftgate.
Obstacle Detection
Note:Entering your vehicle while the liftgate is closing can cause it to
bounce and activate obstacle detection. To prevent this, let the power
liftgate fully close before entering the vehicle.
The power liftgate system is equipped with an obstacle detection feature.
If the power liftgate is closing, the system is designed to reverse to full
open when it encounters a solid obstacle. A three second chime is also
sounded when an obstacle is detected. Once the obstacle is removed, the
liftgate can be closed under power.
If the power liftgate is opening, the system is designed to stop when it
encounters a solid obstacle. A chime will sound for three seconds while
the obstacle is present.
Locks69
2013 Expedition(exd)
Owners Guide gf, 1st Printing
USA(fus)
Page 136 of 497

DVD Basics
To get the most use out of each DVD, make sure you read this section
completely.
Regional Coding
Both the DVD player and disc are coded by region. These regional codes
must match in order for the disc to play. If the codes do not match, the
disc does not play by default. The system is preset to the region code
designated for your area by the DVD Copy Control Association. Other
regions may not be played in this system.
Loading and Playing Discs
When you press the POWER button the system turns on in DVD mode.
Place the disc about halfway into the disc compartment slot, with the
disc’s label facing the rear of the vehicle. player, do NOT insert the disc
at an angle. The disc must be inserted straight into the player.
The disc loads automatically and begin to play. (Some discs may start at
the root menu, where play must be selected to start movie.)
Depending on the disk and playback location on the disc, the icon may
be displayed in the upper-left corner of the screen indicating that still
playback is not possible.
Notes
•To keep a disc clean, do not touch its surface. Handle the disc by its
edge.
•Keep your discs in their cases or disc magazines when not in use.
Also, do not subject disc to heat/high temperature. Avoid leaving
them in a parked vehicle or on a dashboard/rear tray.
•
Do not attach labels, or use discs with sticky ink/residue. Such discs may
stop spinning when used, causing a malfunction, or may ruin the disc.
•Do not use any discs with labels or stickers attached. The following
malfunctions may result from using such discs:
•Inability to eject a disc (due to a label or sticker peeling off and
jamming the eject mechanism).
•Inability to read audio data correctly (i.e., playback skipping, or no
playback) due to heat shrinking of a sticker or label causing a disc to
warp.
•Before playing, clean the discs with a commercially available cleaning
cloth. Wipe each disc from the center out. Do not use solvents such as
benzene, thinner, commercially available cleaners, or antistatic spray
intended for analog discs.
•Use only normal, round discs. If you insert irregular, non-round, shaped
discs they may jam in the DVD player or not play properly.
136Audio System
2013 Expedition(exd)
Owners Guide gf, 1st Printing
USA(fus)
Page 210 of 497

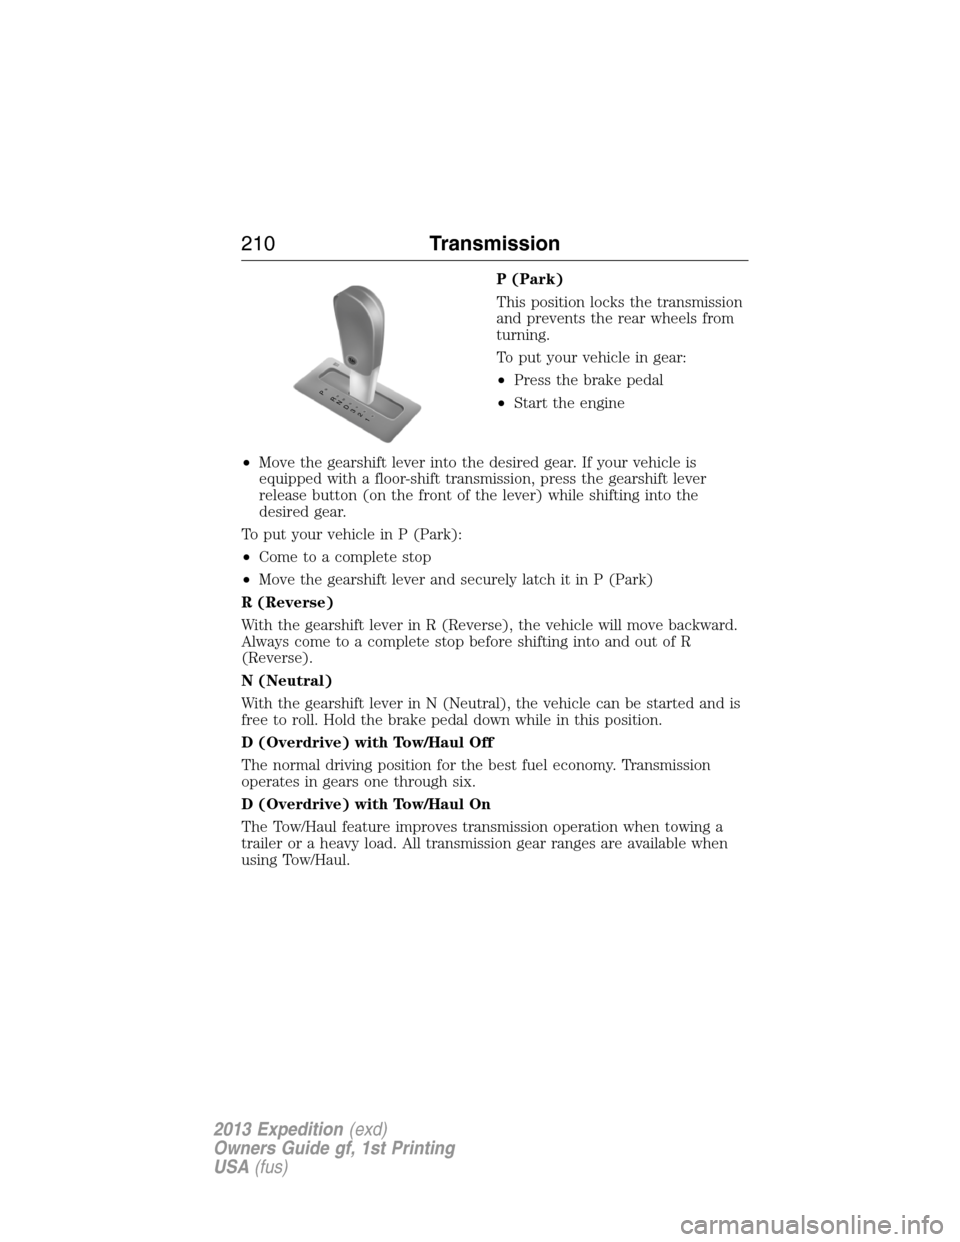
P (Park)
This position locks the transmission
and prevents the rear wheels from
turning.
To put your vehicle in gear:
•Press the brake pedal
•Start the engine
•Move the gearshift lever into the desired gear. If your vehicle is
equipped with a floor-shift transmission, press the gearshift lever
release button (on the front of the lever) while shifting into the
desired gear.
To put your vehicle in P (Park):
•Come to a complete stop
•Move the gearshift lever and securely latch it in P (Park)
R (Reverse)
With the gearshift lever in R (Reverse), the vehicle will move backward.
Always come to a complete stop before shifting into and out of R
(Reverse).
N (Neutral)
With the gearshift lever in N (Neutral), the vehicle can be started and is
free to roll. Hold the brake pedal down while in this position.
D (Overdrive) with Tow/Haul Off
The normal driving position for the best fuel economy. Transmission
operates in gears one through six.
D (Overdrive) with Tow/Haul On
The Tow/Haul feature improves transmission operation when towing a
trailer or a heavy load. All transmission gear ranges are available when
using Tow/Haul.
T/H
PR
N
D
3
2
1
210Transmission
2013 Expedition(exd)
Owners Guide gf, 1st Printing
USA(fus)
Page 258 of 497

B.Manual control lever:Slide the control lever to the left to activate
power to the trailer’s electric brakes independent of the tow vehicle’s
brakes (see the followingProcedure for adjusting GAINsection for
instructions on proper use of this feature). If the manual control is
activated while the brake is also applied, the greater of the two inputs
determines the power sent to the trailer brakes.
•Stop lamps:Activating the manual control lever illuminates both the
trailer brake lamps and the tow vehicle brake lamps except the
center high-mount stop lamp (if the proper electrical connection has
been made to the trailer). Pressing the vehicle brake pedal also
illuminates both trailer and vehicle brake lamps.
Procedure for Adjusting GAIN
Note:This should only be performed in a traffic-free environment at
speeds of approximately 20–25 mph (30–40 km/h).
The GAIN setting is used to set the TBC for the specific towing
condition and should be changed as towing conditions change. Changes
to towing conditions include trailer load, vehicle load, road conditions
and weather.
The GAIN should be set to provide the maximum trailer braking
assistance while making sure the trailer wheels do not lock when
braking. Locked trailer wheels may lead to trailer instability.
1. Make sure the trailer brakes are in good working condition,
functioning normally and properly adjusted. See your trailer dealer if
necessary.
2. Hook up the trailer and make the electrical connections according to
the trailer manufacturer’s instructions.
3. When a trailer with electric or EOH brakes is plugged in, TRAILER
CONNECTED appears in the information display.
4. Use the GAIN adjustment (+/-) buttons to increase or decrease the
GAIN setting to the desired starting point. A GAIN setting of 6.0 is a
good starting point for heavier loads.
5. In a traffic-free environment, tow the trailer on a dry, level surface at
a speed of 20–25 mph (30–40 km/h) and squeeze the manual control
lever completely.
6. If the trailer wheels lock up (indicated by squealing tires), reduce the
GAIN setting. If the trailer wheels turn freely, increase the GAIN
setting. Repeat Steps 5 and 6 until the GAIN setting is at a point just
below trailer wheel lock-up. If towing a heavier trailer, trailer wheel
lock-up may not be attainable even with the maximum GAIN setting
of 10.
258Towing
2013 Expedition(exd)
Owners Guide gf, 1st Printing
USA(fus)
Page 270 of 497

Should your vehicle shut off after a collision, you may restart your
vehicle by doing the following:
1. Turn the ignition off.
2. Turn the ignition on.
3. Repeat steps 1 and 2 to re-enable fuel pump.
Note:If your vehicle has the push button start system, press the
stop/start button twice to reactivate the fuel system.
JUMP-STARTING THE VEHICLE
WARNING:The gases around the battery can explode if exposed
to flames, sparks, or lit cigarettes. An explosion could result in
injury or vehicle damage.
WARNING:Batteries contain sulfuric acid which can burn skin,
eyes and clothing, if contacted.
Do not attempt to push-start your automatic transmission vehicle.
Automatic transmissions do not have push-start capability. Attempting to
push-start a vehicle with an automatic transmission may cause
transmission damage.
When the battery is disconnected or a new battery is installed, the
automatic transmission must relearn its shift strategy. As a result, the
transmission may exhibit a combination of firm and soft shifts. This
operation is considered normal and will not affect function or durability
of the transmission. Over time, the adaptive learning process will fully
update transmission operation.
Preparing Your Vehicle
Note:Use only a 12 volt supply to start your vehicle.
Note:Do not disconnect the battery of the disabled vehicle as this could
damage the vehicle’s electrical system.
1. Park the booster vehicle close to the hood of the disabled vehicle
making sure the two vehicles do not touch. Set the parking brake on
both vehicles and stay clear of the engine cooling fan and other moving
parts.
2. Check all battery terminals and remove any excessive corrosion before
you attach the battery cables. Ensure that vent caps are tight and level.
3. Turn the heater fan on in both vehicles to protect from any electrical
surges. Turn all other accessories off.
270Roadside Emergencies
2013 Expedition(exd)
Owners Guide gf, 1st Printing
USA(fus)