2013 DODGE GRAND CARAVAN manual transmission
[x] Cancel search: manual transmissionPage 394 of 683
3. Touch the 1 or 2 soft-key and then the DISC soft-key in
the MEDIA column. To exit touch the back arrow at
the top left of the screen.
NOTE:
•To view a DVD on the radio press the RADIO/MEDIA
hard-key, on the radio faceplate, then touch the DISC
tab soft-key and then the VIEW VIDEO soft-key.
•
Viewing a DVD on the Touch-Screen radio screen is not
available in all states/provinces, and the vehicle must be
stopped, and the shift lever must be in the PARK position
for vehicles with automatic transmission. In vehicles with
manual transmission the parking brake must be engaged.
•Touching the screen on a Touch-Screen radio while a
DVD is playing brings up basic remote control functions
for DVD play such as scene selection, Play, Pause, FF,
RW, and Stop. Pressing the X in the upper corner will
turn off the remote control screen functions.
Play A DVD Using The VES™ Player (If Equipped)
1.Insert the DVD with the label facing up. The VES™
player automatically selects the appropriate mode after
the disc is recognized and starts playing the DVD.
NOTE:The VES™ player has basic DVD control func-
tion such as Menu, Play, Pause, FF, RW and Stop
2.
To watch a DVD on Screen 1 for second row passengers,
ensure the Remote Control and Headphone switch is on
Channel 1.
3. To watch a DVD on Screen 2 for third row passengers,
ensure the Remote Control and Headphone switch is
on Channel 2.
392 UNDERSTANDING YOUR INSTRUMENT PANEL
Page 397 of 683
NOTE:
•To view a DVD on the radio press the RADIO/MEDIA
hard-key, on the radio faceplate, then touch the DISC
tab soft-key and then the VIEW VIDEO soft-key.
•Viewing a DVD on the Touch-Screen radio screen is
not available in all states/provinces, and the vehicle
must be stopped, and the shift lever must be in the
PARK position for vehicles with automatic transmis-
sion. In vehicles with manual transmission the parking
brake must be engaged.
Play A Blu-ray Disc Using The Blu-ray Player
(If Equipped)
1. Insert the Blu-ray disc with the label facing up. The
Blu-ray player automatically selects the appropriate
mode after the disc is recognized and starts playing
the Blu-ray disc.NOTE:The Blu-ray player has basic control functions
such as Menu, Play, Pause, FF, RW and Stop.
2. To watch a Blu-ray disc on Screen 1 for second row
passengers, ensure the Remote Control and Head-
phone switch is on Channel 1.
3. To watch a Blu-ray disc on Screen 2 for third row
passengers, ensure the Remote Control and Head-
phone switch is on Channel 2.
Using The Remote Control
1. Press the SOURCE button on the Blu-ray player Re-
mote Control.
2. While looking at Screen 1 or 2, highlight Blu-ray by
either pressing Up/Down/Left/Right buttons or by
repeatedly pressing the SOURCE button, then press
OK on the Remote Control.
4
UNDERSTANDING YOUR INSTRUMENT PANEL 395
Page 398 of 683
NOTE:
•Channel/Screen 1 select mode information is shown
on the left side of the screen.
•Channel/Screen 2 select mode information is shown
on the right side of the screen.
•
The VES™ will retain the last setting when turned off.
Using The Touch-Screen Radio Controls
1. Press the MENU hard-key on the radio faceplate.
2. Touch the Rear VES™ soft-key to display the Rear
VES™ Controls. If a channel list is displayed, touch
the HIDE LIST soft-key to display the Rear VES™
Controls screen.3. Touch the 1 or 2 soft-key and then the VES™ Disc
soft-key in the VES™ column. To exit touch the back
arrow soft-key at the top left of the screen.
NOTE:
•To view a Blu-ray Disc on the radio press the RADIO/
MEDIA hard-key, on the radio faceplate, then touch
the VES™ Disc tab soft-key and then the VIEW VIDEO
soft-key.
•Viewing a Blu-ray Disc on the Touch-Screen radio
screen is not available in all states/provinces, and the
vehicle must be stopped, and the shift lever must be in
the PARK position for vehicles with automatic trans-
mission. In vehicles with manual transmission the
parking brake must be engaged.
396 UNDERSTANDING YOUR INSTRUMENT PANEL
Page 471 of 683
The transmission shift lever has only PARK, REVERSE,
NEUTRAL, and DRIVE shift positions. Manual down-
shifts can be made using the Electronic Range Select
(ERS) shift control (described later in this section). Mov-
ing the shift lever to the left or right (–/+) while in the
DRIVE position will select the highest available transmis-
sion gear, and will display that gear in the instrument
cluster as 6, 5, 4, 3, 2, 1.
Gear Ranges
DO NOT race the engine when shifting from PARK or
NEUTRAL into another gear range.
NOTE:After selecting any gear range, wait a moment to
allow the selected gear to engage before accelerating.
This is especially important when the engine is cold.
PARK
This range supplements the parking brake by locking the
transmission. The engine can be started in this range.
Never attempt to use PARK while the vehicle is in
motion. Apply the parking brake when leaving the
vehicle in this range.
When parking on a level surface, you may place the shift
lever in PARK first, and then apply the parking brake.
When parking on a hill, apply the parking brake before
placing the shift lever in PARK, otherwise the load on the
transmission locking mechanism may make it difficult to
move the shift lever out of PARK. As an added precau-
tion, turn the front wheels toward the curb on a downhill
grade, and away from the curb on an uphill grade.
5
STARTING AND OPERATING 469
Page 497 of 683
Towing With HSA
HSA will provide assistance when starting on a grade
when pulling a trailer.
WARNING!
•If you use a trailer brake controller with your
trailer, your trailer brakes may be activated and
deactivated with the brake switch. If so, when the
brake pedal is released, there may not be enough
brake pressure to hold the vehicle and trailer on a
hill and this could cause a collision with another
vehicle or object behind you. In order to avoid
rolling down the hill while resuming acceleration,
manually activate the trailer brake prior to releas-
ing the brake pedal. Always remember the driver is
responsible for braking the vehicle.
(Continued)
WARNING!(Continued)
•HSA is not a parking brake. If you stop the vehicle
on a hill without putting the transmission in PARK
and using the parking brake, it will roll down the
hill and could cause a collision with another ve-
hicle or object. Always remember to use the park-
ing brake while parking on a hill, and that the
driver is responsible for braking the vehicle.
HSA Off
If you wish to turn off the HSA system, it can be done
using the Customer Programmable Features in the Elec-
tronic Vehicle Information Center (EVIC). Refer to “Elec-
tronic Vehicle Information Center (EVIC)” in “Under-
standing Your Instrument Panel” for further information.
5
STARTING AND OPERATING 495
Page 571 of 683
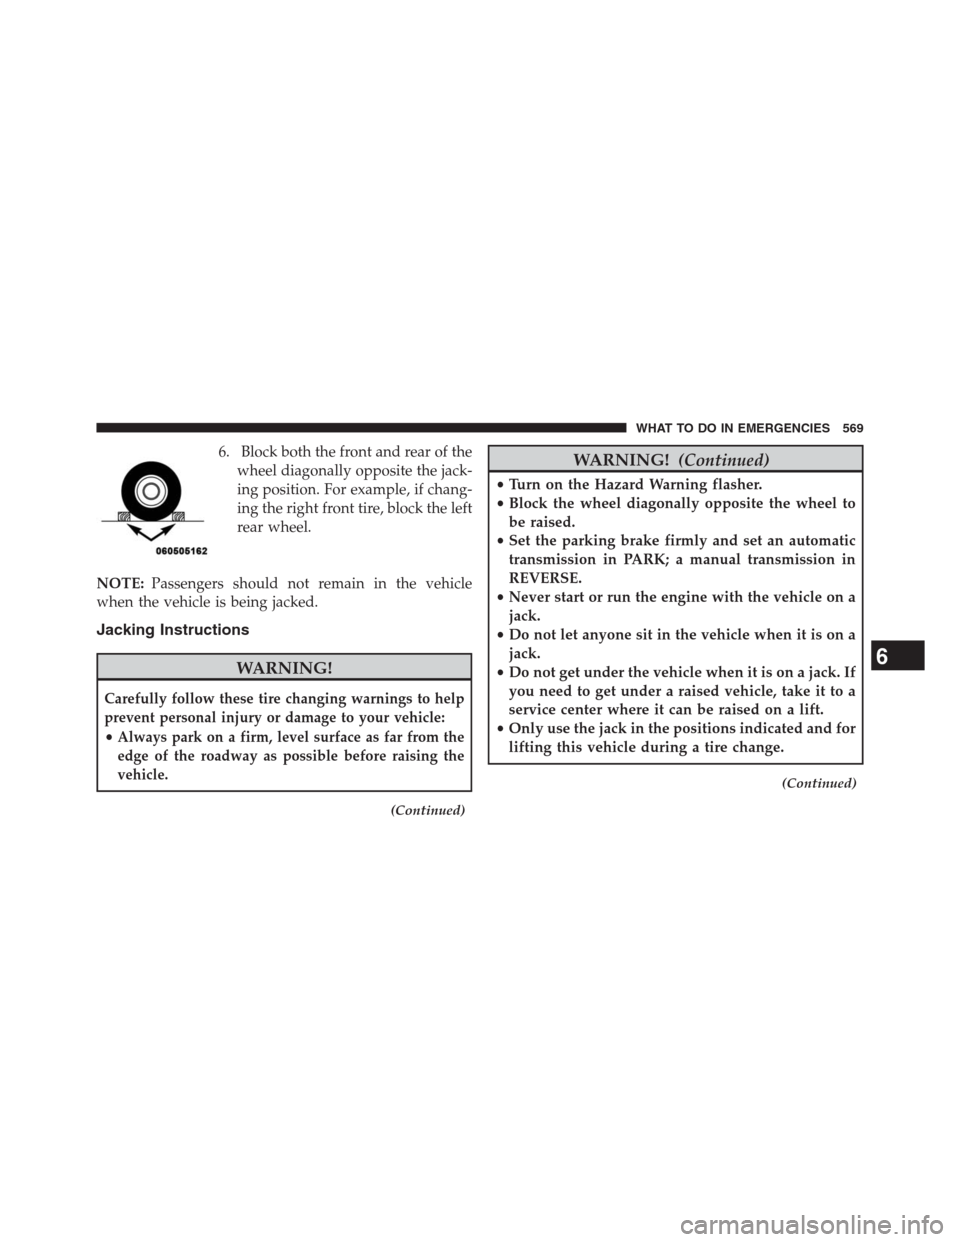
6. Block both the front and rear of the
wheel diagonally opposite the jack-
ing position. For example, if chang-
ing the right front tire, block the left
rear wheel.
NOTE:Passengers should not remain in the vehicle
when the vehicle is being jacked.
Jacking Instructions
WARNING!
Carefully follow these tire changing warnings to help
prevent personal injury or damage to your vehicle:
•Always park on a firm, level surface as far from the
edge of the roadway as possible before raising the
vehicle.
(Continued)
WARNING!(Continued)
•Turn on the Hazard Warning flasher.
•Block the wheel diagonally opposite the wheel to
be raised.
•Set the parking brake firmly and set an automatic
transmission in PARK; a manual transmission in
REVERSE.
•Never start or run the engine with the vehicle on a
jack.
•Do not let anyone sit in the vehicle when it is on a
jack.
•Do not get under the vehicle when it is on a jack. If
you need to get under a raised vehicle, take it to a
service center where it can be raised on a lift.
•Only use the jack in the positions indicated and for
lifting this vehicle during a tire change.
(Continued)
6
WHAT TO DO IN EMERGENCIES 569
Page 678 of 683

Service Assistance.........................651
Service Contract..........................654
Service Engine Soon Light (Malfunction Indicator). . .317
Service Manuals..........................656
Settings, Personal.........................342
Setting the Clock..........................350
Shift Lever Override.......................585
Shoulder Belts............................60
Side Airbag..............................84
Signals, Turn............................120
Sliding Door.............................44
Snow Chains (Tire Chains)...................517
Snow Tires..............................510
Spare Tire...............................511
Speed Control (Cruise Control)................237
Speedometer.............................319
Starting................................461
Automatic Transmission..................461
Cold Weather..........................462Engine Fails to Start.....................462
Remote...............................30
Starting and Operating.....................461
Starting Procedures........................461
Steering
Power...............................480
Tilt Column...........................232
Wheel, Heated.........................234
Wheel, Tilt............................232
Steering Wheel Audio Controls...............429
Steering Wheel Mounted Sound System Controls . . .429
Storage................................633
Storage Bin..............................278
Storage, Vehicle...........................453
Storing Your Vehicle.......................633
Stow n Go (Fold in Floor) Seats...............196
Sunglasses Storage........................253
Sun Roof...............................265
Supplemental Restraint System - Airbag..........74
676 INDEX