Page 198 of 699

Driver One Memory Position Recall
•To recall the memory settings for driver one using the
memory switch , press MEMORY button number 1 on
the driver’s door memory switch.
• To recall the memory settings for driver one using the
RKE transmitter, press the UNLOCK button on the
RKE transmitter linked to memory position 1.
NOTE: When recall is requested with the RKE transmit-
ter and the Easy Entry/Exit Seat is turned ON, the seat
will go to the Easy Entry position. When the ignition is
placed in the ON/RUN position, the seat will then
automatically return to the set memory position.
Driver Two Memory Position Recall
• To recall the memory setting for driver two using the
memory switch, press MEMORY button number 2 on
the driver’s door memory switch. •
To recall the memory settings for driver two using the
RKE transmitter, press the UNLOCK button on the
RKE transmitter linked to memory position 2.
NOTE: When recall is requested with the RKE transmit-
ter and the Easy Entry/Exit Seat is turned ON, the seat
will go to the Easy Entry position. When the ignition is
placed in the ON/RUN position, the seat will then
automatically return to the set memory position.
A recall can be cancelled by pressing any of the
MEMORY buttons on the drivers door during a recall (S,
1, or 2). When a recall is cancelled, the driver’s seat,
driver’s mirror and the pedals stop moving. A delay of
one second will occur before another recall can be
selected.
Easy Entry/Exit Seat
This feature provides automatic driver seat positioning to
enhance driver mobility when entering and exiting the
vehicle.
196 UNDERSTANDING THE FEATURES OF YOUR VEHICLE
Page 209 of 699
Each light can be turned on by pressing a switch on either
side of the console. These buttons are backlit for night
time visibility. To turn the lights off, press the switch a
second time. The lights will also turn on when the
UNLOCK button on the Remote Keyless Entry (RKE) is
pressed.Courtesy Lights
The courtesy lights can be turned on by pressing the top
corner of the lens. To turn the lights off, press the lens a
second time.
Front Map/Reading Light Switches
Courtesy Lights
3
UNDERSTANDING THE FEATURES OF YOUR VEHICLE 207
Page 221 of 699
The Electronic Speed Control buttons are located on the
right side of the steering wheel.NOTE:
In order to ensure proper operation, the Elec-
tronic Speed Control System has been designed to shut
down if multiple Speed Control functions are operated at
the same time. If this occurs, the Electronic Speed Control
System can be reactivated by pushing the Electronic
Speed Control ON/OFF button and resetting the desired
vehicle set speed.
To Activate
Push the ON/OFF button. The Cruise Indicator Light in
the instrument cluster will illuminate. To turn the system
off, push the ON/OFF button a second time. The Cruise
Indicator Light will turn off. The system should be
turned off when not in use.
Electronic Speed Control Buttons
1 — ON/OFF 2 — RES +
4 — CANCEL 3 — SET -
3
UNDERSTANDING THE FEATURES OF YOUR VEHICLE 219
Page 226 of 699
•Normal (fixed speed) cruise control mode for cruising
at a constant preset speed. For additional information,
refer to “Normal (Fixed Speed) Cruise Control Mode”
in this section.
NOTE: The system will not react to preceding vehicles.
Always be aware of the mode selected.
You can change the mode by using the Cruise Control
buttons. The two control modes function differently.
Always confirm which mode is selected.
Adaptive Cruise Control (ACC) Operation
The speed control buttons (located on the right side of the
steering wheel) operates the ACC system.Adaptive Cruise Control Buttons
1 — DISTANCE SETTING
2 — RES +
3 — SET -
4 — CANCEL
5 — ON/OFF
6 — MODE
224 UNDERSTANDING THE FEATURES OF YOUR VEHICLE
Page 262 of 699
4. Enable or disable the rear camera feature by selectingthe “enable rear camera in reverse” soft-key.
5. Press the “save” soft-key.
Turning ParkView� On Or Off — Without
Navigation/Multimedia Radio
1. Press the “menu” hard-key.
2. Select “system setup” soft-key.
3. Enable or disable the rear camera feature by selecting “enable rear camera in reverse” soft-key.
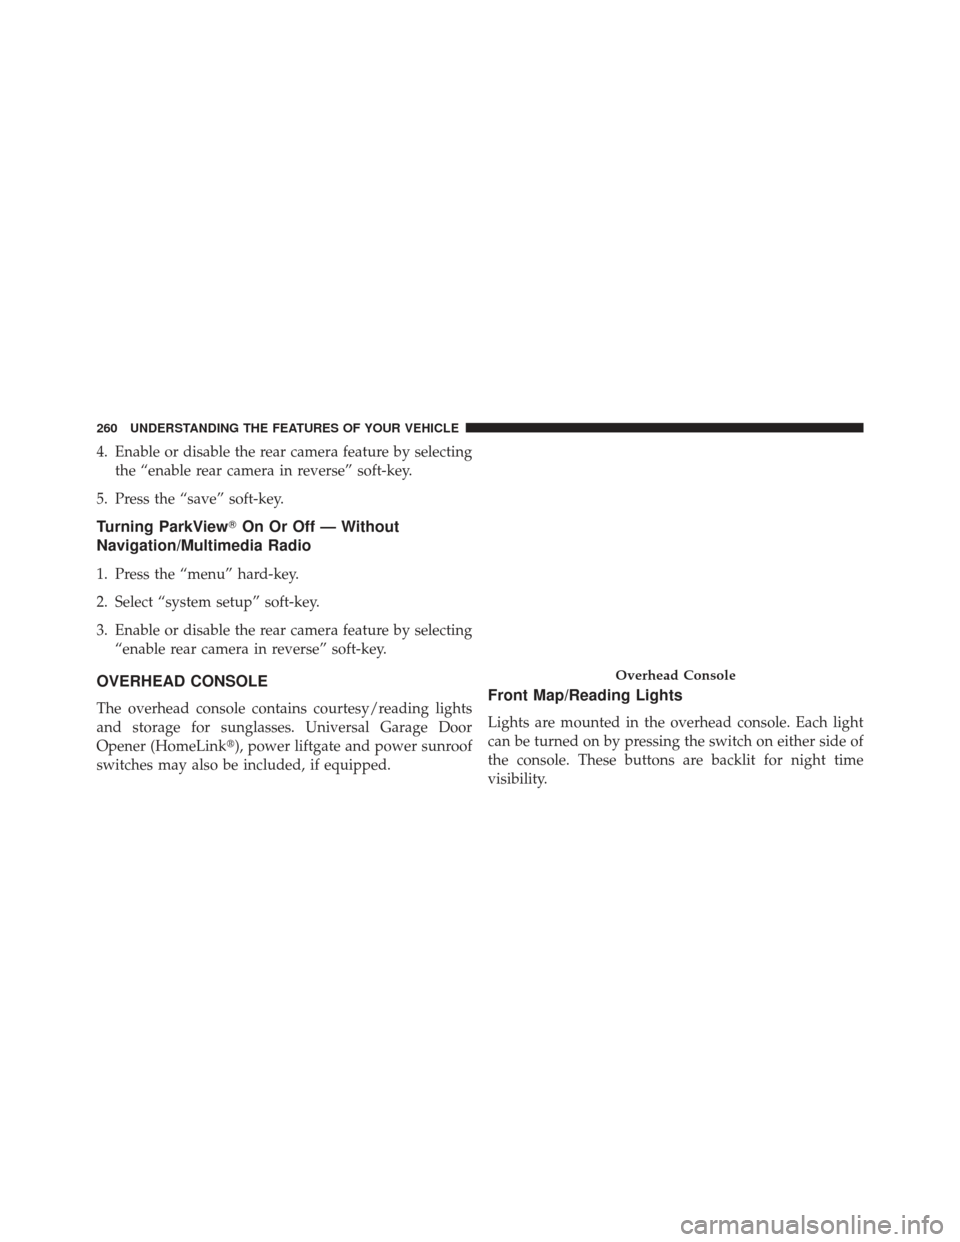
OVERHEAD CONSOLE
The overhead console contains courtesy/reading lights
and storage for sunglasses. Universal Garage Door
Opener (HomeLink�), power liftgate and power sunroof
switches may also be included, if equipped.Front Map/Reading Lights
Lights are mounted in the overhead console. Each light
can be turned on by pressing the switch on either side of
the console. These buttons are backlit for night time
visibility.
Overhead Console
260 UNDERSTANDING THE FEATURES OF YOUR VEHICLE
Page 264 of 699
Sunglasses Bin Door
At the front of the console a compartment is provided for
the storage of a pair of sunglasses. The storage compart-
ment access is a “push/push” design. Push the chrome
pad on the door to open. Push the chrome pad on the
door to close.
GARAGE DOOR OPENER — IF EQUIPPED
HomeLink�replaces up to three remote controls (hand-
held transmitters) that operate devices such as garage
door openers, motorized gates, lighting or home security
systems. The HomeLink� unit operates off your vehicle’s
battery.
The HomeLink� buttons, located on either the overhead
console, headliner or sunvisor, designate the three differ-
ent HomeLink� channels. The HomeLink� indicator is
located above the center button.
Sunglasses Bin Door
262 UNDERSTANDING THE FEATURES OF YOUR VEHICLE
Page 265 of 699
NOTE:HomeLink� is disabled when the Vehicle Secu-
rity Alarm is active.
HomeLink� Buttons/Overhead ConsolesHomeLink�Buttons/Sunvisor/Headliner
3
UNDERSTANDING THE FEATURES OF YOUR VEHICLE 263
Page 266 of 699

Before You Begin Programming HomeLink�
Be sure that your vehicle is parked outside of the garage
before you begin programming.
For more efficient programming and accurate transmis-
sion of the radio-frequency signal it is recommended that
a new battery be placed in the hand-held transmitter of
the device that is being programmed to the HomeLink �
system.
Erase all channels before you begin programming. To
erase the channels place the ignition in the ON/RUN
position and press and hold the two outside HomeLink �
buttons (I and III) for up 20 seconds or until the red
indicator flashes. NOTE:
•
Erasing all channels should only be performed when
programming HomeLink� for the first time. Do not
erase channels when programming additional buttons.
• If you have any problems, or require assistance, please
call toll-free 1–800–355–3515 or, on the Internet at
www.HomeLink.com for information or assistance.
Programming A Rolling Code
For programming garage door openers that were manu-
factured after 1995. These garage door openers can be
identified by the “LEARN” or “TRAIN” button located
where the hanging antenna is attached to the garage door
opener. It is NOT the button that is normally used to
open and close the door. The name and color of the
button may vary by manufacturer.
264 UNDERSTANDING THE FEATURES OF YOUR VEHICLE


 cruise control mode for cruising
at a constant preset speed. For additional information,
refer to “Normal (Fixed Speed) Cruise Control Mode”
in this section.
NOTE: The syst")