2013 CHRYSLER TOWN AND COUNTRY AUX
[x] Cancel search: AUXPage 76 of 140

iPod®/USB/MP3 CONTROL
• There are many ways to play music from iPod®/MP3 players or USB devices through yourvehicles sound system.
• The remote USB port, located within the upper glove box, allows you to plug an iPod® into the vehicles sound system.
NOTE:
If equipped with the Uconnect® 730N, the USB
port on the faceplate allows the same functions
as the remote USB port.
• Non-Touch-Screen Radios: To hear audio
from devices connected to the USB port,
press the “AUX” button on the radio face-
plate.
• Touch-Screen Radios: To hear audio from
devices connected to the USB port, press
the “MEDIA” hard-key, then touch the
“AUX” or “iPod®” soft-key.
• When connected to this feature: • The iPod® can be controlled using the
radio buttons to Play, Browse, and List the
iPod® or external devices contents.
• The iPod® battery charges when plugged into the USB port (if supported by the
specific audio device).
• Compatible iPod® devices may also be
controllable using voice commands. Refer
to the Owner's Manual on the DVD for details.
NOTE:
The USB port supports certain Mini, Classic, Nano, Touch, and iPhone® devices. The USB port
also supports playing music from compatible external USB Mass Storage Class memory devices.
For supported audio file formats, refer to the USB Port section in the Owner's Manual on the
DVD. Refer to www.UconnectPhone.com website for a list of tested iPod®s. Some iPod® software
versions may not fully support the USB port features. Please visit Apple’s website for iPod®
software updates.
WARNING!
Do not plug in or remove the iPod® or external device while driving. Failure to follow this
warning could result in a collision.
ELECTRONICS
74
Page 82 of 140

Bluetooth® STREAMING AUDIO
•If equipped with Uconnect® Voice Com-
mand, your Bluetooth-equipped iPod® de-
vices, cell phones or other media players, may
also be able to stream music to your vehicles
speakers. Your connected device must be
Bluetooth-compatible, and paired with your
radio (see Uconnect® Phone for pairing in-
structions).
• Non-Touch-Screen Radios: Press the
“AUX” button on the radio faceplate until "BT" or “Audio Streaming” is displayed on the radio
screen.
• Touch-Screen-Radios: Press the “RADIO/MEDIA” or “MEDIA” hard-key and then touch
the “AUX” soft-key tab.
VIDEO ENTERTAINMENT SYSTEM (VES™)
System Operation
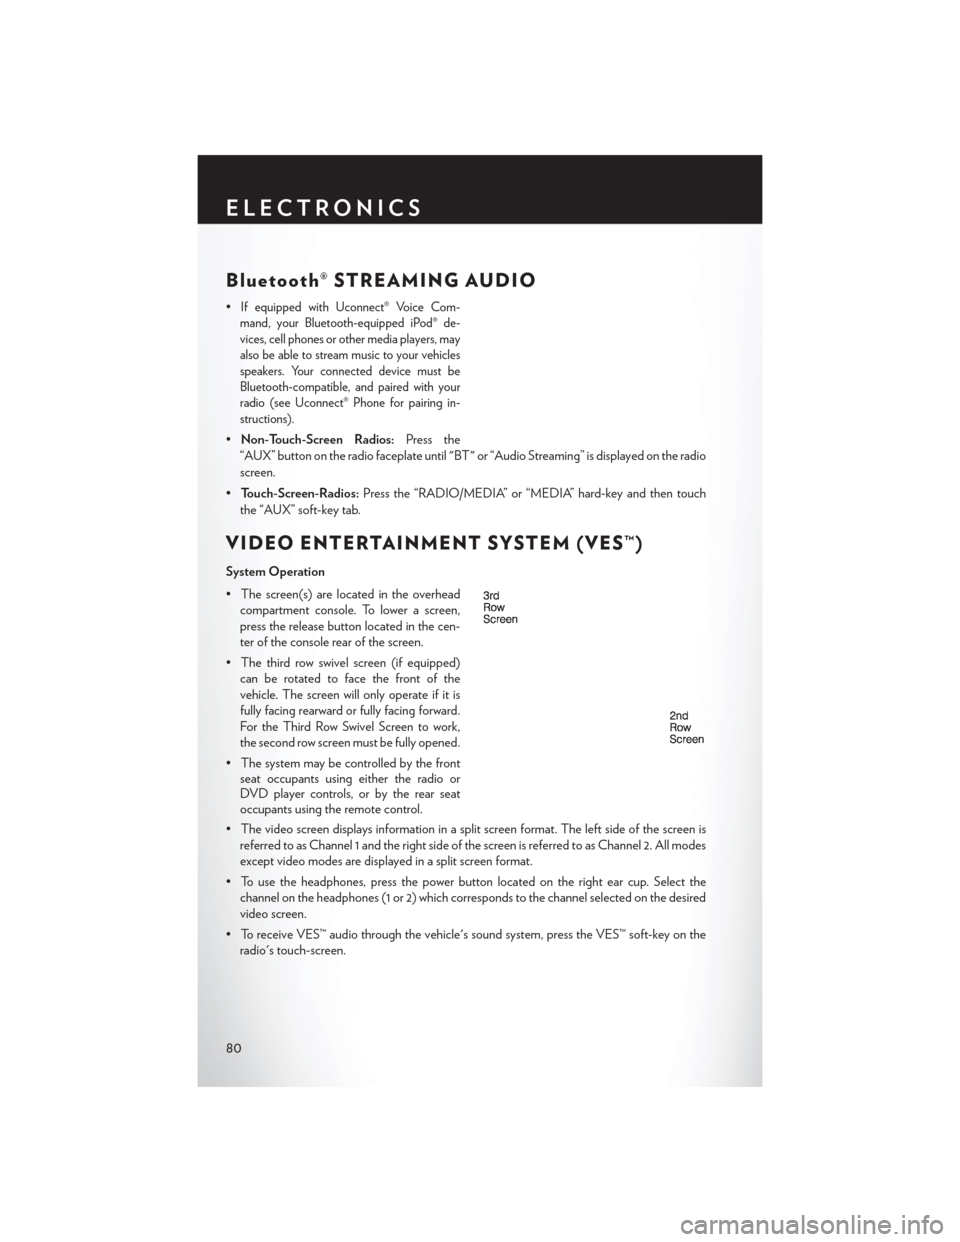
• The screen(s) are located in the overhead compartment console. To lower a screen,
press the release button located in the cen-
ter of the console rear of the screen.
• The third row swivel screen (if equipped) can be rotated to face the front of the
vehicle. The screen will only operate if it is
fully facing rearward or fully facing forward.
For the Third Row Swivel Screen to work,
the second row screen must be fully opened.
• The system may be controlled by the front seat occupants using either the radio or
DVD player controls, or by the rear seat
occupants using the remote control.
• The video screen displays information in a split screen format. The left side of the screen is referred to as Channel 1 and the right side of the screen is referred to as Channel 2. All modes
except video modes are displayed in a split screen format.
• To use the headphones, press the power button located on the right ear cup. Select the channel on the headphones (1 or 2) which corresponds to the channel selected on the desired
video screen.
• To receive VES™ audio through the vehicle's sound system, press the VES™ soft-key on the radio's touch-screen.
ELECTRONICS
80
Page 83 of 140

Operation Of The Touch-Screen Radio/DVD Player/Blu-Ray Player
• To view a DVD press the OPEN/CLOSE hard-key on the touch-screen radio and insert thedisc or insert the disc into the optional DVD player. Playback will begin automatically after the
DVD is recognized by the disc drive. If playback does not begin automatically when the disc
is inserted into the DVD player press the PLAY button. If playback does not begin automati-
cally after the disc is inserted into the touch-screen radio follow these steps:• Press the MENU hard-key, then touch the Rear VES™ soft-key. If a chapter list appears on
the right side of the screen, touch the HIDE LIST soft-key to display the Rear VES™ control
screen.
• Touch the 1 soft key to select an audio channel, then touch the DISC soft-key in the MEDIA column.
Operation Of The Remote Control
• The remote control operates similarly to any DVD remote you may have used before and allows the rear seat passengers to change stations, tracks, discs and audio/video modes.
• The remote control is designed to control either channel by using the selector switch located on the right side of the remote.
• Connect the video game or other external media devices to the AUX jacks following the color coding for the VES™ jacks.
• Pressing the power button will turn the VES™ system ON/OFF.
• Pressing the mode button causes the MODE SELECTION menu to appear on the VES™ screen. Use the remote control arrow buttons to scroll through the available modes, and then
press ENTER to select the desired mode.
Auxiliary Audio/Video Input Jacks
• The AUX jacks are located on the drivers side rear trim panel behind the sliding door.
• Connect the video game or other external media devices to the AUX jacks following the colorcoding for the VES™ jacks.
• Using either the touch-screen radio or remote control, select AUX from the REAR VES™ CONTROL or the MODE SELECTION screen.
• Refer to the Uconnect® Multimedia – Video Entertainment System (VES™) section in the vehicle Owner's Manual on the DVD for further details.
ELECTRONICS
81
Page 129 of 140

Airbag...................17
Arming Theft System (Security Alarm) . . .15
Automatic Headlights...........30
Automatic Temperature Control (ATC). . .36
Automatic Transmission Fluid Type .............. .113
Auxiliary Audio/Video Input Jacks .....81
Axle Fluid ................ .113
Back-UpCamera .............38
Belts, Seat .................16
Blind Spot Monitoring ...........38
Brake Fluid ............... .113
Break-In Recommendations, New Vehicle ..............28
Bulb Replacement .............123
Calibration, Compass ...........82
Cargo Compartment Luggage Carrier ............89
Change Oil Indicator ...........94
ChangingAFlatTire ...........96
Child Restraint ...............18
Child Restraint Tether Anchors .......18
Cleaning Wheels ............... .123
Clock ...................73
Compass Calibration ............82
Cooling System Coolant Capacity ...........113
Cruise Control (Speed Control) ......31
Cruise Light ................31
Customer Assistance ...........124
Defects, Reporting ............125
Dimmer Control ..............30
Dimmer Switch, Headlight .........30
Disarming, Theft System ..........16
Driver Cockpit ...............6
Economy (Fuel) Mode ...........33
Electronics Your Vehicle's Sound System .....42
Electronic Speed Control (Cruise Control) ............31
Electronic Vehicle Information Center (EVIC) .............82 Emergency, In Case of
Brake Warning Light ..........93
Freeing Vehicle When Stuck .....108
Jacking ..............96,100
Overheating ..............95
Emergency Key ..............10
Engine Break-In Recommendations ......28
Compartment ............ .112
Oil Selection .............113
Overheating ..............95
EventDataRecorder.......... .109
Exterior Lights ............. .123
Flash-T
o-Pass ...............29
Fluid Capacities ............. .113
Fluids .................. .113
Fog Lights .................30
Fold in Floor (Stow `n Go) Seating .....21
Freeing A Stuck Vehicle .........108
Front Heated Seats ............25
Fuel EconomyMode ............33
Filler Cap (Gas Cap) .........94
Specifications ............ .113
Garage Door Opener (HomeLink®) ....84
Gas Cap (Fuel Filler Cap) .........94
Headlights Automatic ...............30
Dimmer Switch ............30
HighBeam ..............29
Heated Mirrors ...........34,35,37
Heated Steering Wheel ..........26
High Beam/Low Beam Select (Dimmer) Switch ............29
HomeLink® (Garage Door Opener) ....84
Hood Release .............. .110
Instrument Cluster Indicators ................9
Instrument Cluster Warning Lights .....8
Intermittent Wipers (Delay Wipers) ....29
Introduction .................3
Inverter Outlet (115V) ...........86
INDEX
127
Page 130 of 140

Inverter, Power...............86
iPod®/USB/MP3 Control ..........74
Bluetooth Streaming Audio ......80
Jack Location ...............96
Jack Operation ..............96
Jump Starting ............. .106
KeyFob..................10
Key Fob Programmable Features ......83
Keyless Enter-N-Go ............12
Lock/Unlock ..............13
Lane Change Assist ............28
LATCH (Lower Anchors and Tether forCHildren)..............18
Liftgate, Power ...............10
Lights Tire Pressure Monitoring (TPMS) . . .91
Turn Signal ..............28
Warning (Instrument Cluster
Description) ..............8
Locks Liftgate, Tailgate ............10
Luggage Rack (Roof Rack) ........89
Maintenance Record ...........118
Maintenance Schedule ..........114
Malfunction Indicator Light (Check Engine) .............93
MemorySeat...............20
Mirrors Heated ............ .34, 35, 37
MOPAR® Accessories ..........126
Navigation Voice Prompt Volume . . .55, 66
New Vehicle Break-In Period ........28
Oil Change Indicator ...........94
Oil, Engine Capacity .............. .113
Outlet Power .................87
Overheating, Engine ............95
Park Sense System, Rear ..........38
Placard, Tire and Loading Information. . .122 Power
Glass Sunroof .............40
Inverter ................86
LiftGate................10
Outlet (Auxiliary Electrical Outlet). . .87
Seats .................20
Steering ............... .113
Preparation for Jacking ..........100
Programmable Electronic Features .....82
Rain Sensitive Wiper System ........29
RearCamera................38
RearCrossPath..............38
Rear Heated Seats .............26
Rear Park Sense System ..........38
Recreational Towing ............90
Remote Starting System ..........12
Replacement Bulbs ............123
Reporting Safety Defects .........125
Rocking Vehicle When Stuck .......108
Roof Rack (Luggage Rack) ........89
Schedule, Maintenance ..........114
Seat Belts .................16
Seats ....................20
Adjustment ..............20
Fold in Floor (Stow `n Go) .......21
Lumbar Support ............20
Memory................20
Power .................20
Stow`nGo(FoldinFloor).......21
Setting the Clock .............73
Shift Lever Override ...........108
Signals, Turn ................28
SmartBeams ................30
SpareTire.................96
Spark Plugs ............... .113
Speed Control Accel/Decel ..............31
Cancel.................31
Distance Setting (ACC Only) .....31
Starting Remote ................12
Steering Tilt Column ..............27
Wheel, Heated ............26
Steering Wheel Audio Controls ......73
INDEX
128