2013 CHEVROLET SILVERADO 1500 wiring
[x] Cancel search: wiringPage 364 of 542
Black plate (96,1)Chevrolet Silverado Owner Manual - 2013 - crc2 - 8/13/12
9-96 Driving and Operating
exceeds the maximum amperage
rating of 40 amperes for the
auxiliary battery provision.
Trailer Wiring Harness
The vehicle is equipped with one of
the following wiring harnesses for
towing a trailer or hauling a slide-in
camper.
Basic Trailer Wiring
All regular, extended cab and crew
cab pickups have a seven-wire
trailer towing harness.
For vehicles not equipped with
heavy duty trailering, the harness is
secured to the vehicle's frame
behind the spare tire mount. The
harness requires the installation of a
trailer connector, which is available
through your dealer.
If towing a light-duty trailer with a
standard four-way round pin
connector, an adapter is available
from your dealer.Heavy-DutyTrailer Wiring Harness
Package
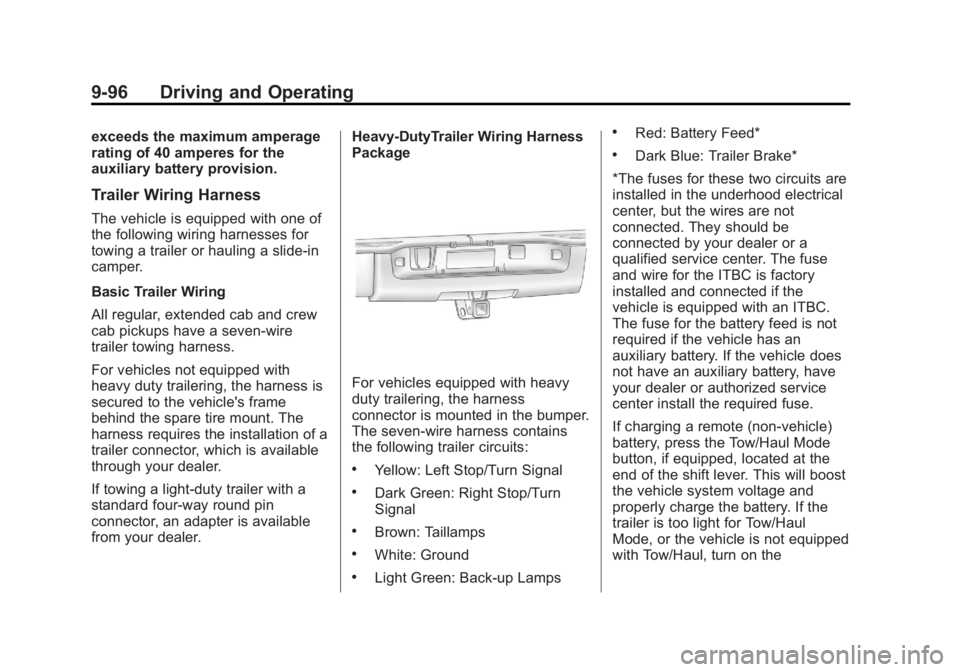
For vehicles equipped with heavy
duty trailering, the harness
connector is mounted in the bumper.
The seven-wire harness contains
the following trailer circuits:
.Yellow: Left Stop/Turn Signal
.Dark Green: Right Stop/Turn
Signal
.Brown: Taillamps
.White: Ground
.Light Green: Back-up Lamps
.Red: Battery Feed*
.Dark Blue: Trailer Brake*
*The fuses for these two circuits are
installed in the underhood electrical
center, but the wires are not
connected. They should be
connected by your dealer or a
qualified service center. The fuse
and wire for the ITBC is factory
installed and connected if the
vehicle is equipped with an ITBC.
The fuse for the battery feed is not
required if the vehicle has an
auxiliary battery. If the vehicle does
not have an auxiliary battery, have
your dealer or authorized service
center install the required fuse.
If charging a remote (non-vehicle)
battery, press the Tow/Haul Mode
button, if equipped, located at the
end of the shift lever. This will boost
the vehicle system voltage and
properly charge the battery. If the
trailer is too light for Tow/Haul
Mode, or the vehicle is not equipped
with Tow/Haul, turn on the
Page 365 of 542
Black plate (97,1)Chevrolet Silverado Owner Manual - 2013 - crc2 - 8/13/12
Driving and Operating 9-97
headlamps as a second way to
boost the vehicle system and
charge the battery.
Camper/Fifth-Wheel Trailer Wiring
Package
The seven-wire camper harness is
located under the front edge of the
pickup box on the driver side of the
vehicle, attached to the frame
bracket. A connector must be added
to the wiring harness which
connects to the camper.
The harness contains the following
camper/trailer circuits:
.Yellow: Left Stop/Turn Signal
.Dark Green: Right Stop/Turn
Signal
.Brown: Taillamps
.White: Ground
.Light Green: Back-up Lamps
.Red: Battery Feed
.Dark Blue: Trailer Brake
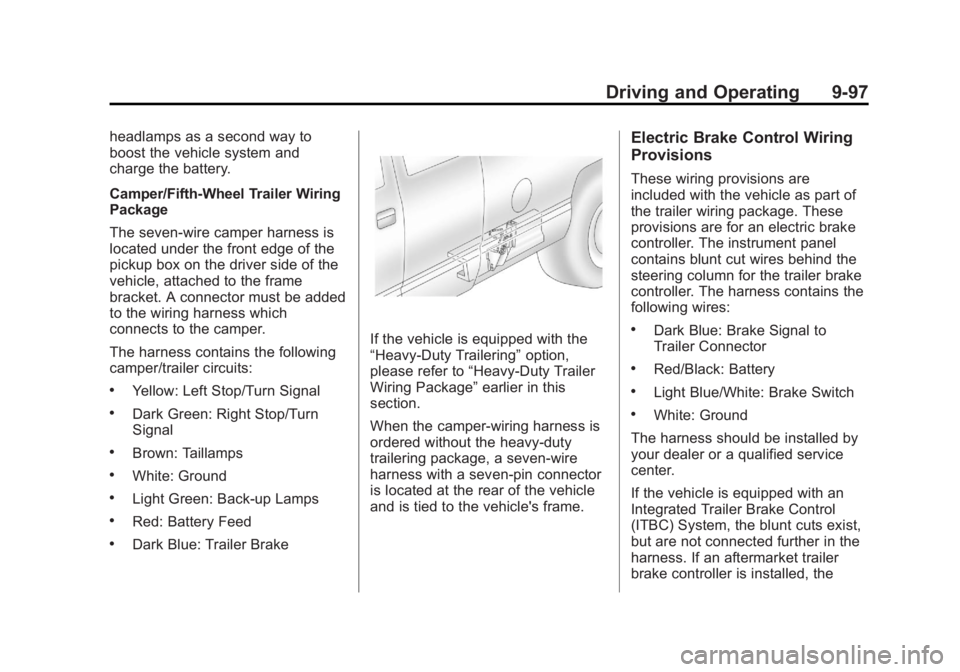
If the vehicle is equipped with the
“Heavy-Duty Trailering”option,
please refer to “Heavy-Duty Trailer
Wiring Package” earlier in this
section.
When the camper-wiring harness is
ordered without the heavy-duty
trailering package, a seven-wire
harness with a seven-pin connector
is located at the rear of the vehicle
and is tied to the vehicle's frame.
Electric Brake Control Wiring
Provisions
These wiring provisions are
included with the vehicle as part of
the trailer wiring package. These
provisions are for an electric brake
controller. The instrument panel
contains blunt cut wires behind the
steering column for the trailer brake
controller. The harness contains the
following wires:
.Dark Blue: Brake Signal to
Trailer Connector
.Red/Black: Battery
.Light Blue/White: Brake Switch
.White: Ground
The harness should be installed by
your dealer or a qualified service
center.
If the vehicle is equipped with an
Integrated Trailer Brake Control
(ITBC) System, the blunt cuts exist,
but are not connected further in the
harness. If an aftermarket trailer
brake controller is installed, the
Page 369 of 542
Black plate (101,1)Chevrolet Silverado Owner Manual - 2013 - crc2 - 8/13/12
Driving and Operating 9-101
with either a trailer connected or
disconnected. To adjust the Trailer
Gain, press one of the Trailer Gain
adjustment buttons located on the
Trailer Brake Control Panel. Press
and hold a gain button to cause the
Trailer Gain to continuously adjust.
To turn the output to the trailer off,
adjust the Trailer Gain setting to
0.0 (zero).
0.0 (zero) gain is the factory default
setting. To properly adjust trailer
gain, see“Trailer Gain Adjustment
Procedure” later in this section.
TRAILER OUTPUT: This is
displayed any time a trailer with
electric brakes is connected. Output
to the electric brakes is based on
the amount of vehicle braking
present and relative to the Trailer
Gain setting. Output is displayed
from 0 to 10 bars for each gain
setting.
Non-hybrid vehicles with Trailer
Sway Control (TSC) or Hill Start
Assist (HSA), output to the electric
trailer brakes may be displayed when the systems are active. See
Trailer Sway Control (TSC) on
page 9‑104
andHill Start Assist
(HSA) on page 9‑55.
The Trailer Output will indicate “- - -
- - -” on the Trailer Brake Display
Page whenever the following occur:
.No trailer is connected
.A trailer without electric brakes
is connected (no DIC message
is displayed)
.A trailer with electric brakes has
become disconnected (a
CHECK TRAILER WIRING
message will also be displayed
on the DIC)
.There is a fault present in the
wiring to the electric trailer
brakes (a CHECK TRAILER
WIRING message will also be
displayed on the DIC)
.There is a fault in the ITBC
system (a SERVICE TRAILER
BRAKE SYSTEM message will
also be displayed in the DIC) Manual Trailer Brake Apply
The Manual Trailer Brake Apply
Lever is located on the Trailer Brake
Control Panel and is used to apply
the trailer
’s electric brakes
independent of the vehicle’s brakes.
This lever is used in the Trailer Gain
Adjustment Procedure to properly
adjust the power output to the trailer
brakes. Sliding the lever to the left
will apply only the trailer brakes.
The power output to the trailer is
indicated in the Trailer Brake
Display Page on the DIC. If the
vehicle’s service brakes are applied
while using the Manual Trailer Brake
Apply Lever, the trailer output power
will be the greater of the two.
The trailer's and the vehicle's brake
lamps will come on when either
vehicle braking or manual trailer
brakes are applied.
Page 371 of 542
Black plate (103,1)Chevrolet Silverado Owner Manual - 2013 - crc2 - 8/13/12
Driving and Operating 9-103
7. Re-adjust Trailer Gain any timevehicle loading, trailer loading or
road surface conditions change
or if trailer wheel lock-up is
noticed at any time while towing.
Other ITBC-Related DIC Messages
In addition to displaying TRAILER
GAIN and TRAILER OUTPUT
through the DIC, trailer connection
and ITBC system status are
displayed on the DIC.
TRAILER CONNECTED: This
message will be briefly displayed
when a trailer with electric brakes is
first connected to the vehicle. This
message will automatically turn off
in about 10 seconds. The driver can
also acknowledge this message
before it automatically turns off. CHECK TRAILER WIRING: This
message will be displayed if:
1. The ITBC system first
determines connection to a
trailer with electric brakes and
then the trailer harness becomes
disconnected from the vehicle.
If the disconnect occurs while
the vehicle is stationary, this
message will automatically turn
off in about 30 seconds. This
message will also turn off if the
driver acknowledges this
message or if the trailer harness
is re-connected.
If the disconnect occurs while
the vehicle is moving, this
message will continue until the
ignition is turned off. This
message will also turn off if the
driver acknowledges this
message or if the trailer harness
is re-connected.
2. There is an electrical fault in the wiring to the electric trailer
brakes. This message will
continue as long as there is an electrical fault in the trailer
wiring. This message will also
turn off if the driver
acknowledges this message.
To determine if the electrical fault is
on the vehicle side or trailer side of
the trailer wiring harness
connection, do the following:
1. Disconnect the trailer wiring harness from the vehicle.
2. Turn the ignition off.
3. Wait 10 seconds, then turn the ignition back to RUN.
4. If the CHECK TRAILER WIRING message re-appears, the
electrical fault is on the
vehicle side.
If the CHECK TRAILER WIRING
message only re-appears when
connecting the trailer wiring
harness to the vehicle, the
electrical fault is on the
trailer side.
Page 372 of 542
Black plate (104,1)Chevrolet Silverado Owner Manual - 2013 - crc2 - 8/13/12
9-104 Driving and Operating
SERVICE TRAILER BRAKE
SYSTEM: This message will be
displayed when there is a problem
with the ITBC system. If this
message persists over multiple
ignition cycles, there is a problem
with the ITBC system. Take the
vehicle to an authorized GM dealer
to have the ITBC system diagnosed
and repaired.
If either the CHECK TRAILER
WIRING or SERVICE TRAILER
BRAKE SYSTEM message is
displayed while driving the vehicle,
power is no longer available to the
trailer brakes. When traffic
conditions allow, carefully pull the
vehicle over to the side of the road
and turn the ignition off. Check the
wiring connection to the trailer and
turn the ignition back on. If either of
these messages continues, either
the vehicle or trailer needs service.An authorized GM dealer may be
able to diagnose and repair
problems with the trailer. However,
any diagnosis and repair of the
trailer is not covered under the
vehicle warranty. Please contact
your trailer dealer for assistance
with trailer repairs and trailer
warranty information.
Trailer Sway
Control (TSC)
Non-hybrid vehicles with StabiliTrak
have a Trailer Sway Control (TSC)
feature. If the vehicle is towing a
trailer and the system detects that
the trailer is swaying, the vehicle
brakes are applied without the driver
pressing the brake pedal. If the
vehicle is equipped with the
Integrated Trailer Brake Control
(ITBC) system, StabiliTrak may also
apply the trailer brakes. The TCS/
StabiliTrak warning light will flash onthe instrument panel cluster to notify
the driver to reduce speed. If the
trailer continues to sway, StabiliTrak
will reduce engine torque to help
slow the vehicle. See
StabiliTrak
®
System on page 9‑56 for more
information.
Adding non‐dealer accessories can
affect the vehicle performance. See
Accessories and Modifications on
page 10‑3 for more information.
Page 376 of 542
Black plate (108,1)Chevrolet Silverado Owner Manual - 2013 - crc2 - 8/13/12
9-108 Driving and Operating
WARNING (Continued)
rear weight distribution ratio is
necessary to provide proper
braking performance.
Total vehicle reserve capacity is the
difference between the GVWR and
the weight of the truck with full fuel
and passengers. It is the amount of
weight that can be added to the
vehicle before reaching the GVWR.
Keep in mind that reserve capacity
numbers are intended as a guide
when selecting the amount of
equipment or cargo the truck can
carry. If unsure of the vehicle's front,
rear, or total weight, go to a weigh
station and weigh the vehicle. Your
dealer can also help with this. The total vehicle reserve capacity
for the vehicle can be found in the
lower right corner of the
Certification/Tire label as shown
previously.
See your dealer for additional
advice and information about using
a snow plow on the vehicle. Also,
see
Vehicle Load Limits on
page 9‑15.
Emergency Roof Lamp
Provisions
Vehicles with the RPO VYU snow
plow prep package also have an
emergency roof lamp provision
package, RPO TRW. Wiring for the
emergency roof lamp is provided
above the overhead console. See
Auxiliary Roof-Mounted Lamp on
page 6‑6 for switch location.
Pickup Conversion to
Chassis Cab
We are aware that some vehicle
owners might consider having the
pickup box removed and a
commercial or recreational body
installed. Owners should be aware
that, as manufactured, there are
differences between a chassis cab
and a pickup with the box removed
which could affect vehicle safety.
The components necessary to adapt
a pickup to permit its safe use with
a specialized body should be
installed by the body builder.
Page 416 of 542
Black plate (40,1)Chevrolet Silverado Owner Manual - 2013 - crc2 - 8/13/12
10-40 Vehicle Care
Electrical System
Electrical System
Overload
The vehicle has fuses and circuit
breakers to protect against an
electrical system overload.
When the current electrical load is
too heavy, the circuit breaker opens
and closes, protecting the circuit
until the current load returns to
normal or the problem is fixed. This
greatly reduces the chance of circuit
overload and fire caused by
electrical problems.
Fuses and circuit breakers protect
power devices in the vehicle.
Replace a bad fuse with a new one
of the identical size and rating.
If there is a problem on the road and
a fuse needs to be replaced, the
same amperage fuse can be
borrowed. Choose some feature of
the vehicle that is not needed to use
and replace it as soon as possible.
Headlamp Wiring
An electrical overload may cause
the lamps to go on and off, or in
some cases to remain off. Have the
headlamp wiring checked right away
if the lamps go on and off or
remain off.
Windshield Wipers
If the wiper motor overheats due to
heavy snow or ice, the windshield
wipers will stop until the motor cools
and will then restart.
Although the circuit is protected
from electrical overload, overload
due to heavy snow or ice may
cause wiper linkage damage.
Always clear ice and heavy snow
from the windshield before using the
windshield wipers.
If the overload is caused by an
electrical problem and not snow or
ice, be sure to get it fixed.
Fuses and Circuit
Breakers
If the vehicle is a hybrid, see the
hybrid supplement for more
information.
The wiring circuits in the vehicle are
protected from short circuits by a
combination of fuses, circuit
breakers and fusible thermal links.
This greatly reduces the chance of
fires caused by electrical problems.
Look at the silver-colored band
inside the fuse. If the band is broken
or melted, replace the fuse. Be sure
you replace a bad fuse with a new
one of the identical size and rating.
If you ever have a problem on the
road and don't have a spare fuse,
you can borrow one that has the
same amperage. Just pick some
feature of your vehicle that you can
get along without–like the radio or
accessory power outlet– and use its
fuse, if it is the correct amperage.
Replace it as soon as you can.