2013 CHEVROLET MALIBU change time
[x] Cancel search: change timePage 31 of 436
Black plate (25,1)Chevrolet Malibu Owner Manual - 2013 - CRC - 6/6/12
In Brief 1-25
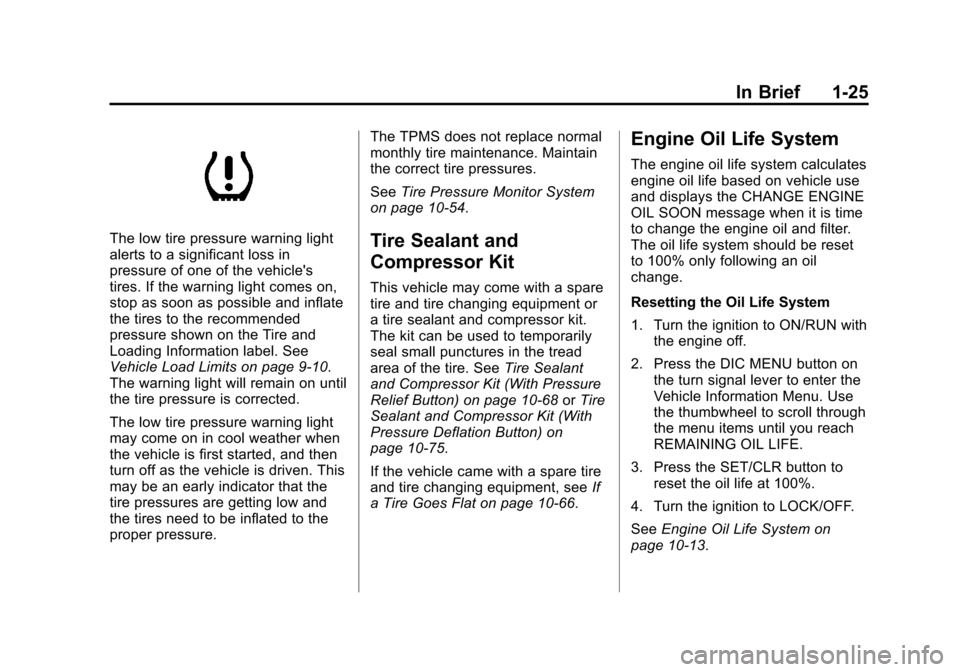
The low tire pressure warning light
alerts to a significant loss in
pressure of one of the vehicle's
tires. If the warning light comes on,
stop as soon as possible and inflate
the tires to the recommended
pressure shown on the Tire and
Loading Information label. See
Vehicle Load Limits on page 9‑10.
The warning light will remain on until
the tire pressure is corrected.
The low tire pressure warning light
may come on in cool weather when
the vehicle is first started, and then
turn off as the vehicle is driven. This
may be an early indicator that the
tire pressures are getting low and
the tires need to be inflated to the
proper pressure.The TPMS does not replace normal
monthly tire maintenance. Maintain
the correct tire pressures.
See
Tire Pressure Monitor System
on page 10‑54.Tire Sealant and
Compressor Kit
This vehicle may come with a spare
tire and tire changing equipment or
a tire sealant and compressor kit.
The kit can be used to temporarily
seal small punctures in the tread
area of the tire. See Tire Sealant
and Compressor Kit (With Pressure
Relief Button) on page 10‑68 orTire
Sealant and Compressor Kit (With
Pressure Deflation Button) on
page 10‑75.
If the vehicle came with a spare tire
and tire changing equipment, see If
a Tire Goes Flat on page 10‑66.
Engine Oil Life System
The engine oil life system calculates
engine oil life based on vehicle use
and displays the CHANGE ENGINE
OIL SOON message when it is time
to change the engine oil and filter.
The oil life system should be reset
to 100% only following an oil
change.
Resetting the Oil Life System
1. Turn the ignition to ON/RUN with the engine off.
2. Press the DIC MENU button on the turn signal lever to enter the
Vehicle Information Menu. Use
the thumbwheel to scroll through
the menu items until you reach
REMAINING OIL LIFE.
3. Press the SET/CLR button to reset the oil life at 100%.
4. Turn the ignition to LOCK/OFF.
See Engine Oil Life System on
page 10‑13.
Page 60 of 436
Black plate (8,1)Chevrolet Malibu Owner Manual - 2013 - CRC - 6/6/12
3-8 Seats and Restraints
Heated Front Seats
{WARNING
If you cannot feel temperature
change or pain to the skin, the
seat heater may cause burns. To
reduce the risk of burns, people
with such a condition should use
care when using the seat heater,
especially for long periods of
time. Do not place anything on
the seat that insulates against
heat, such as a blanket, cushion,
cover, or similar item. This may
cause the seat heater to
overheat. An overheated seat
heater may cause a burn or may
damage the seat.
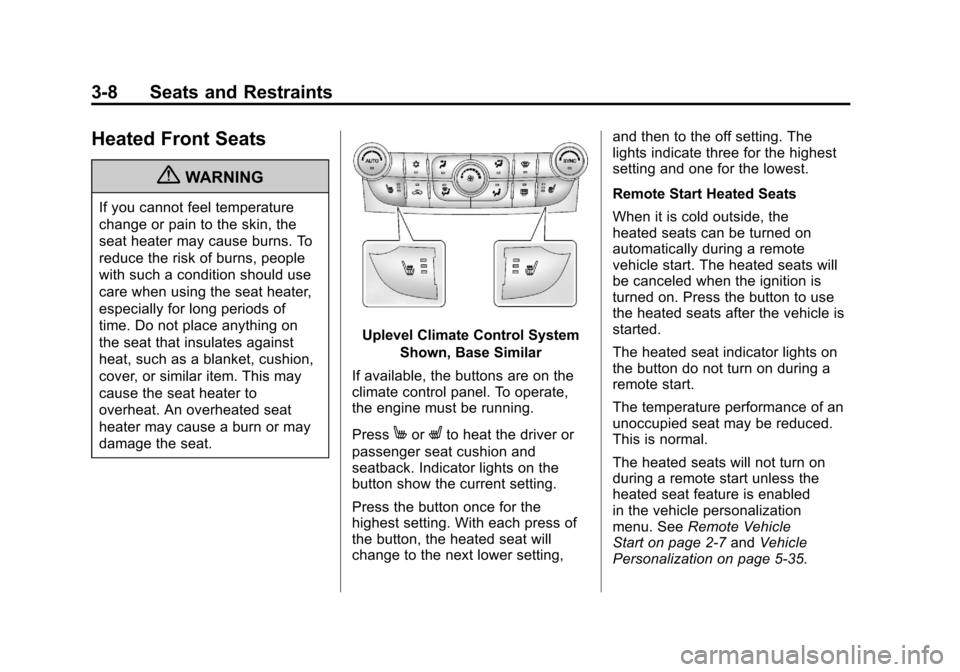
Uplevel Climate Control SystemShown, Base Similar
If available, the buttons are on the
climate control panel. To operate,
the engine must be running.
Press
MorLto heat the driver or
passenger seat cushion and
seatback. Indicator lights on the
button show the current setting.
Press the button once for the
highest setting. With each press of
the button, the heated seat will
change to the next lower setting, and then to the off setting. The
lights indicate three for the highest
setting and one for the lowest.
Remote Start Heated Seats
When it is cold outside, the
heated seats can be turned on
automatically during a remote
vehicle start. The heated seats will
be canceled when the ignition is
turned on. Press the button to use
the heated seats after the vehicle is
started.
The heated seat indicator lights on
the button do not turn on during a
remote start.
The temperature performance of an
unoccupied seat may be reduced.
This is normal.
The heated seats will not turn on
during a remote start unless the
heated seat feature is enabled
in the vehicle personalization
menu. See
Remote Vehicle
Start on page 2‑7 andVehicle
Personalization on page 5‑35.
Page 86 of 436
Black plate (34,1)Chevrolet Malibu Owner Manual - 2013 - CRC - 6/6/12
3-34 Seats and Restraints
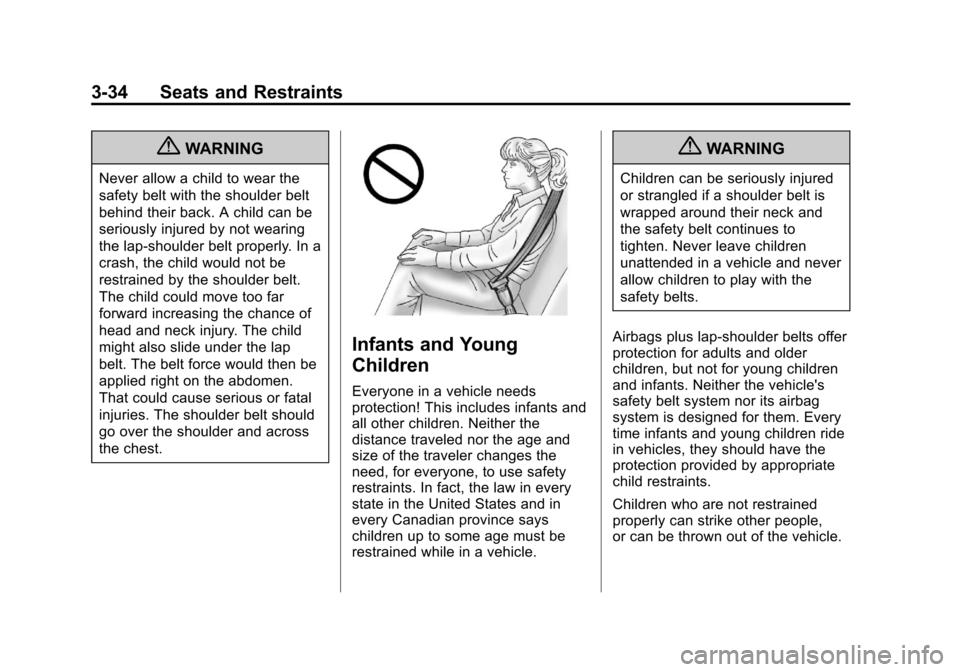
{WARNING
Never allow a child to wear the
safety belt with the shoulder belt
behind their back. A child can be
seriously injured by not wearing
the lap-shoulder belt properly. In a
crash, the child would not be
restrained by the shoulder belt.
The child could move too far
forward increasing the chance of
head and neck injury. The child
might also slide under the lap
belt. The belt force would then be
applied right on the abdomen.
That could cause serious or fatal
injuries. The shoulder belt should
go over the shoulder and across
the chest.
Infants and Young
Children
Everyone in a vehicle needs
protection! This includes infants and
all other children. Neither the
distance traveled nor the age and
size of the traveler changes the
need, for everyone, to use safety
restraints. In fact, the law in every
state in the United States and in
every Canadian province says
children up to some age must be
restrained while in a vehicle.
{WARNING
Children can be seriously injured
or strangled if a shoulder belt is
wrapped around their neck and
the safety belt continues to
tighten. Never leave children
unattended in a vehicle and never
allow children to play with the
safety belts.
Airbags plus lap-shoulder belts offer
protection for adults and older
children, but not for young children
and infants. Neither the vehicle's
safety belt system nor its airbag
system is designed for them. Every
time infants and young children ride
in vehicles, they should have the
protection provided by appropriate
child restraints.
Children who are not restrained
properly can strike other people,
or can be thrown out of the vehicle.
Page 134 of 436
Black plate (26,1)Chevrolet Malibu Owner Manual - 2013 - CRC - 6/6/12
5-26 Instruments and Controls
Average Fuel Economy and
Instantaneous Fuel Economy
This display shows the approximate
average liters per 100 kilometers(L/100 km) or miles per
gallon (mpg). This number is
calculated based on the number of
L/100 km (mpg) recorded since the
last time this menu item was reset.
The fuel economy can be reset by
pressing SET/CLR while the
Average Fuel Economy display is
showing.
The instantaneous fuel economy
display shows the current fuel
economy in liters per 100 kilometers
(L/100 km) or miles per gallon
(mpg). This number reflects only the
fuel economy that the vehicle has
right now and changes frequently as
driving conditions change. Unlike
average economy, this display
cannot be reset.
Average Vehicle Speed
This display shows the average
speed of the vehicle in kilometers
per hour (km/h) or miles per hour (mph). This average is
calculated based on the various
vehicle speeds recorded since the
last reset of this value. The average
speed can be reset by pressing
SET/CLR while the Average Vehicle
Speed display is showing.
Timer
This display can be used as a timer.
To start the timer, press SET/CLR
while Timer is displayed. The
display will show the amount of time
that has passed since the timer was
last reset, not including time the
ignition is off. Time will continue to
be counted as long as the ignition is
on, even if another display is being
shown on the DIC. The timer will
record up to 99 hours, 59 minutes,
and 59 seconds (99:59:59) after
which the display will return to zero.
To stop the timer, press SET/CLR
briefly while Timer is displayed. To
reset the timer to zero, press and
hold SET/CLR.
Navigation
This display is used for the
Turn-by-Turn navigation,
if equipped.
Boost Gauge
This display, available on some
vehicles, is a boost gauge. It shows
a visual display of the level of boost.
Vehicle Information Menu
Items
Press MENU on the turn signal
lever until Vehicle Information menu
is displayed. Use
w/xto scroll
through the menu items. The
following is the list of all possible
vehicle information displays. Some
of the items may not be available for
your particular vehicle.
.Display Units
.Tire Pressure
.Jump Start (eAssist Only)
.Remaining Oil Life
.Battery
Page 135 of 436
Black plate (27,1)Chevrolet Malibu Owner Manual - 2013 - CRC - 6/6/12
Instruments and Controls 5-27
Display Units
Move
w/xto switch between
metric or US when the Unit display
is active. Press SET/CLR to confirm
the setting. This will change the
displays on the cluster and DIC to
either metric or English (US)
measurements.
Tire Pressure
The display will show a vehicle with
the approximate pressures of all
four tires. Tire pressure is displayed
in either kilopascal (kPa) or pounds
per square inch (psi). See Tire
Pressure Monitor System on
page 10‑54 andTire Pressure
Monitor Operation on page 10‑55.
Jump Start (eAssist Only)
This display allows for on-board
jump starting of the vehicle. See
"Jump Starting (On-board with
eAssist Only)" for more information. Remaining Oil Life
This display shows an estimate of
the oil's remaining useful life.
If Remaining Oil Life 99% is
displayed, that means 99% of the
current oil life remains.
When the remaining oil life is low,
the CHANGE ENGINE OIL SOON
message will appear on the display.
See
Engine Oil Messages on
page 5‑30. The oil should changed
as soon as possible. See Engine Oil
on page 10‑11. In addition to the
engine oil life system monitoring the
oil life, additional maintenance is
recommended. See Maintenance
Schedule on page 11‑2.
Remember, the Oil Life display must
be reset after each oil change. It will
not reset itself. Also, be careful not
to reset the Oil Life display
accidentally at any time other than
when the oil has just been changed. It cannot be reset accurately until
the next oil change. To reset the
engine oil life system, press SET/
CLR while the Oil Life display is
active. See
Engine Oil Life System
on page 10‑13.
Battery
This display, available on some
vehicles, shows the current battery
voltage. If the voltage is in the
normal range, the value will display.
For example, the display may read
Battery Voltage 15.0 Volts. The
vehicle's charging system regulates
voltage based on the state of the
battery. The battery voltage can
fluctuate while viewing this
information on the DIC. This is
normal. See Charging System Light
on page 5‑14. If there is a problem
with the battery charging system,
the DIC will display a message.
Page 138 of 436
Black plate (30,1)Chevrolet Malibu Owner Manual - 2013 - CRC - 6/6/12
5-30 Instruments and Controls
When the coolant temperature
returns to normal, the air
conditioning compressor turns back
on. You can continue to drive the
vehicle.
If this message continues to appear,
have the system repaired by your
dealer as soon as possible to avoid
damage to the engine.
COOLANT LEVEL LOW ADD
COOLANT
This message will display if the
coolant is low. SeeEngine Coolant
on page 10‑18.
ENGINE OVERHEATED —
IDLE ENGINE
This message displays when the
engine coolant temperature is too
hot. Stop and allow the vehicle to
idle until it cools down.
ENGINE OVERHEATED —
STOP ENGINE
This message displays and a
continuous chime sounds if the
engine cooling system reaches unsafe temperatures for operation.
Stop and turn off the vehicle as
soon as it is safe to do so to avoid
severe damage. This message
clears when the engine has cooled
to a safe operating temperature.
Engine Oil Messages
CHANGE ENGINE OIL SOON
This message displays when the
engine oil needs to be changed.
When the engine oil is changed, be
sure to reset the Oil Life System.
See
Engine Oil Life System on
page 10‑13, Driver Information
Center (DIC) on page 5‑24, Engine
Oil on page 10‑11, and Maintenance
Schedule on page 11‑2.
ENGINE OIL HOT, IDLE
ENGINE
This message displays when the
engine oil temperature is too hot.
Stop and allow the vehicle to idle
until it cools down.
OIL PRESSURE LOW— STOP
ENGINE
This message displays if low oil
pressure levels occur. Stop the
vehicle as soon as safely possible
and do not operate it until the cause
of the low oil pressure has been
corrected. Check the oil as soon as
possible and have the vehicle
serviced by your dealer.
Engine Power Messages
ENGINE POWER IS REDUCED
This message displays when the
vehicle's engine power is reduced.
Reduced engine power can affect
the vehicle's ability to accelerate.
If this message is on, but there
is no reduction in performance,
proceed to your destination. The
performance may be reduced the
next time the vehicle is driven. The
vehicle may be driven at a reduced
speed while this message is on, but
maximum acceleration and speed
may be reduced. Anytime this
Page 149 of 436
Black plate (41,1)Chevrolet Malibu Owner Manual - 2013 - CRC - 6/6/12
Instruments and Controls 5-41
When programming a garage door,
park outside of the garage. Park
directly in line with and facing the
garage door opener motor-head or
gate motor-head. Be sure that
people and objects are clear of the
garage door or gate being
programmed.
It is recommended that a new
battery be installed in the hand-held
transmitter for quicker and more
accurate transmission of the
radio-frequency signal.
Programming the Universal
Remote System
For questions or help programming
the Universal Remote system, call
1-800-355-3515 or go to
www.homelink.com.
Programming a garage door opener
involves time-sensitive actions, so
read the entire procedure before
starting. Otherwise, the device will
time out and the procedure will have
to be repeated.To program up to three devices:
1. Hold the end of the hand-held
transmitter about 3 to 8 cm
(1 to 3 in) away from the
Universal Remote system
buttons while keeping the
indicator light in view. The
hand-held transmitter was
supplied by the manufacturer
of the garage door opener
receiver (motor-head unit).
2. At the same time, press and hold both the hand-held
transmitter button and one of the
three Universal Remote system
buttons to be used to operate
the garage door. Do not release
the Universal Remote system
button or the hand-held
transmitter button until the
indicator light changes from a
slowly to a rapidly flashing light.
You now may release both
buttons. Some entry gates and garage
door openers may require
substitution of Step 2 with the
procedure noted in
“Gate
Operator and Canadian
Programming” later in this
section.
3. Press and hold for five seconds the newly trained Universal
Remote system button (the
button selected in Step 2) while
observing the indicator light and
garage door activation.
.If the indicator light stays on
continuously or the garage
door starts to move when
the Universal Remote
system button is pressed
and released, then the
programming is complete.
There is no need to
continue programming
Steps 4–6.
Page 153 of 436
Black plate (1,1)Chevrolet Malibu Owner Manual - 2013 - CRC - 6/6/12
Lighting 6-1
Lighting
Exterior Lighting
Exterior Lamp Controls . . . . . . . . 6-1
Exterior Lamps OffReminder . . . . . . . . . . . . . . . . . . . . 6-2
Headlamp High/Low-Beam Changer . . . . . . . . . . . . . . . . . . . . . 6-2
Flash-to-Pass . . . . . . . . . . . . . . . . . 6-2
Daytime Running Lamps (DRL) . . . . . . . . . . . . . . . . 6-2
Automatic Headlamp System . . . . . . . . . . . . . . . . . . . . . . 6-3
Hazard Warning Flashers . . . . . 6-4
Turn and Lane-Change Signals . . . . . . . . . . . . . . . . . . . . . . 6-4
Fog Lamps . . . . . . . . . . . . . . . . . . . . 6-4
Interior Lighting
Instrument Panel Illumination Control . . . . . . . . . . . . . . . . . . . . . . 6-5
Courtesy Lamps . . . . . . . . . . . . . . 6-5
Dome Lamps . . . . . . . . . . . . . . . . . 6-5
Reading Lamps . . . . . . . . . . . . . . . 6-6
Lighting Features
Entry Lighting . . . . . . . . . . . . . . . . . 6-6
Exit Lighting . . . . . . . . . . . . . . . . . . . 6-7
Battery Load Management . . . . 6-7
Exterior Lighting
Exterior Lamp Controls
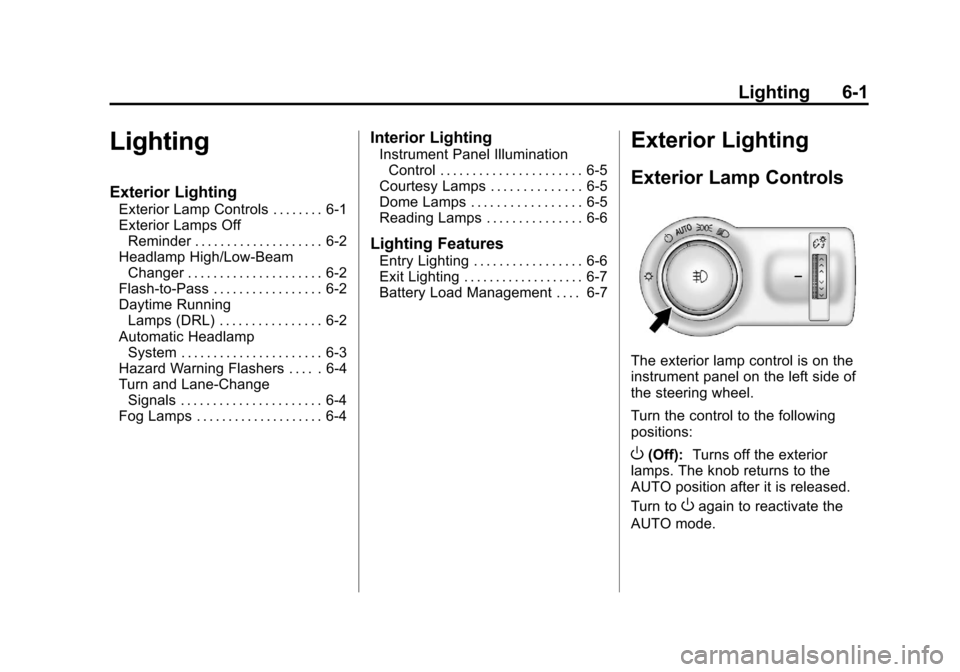
The exterior lamp control is on the
instrument panel on the left side of
the steering wheel.
Turn the control to the following
positions:
O(Off): Turns off the exterior
lamps. The knob returns to the
AUTO position after it is released.
Turn to
Oagain to reactivate the
AUTO mode.