2013 CHEVROLET IMPALA ignition
[x] Cancel search: ignitionPage 34 of 350
Black plate (8,1)Chevrolet Impala Owner Manual - 2013 - crc - 8/27/12
2-8 Keys, Doors, and Windows
settings. For programming
information, seeVehicle
Personalization on page 5‑33.
Lockout Protection
This feature helps prevent you from
locking the doors while the key is in
the ignition. Always remember to
take your key with you when exiting
the vehicle.
If the lock switch is pressed on the
door that is open and the key is in
the ignition, all of the doors will lock
and then the open door will unlock.
A chime sounds continuously until
the driver door is closed.
Safety Locks
Rear door security locks prevent
passengers from opening the rear
doors from the inside.
The rear door security locks are
located on the inside edge of each
rear door. The rear doors must be
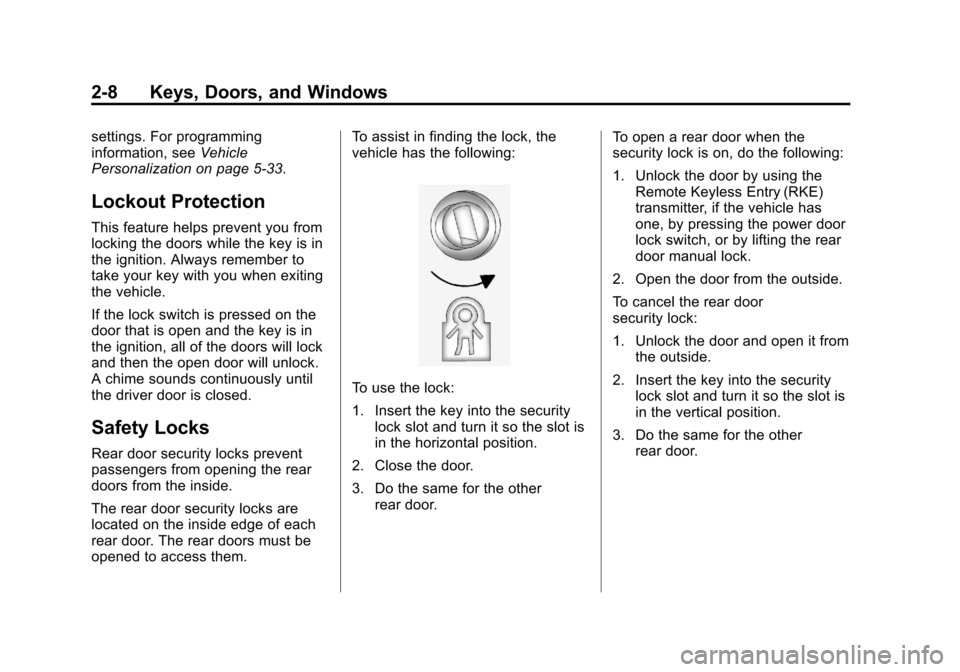
opened to access them. To assist in finding the lock, the
vehicle has the following:
To use the lock:
1. Insert the key into the security
lock slot and turn it so the slot is
in the horizontal position.
2. Close the door.
3. Do the same for the other rear door. To open a rear door when the
security lock is on, do the following:
1. Unlock the door by using the
Remote Keyless Entry (RKE)
transmitter, if the vehicle has
one, by pressing the power door
lock switch, or by lifting the rear
door manual lock.
2. Open the door from the outside.
To cancel the rear door
security lock:
1. Unlock the door and open it from the outside.
2. Insert the key into the security lock slot and turn it so the slot is
in the vertical position.
3. Do the same for the other rear door.
Page 37 of 350
Black plate (11,1)Chevrolet Impala Owner Manual - 2013 - crc - 8/27/12
Keys, Doors, and Windows 2-11
Once armed, the alarm will go off if
someone tries to enter the vehicle
without using the RKE transmitter or
a key or turns the ignition on with an
incorrect key. The horn will sound
and the turn signal lamps will flash
for about 30 seconds.
When the alarm is armed, the trunk
may be opened with the RKE
transmitter. The power door lock
switches are disabled and the doors
remain locked. You must use your
RKE transmitter or your key to
unlock the doors when the system is
armed.
Arming with the Power Lock
Switch
The alarm system will arm when
you use either power lock switch to
lock the doors while any door is
open and the key is removed from
the ignition. The alarm system will
not arm if the trunk is open when
you use either power lock switch to
lock the doors.
Arming with the RKE
Transmitter
The alarm system will arm when the
RKE transmitter is used to lock the
doors, if the key is not in the
ignition.
Disarming with the RKE
Transmitter
The alarm system will disarm when
the RKE transmitter is used to
unlock the doors.
The first time a remote unlock
command is received, three flashes
will be seen and three horn chirps
heard to indicate an alarm condition
has occurred since last arming.
Disarming with the Key
The alarm system will disarm when
the key is inserted in the ignition
and turn it from the LOCK/OFF
position.
Immobilizer
SeeRadio Frequency Statement on
page 13‑15 for information
regarding Part 15 of the Federal
Communications Commission (FCC)
rules and Industry Canada
Standards RSS-GEN/210/220/310.
Immobilizer Operation
This vehicle has PASS-Key®III+
(Personalized Automotive Security
System) theft-deterrent system.
PASS-Key III+ is a passive
theft-deterrent system.
The system is automatically armed
when the key is removed from the
ignition.
The system is automatically
disarmed when the key is turned to
ON/RUN, ACC/ACCESSORY,
or START from the LOCK/OFF
position.
You do not have to manually arm or
disarm the system.
Page 38 of 350
Black plate (12,1)Chevrolet Impala Owner Manual - 2013 - crc - 8/27/12
2-12 Keys, Doors, and Windows
The security light will come on if
there is a problem with arming or
disarming the theft-deterrent
system.
When the PASS-Key III+ system
senses that someone is using the
wrong key, it prevents the vehicle
from starting. Anyone using a
trial-and-error method to start the
vehicle will be discouraged because
of the high number of electrical key
codes.
If the engine does not start and the
security light on the instrument
panel cluster comes on when trying
to start the vehicle, there may be a
problem with the theft-deterrent
system. Turn the ignition off and try
again.
If the engine still does not start, and
the key appears to be undamaged,
try another ignition key. At this time,you may also want to check the
fuse. See
Fuses and Circuit
Breakers on page 10‑27. If the
engine still does not start with the
other key, the vehicle needs service.
If the vehicle does start, the first key
may be faulty. See your dealer who
can service the PASS-Key III+ to
have a new key made.
It is possible for the PASS-Key III+
decoder to learn the transponder
value of a new or replacement key.
Up to 10 keys may be programmed
for the vehicle. The following
procedure is for programming
additional keys only. If all the
currently programmed keys are lost
or do not operate, you must see
your dealer or a locksmith who can
service PASS-Key III+ to have keys
made and programmed to the
system. See your dealer or a locksmith who
can service PASS-Key III+ to get a
new key blank cut exactly as the
ignition key that operates the
system.
To program the new additional key:
1. Verify that the new key has a
1
stamped on it.
2. Insert the original, already programmed key in the ignition
and start the engine. If the
engine will not start, see your
dealer for service.
3. After the engine has started, turn the key to LOCK/OFF, and
remove the key.
Page 39 of 350
Black plate (13,1)Chevrolet Impala Owner Manual - 2013 - crc - 8/27/12
Keys, Doors, and Windows 2-13
4. Insert the new key to beprogrammed and turn it to the
ON/RUN position within
five seconds of turning the
ignition to the LOCK/OFF
position in Step 3.
The security light will turn off
once the key has been
programmed.
5. Repeat Steps 1 through 4 if additional keys are to be
programmed.
If you lose or damage your
PASS-Key III+ key, see your dealer
or a locksmith who can service
PASS-Key III+ to have a new
key made.
Do not leave the key or device that
disarms or deactivates the
theft-deterrent system in the vehicle.Exterior Mirrors
Convex Mirrors
{WARNING
A convex mirror can make things,
like other vehicles, look farther
away than they really are. If you
cut too sharply into the right lane,
you could hit a vehicle on the
right. Check the inside mirror or
glance over your shoulder before
changing lanes.
The passenger side mirror is convex
shaped. A convex mirror's surface is
curved so more can be seen from
the driver seat.
Power Mirrors
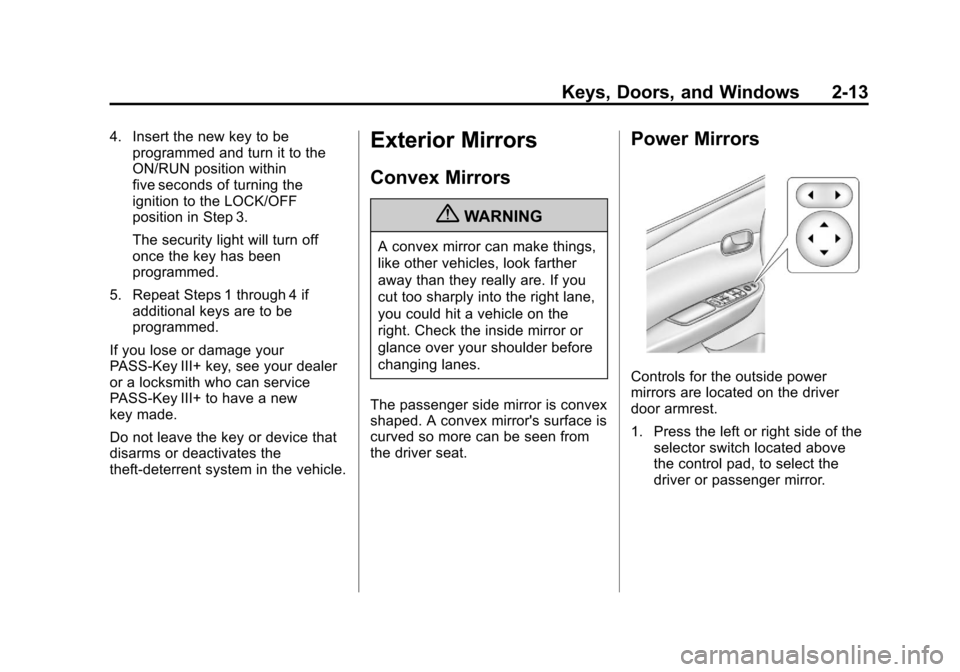
Controls for the outside power
mirrors are located on the driver
door armrest.
1. Press the left or right side of the selector switch located above
the control pad, to select the
driver or passenger mirror.
Page 40 of 350
Black plate (14,1)Chevrolet Impala Owner Manual - 2013 - crc - 8/27/12
2-14 Keys, Doors, and Windows
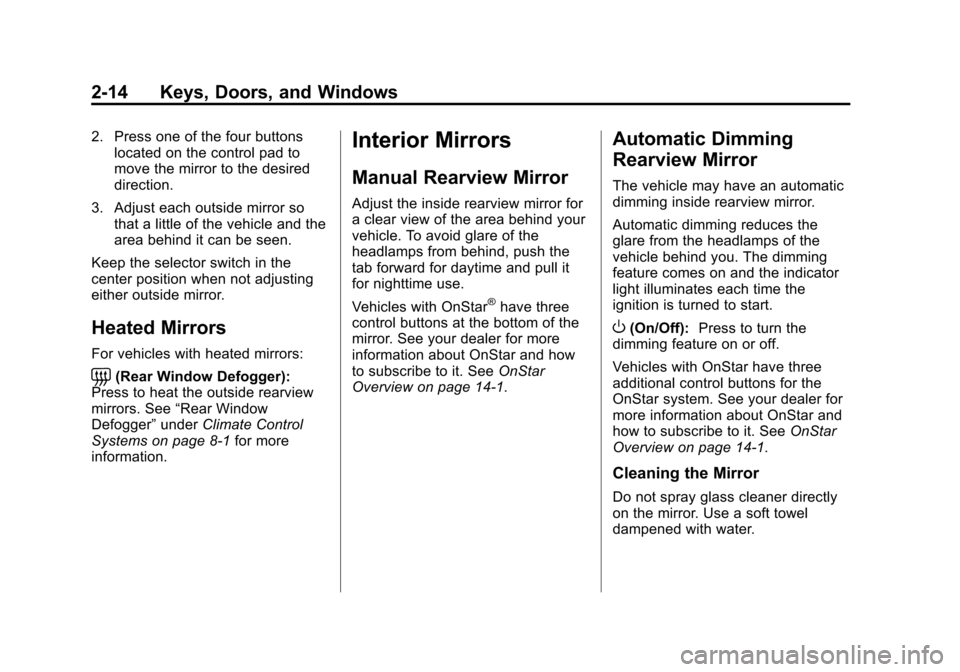
2. Press one of the four buttonslocated on the control pad to
move the mirror to the desired
direction.
3. Adjust each outside mirror so that a little of the vehicle and the
area behind it can be seen.
Keep the selector switch in the
center position when not adjusting
either outside mirror.
Heated Mirrors
For vehicles with heated mirrors:
=(Rear Window Defogger):
Press to heat the outside rearview
mirrors. See “Rear Window
Defogger” underClimate Control
Systems on page 8‑1 for more
information.
Interior Mirrors
Manual Rearview Mirror
Adjust the inside rearview mirror for
a clear view of the area behind your
vehicle. To avoid glare of the
headlamps from behind, push the
tab forward for daytime and pull it
for nighttime use.
Vehicles with OnStar
®have three
control buttons at the bottom of the
mirror. See your dealer for more
information about OnStar and how
to subscribe to it. See OnStar
Overview on page 14‑1.
Automatic Dimming
Rearview Mirror
The vehicle may have an automatic
dimming inside rearview mirror.
Automatic dimming reduces the
glare from the headlamps of the
vehicle behind you. The dimming
feature comes on and the indicator
light illuminates each time the
ignition is turned to start.
O(On/Off): Press to turn the
dimming feature on or off.
Vehicles with OnStar have three
additional control buttons for the
OnStar system. See your dealer for
more information about OnStar and
how to subscribe to it. See OnStar
Overview on page 14‑1.
Cleaning the Mirror
Do not spray glass cleaner directly
on the mirror. Use a soft towel
dampened with water.
Page 41 of 350
Black plate (15,1)Chevrolet Impala Owner Manual - 2013 - crc - 8/27/12
Keys, Doors, and Windows 2-15
Windows
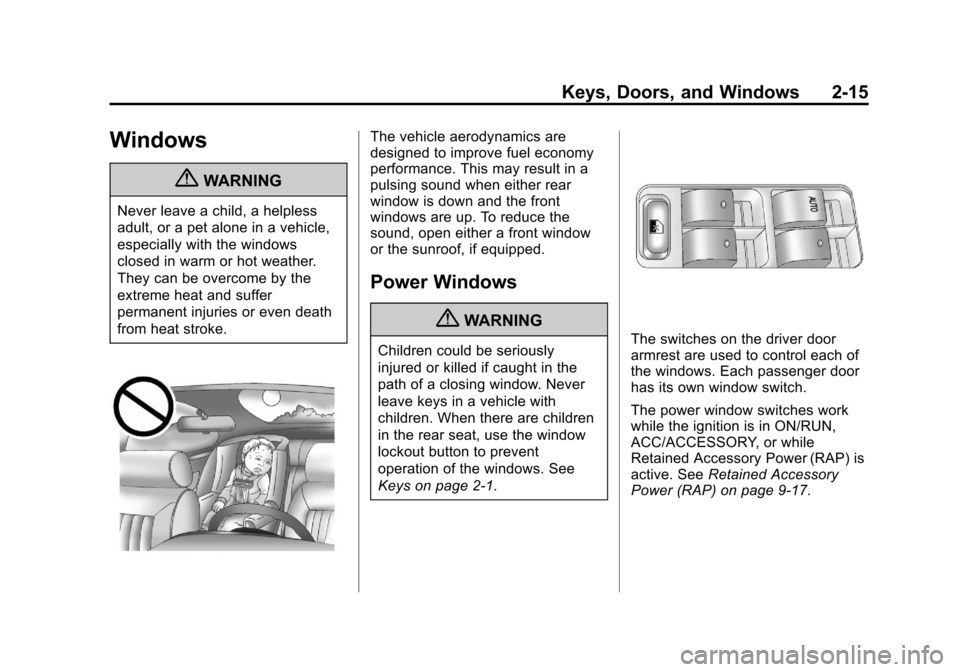
{WARNING
Never leave a child, a helpless
adult, or a pet alone in a vehicle,
especially with the windows
closed in warm or hot weather.
They can be overcome by the
extreme heat and suffer
permanent injuries or even death
from heat stroke.
The vehicle aerodynamics are
designed to improve fuel economy
performance. This may result in a
pulsing sound when either rear
window is down and the front
windows are up. To reduce the
sound, open either a front window
or the sunroof, if equipped.
Power Windows
{WARNING
Children could be seriously
injured or killed if caught in the
path of a closing window. Never
leave keys in a vehicle with
children. When there are children
in the rear seat, use the window
lockout button to prevent
operation of the windows. See
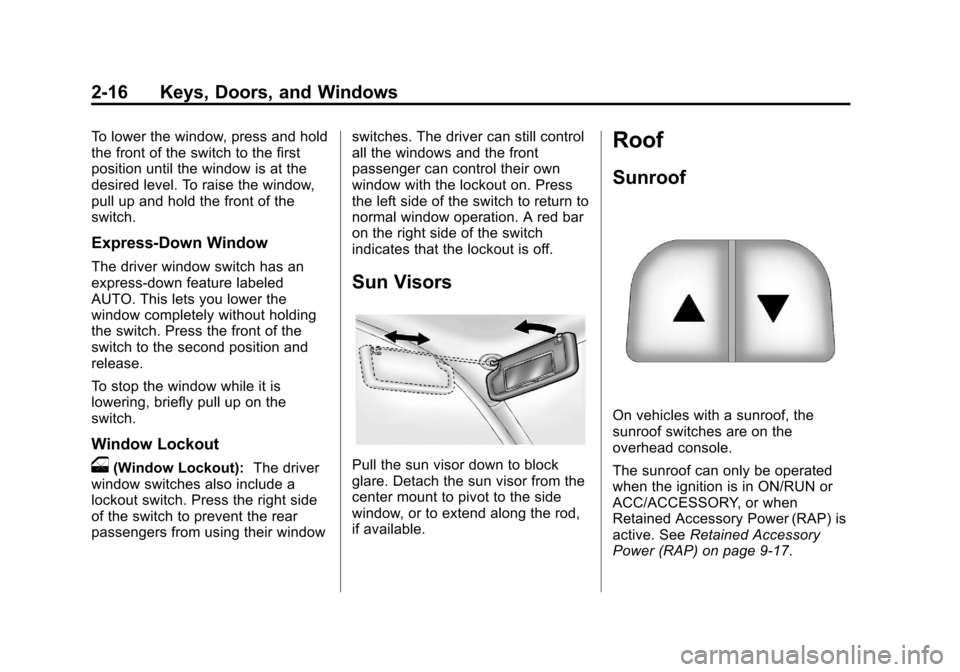
Keys on page 2‑1.The switches on the driver door
armrest are used to control each of
the windows. Each passenger door
has its own window switch.
The power window switches work
while the ignition is in ON/RUN,
ACC/ACCESSORY, or while
Retained Accessory Power (RAP) is
active. SeeRetained Accessory
Power (RAP) on page 9‑17.
Page 42 of 350
Black plate (16,1)Chevrolet Impala Owner Manual - 2013 - crc - 8/27/12
2-16 Keys, Doors, and Windows
To lower the window, press and hold
the front of the switch to the first
position until the window is at the
desired level. To raise the window,
pull up and hold the front of the
switch.
Express-Down Window
The driver window switch has an
express-down feature labeled
AUTO. This lets you lower the
window completely without holding
the switch. Press the front of the
switch to the second position and
release.
To stop the window while it is
lowering, briefly pull up on the
switch.
Window Lockout
o(Window Lockout):The driver
window switches also include a
lockout switch. Press the right side
of the switch to prevent the rear
passengers from using their window switches. The driver can still control
all the windows and the front
passenger can control their own
window with the lockout on. Press
the left side of the switch to return to
normal window operation. A red bar
on the right side of the switch
indicates that the lockout is off.
Sun Visors
Pull the sun visor down to block
glare. Detach the sun visor from the
center mount to pivot to the side
window, or to extend along the rod,
if available.
Roof
Sunroof
On vehicles with a sunroof, the
sunroof switches are on the
overhead console.
The sunroof can only be operated
when the ignition is in ON/RUN or
ACC/ACCESSORY, or when
Retained Accessory Power (RAP) is
active. See
Retained Accessory
Power (RAP) on page 9‑17.
Page 50 of 350
Black plate (6,1)Chevrolet Impala Owner Manual - 2013 - crc - 8/27/12
3-6 Seats and Restraints
To return the seatback to the upright
position:
1. Lift the lever fully withoutapplying pressure to the
seatback, and the seatback will
return to the upright position.
2. Push and pull on the seatback to make sure it is locked.
Power Reclining Seatbacks
To adjust a power seatback,
if equipped:
.Tilt the top of the control
rearward to recline.
.Tilt the top of the control forward
to raise.
Heated Front Seats
{WARNING
If you cannot feel temperature
change or pain to the skin, the
seat heater may cause burns. To
reduce the risk of burns, people
with such a condition should use
care when using the seat heater,
especially for long periods of
time. Do not place anything on
the seat that insulates against
heat, such as a blanket, cushion,
cover, or similar item. This may
cause the seat heater to
overheat. An overheated seat
heater may cause a burn or may
damage the seat.
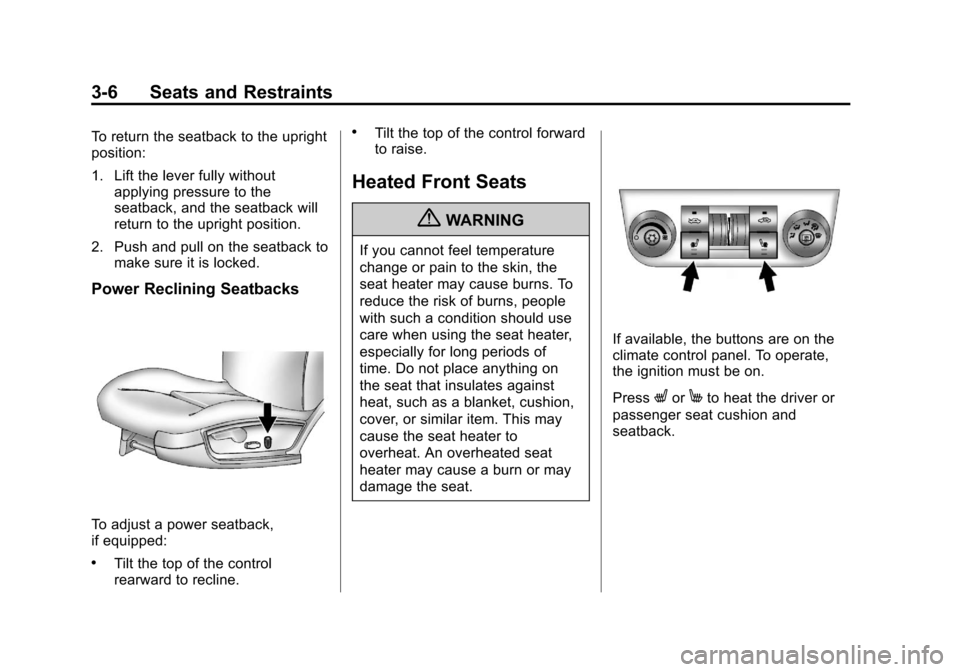
If available, the buttons are on the
climate control panel. To operate,
the ignition must be on.
Press
LorMto heat the driver or
passenger seat cushion and
seatback.