2013 CHEVROLET CORVETTE stop start
[x] Cancel search: stop startPage 237 of 414
Black plate (25,1)Chevrolet Corvette Owner Manual - 2013 - crc2 - 11/8/12
Driving and Operating 9-25
Automatic
Transmission
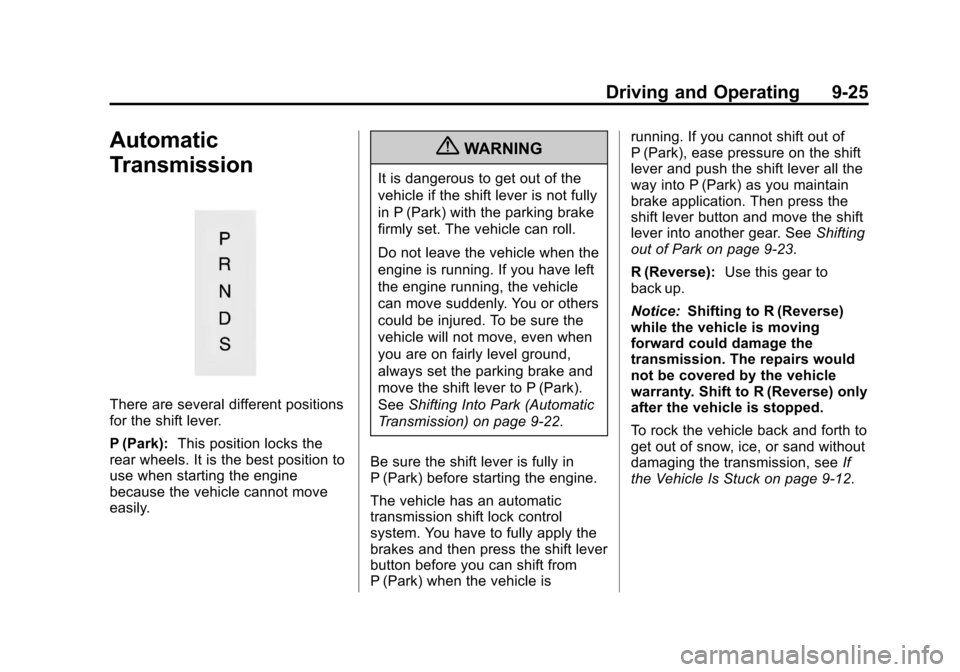
There are several different positions
for the shift lever.
P (Park):This position locks the
rear wheels. It is the best position to
use when starting the engine
because the vehicle cannot move
easily.
{WARNING
It is dangerous to get out of the
vehicle if the shift lever is not fully
in P (Park) with the parking brake
firmly set. The vehicle can roll.
Do not leave the vehicle when the
engine is running. If you have left
the engine running, the vehicle
can move suddenly. You or others
could be injured. To be sure the
vehicle will not move, even when
you are on fairly level ground,
always set the parking brake and
move the shift lever to P (Park).
See Shifting Into Park (Automatic
Transmission) on page 9‑22.
Be sure the shift lever is fully in
P (Park) before starting the engine.
The vehicle has an automatic
transmission shift lock control
system. You have to fully apply the
brakes and then press the shift lever
button before you can shift from
P (Park) when the vehicle is running. If you cannot shift out of
P (Park), ease pressure on the shift
lever and push the shift lever all the
way into P (Park) as you maintain
brake application. Then press the
shift lever button and move the shift
lever into another gear. See
Shifting
out of Park on page 9‑23.
R (Reverse): Use this gear to
back up.
Notice: Shifting to R (Reverse)
while the vehicle is moving
forward could damage the
transmission. The repairs would
not be covered by the vehicle
warranty. Shift to R (Reverse) only
after the vehicle is stopped.
To rock the vehicle back and forth to
get out of snow, ice, or sand without
damaging the transmission, see If
the Vehicle Is Stuck on page 9‑12.
Page 239 of 414
Black plate (27,1)Chevrolet Corvette Owner Manual - 2013 - crc2 - 11/8/12
Driving and Operating 9-27
When accelerating the vehicle from
a stop in snowy and icy conditions,
you may want to shift to 2 (Second)
or 3 (Third) gear. A higher gear
allows you to gain more traction on
slippery surfaces. If traction control
is active, upshifts are delayed to
increase your control of the vehicle.
SeeTraction Control System (TCS)
on page 9‑34 Traction Control
System (TCS).
The Manual Paddle Shift system
can be deactivated by moving the
shift lever from S (Sport Mode) back
to D (Drive), or by holding either
up-shift paddle for more than
one second.
The driver may choose to briefly
activate the Manual Paddle Shift
system while in D (Drive). Tapping
either the upshift or downshift
controls will place the transmission
in Manual Paddle Shift mode. The
driver may then exit Manual Paddle
Shift mode by holding either upshift
control for more than one second.
The system will return to automatic
shifting after 10 seconds of cruising at a steady speed and no manual
shifts, or when the vehicle comes to
a stop.
While the Manual Paddle Shift gear
selection system is active, the
transmission will automatically
downshift through the gears as the
vehicle slows. The transmission will
select 2 (Second) gear as the
vehicle stops. From a stop, the
vehicle will start from and hold
2 (Second) gear unless the driver
manually paddle shifts into a
different gear or selects D (Drive).
The driver can select 1 (First) gear
for maximum acceleration from
a stop.
When using the Manual Paddle
Shift feature while in S (Sport Mode),
the current gear will be displayed in
the Driver Information (DIC), or the
Head-Up Display (HUD), if the
vehicle has either of these features.
If the vehicle has a Head-Up
Display (HUD), see
Head-Up
Display (HUD) on page 5‑30.
The Manual Paddle Shift system will
not allow either an up-shift or a
down-shift if the vehicle speed is too
fast or too slow, nor will it allow a
start from 4 (Fourth) or higher gear.
If up-shifting does not occur when
needed, vehicle speed will be
limited to protect the engine.
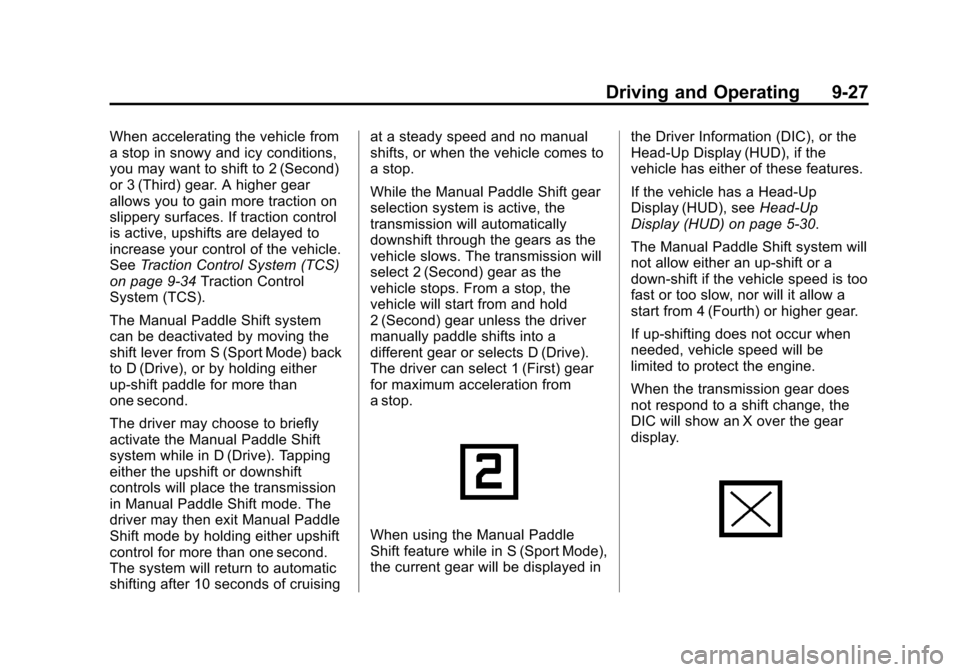
When the transmission gear does
not respond to a shift change, the
DIC will show an X over the gear
display.
Page 263 of 414

Black plate (1,1)Chevrolet Corvette Owner Manual - 2013 - crc2 - 11/8/12
Vehicle Care 10-1
Vehicle Care
General Information
General Information . . . . . . . . . . 10-2
California Proposition65 Warning . . . . . . . . . . . . . . . . . 10-2
California Perchlorate Materials Requirements . . . . 10-3
Accessories and Modifications . . . . . . . . . . . . . . . 10-3
Lifting the Vehicle . . . . . . . . . . . . 10-3
Vehicle Checks
Doing Your Own Service Work . . . . . . . . . . . . . . . 10-6
Hood . . . . . . . . . . . . . . . . . . . . . . . . 10-7
Engine Compartment Overview . . . . . . . . . . . . . . . . . . . 10-8
Engine Oil . . . . . . . . . . . . . . . . . . 10-13
Engine Oil Life System . . . . . 10-19
Automatic Transmission Fluid . . . . . . . . . . . . . . . . . . . . . . 10-20
Manual Transmission Fluid . . . . . . . . . . . . . . . . . . . . . . 10-21
Hydraulic Clutch . . . . . . . . . . . . 10-21
Engine Air Cleaner/Filter . . . . 10-21
Cooling System (Engine) . . . 10-24 Cooling System
(Intercooler) . . . . . . . . . . . . . . . 10-25
Engine Coolant . . . . . . . . . . . . . 10-26
Engine Overheating . . . . . . . . 10-29
Overheated Engine Protection
Operating Mode . . . . . . . . . . . 10-30
Power Steering Fluid . . . . . . . 10-31
Washer Fluid . . . . . . . . . . . . . . . 10-32
Brakes . . . . . . . . . . . . . . . . . . . . . 10-32
Brake Fluid . . . . . . . . . . . . . . . . . 10-36
Battery . . . . . . . . . . . . . . . . . . . . . 10-37
Rear Axle . . . . . . . . . . . . . . . . . . 10-38
Starter Switch Check . . . . . . . 10-38
Automatic Transmission Shift Lock Control Function
Check . . . . . . . . . . . . . . . . . . . . . 10-39
Park Brake and P (Park) Mechanism Check . . . . . . . . 10-39
Wiper Blade Replacement . . . . . . . . . . . . . . 10-40
Windshield Replacement . . . 10-41
Headlamp Aiming
Headlamp Aiming . . . . . . . . . . 10-41
Bulb Replacement
Bulb Replacement . . . . . . . . . . 10-41
Halogen Bulbs . . . . . . . . . . . . . . 10-41 High Intensity Discharge
(HID) Lighting . . . . . . . . . . . . . 10-42
Headlamps, Front Turn Signal and Parking
Lamps . . . . . . . . . . . . . . . . . . . . 10-42
Taillamps, Turn Signal, and Stoplamps . . . . . . . . . . . . . . . . 10-43
Back-Up Lamps . . . . . . . . . . . . 10-43
License Plate Lamp . . . . . . . . 10-44
Replacement Bulbs . . . . . . . . . 10-44
Electrical System
Electrical System Overload . . . . . . . . . . . . . . . . . . 10-44
Fuses and Circuit Breakers . . . . . . . . . . . . . . . . . . 10-45
Engine Compartment Fuse
Block . . . . . . . . . . . . . . . . . . . . . 10-45
Instrument Panel Fuse Block . . . . . . . . . . . . . . . . . . . . . 10-48
Wheels and Tires
Tires . . . . . . . . . . . . . . . . . . . . . . . . 10-52
Winter Tires . . . . . . . . . . . . . . . . 10-53
Run-Flat Tires . . . . . . . . . . . . . . 10-53
Low-Profile Tires . . . . . . . . . . . 10-54
Sport Cup Tires . . . . . . . . . . . . 10-55
Summer Tires . . . . . . . . . . . . . . 10-55
Tire Sidewall Labeling . . . . . . 10-55
Page 286 of 414
Black plate (24,1)Chevrolet Corvette Owner Manual - 2013 - crc2 - 11/8/12
10-24 Vehicle Care
7. To remove the filter from theLS3 and LS7 engines, remove
the six screws (A) securing the
filter cover (B) then pull away to
gain access to the air filter (C).
To remove the filter assembly
from the LS9 engine, remove the
six screws securing the filter
cover. The filter cover and the air
filter are one piece.
8. Inspect or replace the filter or filter cover assembly. See
Maintenance Replacement Parts
on page 11‑14.
9. Reverse Steps 2–7 to replace the air cleaner/filter cover.{WARNING
Operating the engine with the air
cleaner/filter off can cause you or
others to be burned. The air
cleaner not only cleans the air; it
helps to stop flames if the engine
backfires. Use caution when
working on the engine and do not
drive with the air cleaner/filter off.
Notice: If the air cleaner/filter is
off, dirt can easily get into the
engine, which could damage it.
Always have the air cleaner/filter
in place when you are driving.
Cooling System (Engine)
The cooling system allows the
engine to maintain the correct
working temperature.
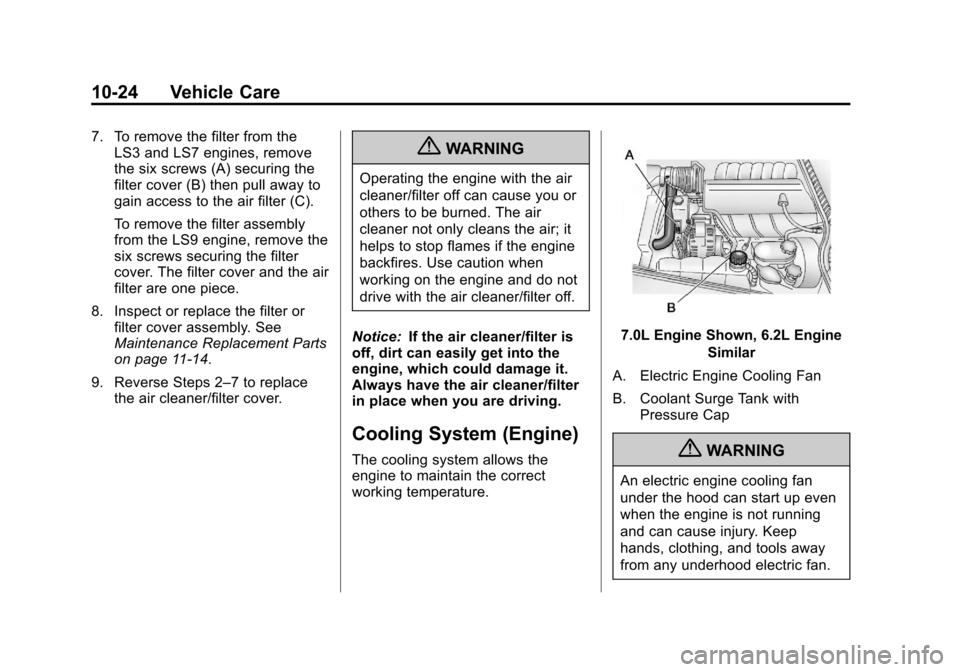
7.0L Engine Shown, 6.2L Engine
Similar
A. Electric Engine Cooling Fan
B. Coolant Surge Tank with Pressure Cap
{WARNING
An electric engine cooling fan
under the hood can start up even
when the engine is not running
and can cause injury. Keep
hands, clothing, and tools away
from any underhood electric fan.
Page 290 of 414
Black plate (28,1)Chevrolet Corvette Owner Manual - 2013 - crc2 - 11/8/12
10-28 Vehicle Care
If coolant is needed, add the proper
DEX-COOL coolant mixture directly
to the surge tank, but be sure the
cooling system is cool before this
is done.
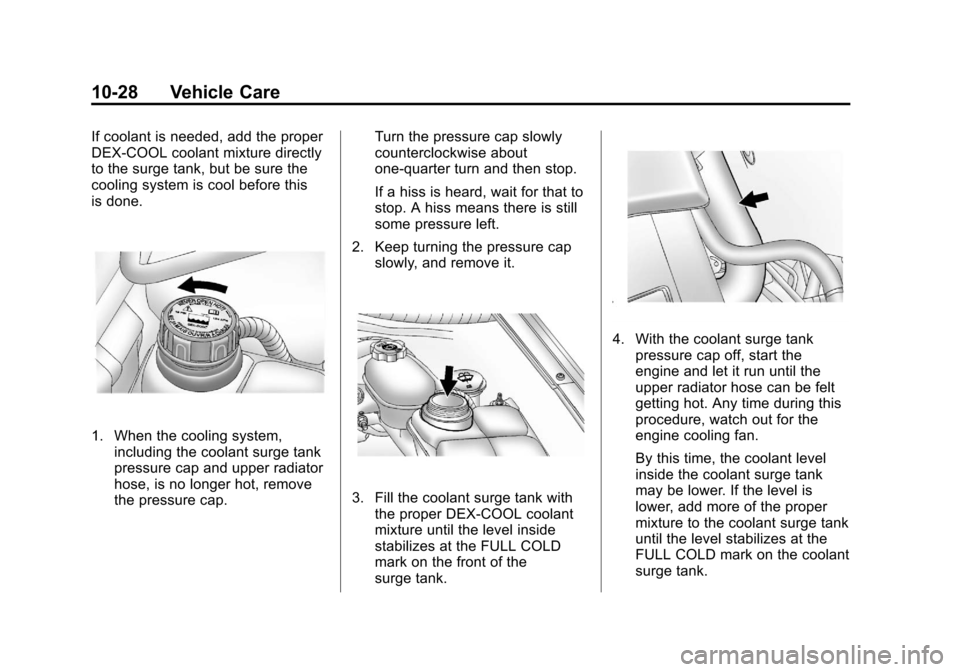
1. When the cooling system,including the coolant surge tank
pressure cap and upper radiator
hose, is no longer hot, remove
the pressure cap. Turn the pressure cap slowly
counterclockwise about
one-quarter turn and then stop.
If a hiss is heard, wait for that to
stop. A hiss means there is still
some pressure left.
2. Keep turning the pressure cap slowly, and remove it.
3. Fill the coolant surge tank withthe proper DEX-COOL coolant
mixture until the level inside
stabilizes at the FULL COLD
mark on the front of the
surge tank.
4. With the coolant surge tankpressure cap off, start the
engine and let it run until the
upper radiator hose can be felt
getting hot. Any time during this
procedure, watch out for the
engine cooling fan.
By this time, the coolant level
inside the coolant surge tank
may be lower. If the level is
lower, add more of the proper
mixture to the coolant surge tank
until the level stabilizes at the
FULL COLD mark on the coolant
surge tank.
Page 307 of 414

Black plate (45,1)Chevrolet Corvette Owner Manual - 2013 - crc2 - 11/8/12
Vehicle Care 10-45
Headlamp Wiring
An electrical overload may cause
the lamps to go on and off, or in
some cases to remain off. Have the
headlamp wiring checked right away
if the lamps go on and off or
remain off.
Windshield Wipers
If the wiper motor overheats due to
heavy snow or ice, the windshield
wipers will stop until the motor cools
and will then restart.
Although the circuit is protected
from electrical overload, overload
due to heavy snow or ice may
cause wiper linkage damage.
Always clear ice and heavy snow
from the windshield before using the
windshield wipers.
If the overload is caused by an
electrical problem and not snow or
ice, be sure to get it fixed.
Fuses and Circuit
Breakers
The wiring circuits in the vehicle are
protected from short circuits by a
combination of J-Case fuses,
mini-fuses and circuit breakers. This
greatly reduces the chance of fires
caused by electrical problems.
Look at the silver-colored band
inside the fuse. If the band is broken
or melted, replace the fuse. Be sure
you replace a bad fuse with a new
one of the identical size and rating.
If you ever have a problem on the
road and do not have a spare fuse,
you can borrow one that has the
same amperage. Just pick some
feature of the vehicle that you can
get along without—like the radio or
cigarette lighter —and use its fuse,
if it is the correct amperage.
Replace it as soon as you can.
Vehicles with the ZR1 package have
an intercooler relay located on the
fan shroud. See your dealer. Vehicles with the ZR1 package also
have a fuel system mini-fuse. It is
located near the battery in the
battery storage compartment in the
rear of the vehicle.
Engine Compartment
Fuse Block
There is one fuse block in the
engine compartment located on the
passenger side of the vehicle. See
Engine Compartment Overview on
page 10‑8
for more information on
location.
Notice: Spilling liquid on any
electrical component on the
vehicle may damage it. Always
keep the covers on any electrical
component.
Page 325 of 414
Black plate (63,1)Chevrolet Corvette Owner Manual - 2013 - crc2 - 11/8/12
Vehicle Care 10-63
As an added safety feature, your
vehicle has been equipped with a
tire pressure monitoring system
(TPMS) that illuminates a low tire
pressure telltale when one or more
of your tires is significantly
under-inflated.
Accordingly, when the low tire
pressure telltale illuminates, you
should stop and check your tires as
soon as possible, and inflate them
to the proper pressure. Driving on a
significantly under-inflated tire
causes the tire to overheat and can
lead to tire failure. Under-inflation
also reduces fuel efficiency and tire
tread life, and may affect the
vehicle's handling and stopping
ability.
Please note that the TPMS is not a
substitute for proper tire
maintenance, and it is the driver's
responsibility to maintain correct tire
pressure, even if under-inflation has
not reached the level to trigger
illumination of the TPMS low tire
pressure telltale.Your vehicle has also been
equipped with a TPMS malfunction
indicator to indicate when the
system is not operating properly.
The TPMS malfunction indicator is
combined with the low tire pressure
telltale. When the system detects a
malfunction, the telltale will flash for
approximately one minute and then
remain continuously illuminated.
This sequence will continue upon
subsequent vehicle start-ups as
long as the malfunction exists.
When the malfunction indicator is
illuminated, the system may not be
able to detect or signal low tire
pressure as intended. TPMS
malfunctions may occur for a variety
of reasons, including the installation
of replacement or alternate tires or
wheels on the vehicle that prevent
the TPMS from functioning properly.
Always check the TPMS malfunction
telltale after replacing one or more
tires or wheels on your vehicle to
ensure that the replacement or
alternate tires and wheels allow the
TPMS to continue to function
properly.
See
Tire Pressure Monitor
Operation on page 10‑64.
Federal Communications
Commission (FCC) Rules and
with Industry Canada
Standards
See Radio Frequency Statement on
page 13‑20 for information
regarding Part 15 of the Federal
Communications Commission (FCC)
Rules and with Industry Canada
Standards RSS-GEN/210/220/310.
Page 326 of 414
Black plate (64,1)Chevrolet Corvette Owner Manual - 2013 - crc2 - 11/8/12
10-64 Vehicle Care
Tire Pressure Monitor
Operation
This vehicle may have a Tire
Pressure Monitor System (TPMS).
The TPMS is designed to warn the
driver when a low tire pressure
condition exists. TPMS sensors are
mounted onto each tire and wheel
assembly on your vehicle. The
TPMS sensors monitor the air
pressure in the tires and transmits
the tire pressure readings to a
receiver located in the vehicle.
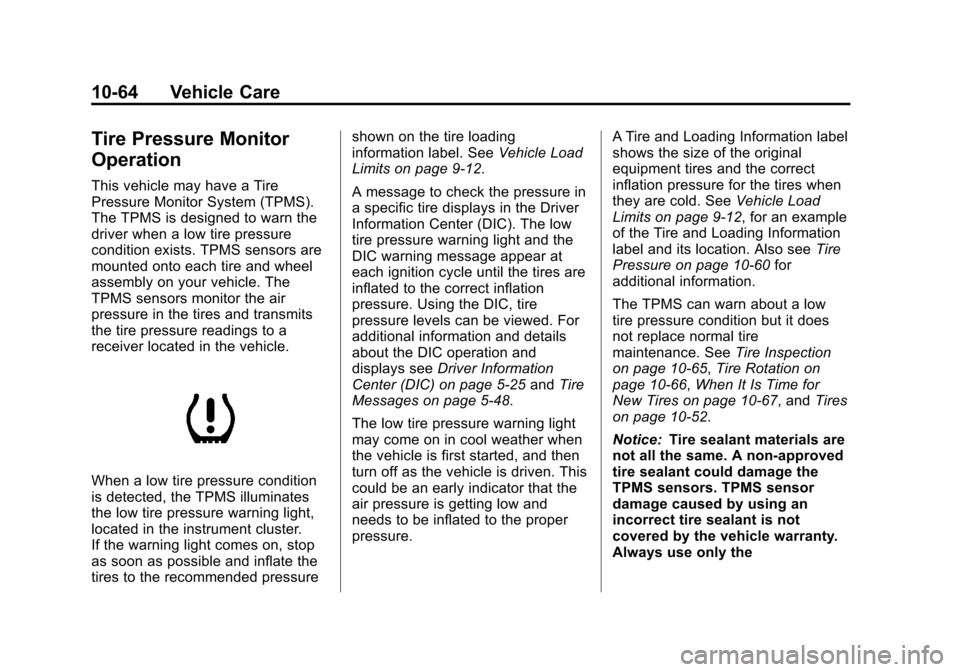
When a low tire pressure condition
is detected, the TPMS illuminates
the low tire pressure warning light,
located in the instrument cluster.
If the warning light comes on, stop
as soon as possible and inflate the
tires to the recommended pressureshown on the tire loading
information label. See
Vehicle Load
Limits on page 9‑12.
A message to check the pressure in
a specific tire displays in the Driver
Information Center (DIC). The low
tire pressure warning light and the
DIC warning message appear at
each ignition cycle until the tires are
inflated to the correct inflation
pressure. Using the DIC, tire
pressure levels can be viewed. For
additional information and details
about the DIC operation and
displays see Driver Information
Center (DIC) on page 5‑25 andTire
Messages on page 5‑48.
The low tire pressure warning light
may come on in cool weather when
the vehicle is first started, and then
turn off as the vehicle is driven. This
could be an early indicator that the
air pressure is getting low and
needs to be inflated to the proper
pressure. A Tire and Loading Information label
shows the size of the original
equipment tires and the correct
inflation pressure for the tires when
they are cold. See
Vehicle Load
Limits on page 9‑12, for an example
of the Tire and Loading Information
label and its location. Also see Tire
Pressure on page 10‑60 for
additional information.
The TPMS can warn about a low
tire pressure condition but it does
not replace normal tire
maintenance. See Tire Inspection
on page 10‑65, Tire Rotation on
page 10‑66, When It Is Time for
New Tires on page 10‑67, and Tires
on page 10‑52.
Notice: Tire sealant materials are
not all the same. A non-approved
tire sealant could damage the
TPMS sensors. TPMS sensor
damage caused by using an
incorrect tire sealant is not
covered by the vehicle warranty.
Always use only the